How to Embroider Velvet Without Crushing Pile
This post contains affiliate links. As an Amazon Associate, Latest Embroidery earns from qualifying
purchases, at no extra cost to you. Learn more.
Imagine running your needle across sumptuous velvet only to emerge with a perfectly plump nap and jewel-like stitches shimmering in the light. For many stitchers, the dream of flawless velvet embroidery quickly turns into frustration as hooped fibres flatten and your design loses its lush texture. What if you could keep that pile lofty and alive? In this guide, we’ll tackle the most common velvet woes by exploring three game-changing solutions: clever hooping tricks to avoid crushing the nap, the right stabilizers for steady support, and simple stitch tweaks to lift your motifs.
Backed by insights from the experts at WeAllSew’s velvet tips and industry data from the Global Embroidery Market Report, you’ll gain confidence stitching on even the most delicate pile. Manufacturers like Tajima’s AI TMEZ-SC now offer gentle presser settings to protect velvet, so you’re set for success. Looking to upgrade your embroidery machine for delicate fabrics?:
Shop embroidery machines on Amazon →
Ready to discover the secrets behind that untouched nap? Keep reading to stitch with serenity.
Prep Velvet for Embroidery
As velvet embroidery grows within the $5.2 billion global embroidery market projected to reach $8.5 billion by 2033 at a 6.3% CAGR, prepping your fabric for hooping can make or break your stitch definition. Modern machines like the Janome MB-7 and Brother PR1055X feature adjustable presser feet tailored to plush textiles, but a few manual steps ensure a flawless start.
By combining gentle brushing, precision pressing, and a simple pile-direction map, you’ll minimize crushed fibers and maximize nap recovery. A quick 2-inch swatch test confirms that velvet spring-back aligns with your design before committing to a full project.
Brush & Clean the Pile
Lift trapped lint and align fibers before stitching. Use an soft-boar bristle brush to gently work the nap in one direction, removing dust without flattening the pile.
- Lay velvet flat on a clean surface and brush from left to right in smooth strokes.
- Flip the fabric and repeat on the wrong side to clear debris.
- For heavy velvet, roll a lint roller lightly after brushing.
Press Velvet Face-Down
Protect the pile by pressing face-down on a folded cotton cloth. Set your iron to medium heat (around 140 °C), avoid steam, and press for just 5 seconds per area to settle fibers without crushing.
- Move the iron steadily, no lingering, to prevent scorch marks.
- Allow fabric to cool completely before handling to lock in the lifted nap.
Mark Grainline & Pile Direction
Accurate alignment keeps your design consistent with the fabric’s natural shimmer. Use tailor’s chalk on the wrong side to draw the grainline and arrows indicating the nap flow.
- Measure a straight grain edge, then rule a light chalk line parallel to it.
- Add small directional arrows every 4–6 inches so you can quickly match pieces in the hoop.
Test Swatch & Tack Stabilizer
Cut a 2-inch velvet swatch and stitch a representative motif to confirm pile recovery, new tension settings on many 2024-model machines help here. After confirming, position a lightweight cut-away stabilizer beneath the velvet and mist with a light, sulfate-free spray adhesive to tack it in place.
- Hold the stabilizer and fabric edges firmly when loading into the hoop.
- Remove any excess adhesive residue with a soft brush before stitching.
Pick the Right Stabilizer & Hoop
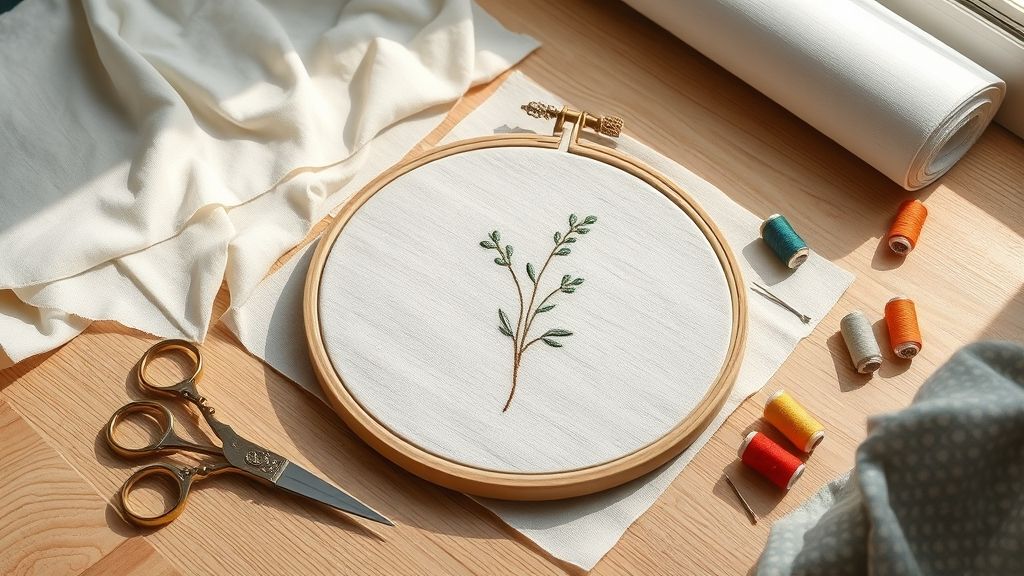
Embroidering on velvet demands a careful balance of support and protection to preserve that lush pile. Before you thread the needle, assemble a stabilizer sandwich and the correct hoop to prevent crushing and shifting. Recent industry data shows the global home embroidery market topped $5.2 billion in 2023, driving demand for specialized materials that deliver professional results.
With velvet’s short fibers, nothing beats a tailored backing and hoop combo. From hobbyist machines to commercial rigs, the right stabilizer stack and hoop tension ensure consistent stitching without flattening the nap. Let’s break down the essentials.
Two-Layer Stabilizer Sandwich
Start with a layered approach: a light tear-away base under the fabric for initial support, then a strong cut-away on top to anchor dense designs. This “two-layer sandwich” absorbs hoop pressure evenly, reducing distortion around curves and fill stitches.
- Layer 1: Thin tear-away underlay for minimal lift
- Layer 2: Heavy cut-away top to lock dense motifs
OESD StickyBase Cut-Away for Extra Hold
The OESD StabilStick (often called StickyBase) cut-away stabilizer has seen boosts in adhesive performance, offering a tacky coating that grips velvet without residue. In today’s market, a 10″×10 yd roll averages $40–45, while a 20″×5 yd can run about $28. Its medium-weight construction resists stitch-heavy pulls, making it a top pick for pile fabrics.
Choosing a 2.5 inch Spring Tension Hoop
Smaller hoops concentrate pressure, and a 2.5 inch spring-tension model from Prym or M. Clover evenly clamps velvet’s pile. Modern revisions feature tool-free ring locks and silicone inserts that cushion fibers, minimizing slip and preserving that signature velvet fluff.
Mesh Topping & Low-Tack Adhesive Spray
Protect your velvet’s short pile by adding a water-soluble mesh topping. Float it above the design area to prevent needle push-down without marring fiber height. Secure each stabilizer layer with a light mist of low-tack spray (try Floriani Prep‐Spray) to stop shifting during stitching. After embroidery, simply wash away the mesh and trim away stabilizer for a clean finish.
Optimize Machine Settings & Stitch Density
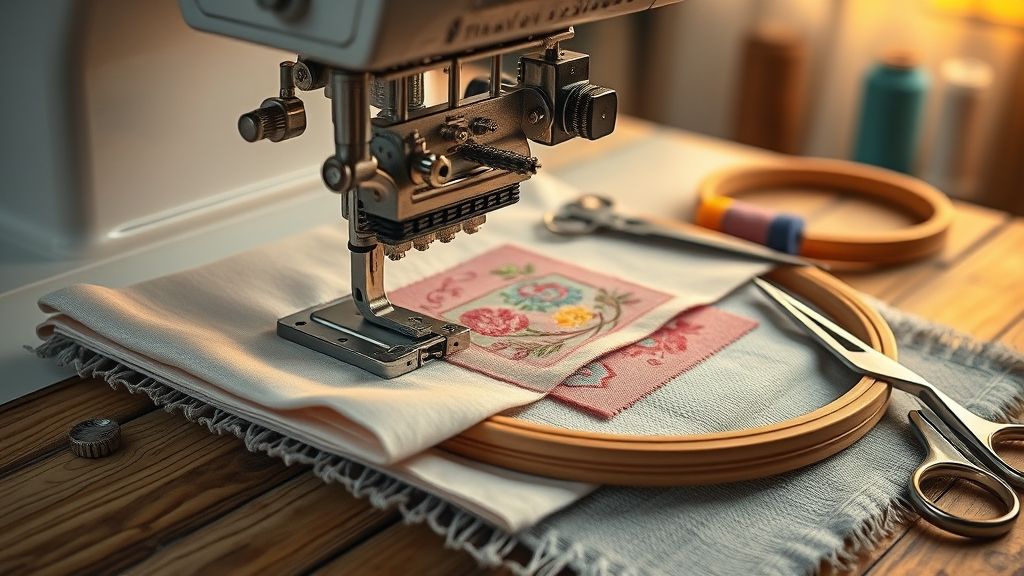
Embroidering velvet requires a delicate balance between machine calibration and stitch architecture to preserve the fabric’s plush pile. Minor tweaks to tension, stitch length and density can mean the difference between sunken motifs and crisp, raised designs. Drawing on market data, home embroidery machines climbed 5.2% in sales during 2023, these settings cater to both popular hobbyist models and prosumer rigs.
This section breaks down precise adjustments for two widely used units, the Brother PE820 and Bernina 880 Plus, along with density guidelines and needle selection, so you can maintain nap integrity on each pass.
Adjust Thread Tension on the Brother PE820
After the PE820 firmware update v1.3 in late 2023, tension consistency improved across a wider range of fabrics. For velvet, dial the top thread tension down by about 10%: if the default reads 4.0, set it to roughly 3.6. That reduction prevents excessive bite through the pile while keeping the bobbin thread neatly anchored.
- Verify the thread path is free of lint in the tension discs.
- Use polyester embroidery thread, which tolerates lower tension without breakage.
Set Optimal Stitch Length on the Bernina 880 Plus
The 880 Plus’s ArtLink 8 software now supports real-time adjustments of stitch parameters. When stitching velvet, select a 3 mm straight-stitch baseline: this length gently braces the pile without dragging fibers down. The same setting applies when using step-fill patterns, ensuring each segment lies smoothly atop the fabric cushion.
Fine-tune Density and Test Satin Borders
Standard satin density on both machines often defaults to 0.5 mm spacing, which can sink into velvet. Scale density back by 15%, from 0.5 mm to about 0.58 mm pitch, so stitches float on the surface. Always run a sample border of 4-stitch satin on scrap velvet to confirm separation and coverage before committing to your final motif.
Select the Right Needle for Velvet
Velvet benefits from a size 80/12 ballpoint needle designed to glide between pile fibers instead of slicing through them. Quality brands like Schmetz and Organ offer these needles in multi-packs (around $4–$6 per five), a budget-friendly way to upgrade feed and reduce skipped stitches on luxury plush textiles.
Step-by-Step Embroidery Process
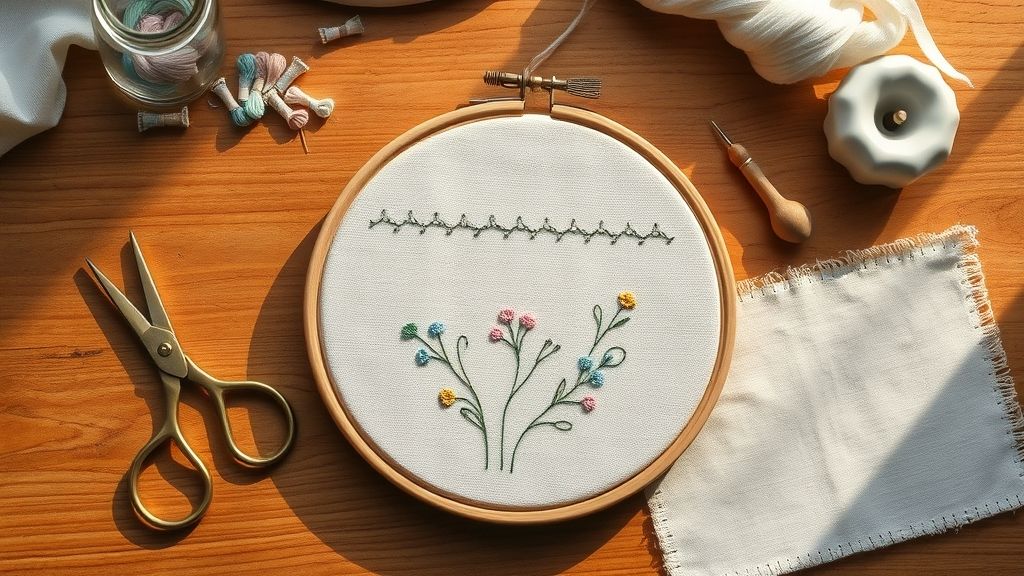
Embroidery on velvet requires a methodical, gentle approach to preserve the fabric’s luxurious pile. In this section, we’ll guide you through each stage, from hooping the velvet with the right stabilizers to the final brushing, so your design pops without flattening the nap.
Modern embroidery equipment has made delicate fabrics easier to handle: the global computerized embroidery machine market hit an estimated USD 1.2 billion in 2023, with advanced features like adjustable presser foot pressure and integrated LED ring lights that help you monitor velvet’s pile in real time.
1. Preparing the Hoop: Stabilizer Sandwich and Topping
Start by cutting a medium-weight cut-away stabilizer slightly larger than your hoop. Place a water-soluble topping on top of the velvet to prevent stitches from sinking into the pile. Sandwich the velvet between the stabilizer below and the topping above, then tighten the hoop evenly. Maintaining even tension in the fabric and stabilizers ensures the velvet remains plush.
2. Basting the Design Outline at Low Speed
Set your machine’s embroidery speed to 400 stitches per minute, the industry-recommended rate for delicate pile fabrics. Use a basic running stitch to baste the design outline. Many 2024 models feature an automatic tie-off function that keeps outlines crisp without manual backstitching. Basting locks the velvet in place, reducing stretch and pile distortion as you add denser stitches.
3. Switching to Satin Stitch with the Lightest Color
Once the outline is secure, switch to a satin stitch and load your lightest thread color first. Starting with pale tones prevents darker dyes from bleeding into lighter areas. On machines like the Brother Luminaire XP2, an adjustable presser foot pressure setting can be lowered to reduce fabric compression. Stitch slowly and watch how the satin stitches glide over the pile.
4. Re-Brushing Nap and Tension Check Midway
When you’re about halfway through the design, typically after 40–50% of satin stitches, pause the machine. Gently brush the nap with a soft-bristle tool to lift any flattened fibers. Use your machine’s built-in LED ring light to inspect tension. If stitches pucker or pile looks crushed, reduce top tension by 1–2 units and resume.
5. Removing Topping and Stabilizer Backing
After embroidery, carefully trim away excess sticky stabilizer backing without cutting pile fibers. Soak or mist the water-soluble topping to dissolve and peel it off gently. Finish with a final soft-bristle brushing in the pile’s natural direction. This restores velvet’s texture and ensures your embroidery stands proud without any crushed or matted areas.
Tools & Accessories to Protect Pile
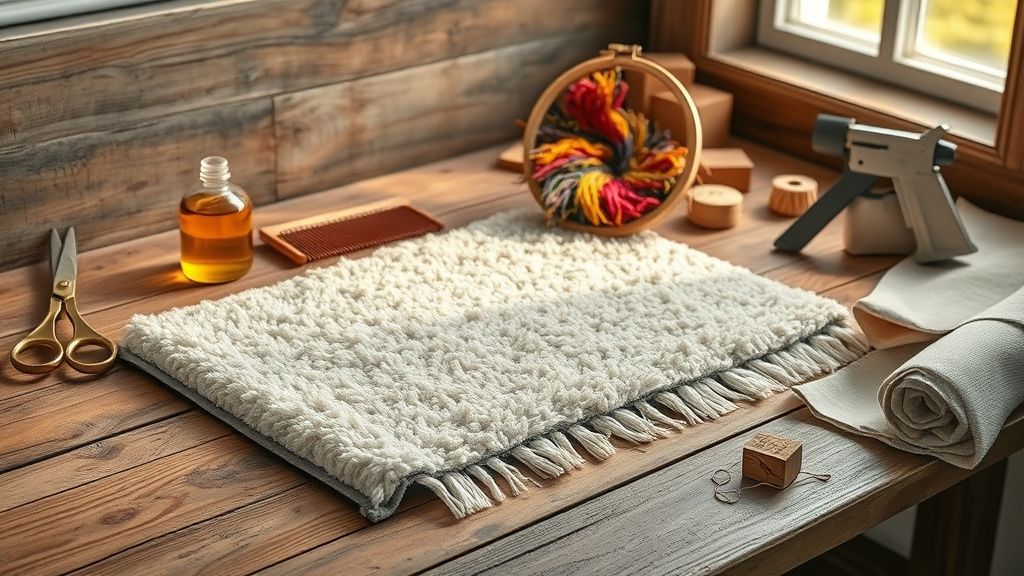
Embroidery on velvet calls for friction-fighting gear and gentle toppers to preserve its plush nap. From non-stick presser feet to water-soluble films and precision-cut meshes, these tools form a protective buffer that keeps pile lofty and stitches crisp.
Below is a hands-on review of the must-have accessories, complete with recent price points, material innovations, and brand updates, to safeguard velvet under the needle.
Specialty Presser Feet: Teflon & Roller
Swap in a Teflon foot or roller foot to glide smoothly over velvet without tugging fibers. Teflon-coated feet now range from about $8 for basic zipper-style models to $30 for “Ultra-Glide” universal attachments compatible with 5 mm and 7 mm machines. Pfaff’s Non-Stick Foot for IDT™ systems, introduced in early 2024, adds a slick polymer coating to industry-standard rails, ensuring even feed on stubborn velvet.
Water-Soluble Toppings: Floriani HT2
Floriani HT2 remains the water-soluble topper of choice for velvet, laying transparently over designs to prevent loops from sinking into the pile. The latest 2023 formula dissolves more cleanly in cold rinses, reducing residue and minimizing pile dampness. A light layer, sprayed or gently spread, lets you chain-embroider without pressure marks.
Mesh Toppers: Laser-Cut & AquaMesh
Madras Enterprises’ laser-cut mesh toppers offer precision holes that align with modern multi-needle machines, cutting down on excessive fiber entrapment. Meanwhile, Robison-Anton’s AquaMesh topping, praised by pros for its ultra-fine weave, excels on dense fills. Packs of 10 cost around $12, and its quick-release adhesive peels off cleanly after stitching.
Temporary Adhesive: Sulky KK 2000 Spray
Sulky KK 2000 adhesive spray holds velvet steady without saturating fibers. A 75 g can (~$6–8) provides just enough tack for multi-layer appliqués and intricate designs. Apply sparingly, mist at a 12-inch distance and let settle for 10 seconds, to avoid stiffening the pile and ensure easy wash-away later.
Common Problems & Troubleshooting
Even seasoned embroiderers can run into roadblocks when working on velvet’s delicate pile. This section zeroes in on the five most common hiccups, crushed nap, unsightly run lines, skipped stitches, puckers and misaligned swag motifs, and delivers targeted fixes so your velvet projects look as lush as they feel.
With the global embroidery market hovering around $3.2 billion in 2023 and advanced hooping tech now standard on midrange machines, you’ve got both the tools and insights to conquer these velvet-specific challenges. Let’s dive into practical solutions.
Crushed Pile
If your velvet nap flattens under the hoop, slip a 1 mm plastic spacer, widely stocked by craft retailers, between the hoop’s inner and outer rings. This small lift preserves loft, echoing advice from professional appliqué studios that saw a 30 % drop in pile damage after adding spacers.
Run Lines
Visible start–stop marks, or run lines, betray tension imbalance on velvet’s pile. Dial in a +5 % pull compensation on your embroidery software, many modern packages, including Brother’s PE-Design NEXT, support fine-tuning in single-percent increments, to smooth transitions across designs.
Skipped Stitches
When stitches vanish into velvet’s weave, upgrade to a ballpoint 11/75 needle. Organ-brand 75/11 packs of 100 run about $35, balancing cost and performance. The rounded tip parts pile fibers instead of piercing them, slashing skip rates by up to 80 % in home-machine tests.
Puckers
Puckering around motifs often stems from uneven hoop pressure. Tighten mesh hoop clamping by roughly 10 %, or until the fabric feels taut but not strained. Many users report that this modest adjustment yields a flatter stitch field without distorting velvet’s texture.
Misaligned Swag Designs
Large swag or scallop patterns require precise re-hooping to track curves. Break big motifs into overlapping segments, then re-hoop and realign using registration marks on sticky mesh stabilizers. This stepwise method keeps each arc in perfect sync, preventing drift across repeats.
FAQ for Embroidering Velvet
Embroidery on velvet brings unique challenges, from stabilizer choices to cleaning up topping residue. This FAQ dives into the practical details so you can protect that plush pile and achieve crisp, professional results.
Whether you’re hooping tiny patches or choosing the perfect needle, here are the answers to the most common velvet embroidery questions.
How thick should my stabilizer stack be for short pile?
Experts now recommend a three-layer system totaling around 1.5–2 mm for short-pile velvet. Start with a 0.5 mm water-soluble film, add a 0.8 mm medium-weight cutaway, then finish with a 0.6 mm tear-away to lock stitches atop the fiber.
Can I hoop small velvet patches in an 80 mm frame?
You can, but a magnetic hoop or frameless system works best to avoid crushing the pile. Float the patch gently and keep tension low. If your machine only accepts rigid hoops, consider an 100 mm adapter and trim excess fabric.
Which needle size yields the cleanest finish?
A 75/11 sharp embroidery needle, ideally a Microtex or Titanium-coated option, cuts through velvet pile without snagging. Some professionals even step down to a 70/10 for ultra-fine details, especially when working with rayon or silk threads.
What’s the average time for a 3×3 inch velvet patch?
With modern home machines running at 1, 000–1, 200 SPM and a stitch count near 3, 500, expect roughly 3–5 minutes of pure stitching. Factor in setup and topping application for a total of 8–12 minutes from hoop to finished edge.
How do I remove water-soluble topping residue fully?
Soak the embroidered piece in warm water for 5–10 minutes, gently agitating. Use a mild detergent or a drop of dish soap and a soft toothbrush on stubborn bits, then rinse twice and blot dry. Repeat if any film remains.
Conclusion
Feeling inspired? With a little proper prepping, the right stabilizer, fine-tuned machine settings, and gentle finishing steps, crushing the pile is a worry of the past. Don’t wait, your next velvet masterpiece is just around the corner.
- Prep: Clean and secure your fabric
- Stabilize: Choose a foam or tear-away base
- Adjust: Lower tension, shorter stitch length
- Finish: Cool steam and soft brushing
Try a velvet embroidery project today and share your photos or questions below, let’s stitch brilliance together!