Embroidered Wall Hangings: A Guide from Start to Finish
This post contains affiliate links. As an Amazon Associate, Latest Embroidery earns from qualifying
purchases, at no extra cost to you. Learn more.
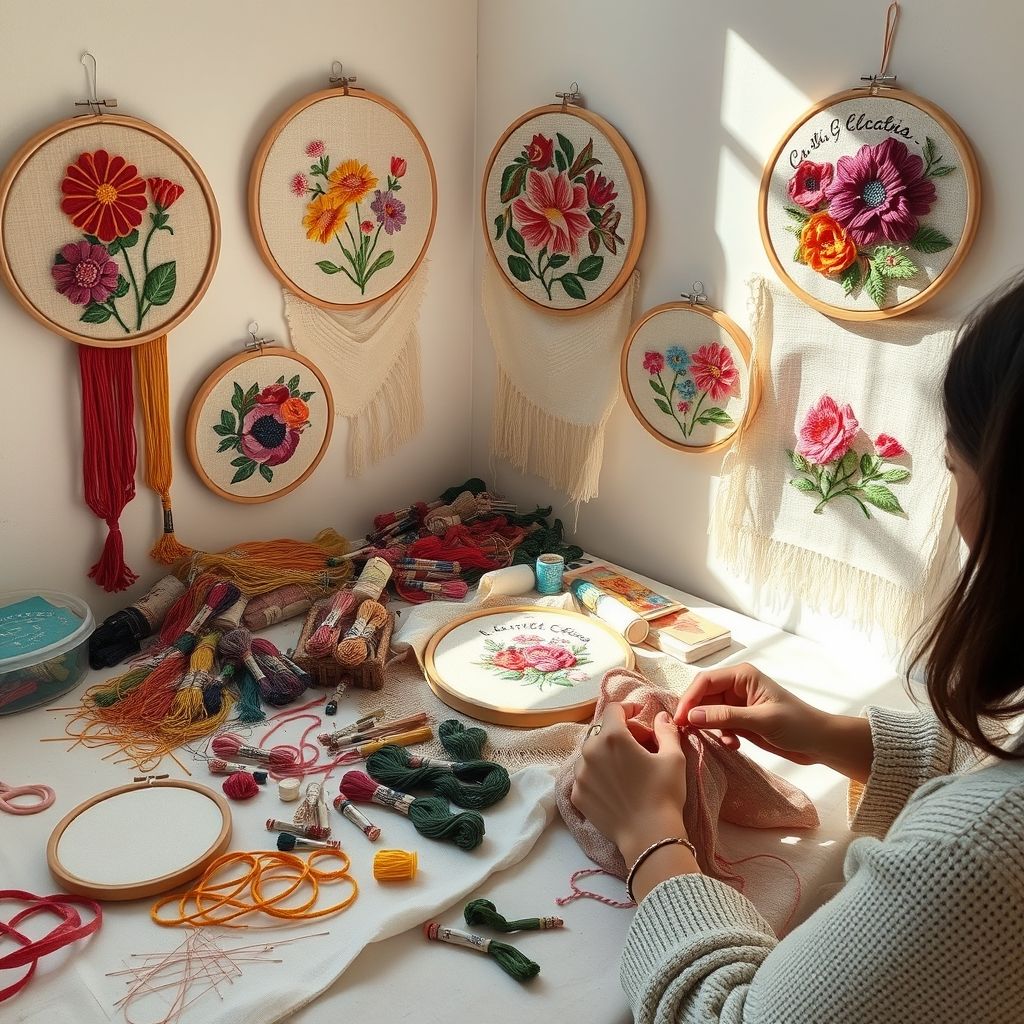
Embroidery, an age-old art form, has seen a resurgence in popularity, transforming from a simple needlework skill into a powerful means of artistic expression. One of the most accessible and rewarding ways to showcase your embroidery skills is through the creation of stunning wall hangings. These pieces not only add a personal touch to your home decor but also allow you to explore a wide range of designs, techniques, and styles. From intricate floral patterns to bold geometric shapes, the possibilities are endless. This guide will take you on a journey through the entire process, from conceptualizing your design and selecting the right materials to executing your embroidery and proudly displaying your finished masterpiece. We’ll cover essential techniques, explore creative inspiration, and provide practical tips to help you create embroidered wall hangings you’ll cherish for years to come. Get ready to unleash your creativity and transform your walls into a gallery of stitched art!
Choosing Your Design & Inspiration
The first step in creating a captivating embroidered wall hanging is selecting the perfect design. This is where your personal style and creative vision come into play. Consider what aesthetic you’re drawn to – are you a fan of minimalist designs, intricate botanical illustrations, or perhaps bold and colorful abstract art? Gathering inspiration from various sources can be incredibly helpful. Explore online platforms like Pinterest and Instagram, browse through embroidery books and magazines, and even look to nature for ideas. Pay attention to color palettes, stitch types, and overall composition.
Once you have a general idea of the design you want to create, you can start sketching your own pattern or find a pre-made pattern online. If you’re a beginner, starting with a simpler design is recommended. As you gain experience, you can gradually tackle more complex projects. Consider the size and shape of your wall hanging, as this will influence the scale and layout of your design. Remember that the design should complement the space where it will be displayed. According to a recent study by the Craft & Hobby Association, “Personalization is a key trend in crafting, with makers seeking to create unique items that reflect their individual style.” This underscores the importance of choosing a design that resonates with you and reflects your personality.
Don’t be afraid to experiment with different design elements and techniques. Try incorporating different stitch types, adding embellishments like beads or sequins, or playing with different color combinations. The key is to have fun and let your creativity guide you. For further inspiration, you might enjoy exploring embroidered wall art ideas to spark your imagination.
Selecting the Right Fabrics & Threads
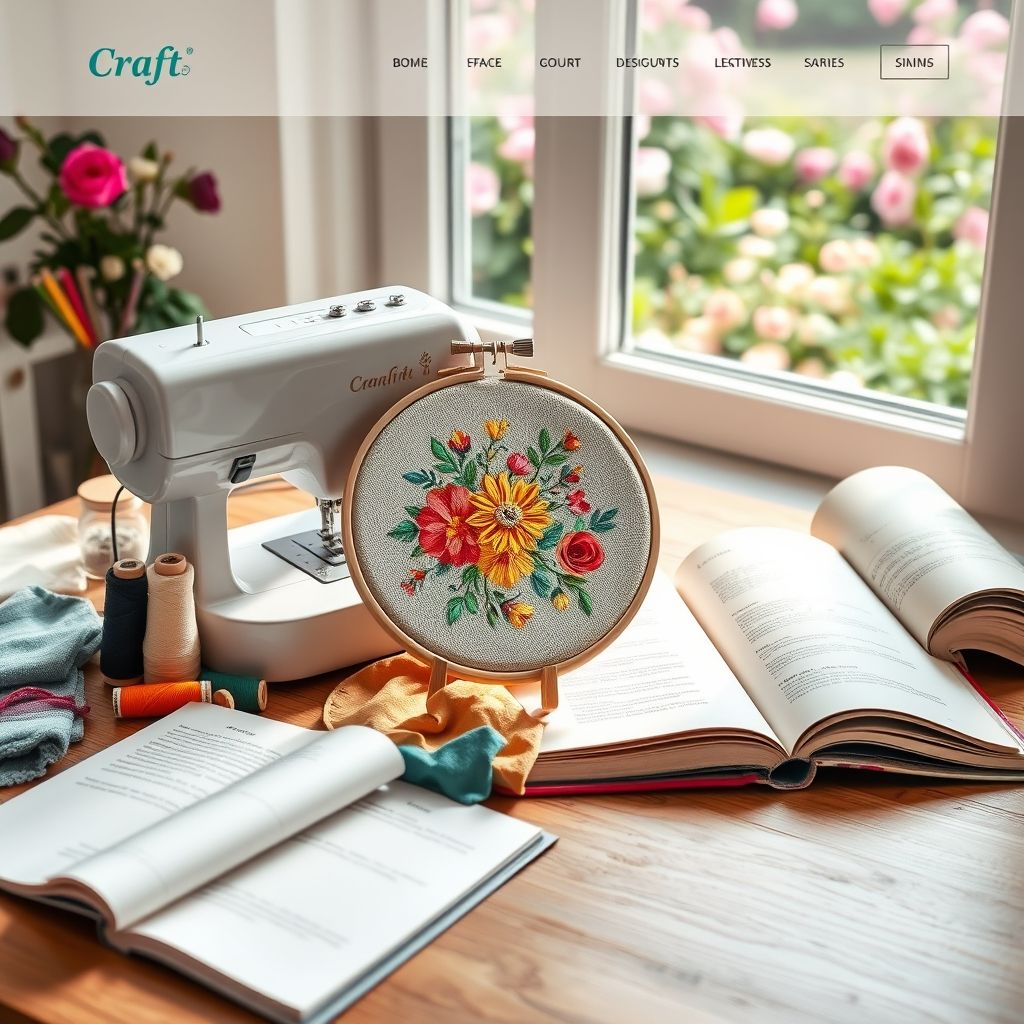
The foundation of any successful embroidery project lies in the quality of the materials used. Choosing the right fabric and threads is crucial for achieving the desired look and feel of your wall hanging. When selecting fabric, consider factors like weight, texture, and color. Linen, cotton, and canvas are popular choices for embroidery, as they provide a stable and durable surface to work on. Linen offers a beautiful natural texture, while cotton is a versatile and affordable option. Canvas is ideal for larger and more structured wall hangings.
The color of the fabric should complement your design and create a harmonious visual effect. For instance, a light-colored fabric will make your stitches stand out, while a darker fabric will create a more subtle and sophisticated look. Threads are the heart and soul of embroidery, and choosing the right type and color is essential. Embroidery floss, pearl cotton, and silk threads are all excellent options. Embroidery floss is available in a wide range of colors and is perfect for creating detailed designs. Pearl cotton has a slightly raised texture and adds dimension to your stitches. Silk threads have a beautiful sheen and are ideal for creating elegant and luxurious wall hangings.
When selecting thread colors, consider the overall color palette of your design and choose colors that complement each other. You can use a color wheel to help you create harmonious color combinations. Don’t be afraid to experiment with different thread weights and textures to add visual interest to your embroidery. Ultimately, the choice of fabric and threads will depend on your personal preferences and the specific design you’re creating. The quality of your materials will significantly impact the final result, so invest in the best quality you can afford. To explore a variety of options, it can be helpful to consider what different types of threads are available:
Shop embroidery thread on Amazon →
Essential Embroidery Tools & Supplies
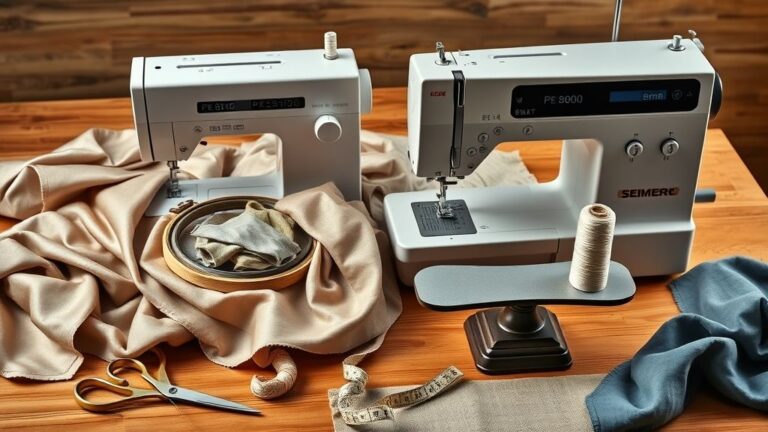
Having the right tools and supplies on hand will make your embroidery journey smoother and more enjoyable. A good quality embroidery hoop is essential for keeping your fabric taut and preventing it from puckering. Choose a hoop that is the appropriate size for your design. You’ll also need a variety of needles in different sizes and shapes. Embroidery needles have a sharp point and a large eye, making them easy to thread. A pair of sharp scissors is essential for trimming threads and fabric. A seam ripper can come in handy for removing unwanted stitches.
Other useful tools and supplies include a water-soluble marker for transferring your design onto the fabric, a light box for tracing intricate patterns, and a thread organizer for keeping your threads neatly organized. A pincushion is a convenient place to store your needles, and a thimble can protect your fingers from getting pricked. A good magnifying glass can be helpful for working on intricate details. Investing in a few essential tools and supplies will set you up for success and make the embroidery process more efficient and enjoyable. Remember to store your tools and supplies in a safe and organized place to keep them in good condition.
Consider the long-term care of your embroidered pieces as well. High-quality needles and hoops will not only make the creation process easier but will also contribute to the longevity of your projects. Don’t underestimate the value of good lighting as well; proper illumination is crucial for seeing the fine details of your work and preventing eye strain. Many experienced embroiderers also recommend using a needle minder to keep track of their needle when not in use. This prevents accidental pricks and ensures you always know where your needle is located.
Mastering Basic Embroidery Stitches
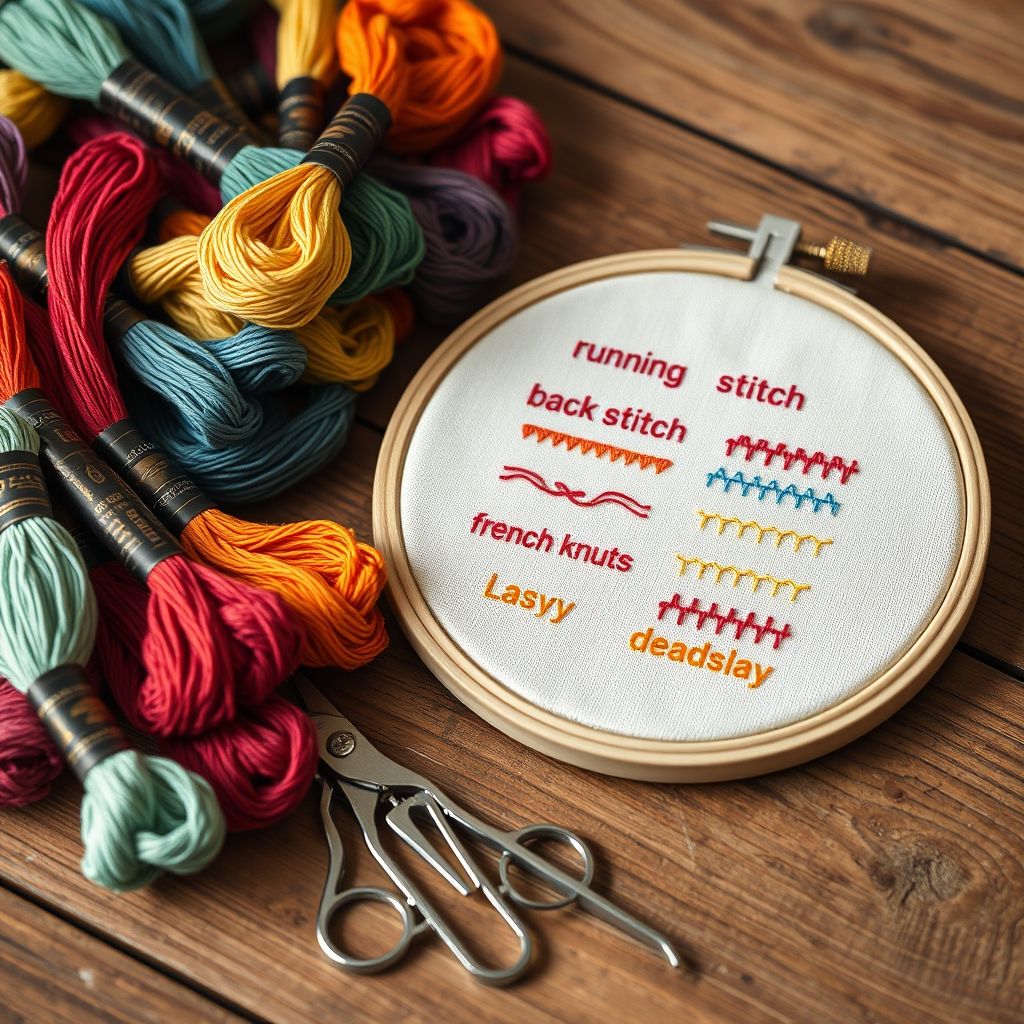
Embroidery is all about stitches, and mastering a few basic stitches will open up a world of creative possibilities. The back stitch is a versatile stitch that can be used for outlining shapes and creating fine details. The satin stitch is perfect for filling in areas with smooth, solid color. The French knot is a decorative stitch that adds texture and dimension to your embroidery. The chain stitch is a classic stitch that creates a beautiful chain-like effect. The seed stitch is a simple stitch that can be used to fill in areas with a subtle texture.
To learn these stitches, start by practicing on a scrap piece of fabric. There are many online tutorials and videos that can guide you through the process. Pay attention to the tension of your stitches – they should be even and consistent. Practice makes perfect, so don’t be discouraged if your stitches aren’t perfect at first. The more you practice, the more confident and skilled you’ll become. Experiment with different stitch combinations and variations to create unique and interesting textures and patterns. Understanding the fundamentals of embroidery stitches will allow you to bring your designs to life with precision and artistry.
Remember to also consider the direction and spacing of your stitches. The direction in which you stitch can significantly impact the overall look and feel of your embroidery. For example, stitching in different directions can create shading and depth. Similarly, the spacing between your stitches can affect the texture and density of your embroidered areas. As you gain experience, you’ll develop a sense for how to manipulate these elements to achieve the desired effect. If you’re aiming for a professional-looking finish, focusing on stitch consistency is key. For some further insight into how professional finishing can be achieved, take a look at embroidered art framing tips.
Transferring Your Design to Fabric
Accurately transferring your design onto the fabric is a crucial step in the embroidery process. There are several methods you can use, depending on the complexity of your design and the type of fabric you’re working with. One popular method is to use a water-soluble marker to trace the design onto the fabric. Simply print out your design, place it behind the fabric, and trace the lines with the marker. The marker will wash away easily with water once you’ve finished embroidering.
Another method is to use a transfer pen or pencil. These pens and pencils create a temporary line that will disappear over time or with heat. For darker fabrics, you can use a white or light-colored transfer pen or pencil. If you’re working with a delicate fabric, you can use a light box to trace the design onto the fabric. Place the fabric on top of the light box, place the design on top of the fabric, and trace the lines with a pencil or marker. Regardless of the method you choose, be sure to transfer the design accurately and carefully. A well-transferred design will make the embroidery process much easier and more enjoyable.
Before you begin transferring, test your chosen method on a scrap piece of fabric to ensure that the markings are easily removable and don’t leave any permanent residue. It’s also a good idea to use a ruler or other measuring tool to ensure that your design is centered and aligned correctly on the fabric. Taking the time to transfer your design accurately will save you time and frustration in the long run.
Adding Personal Touches & Embellishments
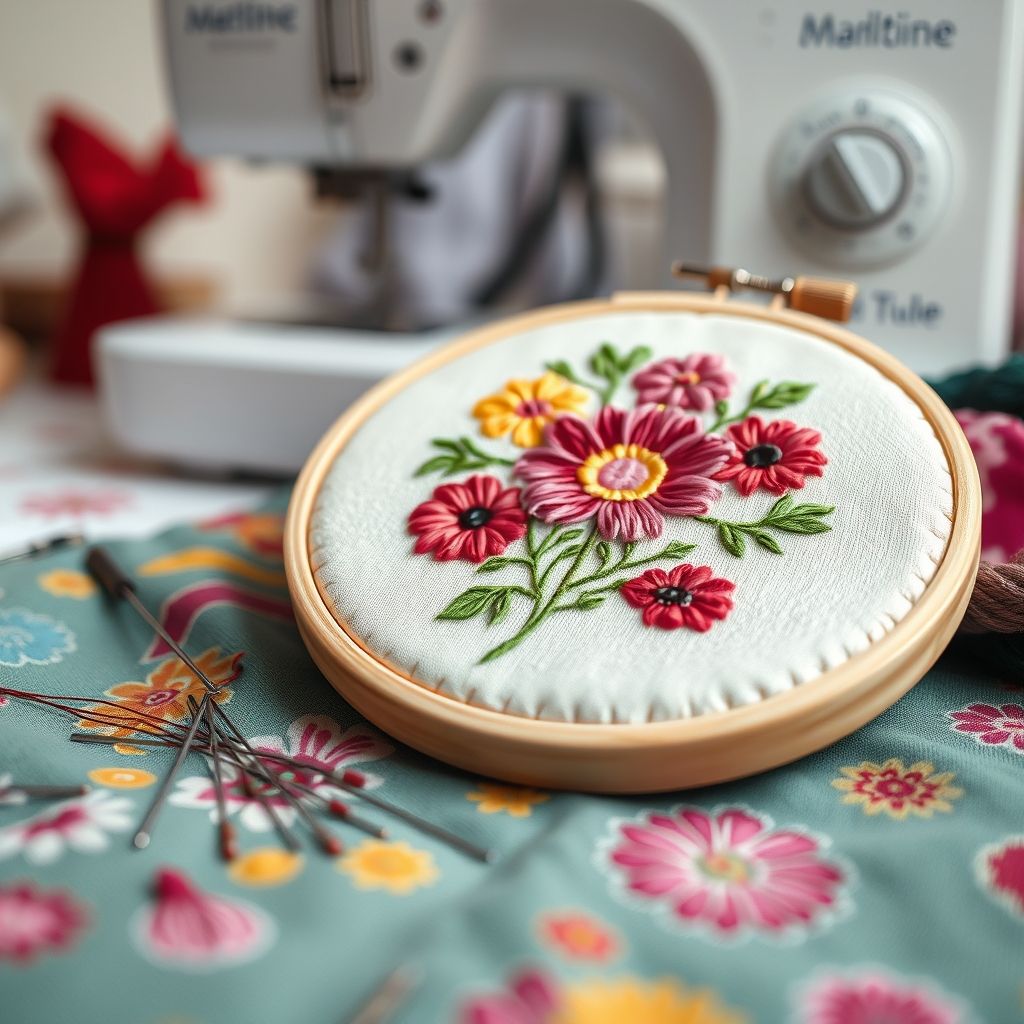
Once you’ve completed the basic embroidery of your wall hanging, it’s time to add personal touches and embellishments to make it truly unique. This is where you can let your creativity shine and experiment with different techniques and materials. Consider adding beads, sequins, or buttons to your embroidery. These embellishments will add texture, dimension, and sparkle to your design. You can also try incorporating different stitch types or thread colors to create interesting visual effects.
Experiment with different fabric scraps and textures to add depth and complexity to your wall hanging. You can also use fabric paint or markers to add color and detail to your design. Consider adding a border or frame to your wall hanging to give it a finished look. You can use fabric scraps, lace, or ribbon to create a unique and eye-catching border. The possibilities are endless when it comes to adding personal touches and embellishments to your embroidered wall hanging. Don’t be afraid to experiment and try new things. The goal is to create a piece that reflects your personal style and creativity.
Think about adding elements that have personal significance to you. For instance, you could incorporate motifs that represent your hobbies, interests, or travels. Perhaps a small embroidered airplane if you love to travel, or a musical note if you’re passionate about music. These small details can transform your wall hanging from a decorative piece into a cherished personal keepsake. Remember, the beauty of handmade art lies in its uniqueness and the story it tells.
Displaying Your Embroidered Wall Hanging
After all your hard work, you’ll want to display your embroidered wall hanging in a way that showcases its beauty and artistry. There are several options to choose from, depending on your personal style and the overall aesthetic of your home. One popular option is to frame your wall hanging. A simple wooden frame will complement most designs, while a more ornate frame can add a touch of elegance. You can also stretch your wall hanging over a canvas frame for a clean and modern look. If you prefer a more casual and bohemian style, you can hang your wall hanging from a wooden dowel or branch using twine or ribbon.
Consider the placement of your wall hanging carefully. Choose a spot that is well-lit and where it can be easily seen and appreciated. Avoid placing your wall hanging in direct sunlight, as this can cause the colors to fade over time. You can also create a gallery wall by grouping several embroidered wall hangings together. Experiment with different arrangements to find a layout that you love. Displaying your embroidered wall hanging is the final step in the creative process, and it’s a chance to showcase your hard work and talent. Whether you choose to frame it, hang it, or display it as part of a gallery wall, your embroidered wall hanging will add a personal touch to your home decor and bring you joy for years to come.
Think about the scale of the wall hanging in relation to the wall it will be displayed on. A small wall hanging can get lost on a large wall, while a large wall hanging can overwhelm a small space. Consider the color of the wall as well. A neutral wall will allow your wall hanging to stand out, while a colorful wall can create a more vibrant and dynamic look. Ultimately, the best way to display your embroidered wall hanging is in a way that makes you happy and proud of your creation.
Conclusion
Creating embroidered wall hangings is a rewarding and fulfilling craft that allows you to express your creativity and add a personal touch to your home decor. From choosing your design and selecting the right materials to mastering basic embroidery stitches and adding personal touches, each step in the process is an opportunity to learn and grow. By following the tips and techniques outlined in this guide, you can create stunning embroidered wall hangings that you’ll cherish for years to come. Remember to have fun, experiment with different styles and techniques, and let your creativity guide you. The possibilities are endless when it comes to embroidery, and the only limit is your imagination.
The beauty of embroidered wall hangings lies not only in their aesthetic appeal but also in the personal connection they create. Each stitch represents a moment of focus, creativity, and dedication. As you embark on your embroidery journey, remember that the imperfections and unique characteristics of your handmade pieces are what make them truly special. Embrace the process, celebrate your successes, and learn from your mistakes. With practice and patience, you’ll develop your own unique style and create embroidered wall hangings that reflect your personality and artistic vision.
As the craft world continues to evolve, embroidery remains a timeless and relevant art form. Its versatility and adaptability make it a perfect medium for expressing contemporary ideas and designs. So, pick up your needle and thread, unleash your creativity, and start stitching your own embroidered wall hangings today. You might be surprised at what you can create, and the joy and satisfaction you’ll experience along the way. The ability to create something beautiful and lasting with your own hands is a truly empowering and rewarding experience.