Embroidered Art: Perfect Framing for Stunning Displays
You’ve poured hours of love, skill, and creativity into your embroidery project. The intricate stitches, the vibrant colors, the satisfying texture – it’s a masterpiece! But all that hard work deserves more than to be tucked away in a drawer. The way you present your embroidery is just as important as the embroidery itself. A thoughtful frame transforms your stitched art from a craft project into a cherished piece of home decor, ready to be admired and appreciated. Think of the frame as the final flourish, the finishing touch that elevates your work to a new level of sophistication.
Choosing the right frame can seem daunting, with so many options available. Do you go traditional or modern? Simple or ornate? What size is best? Don’t worry, we’re here to guide you through the process. This article will explore various framing techniques, from selecting the perfect frame style to mounting your embroidery securely and professionally. We’ll cover everything you need to know to create a display that truly showcases your artistry. We’ll discuss traditional hoop framing, classic picture frames, and more innovative techniques. We’ll also delve into mounting methods and finishing touches. By the end, you’ll have the knowledge and confidence to beautifully frame your embroidery and proudly display your handcrafted treasures.
Choosing the Right Frame: Style and Material
The frame you choose significantly impacts the overall look and feel of your embroidery. Consider the style of your embroidery and the aesthetic of the room where it will be displayed. A modern, minimalist embroidery might benefit from a sleek, simple frame, while a traditional, vintage-inspired piece could be enhanced by a more ornate, decorative frame. According to the book “Embroidered Art” by Carol Huber, “The frame should complement the embroidery, not compete with it.” This is crucial advice to keep in mind as you explore different options.
Material also plays a vital role. Wood frames offer a classic and versatile option, with various finishes available, from natural wood to painted or stained surfaces. Metal frames can provide a more contemporary look, particularly for modern or abstract embroidery. Plastic frames are a budget-friendly option, but be mindful of the quality, as they may not offer the same durability or aesthetic appeal as wood or metal. Don’t underestimate the impact of color. A frame that picks up a subtle color from the embroidery can create a cohesive and harmonious look. Alternatively, a contrasting color can provide a striking and eye-catching effect.
Consider the size of your embroidery when selecting a frame. A frame that is too small can make the embroidery look cramped and confined, while a frame that is too large can overwhelm the piece. A good rule of thumb is to leave a border of at least 2-3 inches around the embroidery. Measure your finished embroidery piece carefully before heading to the frame shop. If you’re unsure, take your embroidery with you and try out different frames to see what looks best. Don’t be afraid to experiment! Ultimately, the best frame is the one that you love and that best showcases your hard work.
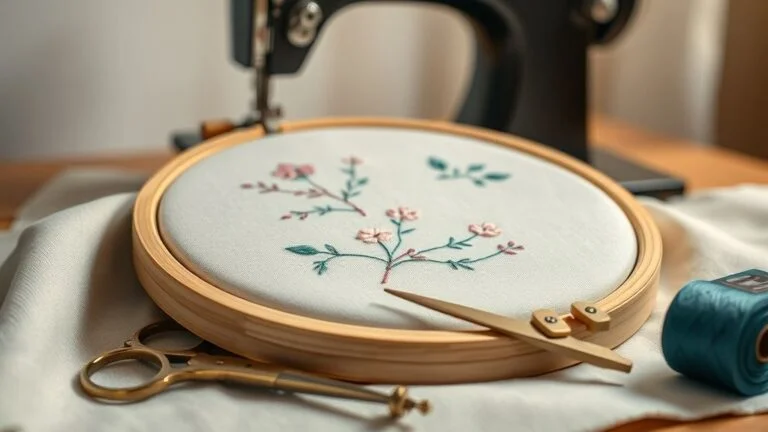
Hoop Framing: A Simple and Stylish Option
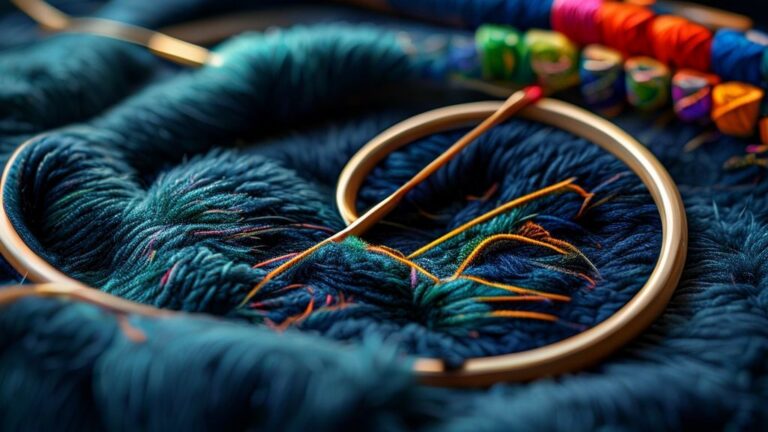
Hoop framing is a popular and accessible method for displaying embroidery. It’s particularly well-suited for smaller pieces and offers a charming, rustic aesthetic. The beauty of hoop framing lies in its simplicity. You can use the embroidery hoop itself as the frame, creating a visually appealing and easily customizable display. To begin, ensure your embroidery is securely tightened in the hoop. Trim any excess fabric around the edges, leaving about an inch or two of fabric.
There are several ways to finish the back of a hoop frame. One option is to gather the excess fabric and stitch it together, creating a neat and tidy backing. Another approach involves using felt or fabric to cover the back of the hoop, providing a clean and professional finish. You can also use glue to secure the fabric to the back of the hoop, but be sure to use a glue that won’t damage the embroidery or the hoop itself. “The key to a good hoop frame is a taut and even fabric tension,” states Mary Corbet in her Needle ‘n Thread blog. Keeping the fabric taut ensures that your embroidery looks its best and prevents any unsightly sagging.
Consider embellishing your hoop frame for a more personalized touch. You can paint the hoop, wrap it with ribbon or yarn, or even add decorative elements like beads or buttons. Explore different sizes and shapes of hoops to create unique and eye-catching displays. Grouping several hoop-framed embroidery pieces together can create a stunning gallery wall. Hoop framing offers a versatile and cost-effective way to showcase your embroidery and add a touch of handmade charm to your home decor.
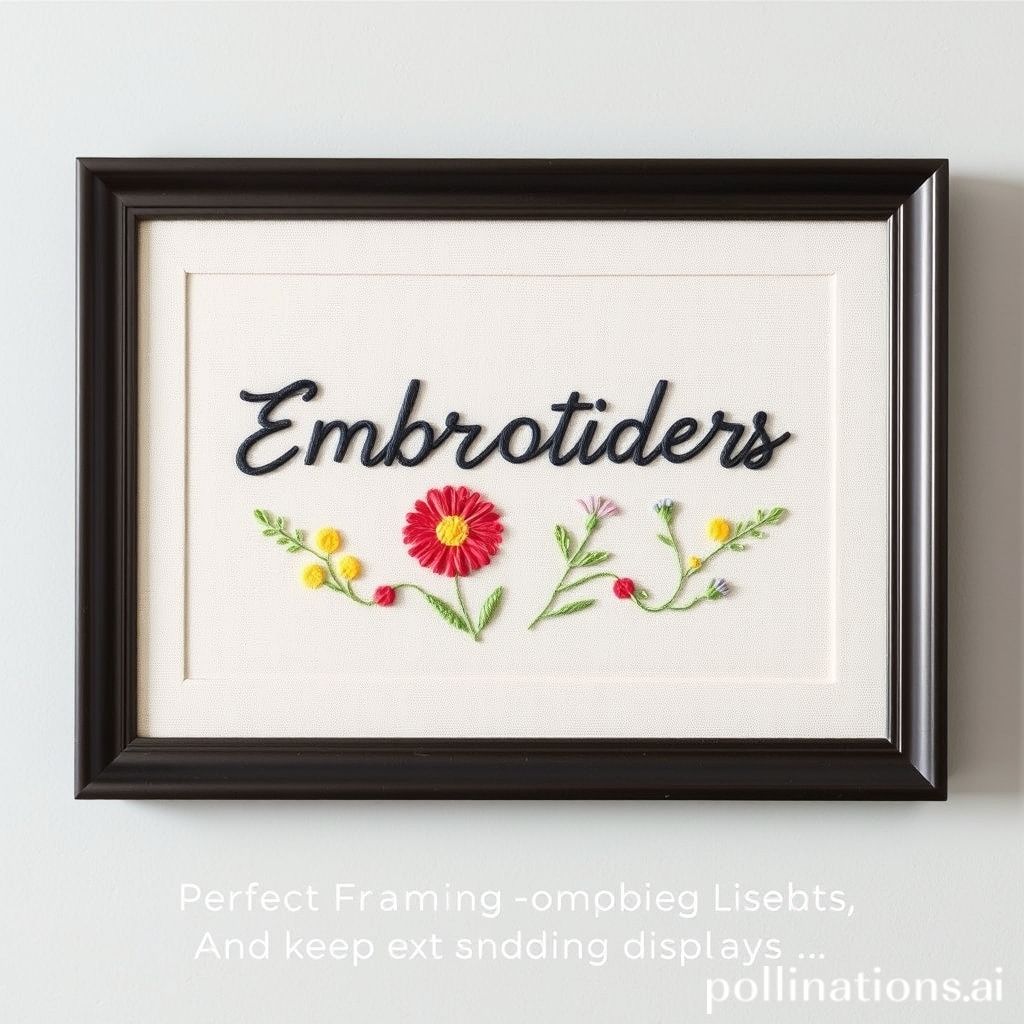
Traditional Picture Framing: Elevating Your Embroidery
For a more formal and sophisticated display, traditional picture framing is an excellent choice. This method involves framing your embroidery behind glass, which protects it from dust, dirt, and UV damage. Picture framing can significantly elevate the perceived value of your embroidery, transforming it into a true work of art. The first step is to choose a frame that complements your embroidery and your personal style. Consider the color, material, and style of the frame, as discussed earlier.
Mounting your embroidery for picture framing requires careful attention. You’ll need to stretch the fabric tautly over a backing board, such as acid-free foam core or mat board. Secure the fabric to the back of the board using pins, staples, or archival-quality tape. Ensure that the embroidery is centered and that there are no wrinkles or creases. “Using acid-free materials is essential for preserving your embroidery,” emphasizes Sarah Howard in her book “The Art of Embroidery.” Acidic materials can damage the fabric over time, so it’s crucial to use archival-quality products.
Consider adding a mat board between the embroidery and the glass. A mat board provides a buffer between the embroidery and the glass, preventing moisture from damaging the fabric. It also adds depth and visual interest to the display. Choose a mat board color that complements your embroidery and the frame. Once your embroidery is mounted and matted, carefully insert it into the frame and secure the backing. Picture framing requires some skill and precision, but the results are well worth the effort. A professionally framed embroidery piece will be a cherished heirloom for years to come.
Floating Frames: A Modern and Minimalist Approach
For a contemporary and minimalist aesthetic, consider using a floating frame. Floating frames create the illusion that your embroidery is suspended in mid-air, showcasing the entire piece without any obstructions. This framing style is particularly well-suited for modern or abstract embroidery, as it emphasizes the clean lines and simplicity of the design. Floating frames typically consist of two pieces of glass that sandwich the embroidery, held together by a thin frame. The glass allows light to pass through, creating a sense of depth and transparency.
Mounting your embroidery in a floating frame requires precision and attention to detail. You’ll need to carefully center the embroidery between the two pieces of glass, ensuring that it is free of wrinkles and creases. Use archival-quality tape to secure the embroidery to one of the glass panels, preventing it from shifting or sliding. “The key to a successful floating frame is a clean and precise presentation,” notes Emily Carter, a textile artist specializing in contemporary embroidery. Any imperfections will be highly visible, so it’s essential to take your time and ensure that everything is perfectly aligned.
Floating frames come in various sizes and shapes, so you can choose one that best suits your embroidery. Consider the thickness of the frame, as this will impact the overall look and feel of the display. A thinner frame will create a more minimalist effect, while a thicker frame will provide a more substantial presence. Floating frames offer a unique and eye-catching way to showcase your embroidery and add a touch of modern elegance to your home decor. They allow the beauty of the stitches and the fabric to shine through, creating a truly captivating display.
Stretching and Mounting: Essential for a Professional Finish
Regardless of the framing method you choose, properly stretching and mounting your embroidery is crucial for achieving a professional and polished finish. A stretched and mounted embroidery piece will look taut, even, and free of wrinkles or creases. This not only enhances the aesthetic appeal but also protects the embroidery from damage over time. Stretching the fabric evenly is the first key step. Uneven stretching can distort the design and create unsightly puckering.
There are several methods for stretching embroidery fabric. One popular technique involves using stretcher bars, which are wooden frames that can be adjusted to create tension. Simply attach the fabric to the bars using staples or tacks, pulling it taut as you go. Another method involves using a needle board, which is a board covered with tiny needles that grip the fabric and hold it in place. Once the fabric is stretched, you can mount it onto a backing board using pins, staples, or archival-quality tape. “Proper stretching and mounting are the foundation of a well-framed embroidery,” asserts John Davies, a professional framer with over 20 years of experience. Without a solid foundation, even the most beautiful frame will not be able to compensate for a poorly prepared embroidery.
Ensure that the backing board is acid-free to prevent damage to the embroidery over time. The choice of adhesive is also important. Avoid using glues that contain acids or solvents, as these can discolor or weaken the fabric. Archival-quality tape is a safe and reliable option. When mounting the embroidery, be sure to center it on the backing board and to smooth out any wrinkles or creases. A well-stretched and mounted embroidery piece will be a joy to display and will last for many years to come.
Alternative Display Ideas: Thinking Outside the Frame
While traditional framing methods are always a great option, don’t be afraid to think outside the box and explore alternative display ideas for your embroidery. These creative approaches can add a unique and personal touch to your home decor and showcase your embroidery in unexpected ways. One popular alternative is to incorporate your embroidery into functional items, such as pillows, tote bags, or clothing. This allows you to enjoy your embroidery every day and to share your creativity with the world.
Another idea is to create a wall hanging using a wooden dowel or branch. Simply attach your embroidery to the dowel or branch using thread or twine, creating a rustic and charming display. You can also use embroidery to embellish existing items, such as lampshades, curtains, or even furniture. “The possibilities for displaying embroidery are endless,” encourages Laura Bennett, a textile designer known for her innovative use of embroidery. “Don’t be afraid to experiment and to find creative ways to showcase your work.”
Consider creating a framed textile art piece by combining your embroidery with other fabrics and embellishments. This can create a unique and multi-dimensional display. You can also use embroidery to create small decorative objects, such as ornaments or brooches. These can be displayed on shelves, mantels, or even worn as accessories. The key is to be creative and to find ways to showcase your embroidery that reflect your personal style and vision. By thinking outside the frame, you can transform your embroidery into truly unique and captivating works of art.
Lighting and Placement: Showcasing Your Embroidered Art
The final touches of lighting and placement are crucial for showcasing your framed embroidery to its full potential. Proper lighting can enhance the colors, textures, and details of your embroidery, creating a more visually appealing and captivating display. Consider the type of lighting you use in the room where your embroidery will be displayed. Natural light is always a great option, but be mindful of direct sunlight, as it can fade the colors of the fabric over time. Artificial lighting, such as spotlights or track lighting, can also be used to highlight specific areas of the embroidery.
The placement of your framed embroidery is also important. Consider the size and shape of the embroidery, as well as the surrounding decor. A large embroidery piece might be best displayed on a large wall, while a smaller piece could be grouped with other artwork or decorative objects. “The goal is to create a balanced and harmonious display that complements the overall aesthetic of the room,” explains Michael Thompson, an interior designer specializing in art placement. Experiment with different placements to see what looks best. Consider the height at which you hang your embroidery. A good rule of thumb is to hang it at eye level, so that it is easily viewed and appreciated.
Pay attention to the background behind your embroidery. A neutral background will allow the embroidery to stand out, while a busy or cluttered background can distract from the piece. By carefully considering the lighting and placement of your framed embroidery, you can create a stunning display that showcases your artistry and enhances the beauty of your home.
Conclusion: Frame Your Masterpiece with Confidence
Framing your embroidery is the final step in transforming it from a labor of love into a cherished piece of art. We’ve explored various techniques, from the simplicity of hoop framing to the sophistication of traditional picture framing and the modern appeal of floating frames. We’ve also emphasized the importance of proper stretching, mounting, lighting, and placement. Remember that the best framing choice depends on your personal style, the type of embroidery, and the overall aesthetic of your home.
The key takeaways from this article are to carefully consider the style and material of the frame, to properly stretch and mount your embroidery, and to pay attention to lighting and placement. Don’t be afraid to experiment with different framing methods and to find creative ways to showcase your work. Whether you choose a traditional or alternative approach, the goal is to enhance the beauty of your embroidery and to create a display that you’re proud of. Just as much attention to detail goes into the embroidery itself, so should the finishing touch of its frame. “The frame is the final statement, the finishing touch that completes the artwork,” said renowned embroidery artist Jane Nicholas. Choose wisely and create a display that does your beautiful work justice.
Ultimately, framing your embroidery is an act of love and appreciation for the art form. It’s a way to preserve your hard work and to share your creativity with the world. So, go ahead, frame your masterpiece with confidence and enjoy the beauty of your embroidered art for years to come. Displaying your work is a celebration of your craftsmanship. It is sharing your personal story stitched in thread, and contributing your unique artistry to the world around you.