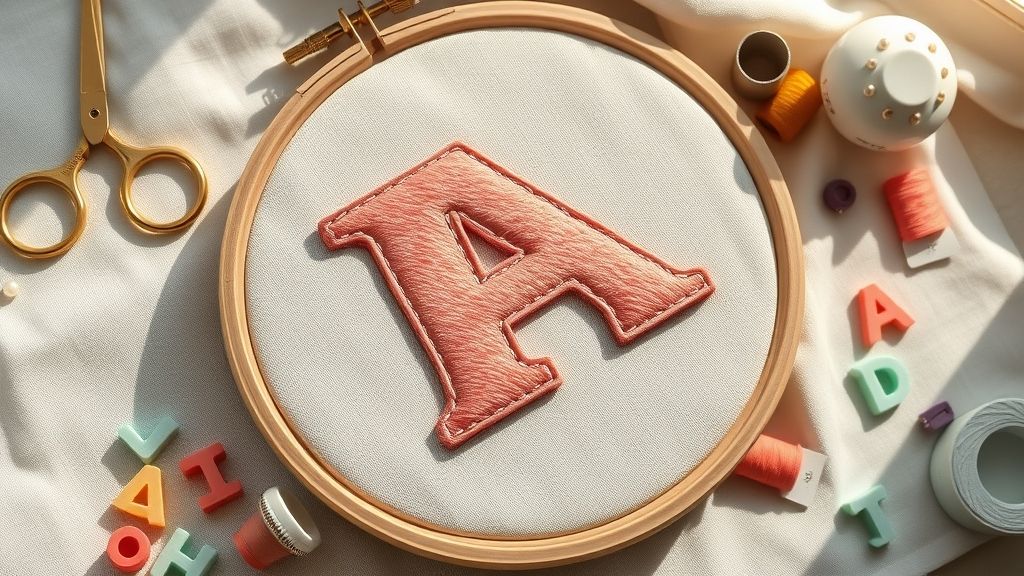
6 Steps to Embroider Puffy Foam Letters
This post contains affiliate links. As an Amazon Associate, Latest Embroidery earns from qualifying
purchases, at no extra cost to you. Learn more.
Ever struggled to make your 3D foam letters really pop on caps and jackets? If your logos look flat and fail to command attention, it’s time to upgrade your embroidery game. Mastering puff foam lettering not only elevates any garment but also unlocks premium pricing potential. In just six straightforward steps, you’ll go from foam prep and digitizing to stitching and finishing, turning simple initials into bold, eye-catching statements. We’ll lean on expert tips like those in 3D puff embroidery basics and insights from global embroidery market growth projections to back up every move. Ready to add real depth to your designs? Keep reading, your path to professional-quality results starts here.
Need a reliable machine to bring your designs to life:
Shop embroidery machines on Amazon →
Estimate Material Costs and Profit Margargins
Managing material costs and profit margins on puffy foam letters starts with breaking down every fee and supply. Whether you choose flat-rate tiers or precise stitch-count pricing, a clear formula ensures consistent margins across small orders or bulk runs.
Recent market reports show the global embroidery industry is expected to reach $11.27 billion by 2024, underscoring increasing competition and the need to maintain at least a 50% gross margin on each letter. Use the following steps to model your costs and target ROI from $6 up to $50 per piece.
Pricing Models
For simple quotes, apply flat-rate tiers of:
- $18 for 1–5 letters
- $15 for 6–20 letters
- $12 for 21+ letters
Alternatively, charge $1–$3 per 1, 000 stitches, ideal for detailed designs exceeding 10, 000 stitches. Add digitizing fees ($20–$100 per design) and setup fees ($5–$10 per run) to each order. Rush jobs can warrant a 10–50% premium on these base figures.
Cost Breakdown & ROI
Material cost per letter combines foam, stabilizer and thread. Sulky Puffy Foam (12-pack of 6″×9″ sheets at $14.99) yields about three medium letters per sheet, roughly $0.40 per piece, plus stabilizer at $0.35. Thread and backing add another $0.50, bringing direct supplies to ~$1.25.
Adding stitch charges (1, 000 stitches at $1–$3) and amortized digitizing/setup fees (~$0.75 per letter) yields a baseline cost of $3–$5. With flat-rate pricing or stitch-based quotes, selling at $6–$50 can generate a 50–200% ROI while preserving healthy margins on every puff‐foam letter.
Gather Your Tools and Materials
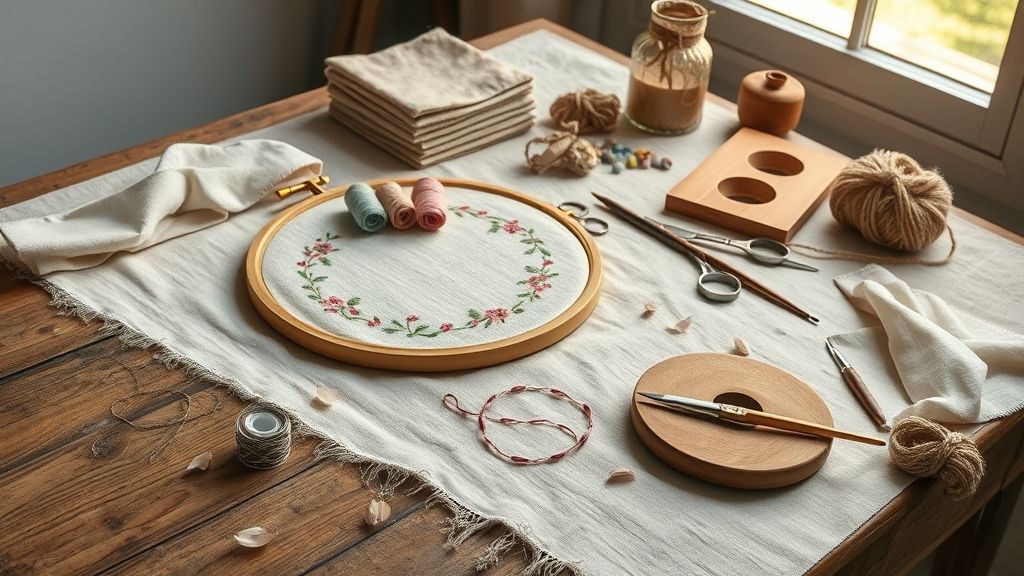
A streamlined setup starts with a calibrated embroidery machine capable of handling foam underlays. With the global embroidery machine market projected to climb from $5.71 billion in 2024 to $7.88 billion by 2034, high-performance multi-needle models like Brother PR680W or Tajima TFMX C1501 ensure consistent tension and speed for 3D puff projects.
Similarly, the U.S. embroidery hoop segment topped $500 million in 2024 and is growing at a 4.5% CAGR. Equipping a MaggieFrame magnetic hoop can slash hooping time by 90%, reduce defects by 15% and save roughly $4, 000 annually, critical gains when tackling raised lettering.
Machine & Foam
Pick a stable embroidery machine and the right foam base:
- Brother PR680W or Tajima TFMX C1501 multi-needle machine (1, 000–1, 200 spm)
- Sulky Puffy Foam available in 12 vibrant hues at 2 mm or 3 mm thickness
Stabilizer & Needles
Support layers and choose needles suited for foam:
- Tear-away or no-show cutaway stabilizer to prevent puckering
- 75/11 or 80/12 embroidery needles optimized for foam underlays
Accessories
Finish with these essentials for clean, fast work:
- Adhesive basting spray for instant foam hold
- MaggieFrame magnetic hoop (cuts hooping time by 90% & reduces defects by 15%)
- Tweezers for precise foam fragment removal
- Heat gun to clean away excess foam after stitching
Digitize Letters with Precise Stitch Settings
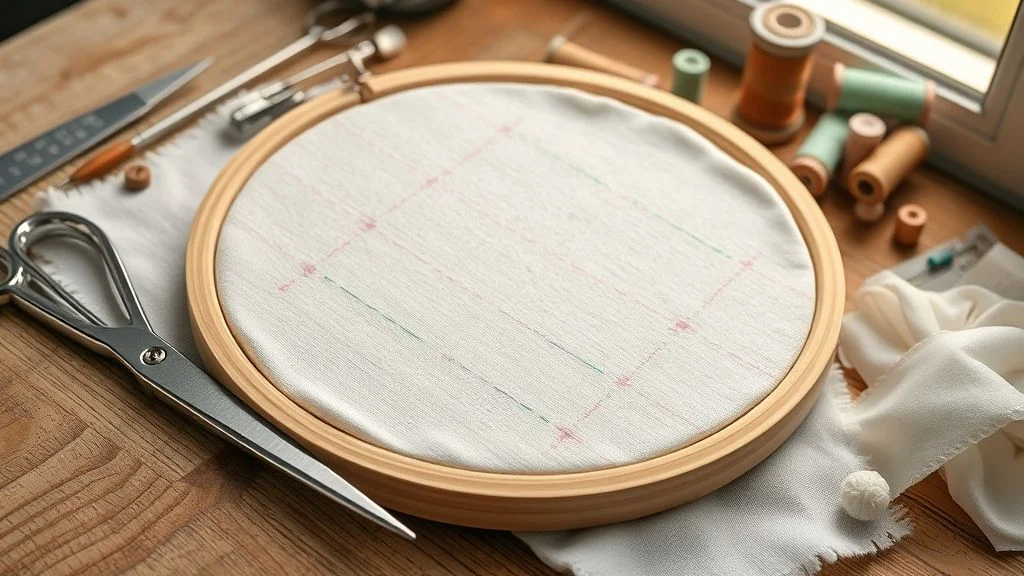
Optimizing your digitizing settings ensures the foam remains stable and the final letters pop with uniform height. Modern suites like Wilcom EmbroideryStudio 2024 or Hatch v2.1 now offer enhanced underlay controls and mid-run stop features tailored for 3D foam work.
Recent data from Embroidery Legacy indicates over 70% of professional digitizers prefer a double zig-zag underlay under foam designs to prevent stitch sinking. Follow these technical steps to fine-tune your pattern for crisp, high-profile lettering.
Create and Configure Underlays
Apply a double underlay: start with an edge-run underlay to anchor fabric, then add a zig-zag underlay at 90° for mesh support. Hatch’s auto-underlay toggle or Wilcom’s manual underlay tool lets you adjust density to 0.3–0.5 mm stitch length for stable foam backing.
Set Satin Fill Density
Program your satin stitch density to 40–50% (0.16–0.22 mm) so stitches compress the foam evenly without cutting through. This range, now standard in Ricoma’s 2023+ software release, balances coverage and flexibility.
Program End Cuts and Mid-Run Stops
Define end cuts at each letter boundary to trim jump stitches automatically. Insert mid-run file stops labeled “Foam Insert” so the machine pauses precisely where the foam needs placement, minimizing manual realignment.
Adjust Machine Tension and Export
Increase top thread spring tension by approximately +10%, Tajima’s 2024 firmware notes this boost secures stitches over foam layers without tearing. Finally, export in DST for Tajima or EXP for Ricoma controllers to preserve stitch commands and stop markers.
Hooping and Machine Setup for Speed
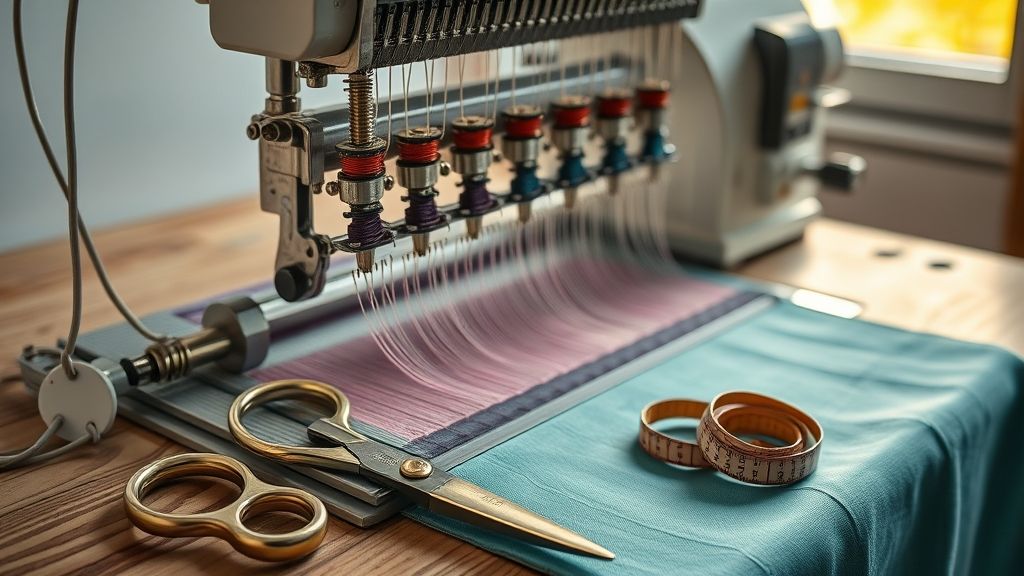
When you’re running foam-letter jobs back to back, saving minutes at each hoop can translate to hours, and dollars, on the floor. By optimizing hoop size, stabilizer placement and machine allocation, you eliminate setup bottlenecks and maintain a steady production pace.
In this section, we’ll walk through center-foam hooping methods that cut changeover time by up to 90%, plus multi-head configurations on industry-proven machines to maximize throughput.
Efficient Hooping with MaggieFrame Magnetic Hoops
Trim foam slightly oversized, e.g., cut a 2″×6″ letter piece to 2.5″×6.5″, and center it with a ¼” margin on all sides. Place a no-show cutaway stabilizer beneath for clean backing, then drop into MaggieFrame magnetic hoops. Users report 90% faster hoop changes and roughly $4, 000 in annual time-cost savings. Finally, calibrate hoop tension to 2.5–3 kg to lock foam in place during high-speed stitching.
Multi-Head Machine Configuration
For batch runs, load 24 caps on a Tajima 24-head TMEX-SC (current list around $31, 800) to stitch an entire set of letters in one go. If space is limited or cycle times need a boost, the ColDesi Avancé 1501C (15-needle, $11, 495) offers about 10% faster runs than similar single-head units. Both platforms, paired with precise hoop tension and stabilizer setup, ensure consistent, high-speed embroidery of puffy foam letters.
Execute the Stitch and Remove Foam Cleanly
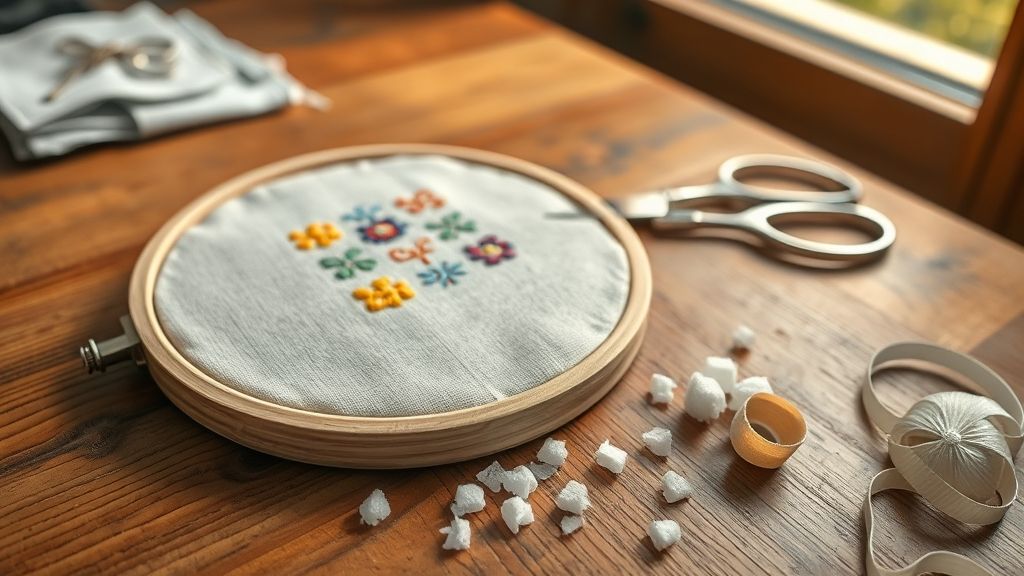
Once the foam is hooped and your design is loaded, the real magic begins: anchoring the foam, filling your letters with crisp satin stitches, and revealing the raised texture by removing the foam. With modern multi-needle machines driving a projected USD 5.71 billion embroidery market in 2024 and boasting micro-density controls, it’s easier than ever to dial in precision. Follow these steps for seamless execution.
By starting with a minimal tack-down, switching to a higher-density satin fill, and caring for your needles, you’ll achieve sharp letter definition. Finally, carefully peel and pry away the foam to expose professional-looking puffy lettering every time.
Secure Foam with Low-Density Tack-Down
Set your fill density to just 5% on the first pass to gently lock the foam in place. Lightly mist the foam’s underside with a repositionable adhesive before hooping, this improves hold without gumming up your needle.
Satin Fill at Optimal Density
After the tack-down, switch to a satin fill at 0.16 – 0.22 mm density. Many 2023-era machines let you adjust in 0.01 mm increments, ensuring smooth coverage and clean curves on small fonts.
Maintain Needle Performance
Use a 75/11 or 80/12 embroidery needle, and swap it out every ~5, 000 stitches. High-speed stitching and foam sulfide can dull tips, so fresh needles help maintain crisp stitch definition.
Clean Foam Removal
Gently tear away the bulk of the foam by hand, then use fine-tip tweezers to clear edges. If stubborn bits remain, soften them with a low-setting (100 °C) heat gun, then brush away residue for a flawless finish.
Finish, Troubleshooting and Add-on Services
As you wrap up your puffy foam lettering project, a solid finish and proactive troubleshooting keep production smooth and margins healthy. From industry reports showing a 6.2% CAGR through 2030 to customer expectations for flawless dimensional patches, this step cements quality and boosts revenue.
Below, explore common fixes and premium upsells, each designed to reduce waste, enhance visibility, and increase average order value by up to 20%.
Preventing Foam Rips
If foam tears mid-run, reduce fill density by 5% or add a stabilizing underlay. Modern embroidery machines with automatic tension sensors, part of a US$494.8 M equipment market in 2023, handle lower densities more consistently, cutting waste and downtime.
Resolving Thread Breaks
Frequent breaks often stem from lint build-up in the bobbin area. Clean your bobbin case every 2, 000 stitches and set top tension between 3.8 and 4.2. Many Brother machines now feature quick-release bobbin trays and self-adjusting tension to minimize stops.
Premium Add-On Options
Offer glow-in-the-dark threads that stay bright for up to 8 hours, ideal for sportswear or safety gear. For eco-conscious clients, introduce 100% recycled polyester neon foam, tapping into a 12% year-over-year surge in green materials.
Rush & Bundle Services
Apply rush premiums of 10–50% on orders under 48 hours to cover setup costs and expedite workflows. Encourage bundling puffy letters with flat embroidered logos, this simple combo can raise average order value by up to 20% while streamlining production.
Conclusion
Ready to transform foam into striking letters? By following the six steps, cost estimation, design sketching, foam preparation, embroidery selection, stitching and finishing touches, you’ll save time and money while achieving professional results.
Gather your tools, run a test batch today, and share your results to inspire others. Your puffy foam lettering journey starts now, and the only limit is your imagination.