How to Fix Skipped Stitches in Embroidery
This post contains affiliate links. As an Amazon Associate, Latest Embroidery earns from qualifying
purchases, at no extra cost to you. Learn more.
Frustrated by skipped stitches? This practical guide gives you a proven, step-by-step fixes and the exact tools to get clean, crisp lines fast.
You’ll follow a troubleshooting flow built around 10 known causes (dull needles, tension imbalance, incorrect stabilizers, fabric puckering, thread breaks, bobbin timing, and more) and 7 fixes (re-threading, needle replacement, stabilizer adjustment, tension balance, fabric prep, stitch-length tweaks, and test on scrap). The guide also covers fabric-needle ranges and a clear, brand-name tool list. Step-by-step setup, testing on scrap fabric, and guidance on when to seek service are included to keep you moving.
Along the way, you’ll see how official guidance lines up with practice. For example, consult Troubleshooting Missed/Skipped Stitches, Why Is My Embroidery Machine Skipping Stitches?, 6 Issues That Cause Skipped Stitches, and the market context at Embroidery Market Size & Forecast.
For quality threads that help keep stitches crisp, you’ll want options that resist tangling and color fade:
Shop embroidery thread on Amazon →
Keep reading to master the complete flow, and turn every project into a flawless final stitch.
How to Fix Skipped Stitches in Embroidery
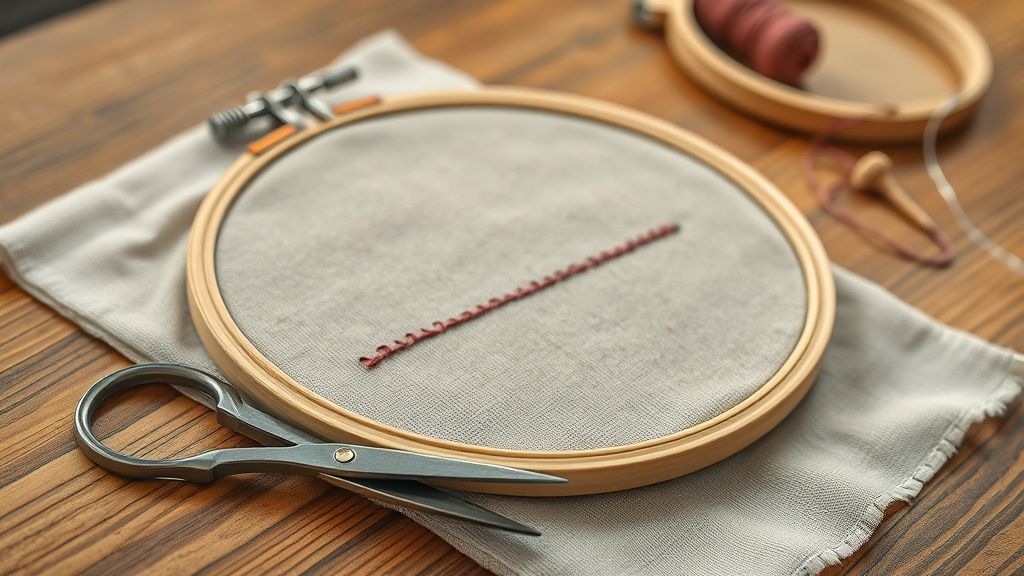
Skipped stitches can derail a project and waste precious production time. The most reliable fix is a practical, repeatable workflow you can perform on any embroidery setup. By following a structured sequence, from inspecting the needle to testing on scrap fabric, you create a predictable path to flawless stitching, regardless of machine brand or hoop size.
Industry data show the embroidery sector remains strong and evolving. The market has been valued in the low billions of dollars, with sustained growth driven by custom apparel, home décor, and on-demand personalized gifting. Recent updates in embroidery hardware and software, such as AI-assisted design tools, enhanced threading guides, and multi-hoop capabilities, emphasize the importance of sound setup discipline, which is exactly what this workflow targets.
Step 1: Inspect needle and thread path for bends or damage
Begin with a visual check for burrs on the needle shaft or a bent needle eye, then replace the needle with a new one appropriate for your fabric. A damaged needle is a common root cause of skipped stitches, and swapping it out often yields immediate improvement. Inspect thoroughly and consider using a fresh needle sized for the fabric to minimize snagging and pull.
Step 2: Check upper thread tension and bobbin tension, then rethread both
With the machine powered off, verify that the upper thread tension and bobbin tension are balanced for your fabric, then rethread both paths from the start. Rethreading with the machine off helps prevent tension disks from grabbing the thread incorrectly, a frequent source of skipped stitches. After rethreading, run a quick test stitch to confirm the tension feels even and stable.
Step 3: Rethread with fresh thread and use correct needle for fabric
Use a fresh spool and rethread the machine following the manufacturer’s recommended path and guides. Ensure the correct needle type and size for the fabric, and confirm the thread path follows the official threading guide. Fresh thread reduces lint buildup and breakage that can contribute to missed stitches or thread breakage during long runs.
Step 4: Rehoop and run a test on scrap fabric, align center, and verify fabric movement
Rehoop with a tight, even pull and run a test on scrap fabric, centering the design. Ensure the fabric moves smoothly under the needle plate without slipping. Consistent fabric control prevents thread jumps and misalignment that often appear as skipped stitches in the final piece.
Step 5: Reduce stitch density or switch to a compatible stitch for the fabric
If the stitch density is too high for the fabric, reduce it by 1–2 points or switch to a lighter, more compatible stitch such as backstitch. This adjustment reduces the load on the fabric and stabilizes the stitch flow, helping to prevent skipped stitches on delicate or stretch fabrics. Apply gradual changes and test incrementally to find the sweet spot for your setup.
Step 6: Test with single-strand floss for delicate lines and whip the backstitch for a smoother look
For very delicate lines, test with single strands of floss and consider whipping the backstitch to achieve a refined edge. This approach reduces bulk and tension on thin lines, yielding a cleaner finish and fewer skipped stitches on intricate designs. When in doubt, perform a final test on scrap fabric to verify the look before proceeding to the final garment or item.
By applying this six-step workflow, rooted in needle health, tension balance, proper threading, secure re-hooping, appropriate density, and careful stitch choice, you can reliably diagnose and eliminate skipped stitches across a wide range of embroidery setups. The method aligns well with current industry advances that emphasize precision, repeatability, and fabric-aware stitching, ensuring consistent results as you scale projects or adopt new tools.
How to Fix Skipped Stitches in Embroidery
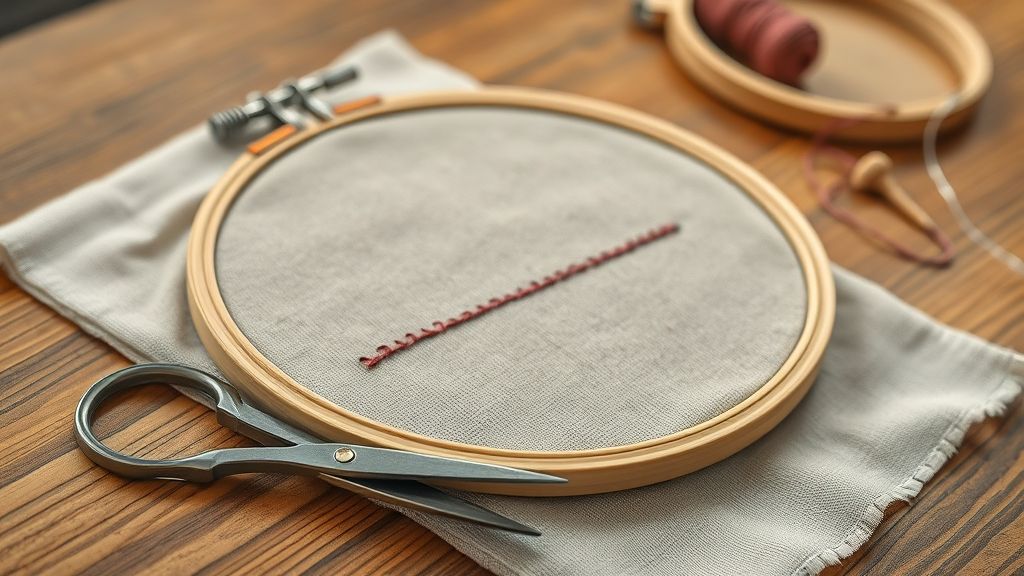
Skipped stitches usually signal movement inside the hoop or fabric grip. A stable setup, appropriate stabilizers, careful hooping, and fast, reliable alignment, significantly reduces movement that causes skipped stitches. The embroidery market is expanding: 2024 estimates show around USD 1.54B in global embroidery, with forecasts to about USD 2.62B by 2033 at a 6.1% CAGR; the hoop market alone was about USD 500M in 2024 and is projected to grow to roughly USD 700M by 2033. In practice, stabilizers and magnetic hoops are practical investments that improve yield and save time on every project.
Use this step-by-step setup to maximize stability: match stabilizer to fabric, leverage magnetic hoops for quick, precise alignment, hoop correctly to keep fabric flat, perform a center-aligned test on scrap, then run a test design to confirm stability before final stitching.
Step 1: Choose Stabilizer Type by Fabric
The right stabilizer forms the foundation of stitch accuracy. For knits, use a lighter stabilizer in the 70/10–80/12 range to allow some stretch while controlling crawl; wovens benefit from 70/10–90/14 for moderate hold; denims require a stronger base in the 90/14–110/18 range; leather also benefits from the 90/14–110/18 range for robust stability. Align stabilizer rigidity with fabric density and stitch density to minimize shift and puckering. Stability starts in the hoop, not at the needle.
Step 2: Use Magnetic Hoops for Quick, Stable Alignment
Magnetic hoops enable fast, precise alignment with less fabric creep than traditional clamps. They hold the fabric flat during setup, cutting down repositioning time and reducing the chance of misalignment that leads to skipped stitches. When combined with a properly chosen stabilizer, magnetic hoops support repeatable results across multiple projects, a practical advantage as the crafting market grows.
Step 3: Proper Hooping Techniques to Avoid Fabric Shifting
Hoop tension should secure the fabric without causing stretch marks. Use a clean, flat hoop surface, pre-press or lightly steam the fabric to remove wrinkles, and align the fabric grain with the hoop. Smooth the backing to prevent folds under the stabilizer, and work from the center outward to eliminate slack that invites movement during stitching. A well-tightened hoop preserves stitch integrity from start to finish.
Step 4: Center Alignment and Test Runs on Scrap Fabric
Center your design in the hoop using the machine’s alignment marks or a fabric-centered guide, then run a quick test on scrap fabric. This confirms center placement, stitch density, and thread tension before committing to the final piece. With scrap testing, you can catch shifting tendencies early and adjust stabilizer choice or hooping method without risking the actual project.
- Mark the center of the fabric and hoop, then align the design center to those marks.
- Run a full stitch sequence on scrap to observe any creep or misalignment.
- Note thread consistency and needle performance before proceeding.
Step 5: Integration with a Test Design to Confirm Stability
Before final work, integrate a small test design that mimics the key features of the planned motif. Use this to validate alignment, stitch length, and density in the chosen stabilizer and hoop, making adjustments as needed. A successful test design confirms stability and helps prevent skipped stitches on the actual project, especially when working with dense or thick fabrics.
Step-by-step needle and thread selection by fabric
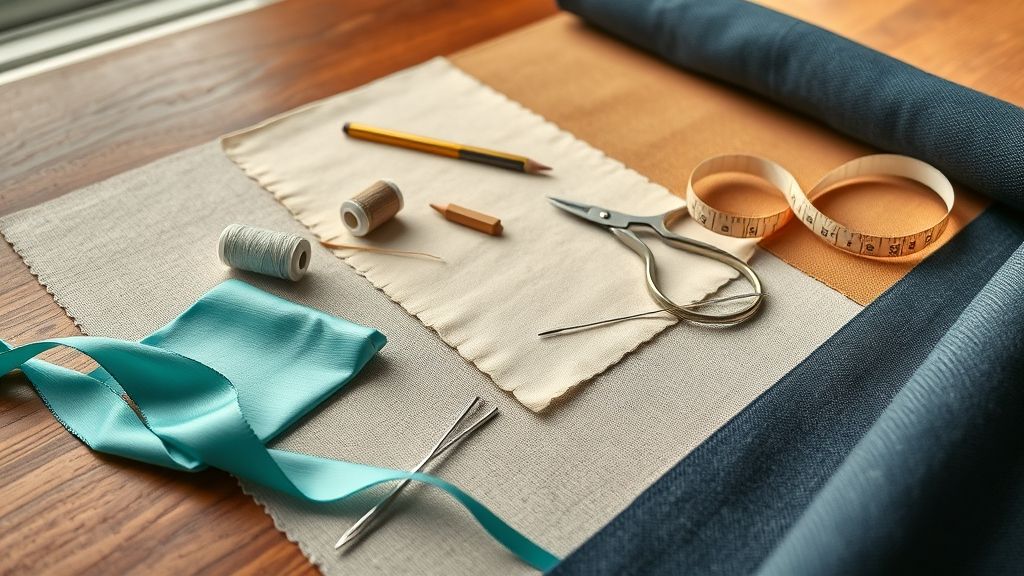
Choosing the right combination of needle and thread for each fabric is the most practical way to prevent skipped stitches and achieve crisp, consistent lines. The latest industry guidance emphasizes matching tool size to fabric density and thread weight, then testing on scrap before final work to confirm tension and coverage. Advanced software updates, like EmbroideryStudio 2025 features that streamline hooping and thread management, support more predictable results in real-world projects.
In practice, follow fabric-specific matchups and build in a quick test run. For delicate lines, single strands of floss can create细 lines without overloading the fabric, while stronger fabrics demand heavier threads and stiffer needle choices. Testing on scrap fabric remains the surest path to clean lines and a refined finish before you commit to the final piece.
Knits
Knits require needles that glide between fibers and lightweight threads to prevent snagging or distortion. Use 70/10–80/12 ballpoint needles and lighter threads; for delicate lines, work with a single strand of floss rather than multiple plies. Test on a scrap knit to confirm how the fabric stretches under stitch pressure, then adjust tension slightly and consider a whipped backstitch for a smooth outline.
- Needle: 70/10–80/12 ballpoint or jersey-point
- Thread: lighter weight (40-weight range) or single strand floss for fine lines
- Stitch approach: keep density modest; consider whipped backstitch for crisp edges
- Testing: always scrap test to confirm line integrity and stretch behavior
When to add stitch rows or switch stitches for line weight
For knits and delicate lines, start with a single backstitch and evaluate line weight. If the line needs more presence, add a second pass or switch to a slightly heavier stitch, such as satin or long-and-short stitch, while keeping fabric in mind to avoid puckering. A whipped backstitch can produce a rope-like edge that reads as clean and refined on knit textures. Always test on scrap before finalizing the design.
Wovens
Wovens tolerate mid-weight to heavier threads, and needle choices range from 70/10 to 90/14 depending on fabric density. Use 70/10–90/14 needles with mid-weight to heavier threads as needed to maintain crisp, continuous lines without thread breakage. For bolder lines, consider shorter stitch lengths and a single extra pass; for fine outlines, stay with lighter thread and a single line.
- Needle: 70/10–90/14
- Thread: mid-weight to heavier (40–30 weight range)
- Stitch approach: adjust density to balance coverage and fabric show-through
- Testing: scrap fabric test to confirm edge sharpness and tension
Denim
Denim demands stronger needles and threads to resist fraying. Use 90/14–110/18 needles with stronger threads. Increase stitch length slightly to reduce thread breakage and consider a backstitch with conservative density near edges to avoid puckering. Test on scrap denim to dial in tension and density before pressing into the final piece.
- Needle: 90/14–110/18
- Thread: stronger, heavier-weight
- Stitch guidance: longer stitches; avoid overly dense fills
- Testing: run scrap denim to confirm durability and edge clarity
Leather
Leather or faux leather benefits from 90/14–110/18 needles and heavy-duty threads. Use waxed or sturdy polyester/nylon threads, and adjust stitch density downward to prevent perforating through the surface. For outlines, a whipped backstitch can deliver a smooth edge; test on scrap leather to verify bite and thread tension before stitching the final piece.
- Needle: 90/14–110/18
- Thread: heavy-duty (waxed or reinforced)
- Stitch density: reduce for leather to avoid holes
- Testing: scrap leather test ensures bite and edge fidelity
Industry and tool updates support these practical practices. Software enhancements and new toolsets help you preview line weight before stitching, while needle guides and market data emphasize fabric-aware choices to reduce skipped stitches. In practice, always begin with fabric-specific pairings listed here, then verify with a scrap test to lock in the clean lines you want.
Tools, equipment, and how to use them
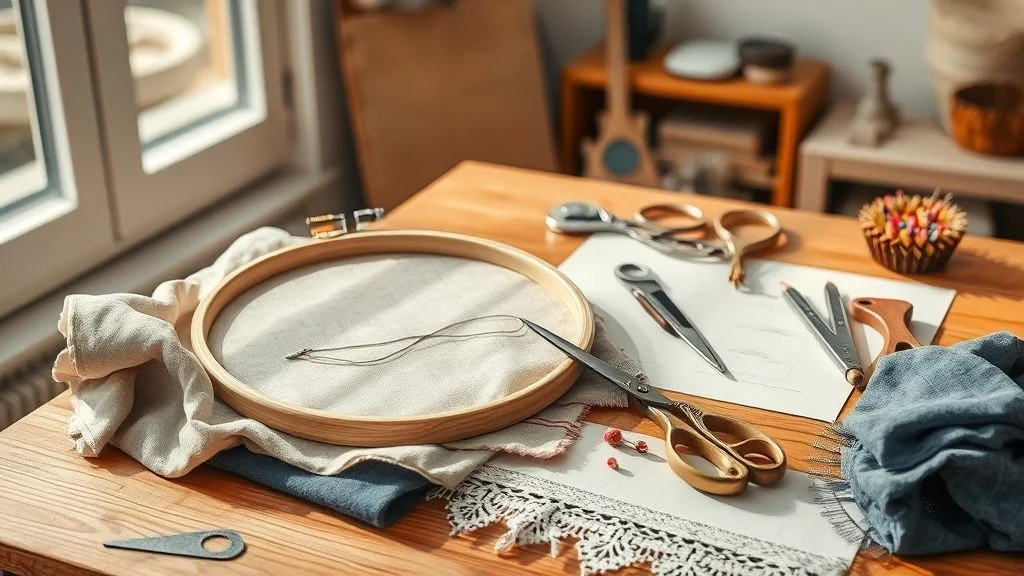
As embroidery work grows in popularity, market data shows steady demand for cleaner, more reliable stitches. Estimates place the embroidery market in the low-to-mid billions with growth driven by personalizable designs and advanced machinery, underscoring the value of a well-chosen toolkit. In 2023, industry assessments cited around USD 3.2 billion for embroidery, with projections ranging toward USD 6.2 billion by the early 2030s, signaling a robust environment for quality results. This section focuses on concrete tools and quick-start usage to prevent skipped stitches and improve stability.
Equipping yourself with purpose-built gear helps you test ideas quickly and maintain consistent performance as you sew. The following recommendations emphasize strong fabric grip, cleaner thread formation, and reliable alignment, essential for turning skips into smooth, repeatable stitches.
Core toolkit for stable stitching
These four essentials form the backbone of stable embroidery, supporting accurate needle selection, cleaner thread behavior, and solid design placement.
- Schmetz needle guides, Use the official guides to choose the right needle type and size for each fabric. Quick-start: match needle size to fabric weight (e.g., lighter knits with finer needles; heavier denims with stronger needles) and adjust based on stitch density to minimize skipped stitches.
- , Clean stitching with reduced lint buildup promotes consistent feed and fewer thread snarls. Quick-start: pair low-lint embroidery threads with compatible bobbin thread and test on a scrap to tune tension before committing to the project.
- , A design-alignment tool that helps verify placement, rotation, and scale before stitching. Quick-start: run a small test path on a scrap fabric to confirm motif alignment and adaptive spacing.
- , Provide stable fabric holding with minimal shifting, especially on delicate or slippery fabrics. Quick-start: place fabric on the magnetic frame, align with your design marks, and run a short test to ensure even contact across the hoop.
Stabilizers, hooping guides, and fabric-specific needs
Stabilizers and proper hooping support are critical for preventing fabric flutter and stitch truncation, particularly on stretchy or delicate textiles. Hoop guides help you consistently reproduce exact placements and tension.
Tips to use now:
- Choose stabilizers by fabric type: tear-away for delicate knits, cut-away for woven fabrics, or fusible stabilizers when you need extra bite without bulky layers.
- Use hooping guides to mark center lines and corner references on the stabilizer, ensuring the fabric sits squarely in the hoop.
- For fabric blends or textures, test stitches on a swatch to identify any distortion or fiber migration before committing to the final piece.
Maintenance and resources to keep the machine running
Ongoing upkeep minimizes downtime and preserves stitch quality. Rely on maintenance resources from equipment manufacturers and trusted repair guides to stay ahead of common issues.
Quick-start maintenance habits:
- Clean lint and dust from the bobbin area and feed dogs after every session; replace needles regularly to avoid unwanted snagging.
- Keep a small spare parts kit (extra needles, bobbins, and a light oil if your machine requires it) and consult your machine’s manual for recommended service intervals.
Maintenance and troubleshooting flow for fewer skips
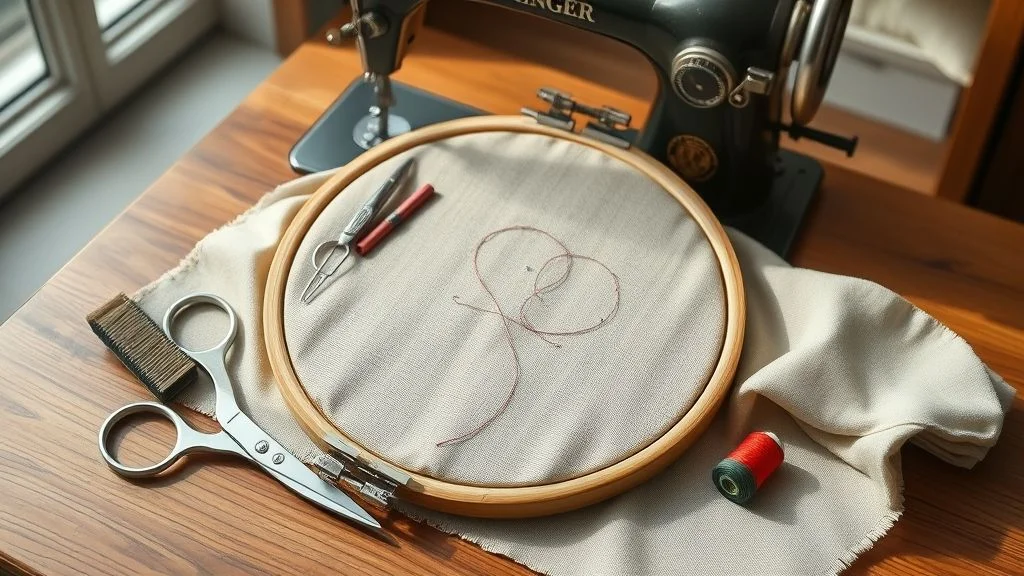
As workload and design complexity grow, skipped stitches can stall production and erode confidence in outcomes. Industry indicators show steady growth in embroidery adoption and ongoing advances in automatic tensioning and sensor-enabled machines, underscoring the value of a disciplined, repeatable maintenance flow. A reliable cadence helps you reduce downtime and keep stitches precise, even as projects scale.
A structured, repeatable flow paired with a dedicated test swatch lets you tune quickly and recover from issues without guesswork. The approach below emphasizes inspection, rethreading, hooping, and density adjustments, all anchored by a practical eight-hour needle-replacement interval per project for heavier usage. When followed consistently, this flow provides predictable results and minimizes costly stoppages. Robust processes like these elevate quality and uptime across the whole production run.
Establishing the repeatable troubleshooting flow
Adopt the following order for each project: inspect needle and upper/bobbin tensions, rethread, rehoop, run test stitches, and then adjust density. Keep a dedicated test swatch on every workbench to gauge tension and stitch behavior before committing to the final design. For heavier usage, apply the eight-hour needle-replacement interval as a rough guideline to prevent dull needles from causing missed or inconsistent stitches. If issues persist after completing the flow, escalate to professional service to rule out mechanical wear or timing shifts.
Maintenance cadence and test swatches
Establish a simple cadence that fits your workflow: daily quick checks of thread paths, hook clearance, and lint buildup; weekly lint removal from the bobbin area and rotary hook; and monthly sensor or tension calibration where applicable. Maintain a dedicated swatch that mimics typical fabric weight and stabilizer usage; stitch a small, representative pattern to verify density and pull. Use this swatch for rapid tune-ups without touching production designs, which helps keep overall downtime low.
- Place the swatch near each machine and return to it first for adjustments.
- Document tension, density, and fabric combo for future reference.
- Incorporate the eight-hour needle-replacement cadence into project handoffs for heavy usage.
When to seek professional service
If skipped stitches persist after completing the troubleshooting flow, or if you notice unusual noises, timing drift, or inconsistent stitch lengths, contact a qualified embroidery technician. Persistent issues may indicate timing wear, hook damage, or drive-system wear that requires professional adjustment or part replacement. Use the standard flow as a first line of defense, but don’t hesitate to involve experts when the problem extends beyond routine maintenance.
Frequently asked questions about skipped stitches
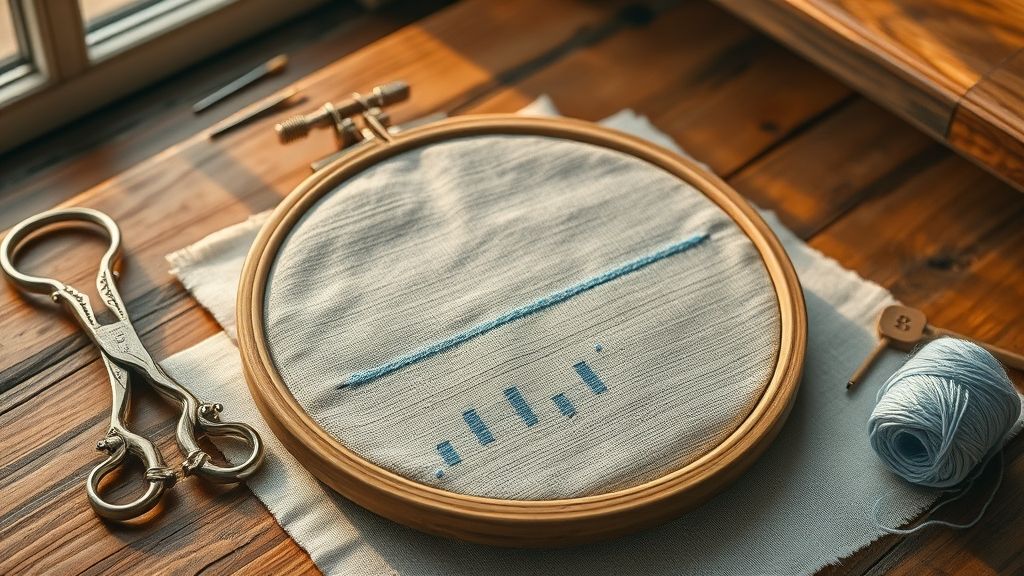
Skipped stitches can ruin a design, but most causes are identifiable and fixable with quick checks and small adjustments. Understanding these points reduces downtime and saves materials.
Industry reports show steady growth in the embroidery market, with 2024 figures placing the sector in the low-to-mid billions and a healthy CAGR into the next decade. This expansion reflects increased demand for reliable tools, software, and techniques that help prevent skipped stitches in professional and hobby work.
Q: What are the 10 common causes of skipped stitches?
- Bent or dull needle caused by hitting fabric or tensioning issues
- Using the wrong needle type or size for the fabric or thread
- Needle not properly inserted or loose needle clamp
- Top thread tension too tight or too loose
- Bobbin tension or bobbin path not correctly threaded
- Fabric with insufficient stabilizer or stabilizer placed incorrectly
- High stitch density or design too dense for fabric
- Thread lint, coating buildup, or poor-quality thread
- Machine timing or shuttle alignment out of spec
- Needle thread snagging on the design or thread breakage
Q: How do I test if the machine setup is correct before starting the final piece?
- Load the same fabric and stabilizer you plan to use, with the same thread.
- Run a short test on scrap fabric at actual embroidery speed.
- Inspect top and bottom stitches for consistent tension and coverage.
- Check needle seating and clamp, then re-thread both top and bobbin.
- Trim lint from the bobbin area and verify fabric feed is smooth.
Q: How should I choose stabilizers for different fabrics?
- Woven fabrics: tear-away or cut-away stabilizers based on persistence of fabric after removal.
- Knits: lighter weight stabilizers or stabilizer beneath to prevent sagging.
- Delicate fabrics: water-soluble or wash-away stabilizers for minimal show-through.
- Heavy fabrics: tear-away plus backing to handle high stitch counts.
Q: How often should I replace the needle during a project?
A common guideline is to replace the needle after about eight hours of active embroidery, or sooner if you notice skipped stitches, frayed thread, or a bent needle.
Q: Which stitches are best for handwriting embroidery and why?
For legible handwriting embroidery, the Quaker stitch offers clean, continuous lines ideal for script. Alternatives like backstitch, stem stitch, and split stitch provide variations in line weight and texture to suit fabric and design goals.
Conclusion
Start with a scrap fabric test to gauge stitch behavior, then follow a 6-step workflow to diagnose skipped stitches.
- Test on scrap fabric with a stable stabilizer.
- Choose fabric- and stabilizer-appropriate needles.
- Inspect the top thread path and tension.
- Check bobbin tension and clean lint.
- Ensure secure hooping and flat fabric.
- Run a test stitch and adjust length/tension until even.
Assemble the recommended tools for your next project: Schmetz guides, WonderFil threads, magnetic hoop, Embroiderer’s Compass.
- Structured workflow speeds diagnosis and fixes.
- Fabric- and stabilizer- compatibility matters for smooth stitching.
- Always test on scrap fabric before committing to a design.
- Using the right tools stabilizes handwriting embroidery and improves consistency.
Take action now: gather gear and run the workflow on your next project. Stitch with purpose, your handwriting will shine.