Brother SE600 Review: Practical Sewing & Embroidery Tips
This post contains affiliate links. As an Amazon Associate, Latest Embroidery earns from qualifying
purchases, at no extra cost to you. Learn more.
How We Research
Every machine, thread, and accessory we cover is researched in depth, not reprinted from a spec sheet. Here is what goes into a Latest Embroidery review:
- Specs, cross-checked. We verify manufacturer specifications against multiple retailers and official manuals, so the numbers you read are accurate and current.
- What owners actually report. We read through verified buyer reviews, warranty complaints, and community threads to surface the real-world issues, threading, hooping, bobbin changes, noise, and jams, that owners run into after the first few weeks.
- Value, not hype. We weigh each pick against its closest alternatives and tell you who a product is, and isn’t, for.
- Kept current. Prices and models move fast, so every review carries a last-updated date.
- Independence. We earn affiliate commissions if you buy through our links, but that never decides our recommendation. Read our disclosure.
Compiled by the Latest Embroidery editorial team · Last updated July 2026
If you want professional embroidery results at home without a shop, the Brother SE600 can be a strong starting point for hobbyists and small shops alike.
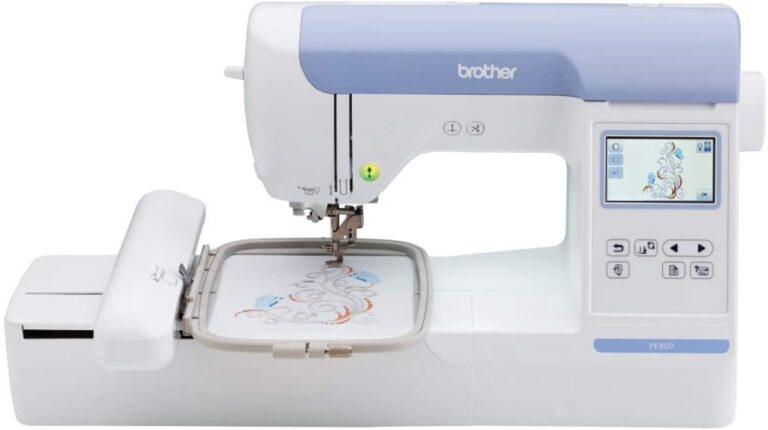
What the SE600 and similar entry-level combos offer includes a 4×4 embroidery hoop, USB transfers, a color touchscreen that previews designs, automatic features that take the guesswork out of stitches, built-in designs, and scalable design management through compatible software ecosystems. Learn more about its official specs on the Brother SE600 product page check Brother SE600 price on Amazon →.
Industry data shows embroidery remains a growing segment in decor and apparel; see the projections for the global embroidery market size and growth.
For practical hooping tips, check 4 Must Know Machine Embroidery Hooping Techniques.
From unbox to finished project, this guide includes practical tests and setup steps you can try today, with tips on stabilizers, thread tension, and design transfers. It will help you set expectations and plan your first projects as you grow with software ecosystems.
For a starter thread set to reduce snagging and color bleed, consider this option:
Shop embroidery thread on Amazon →
Step by step: setting up the Brother SE600 for your first embroidery
Short on time? If you only take one thing from this guide: Brother SE700 — the machine we point most beginners to — touchscreen, wireless transfer, and it sews as well as embroiders.
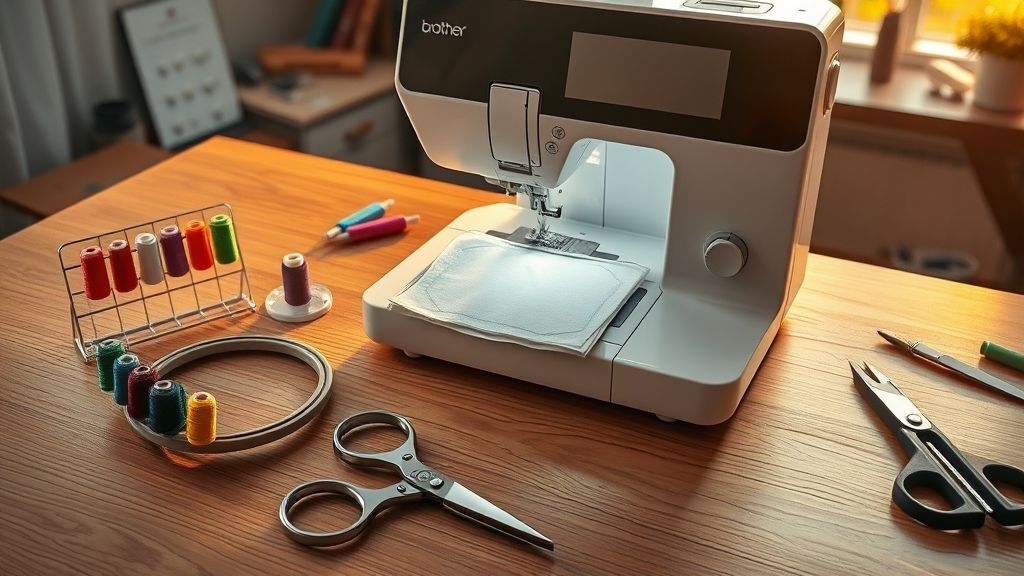
The Brother SE600 combines sewing and embroidery in a compact, beginner‑friendly package. With a 3.2–3.7 inch color LCD touchscreen, automatic needle threading, and an on‑screen color preview, you can plan and execute projects with confidence. USB transfer supports PES, DST, and DES formats, and the hoop range from 4×4 to 10×16 accommodates everything from practice designs to larger motifs. The machine ships with 80–138 built‑in designs, 103–241 stitches, and embroidery speeds of 650–850 SPM, guided by on‑machine tutorials and a clear LCD interface. These data points align with current craft market momentum, where embroidery is a growing segment driven by home‑cDIY projects and accessible hardware updates. Preparing properly now helps you leverage those market trends for consistent, quality results.
Begin with a quick plan: 4×4 hoops are ideal for first stitches and practice swatches, while 10×16 hoops open up bigger, bolder designs. The SE600’s LCD previews, available in a range of sizes, help you map placement and color order before you stitch. This onboarding keeps you focused on accuracy and learning the machine’s automatic features as you progress.
1. Choose the appropriate hoop for your project
Start with the 4×4 hoop for practice to master placement and tension, then move to the 10×16 hoop for larger embroidery. The hoop range (4×4 to 10×16) covers common beginner to intermediate projects, making it easier to scale up as you gain confidence. Selecting the right hoop from the outset reduces rehooping and scrap fabric.
2. Install stabilizer and fabric, then attach the hoop to the machine securely
Hoop the fabric with the stabilizer securely to prevent shifting. Align the hoop clamps with the machine’s mounting slots and tighten firmly so the fabric stays flat throughout stitching. A stable setup yields cleaner edges and fewer stitches skipped due to movement.
3. Wind the bobbin and thread the machine following the on‑machine guidance
Wind a smooth, even bobbin and thread the top path following the guided route on the screen. The SE600’s automatic needle threading assists quick setup, while the built‑in threading path helps reduce tangles and mis‑threading, especially for complex stitches.
4. Transfer the design via USB in PES, DST, or DES format to the machine
Copy your design to a USB drive in PES, DST, or DES format and insert it into the machine. The SE600 accepts these commonly used formats and converts them for stitching, enabling you to bring designs from software or digitizing services directly to the hoop.
5. Use the color touchscreen preview to verify placement and color order before stitching
Leverage the LCD preview (3.2–3.7 inches) to verify design placement and color order. This step helps you adjust alignment before you stitch, saving fabric and thread and ensuring the final result matches your plan.
6. Load the design, select stitch settings, and run a test stitch on scrap fabric
Load the design, choose stitch density and length, then run a test on scrap fabric. This validates tension, stabilizer choice, and color changes. With 80–138 built‑in designs and 103–241 stitches at 650–850 SPM, you’ll quickly refine settings and complete your first embroidery with confidence.
Speed up hooping and large design workflows with MaggieFrame
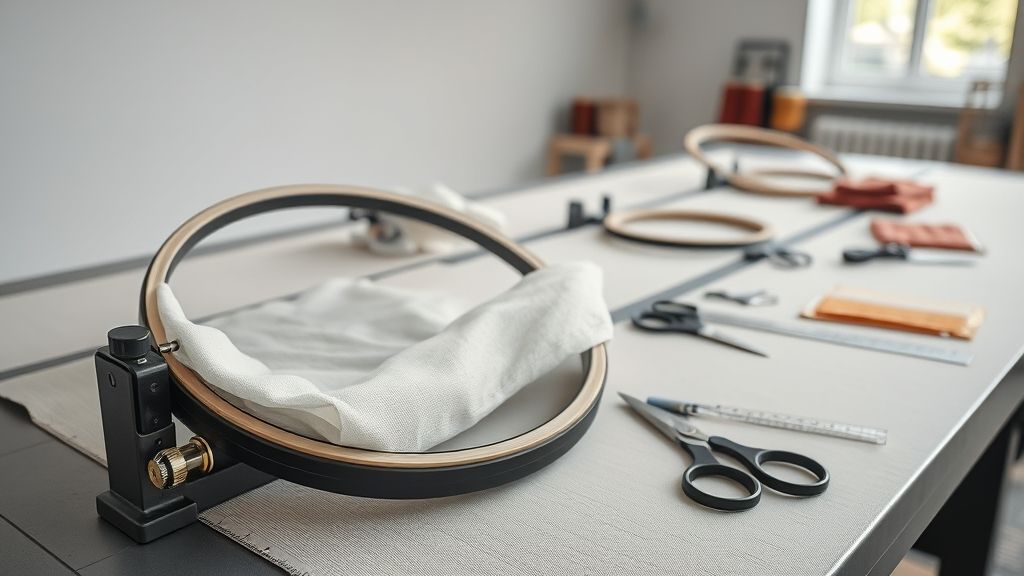
Speeding up hooping dramatically changes throughput in studio environments using the Brother SE600. MaggieFrame magnets can cut hooping time by about 90% in commercial settings, enabling more projects per day without sacrificing accuracy. The system supports 4×4 to 10×16 hoops, giving you flexible options for a wide range of projects while maintaining stable fabric control during stitching. Industry analyses project steady growth in the embroidery market, with multi‑billion-dollar projections and a healthy CAGR, which makes time‑saving tools increasingly valuable in busy shops.
Plan large designs by splitting total artwork that exceeds 10×16 inches into manageable sections. After stitching the first portion, re‑align with registered marks and continue. Keeping alignment notes for future projects helps repeat the same flawless results with less setup, a practice supported by real‑world workflows in commercial embroidery environments.
Attach MaggieFrame and secure fabric for reliable starting alignment
Begin by attaching the MaggieFrame to the machine and securing your stabilizer and fabric. Verify the fabric orientation and edge alignment before you start stitching. A quick check of the magnetic grip and hoop flatness reduces drift and ensures the first pass lands exactly where intended.
Tile large designs into workable parts for consistent results
When a design exceeds 10×16 inches, break it into sections that fit within the 4×4–10×16 range. Plan the tile layout so each segment shares a common reference edge. This tiling approach minimizes waste and keeps stitch density and fabric tension consistent across pieces.
Embroider the first section, then re‑align using registration marks
Stitch the initial tile, then re‑align the subsequent sections using clearly placed registration marks on the stabilizer or fabric. Maintain consistent orientation between tiles and use the marks as a precise guide to re‑stitch the remaining portions for a seamless final piece.
Store alignment tips and marks for repeatability
Document alignment notes after each project: keep a simple log of fabric type, hoop size, orientation, and registration mark placement. Saving these details supports quick re‑use on future designs, reducing setup time and improving consistency across runs. Consistency becomes easier when you build a repeatable workflow around MaggieFrame.
Design and software workflow for SE600 users
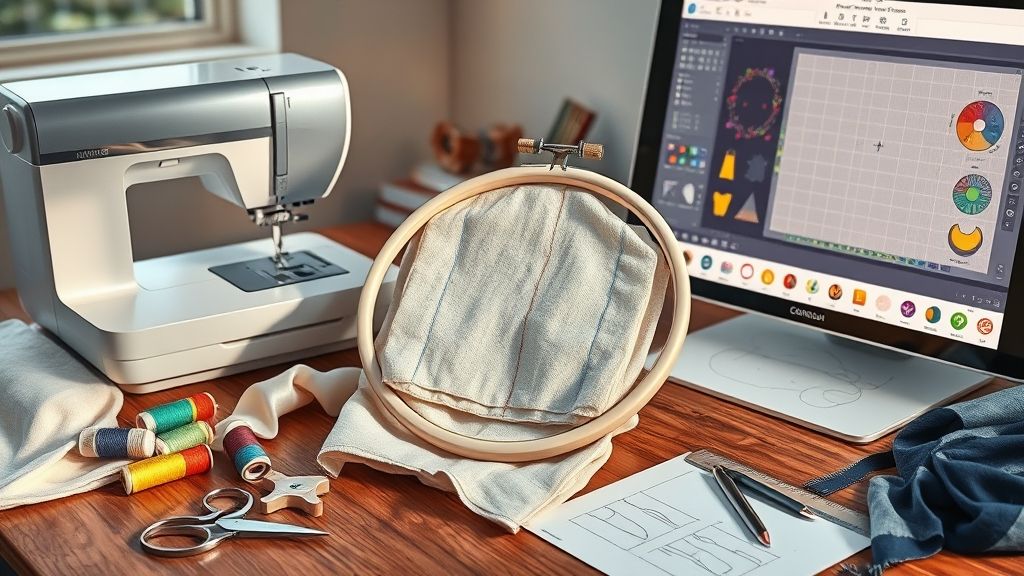
The end-to-end design workflow for the SE600 leverages Artspira, BEaaS Cloud, and PE‑DESIGN 11 to manage, digitize, and deploy embroidery projects from concept to stitch. Market analysts note the embroidery sector remains robust, with industry reports estimating multi‑billion dollar activity in 2024 and projected growth around 6% annually through the next decade, underscoring the value of a streamlined, digital workflow that shortens turnaround and improves consistency across designs.
In practice, you’ll design and store files in the cloud, digitize or import in PE‑DESIGN 11, export machine‑ready formats, and transfer via USB to the SE600 where you preview on the LCD before stitching. Keeping designs within the 10×16 hoop helps reduce color changes and ensures accurate alignment on screen and on fabric.
1. Design management with Artspira and BEaaS Cloud
Begin by creating or editing designs in Artspira, then save them to BEaaS Cloud for secure storage and easy access across devices and locations. The cloud platform supports centralized design management for projects, client files, and revisions, making it simpler to loop in collaborators without version chaos.
Leverage cloud fonts and resources from BEaaS to standardize branding and client identities, while keeping a clear audit trail of edits. This setup aligns with the growing demand for cloud‑based design management in embroidery workflows and helps teams scale custom work efficiently.
2. Digitize or import designs with PE‑DESIGN 11 and export formats
Use PE‑DESIGN 11 to digitize from scratch or import vector/raster references, then apply Fabric Selector and intelligent color handling to prepare for embroidery. Export options include PES, DST, and DES formats to cover most machine ecosystems and ensure smooth handoffs to hardware.
The software also offers features like PhotoStitch and batch processing, enabling you to convert multiple files and adjust stitches before export, which optimizes production efficiency and reduces rework at the machine.
3. Transfer to SE600 via USB and preview on the LCD
Save the machine‑ready file to a USB drive, plug it into the SE600, and use the 3.2–3.7 inch LCD to preview the design. The preview helps confirm color stops and stitch order prior to stitching, catching issues before fabric is engaged.
Align the design with the SE600’s 10×16 hoop and prepare for the next step: stitching. If the machine preview reveals color misalignment, return to PE‑DESIGN 11 to adjust color stops and export again for a clean transfer.
4. Color management, edits, and re‑import workflow
Edit color stops and stitch orders in the software before sending to the machine, then re‑import edited designs if color changes do not align on the machine preview. Keeping edits centralized in the PE‑DESIGN 11 workflow ensures the final stitches match the intended palette and sequence, reducing on‑hoop surprises.
Tip: maintain all designs within the 10×16 hoop constraint to minimize color changes and maximize stitch accuracy during the SE600 preview and final sew.
Pricing, value and ROI considerations for SE600 style machines
As you evaluate the Brother SE600 and other SE600‑style embroidery combos, price and ROI matter as much as stitch quality. The embroidery market is expanding: in 2024 the global embroidery machine market reached about USD 5.7B and is forecast to approach USD 7.9B by 2034, signaling durable demand for versatile, home‑based setups. Entry‑level SE600‑style models typically cost under $2,000, while flagship units can cost more than a car.
Entry‑level machines offer USB transfer, PES, DST, DES formats, and 80–138 built‑in designs, with speeds of 650–850 SPM; some models reach 900–1000 SPM but at higher price points. The ongoing value comes from design management software and accessories like MaggieFrame, which extend project variety and long‑term use. ROI shows up when you reuse designs across projects, sell custom pieces, or teach workshops.
Market context and value drivers
Industry data and craft professionals note that affordable embroidery expands access, while software ecosystems and frame systems deliver ongoing value. Design software, upgradeable libraries, and frame accessories contribute to ROI by increasing throughput and the number of sellable projects over time.
Price comparison: SE600-entry vs high-end PRS100-style machines
Troubleshooting, maintenance and common issues
Embroidery on the Brother SE600 blends convenience with creative flexibility, but longevity comes from proactive maintenance and practical fixes. The section references hoop size limits from 4×4 to 10×16 and acknowledges a learning curve and occasional noise, all grounded in real-world usage and official guidance. The machine’s automatic features and its design-management software ecosystem help streamline design transfer and preview checks, reducing common mismatches without guesswork.
For ongoing reliability, address fabric tension, stabilizer choices, and timely software/firmware updates to stay compatible with evolving designs. When working with large motifs, plan for the 10×16 limit by splitting designs into parts and rejoining with careful alignment to preserve stitch integrity. This approach aligns with industry observations that market growth is paralleling more personalized, designer-driven projects, making robust setup and maintenance even more valuable.
Design transfer, hooping and stability
When transferring designs, use the SE600’s built-in preview to confirm placement before stitching. For designs that exceed the 10×16 hoop, split into parts and rejoin with careful alignment, using registration marks if your software supports them. Backing and stabilizer choices directly influence transfer success and final results; select stabilizers that match fabric weight and stitch density.
Tip: ensure threads and bobbin are wound evenly and rethread if tension feels off, then re-test on scrap fabric to verify smooth operation.
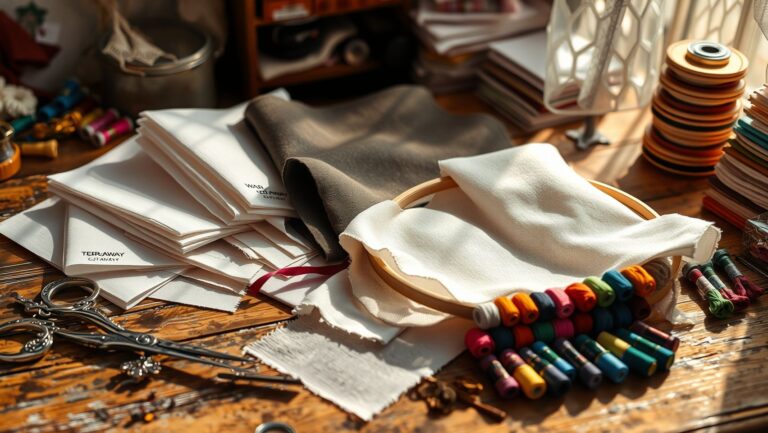
- Verify stabilizer type (cut-away, tear-away, or wash-away) based on fabric and design density.
- Keep fabric taut in the hoop and avoid puckering by matching fabric tension to stabilizer support.
Noise, tension and routine maintenance
If noise occurs, check the machine’s mounting, adjust thread tension, and confirm the area is clean and lubricated per the manual. Regular cleaning and proper lubrication help reduce rattles and prolong component life.
Also verify that threads and bobbin are wound correctly and rethread if any tension anomaly appears. Routine checks pair well with software/firmware updates to improve stability and compatibility with newer designs.
Software, firmware and design management
Keep your machine’s firmware and compatible software up to date to benefit from stability improvements and design-transfer enhancements. Many Brother support resources outline step-by-step update processes, and cross-platform design tools help resolve preview mismatches before stitching, ensuring a smoother workflow.
Frequently asked questions for embroidery enthusiasts
Embroidery enthusiasts often weigh practical capabilities against features in a sewing and embroidery combo machine. This FAQ focuses on real‑world specs you’ll encounter, from hoop sizes to software ecosystems, to help you gauge value and plan projects with confidence.
Industry data shows steady growth in home embroidery and craft tooling, with market activity rising as more hobbyists explore personalizing garments, accessories, and home decor. The following questions reflect typical, actionable specs you’ll reference when comparing entry‑level to mid‑range machines: hoop range, built‑in designs, transfer formats, stitch counts, speeds, and software ecosystems.
Q: What hoop sizes does a typical entry level machine support?
Typically, entry level machines support hoop options from 4×4 inches up to 10×16 inches, with 4×4 and 5×7 being the most common defaults. Some newer or mid‑range models expand to 6×10 inches, and a few premium setups can reach 10×16 for larger designs. Always verify your specific model’s hoop chart and available accessories to match your projects.
Q: How many built in designs are typical?
Most entry‑ to mid‑range machines offer between 80 and 138 built‑in designs. For context, some Brother models include around 80 designs (a popular entry point), while others in the family feature up to 138 designs, giving you a broad starting library right out of the box.
Q: What formats can be imported?
Import formats commonly supported are PES and DST via USB, with some models also accommodating DES imports. USB connectivity is the standard bridging method to bring designs from your computer or external drives to the machine.
Q: What are typical stitch counts?
Design sets typically run from about 103 to 241 stitches. Simpler or smaller motifs cluster toward the lower end, while more detailed fills and decorative elements push counts higher within this range.
Q: What speeds should I expect?
Embroidery speeds commonly fall in the 650–850 SPM (stitches per minute) range, with some higher‑end models capable of around 1000 SPM. For most hobbyists, 650–850 SPM offers a solid balance of speed and precision for everyday projects.
Q: What software ecosystems are available?
Key software ecosystems include Artspira, BEaaS Cloud, and PE‑DESIGN 11. These platforms cover design editing, cloud workflows, and digitizing features, helping you move from concept to stitched output across devices and projects.
Conclusion
The SE600 offers a solid balance of affordable hardware, flexible hooping, USB transfers, and an expanding design ecosystem. Pair smart hooping with a MaggieFrame setup and leverage Artspira BEaaS Cloud and PE‑DESIGN 11 to manage designs faster, speed production, and scale from hobby to small runs. Plan within the 10×16 hoop, use color previews to preselect colors, and break large designs into parts to stay within limits. Expect a learning curve and some noise for best results.
- Affordable yet expandable platform with USB transfers and a growing design ecosystem.
- Smart hooping plus MaggieFrame unlocks faster production.
- Color previews and design splitting keep projects within the 10×16 hoop.
If you’re considering the SE600, map out your typical projects, compare a MaggieFrame setup, and try a small test run to validate your workflow before committing to any upgrades or software subscriptions.
Thread your future with confidence.