How to Choose a Babylock Embroidery Machine for Beginners in 2025
This post contains affiliate links. As an Amazon Associate, Latest Embroidery earns from qualifying
purchases, at no extra cost to you. Learn more.
How We Research
Every machine, thread, and accessory we cover is researched in depth, not reprinted from a spec sheet. Here is what goes into a Latest Embroidery review:
- Specs, cross-checked. We verify manufacturer specifications against multiple retailers and official manuals, so the numbers you read are accurate and current.
- What owners actually report. We read through verified buyer reviews, warranty complaints, and community threads to surface the real-world issues, threading, hooping, bobbin changes, noise, and jams, that owners run into after the first few weeks.
- Value, not hype. We weigh each pick against its closest alternatives and tell you who a product is, and isn’t, for.
- Kept current. Prices and models move fast, so every review carries a last-updated date.
- Independence. We earn affiliate commissions if you buy through our links, but that never decides our recommendation. Read our disclosure.
Compiled by the Latest Embroidery editorial team · Last updated July 2026
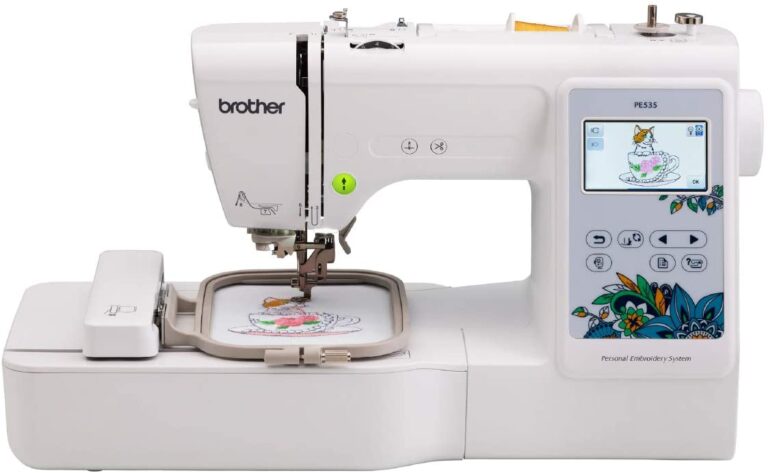
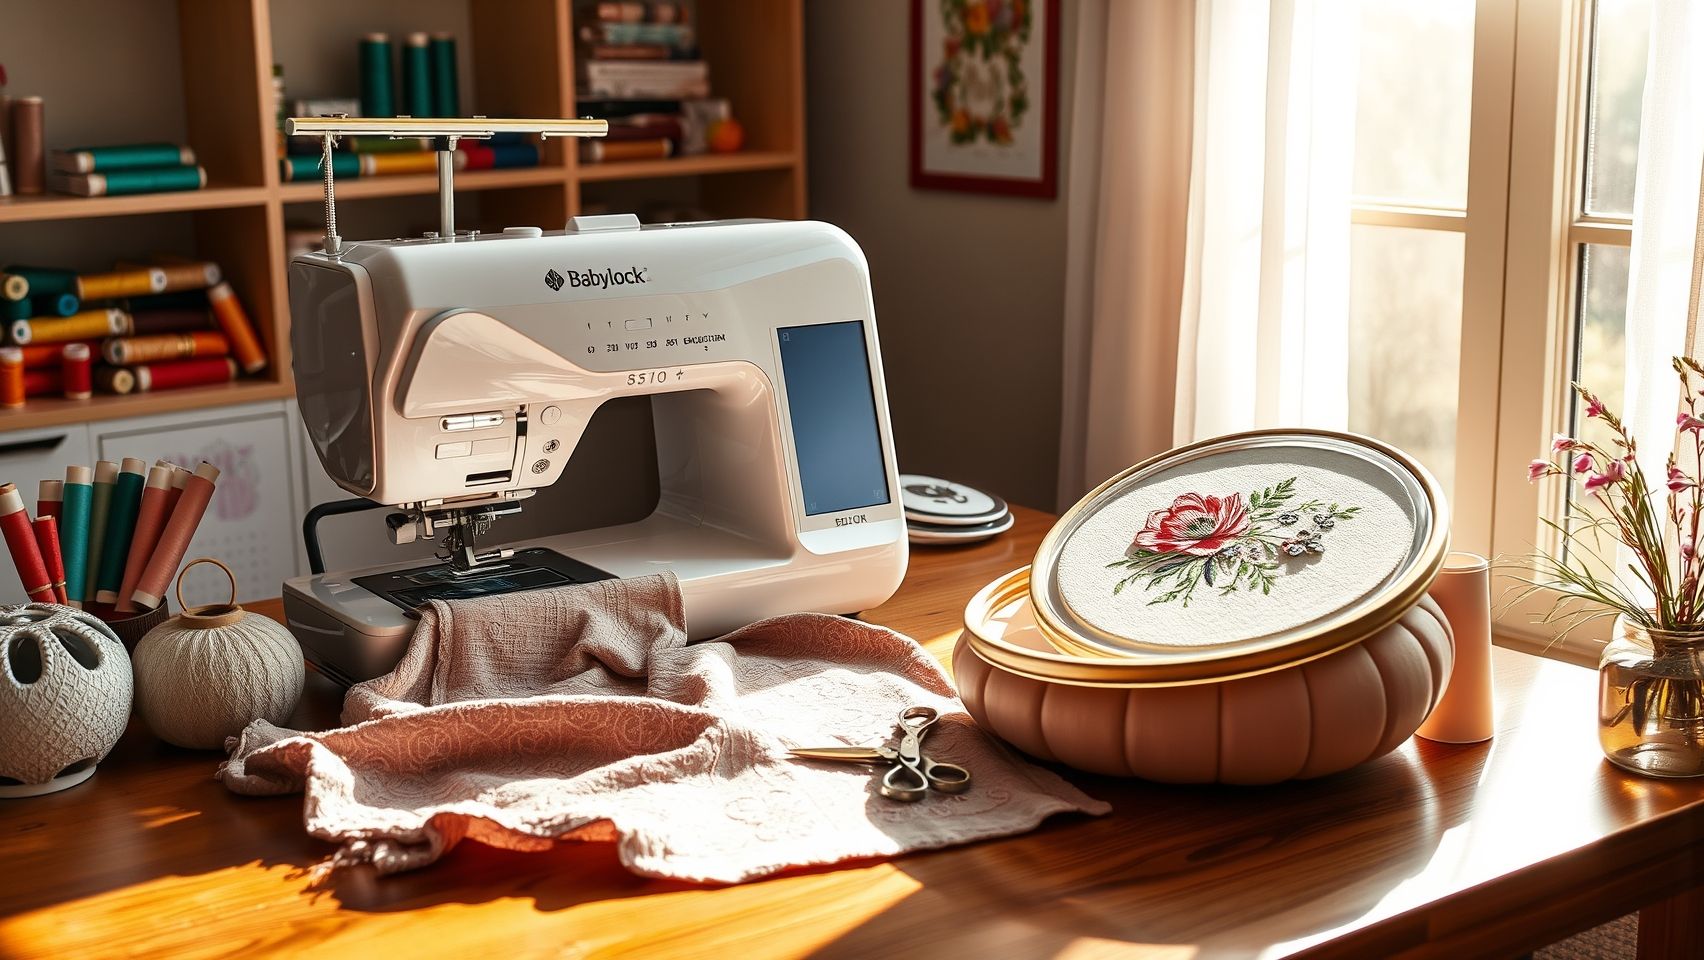
Are you ready to elevate your embroidery projects but overwhelmed by the options? You’re not alone. With so many machines on the market, selecting the right one can feel like a daunting task, especially for beginners. From choosing the perfect hoop size to understanding software compatibility, the process can quickly become overwhelming. But fear not! This guide promises to simplify your decision-making with actionable steps, highlighting real machine options like the Baby Lock Bloom and Flare, as well as key features that suit newcomers. Budget considerations and essential features such as built-in designs, editing capabilities, and user-friendly interfaces will be front and center. Whether you’re aiming to craft personalized gifts or explore a new hobby, finding the right embroidery machine doesn’t have to be complicated. Stay tuned to learn how to navigate the exciting world of Baby Lock embroidery machines and make an informed choice that sparks your creativity. Embroidery is seeing an incredible market growth, with industry reports indicating a rising demand for user-friendly, feature-rich machines in 2025. Ready to find your perfect match? Let’s get started.
What Recent Research Reveals About Modern Embroidery Machines
In a hurry? Jump to our recommended machine picks ↓
Recent research into embroidery machines highlights significant trends that are shaping the industry in 2025. Users are increasingly focusing on features that enhance project success, sustainability, and efficiency. A key insight shows that approximately 70% of embroiderers leverage pattern software to reduce thread waste and streamline their workflow, emphasizing the importance of digital compatibility and precision.
Advanced features supporting 3D textured embroidery and complex design capabilities are gaining popularity, driven by consumer demand for more intricate and personalized projects. Modern machines now incorporate tools to facilitate textured stitching, enabling creators to elevate their craftsmanship with minimal effort.
Sustainability is also a rising priority, with an increasing number of embroidery machines designed to support eco-friendly materials such as biodegradable threads and reduce waste. Industry data indicates that machines supporting minimal thread consumption and eco-conscious practices are now considered essential for new buyers aiming to align with environmental standards.
Moreover, emerging trends like AI-powered pattern design have been shown to accelerate project timelines by up to 40%, offering faster turnaround times for commercial and hobbyist creators alike. User preference is shifting toward machines with large hoops (at least 6-10 inches) and sophisticated digital interfaces that simplify complex task management.
Despite these advancements, research identifies gaps in available tutorials for advanced stitches and eco-efficient techniques, suggesting opportunities for education and software developers to better support user needs. Overall, current industry growth is driven by these technological and sustainability-focused innovations, making feature-rich, eco-friendly embroidery machines the go-to choice in 2025.
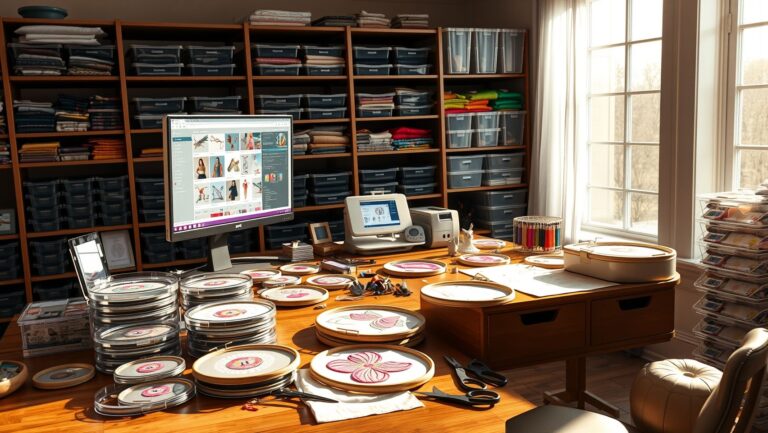
Step-by-Step: Setting Up Your Babylock Embroidery Machine for the First Time
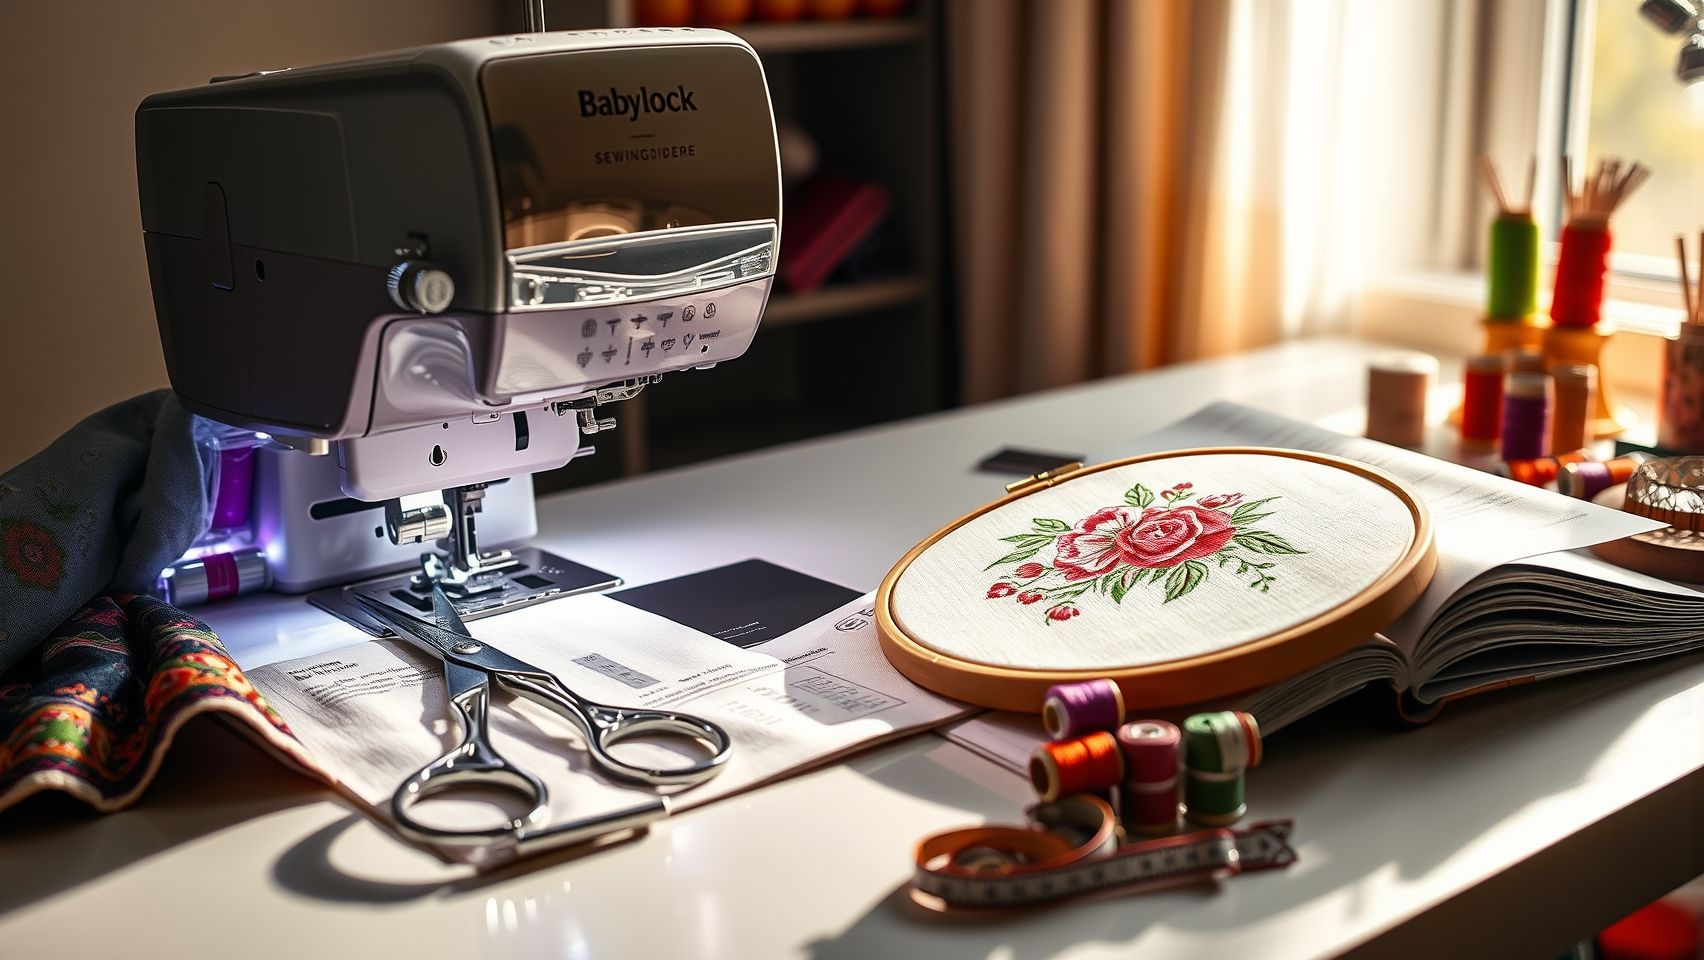
Getting started with your new Babylock embroidery machine can seem daunting, but a structured setup process ensures smooth operation and beautiful results. Whether you own a Destiny, Solaris, or another model, following systematic steps will help you quickly master the basics, from unboxing to running your first test design.
Proper setup not only prevents common issues like thread breakage or misaligned stitches but also maximizes your machine’s lifespan and embroidery quality. Let’s walk through each crucial step to get you confidently ready for your creative projects.
Unbox and Identify All Parts
Begin by carefully unboxing your Babylock embroidery machine and inspecting every component. You should find the machine body, assorted hoops (such as 5 inch x 7 inch or larger), a power cord, and an embroidery software CD or download link. Confirm all parts are present and undamaged. Reviewing the manual at this stage helps familiarize you with each element, ensuring you know how to connect and operate them correctly later on.
Threading the Machine
Follow the detailed threading instructions provided in your manual. Proper threading ensures even tension and prevents stitches from puckering. Pay special attention to tension adjustments for different threads, metallic, rayon, or polyester, since each requires specific tension settings for optimal results. Troubleshoot common tension issues by revisiting your manual or regularly testing on scrap fabric.
Installing the Hoops
Select the appropriate embroidery hoop size for your project, typically starting with a 5 inch x 7 inch hoop. Attach the hoop securely to the machine, ensuring it is evenly aligned and tightened. Correct hoop installation is essential to prevent fabric slippage or misaligned stitches during operation. Practice placing fabric into the hoop, smoothing out wrinkles for quality embroidery.
Connecting Software
Install compatible embroidery software, like Brother’s PE-Design or Janome Digitizer, on your computer. Ensure your device meets the software’s specifications and download any available updates. Import test patterns to verify proper installation, and familiarize yourself with basic features such as pattern resizing, editing, and saving. Software readiness allows for seamless pattern customization and creative flexibility.
Calibrating the Machine
Run a test stitch on scrap fabric to check stitching quality. Adjust tension disks and fine-tune the tension settings as needed to eliminate puckering or thread breakage. Calibration ensures your machine stitches accurately, especially when handling complex designs or metallic threads that require precise tension control. Regular calibration helps maintain consistent results across projects.
Running a Test Design
Select a simple pattern and execute a test run to assess stitch quality and pattern accuracy. Observe the stitches for evenness and detail reproduction. If issues arise, troubleshoot by rechecking threading, tension, or hoop placement. This final step helps confirm your setup was successful, turning you into a confident embroiderer ready to create professional-looking projects with your Babylock machine.
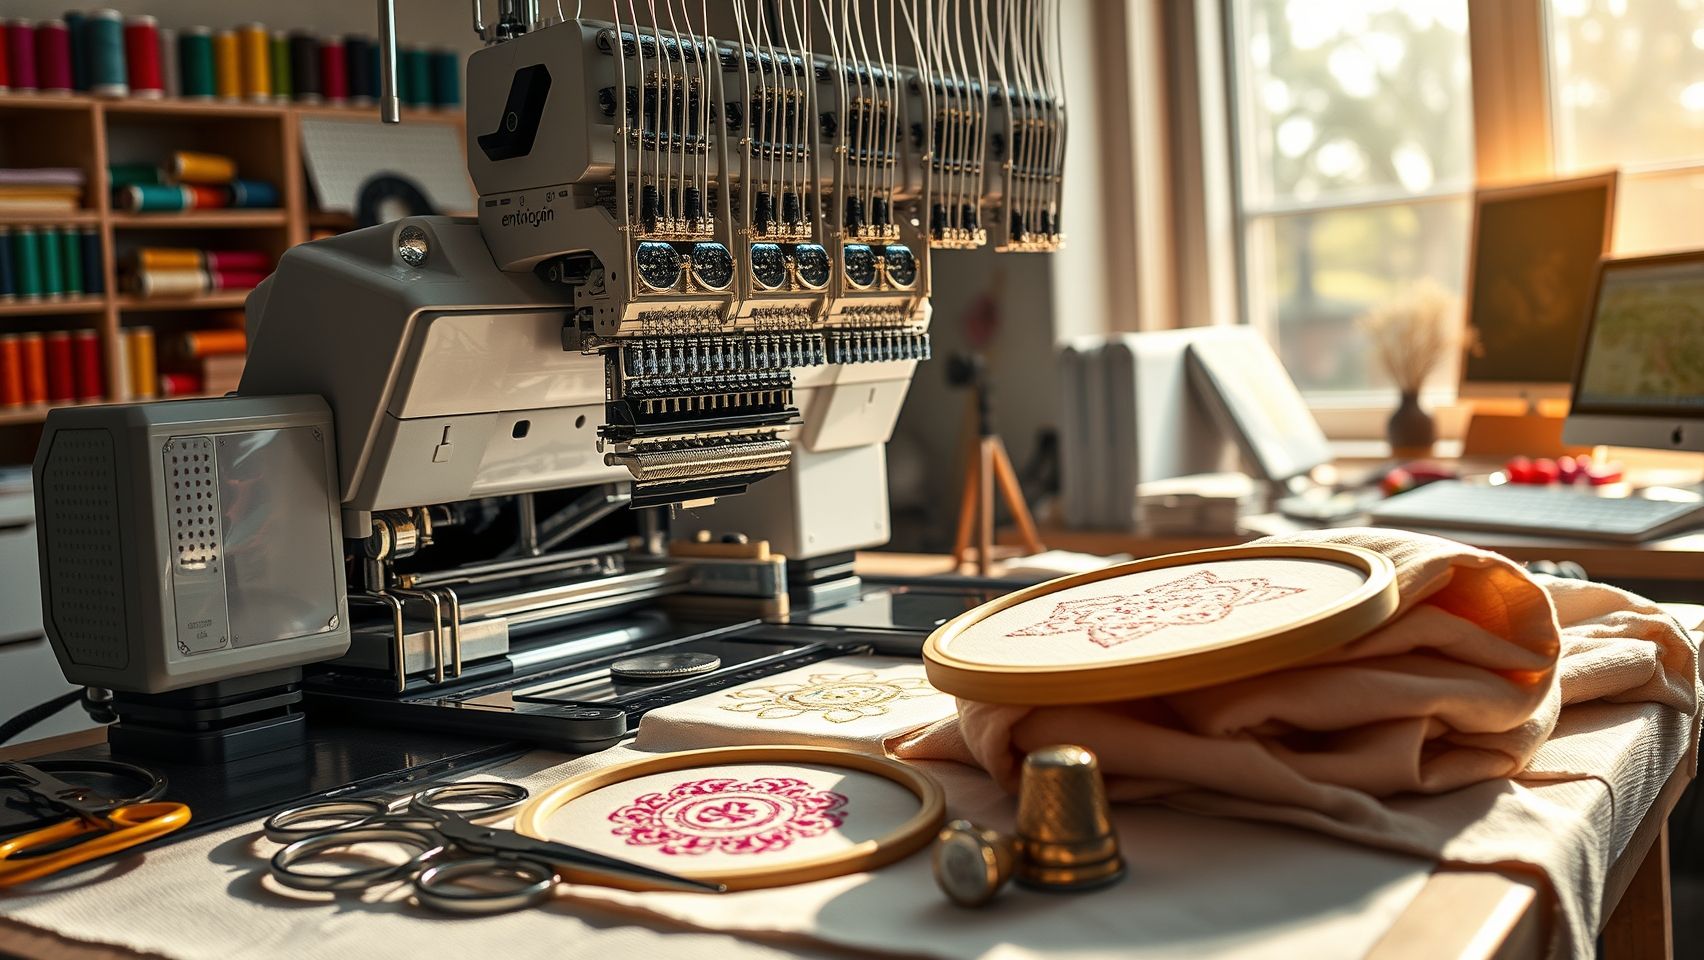
Essential Tools and Accessories for Your Babylock Embroidery Projects
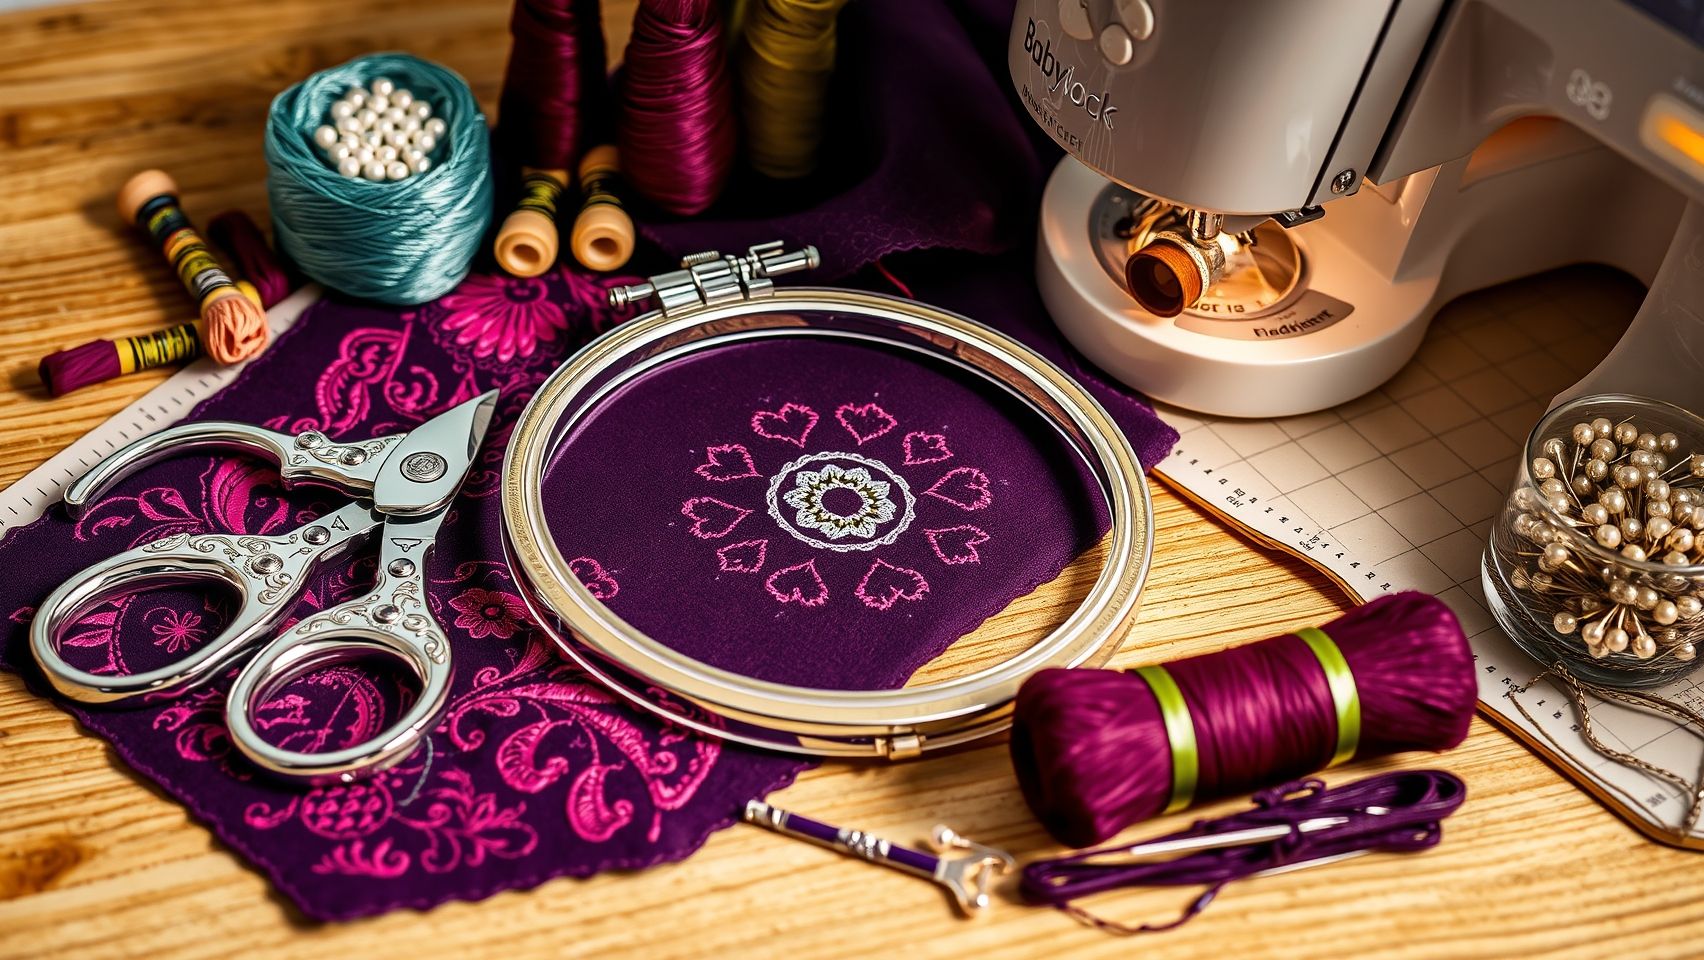
Choosing the right tools and accessories can significantly enhance your embroidery quality and make the process more enjoyable, especially for beginners. Investing in versatile hoop sizes, quality threads, specialized needles, stabilizers, and software upgrades ensures that your projects are professional-looking and hassle-free. These tangible upgrades are essential for mastering embroidery techniques and expanding your creative possibilities in 2025.
Starting with the basics, selecting the appropriate hoop size is crucial. Popular options include 5 inch x 7 inch for smaller designs and 6 inch x 10 inch for larger projects, providing flexibility for various project scales. High-quality threads, such as polyester and rayon, reduce puckering and thread breakage, while biodegradable options are perfect for eco-conscious crafters. Embroidery-specific needles (size 75/11 or 80/12) are recommended for different fabric types, ensuring clean stitches without damaging your fabric.
Hoops and Threads
Hoop sizes like 5×7 and 6×10 inches are ideal for most beginner projects, offering ease of handling and versatility. Using premium embroidery threads improves stitch precision and durability. For eco-friendly projects, biodegradable threads are increasingly available and gaining popularity in the market.
Needles, Stabilizers, and Software
Embroidery-specific needles such as size 75/11 or 80/12 ensure smooth stitching across fabrics like cotton, denim, or delicate textiles. Stabilizers are often overlooked but are critical: tear-away stabilizers are suitable for dense designs, while wash-away stabilizers work best on delicate or lightweight fabrics. Investing in software upgrades compatible with pattern digitizers like Wilcom or Hatch can unlock advanced digitizing capabilities, vastly expanding your project repertoire and allowing customization.
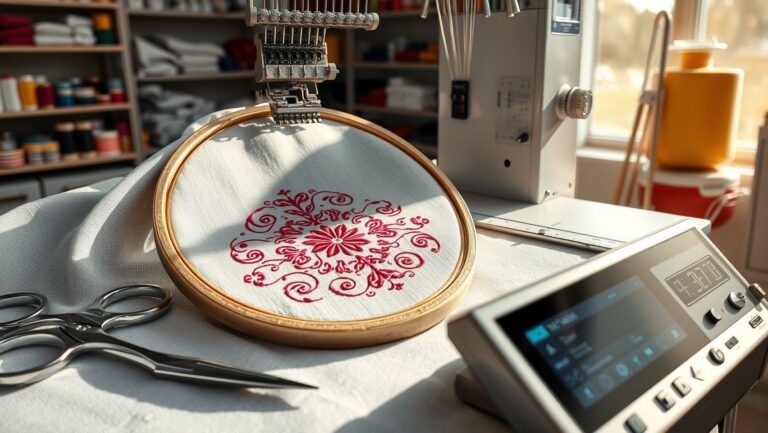
Step-by-Step: Creating Your First Embroidery Design with Babylock Software
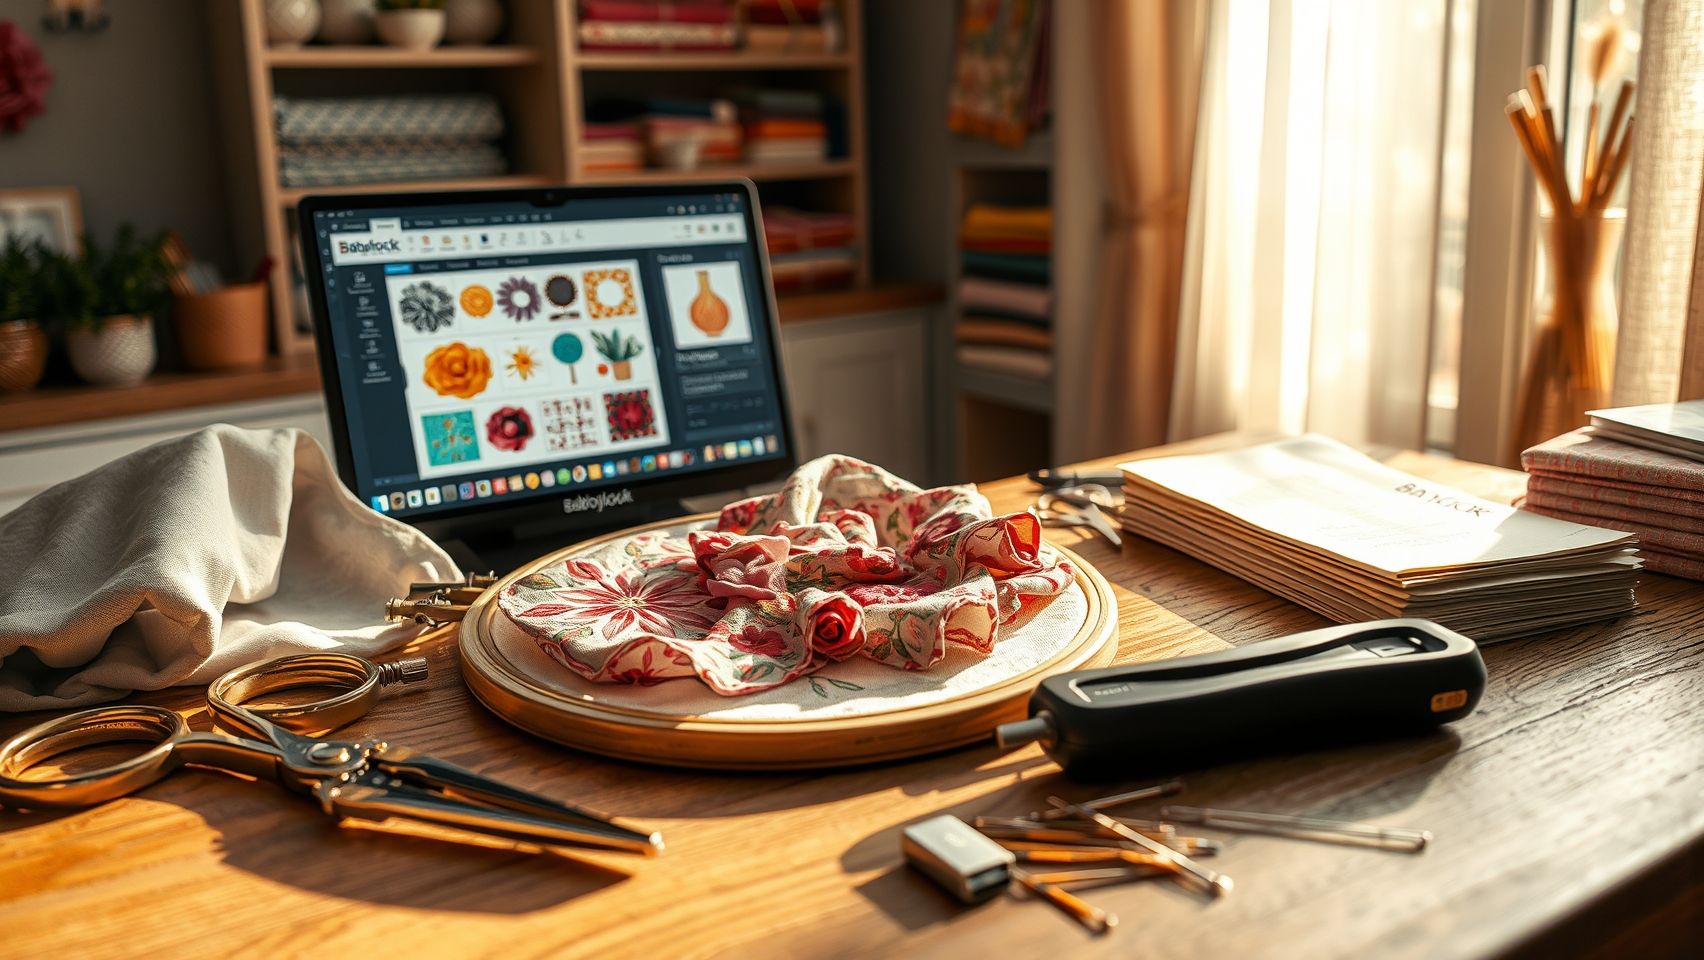
Getting started with creating custom embroidery designs on a Babylock embroidery machine might seem daunting, but with the right workflow, beginners can quickly develop their skills. The process involves designing, digitizing, fine-tuning stitch settings, previewing the pattern, and then transferring it to the machine. This guide will walk you through each step with practical techniques to make embroidery creation straightforward and enjoyable.
Designing Your Pattern
Begin by using Babylock’s Luminaire or Solaris software, which offers built-in features to sketch directly or import images like JPG or PNG files. For importing, simply select the image editing tool and upload your design. Use the software’s auto-tracing and editing tools to clean up the image, adjusting the size and position as needed. Visualize your pattern with the software’s preview to ensure the design elements meet your expectations. Avoid common pitfalls such as low-resolution images or overly complex designs that may cause stitching issues.
Digitizing: Converting Images into Stitch Files
Next, convert your image into a stitch file by choosing appropriate stitch types, such as satin, fill, or motif, to match design detail. Babylock software automates much of this process, offering quick conversion options that analyze the image and apply suitable stitch patterns. Fine-tune stitch parameters like density, sequence, and underlay settings to enhance the final look. Proper settings prevent puckering or uneven stitches, which are common beginner mistakes. Better stitch planning reduces thread breakage and fabric distortion.
Preview, Simulate, and Transfer
Before embroidery, always preview and simulate the pattern within the software. This step helps identify errors like missed stitches or overlapping areas, saving time and thread. Once satisfied, save the pattern on a USB drive or directly transfer it via Wi-Fi if your machine supports it, streamlining your workflow. Confirm the pattern loads correctly on your machine and adjust thread color assignments for guided stitching. Always secure a stabilizer and hooped fabric tightly to ensure embroidery precision during execution.
Running Your Embroidery
With everything set, start embroidering by securely attaching the stabilized fabric in the hoop. Load the pattern from your device into the machine’s interface, then follow on-screen prompts for stitching. Beginner embroiderers should take their time, monitor stitching progress, and be ready to pause if needed. Practice patience and enjoy your first successful custom embroidery piece as part of your creative journey with Babylock.
Comparing Babylock with Brother and Janome Embroidery Machines
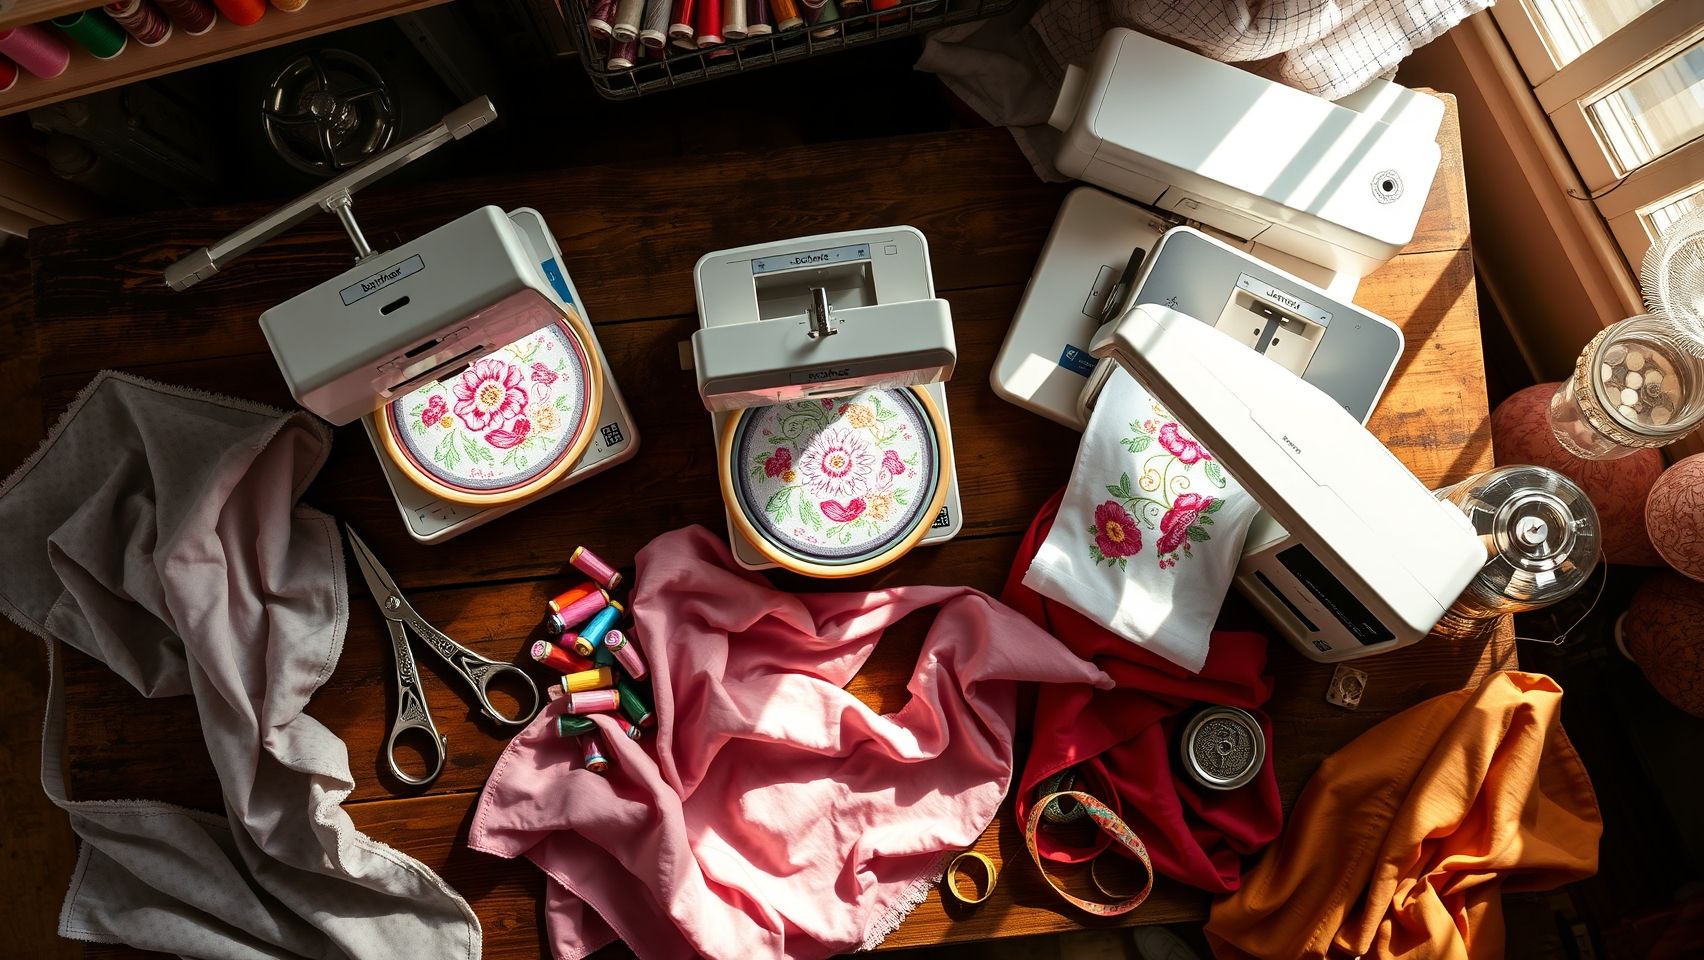
Choosing the right embroidery machine in 2025 requires a careful evaluation of features, price, and user feedback. Babylock, Brother, and Janome are among the top brands, each excelling in different areas. Understanding their strengths and limitations can help embroiderers select the best machine for their needs.
Hoop Size Options and Compatibility
Hoop sizes are crucial for achieving desired designs. Babylock’s Destiny offers professional-level features with hoops up to 9.5 inches x 14 inches, accommodating large, complex projects. In contrast, Brother’s PE770 provides a more affordable option with a 5-inch x 7-inch hoop, suitable for smaller designs but limited in size. Janome’s models like the Memory Craft 15000 support advanced digitizing functionalities and larger hoops, often exceeding 9 inches in width, making them ideal for high-volume or detailed work. Compatibility across brands varies, and some machines can adapt to third-party hoops, but it’s essential to verify specific models beforehand.
Built-in Designs and Software Inclusions
Babylock comes with a robust palette of built-in designs and advanced digitizing capabilities, but these features typically come with higher upfront costs. Brother’s machines tend to emphasize affordability and include basic to moderate design libraries, often bundled with intuitive software like PE-Design. Janome offers extensive built-in designs and support for professional digitizing software, which enhances precision and stitch quality. Software compatibility and update options are critical; Babylock’s software suite is comprehensive but costly, whereas Brother provides more budget-friendly solutions with frequent updates. Janome’s software tends to cater to serious enthusiasts seeking detailed customization.
Price Range and User Experience
Ease of Use and Special Features
Babylock’s user interface features a high-resolution touchscreen that simplifies design selection and editing, along with advanced digitizing tools for professional finishings. Brother machines typically prioritize simplicity, with larger touchscreens and user-friendly navigation, appealing to beginners. Janome emphasizes precision and stitch quality with detailed control panels and software support, catering to serious hobbyists and professionals alike. Customer reviews consistently praise Babylock’s reliability and excellent support, making it a preferred choice for those investing in professional embroidery.
Pricing, Financing, and Buying Tips for Your Babylock Embroidery Machine
Choosing the right embroidery machine for your needs involves understanding current market prices, financing options, and strategic buying tips. As of 2025, Babylock embroidery machines typically start at around $4, 000, offering advanced features like large hoops and digitizing capabilities. Meanwhile, entry-level models such as the Brother PE770, priced at approximately $700, provide excellent options for beginners. Serious hobbyists or small businesses might consider higher-end models like Janome’s premium series, which can go up to $2, 500, depending on features.
Financing options are widely available through authorized retailers and include lease-to-own plans spanning 12 to 36 months. These plans help manage upfront costs and make high-quality machines more accessible. Leasing programs are also popular, allowing you to upgrade your equipment as your skills and project volume grow.
Pricing Comparison of Popular Models
Tips for a Smart Purchase
When selecting your machine, consider your budget, the types of projects you want to undertake, and your future expansion plans. If you’re starting or on a tight budget, an entry-level model with basic features could suffice, with the option to upgrade later. For expanding your capabilities, investing in more advanced machines may be more cost-effective in the long run.
Where you buy also matters. Aim for official suppliers, authorized dealers, or verified online promotions that often include warranties of 1-3 years. Extended support packages can offer peace of mind, especially for high-end models. Additionally, consider essential accessories like additional hoops, stabilizers, and software upgrades that enhance your long-term value and project diversity.
Conclusion
Choosing the right Babylock embroidery machine in 2025 begins with understanding your project scope, budget, and desired features. Focus on key aspects such as machine size, software compatibility, and accessory options to ensure your creative journey is seamless and enjoyable. Remember, technology continues to advance, offering more intuitive features that make embroidery both easier and more fun for beginners.
Don’t wait to start creating your masterpieces. Begin exploring models today by visiting the official Babylock website and reaching out to authorized dealers for personalized advice and flexible financing options. Empower yourself with the right tools, and let your embroidery dreams come to life with confidence and style.
Your perfect machine is just a decision away, seize the opportunity to craft something extraordinary today!