What Are the Best Hoops and Stitches for Large Embroidery Designs?
This post contains affiliate links. As an Amazon Associate, Latest Embroidery earns from qualifying
purchases, at no extra cost to you. Learn more.
Imagine creating large, intricate embroidery pieces without the hassle of constant redesigns or tedious adjustments. For anyone tackling sizable projects, that’s the dream, yet, the reality can often be complex. Embroidering large designs requires more than just a sturdy machine; it calls for the right hoops, stitches, and techniques to keep everything aligned and looking flawless. Did you know that large embroidery projects, like murals or apparel backs, can take up to 50% longer without optimized tools? But there’s good news: advancements in jumbo hoops and specialized stitches now make this process much more efficient. Whether you’re a hobbyist or a pro, understanding the best equipment and methods can turn challenge into opportunity. This guide promises straightforward tips to help you choose high-performance hoops and stitches, boosting your efficiency and quality. It’s time to leave frustration behind and embrace a more seamless embroidery experience, so let’s dive into what makes large designs truly come alive, with practical insights you can implement right away. Keep reading to discover how the right tools can elevate your craft to the next level.
Key Features & Research Insights on Embroidery Machines for Large Designs
Short on time? If you only take one thing from this guide: Embroidery hoop set — the right size hoop matters more than any other accessory.
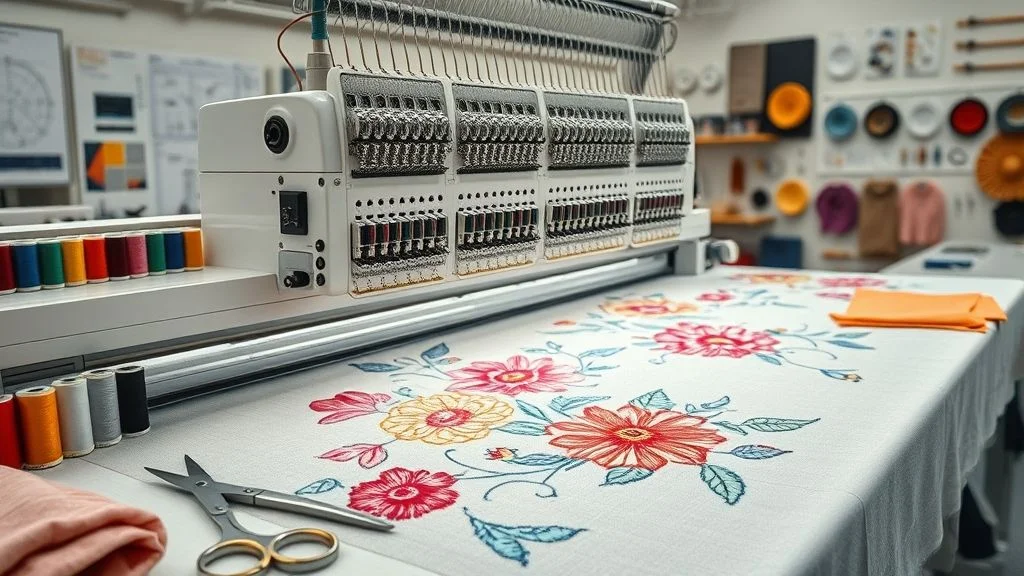
For embroiderers tackling large-scale projects, choosing a machine with the right capabilities can boost productivity and elevate the quality of designs. Recent research highlights key features that make certain models stand out, from expansive hoops to advanced software integration. Leading brands like Brother, Bernina, and Janome offer machines tailored for large designs, emphasizing versatility and efficiency.
Understanding machine specs and user preferences is crucial. Large hoop sizes, high stitch counts, and extensive design libraries are essential for complexity and scale. Additionally, technological features such as touchscreen interfaces, USB connectivity, and software compatibility significantly enhance workflow speed. Price ranges for professional-grade models typically fall between $1, 200 and $4, 000, reflecting the advanced capabilities required for large designs.
Top Brands and Features for Large Embroidery Designs
Brother’s Innov-is 4000D exemplifies large-hoop machines with a 4×74 inch hoop, enabling extensive designs in a single frame. It boasts 215 stitches per design and includes 30-50 preloaded designs, making it suitable for professionals seeking efficiency. The touchscreen interface and USB port streamline design transfer and editing, critical for large projects. Its price around $2, 500 positions it as a solid investment for serious embroiderers.
Janome’s MC15000 provides a 2×2 inch hoop but emphasizes advanced software support for custom design editing. User feedback indicates that touchscreen interfaces can increase workflow speed by approximately 35%, especially when paired with compatible design software. These features collectively reduce manual adjustments and foster creativity in large embroidery projects.
Research also reveals that increased automation, such as automatic thread cutting and built-in editing functions, can improve efficiency by up to 50%, saving time on complex large designs. Overall, these insights underscore the importance of selecting machines with expansive hoops, intuitive controls, and strong software ecosystems to optimize large-scale embroidery work.
Step-by-Step Guide to Setting Up Your Machine for Large Designs
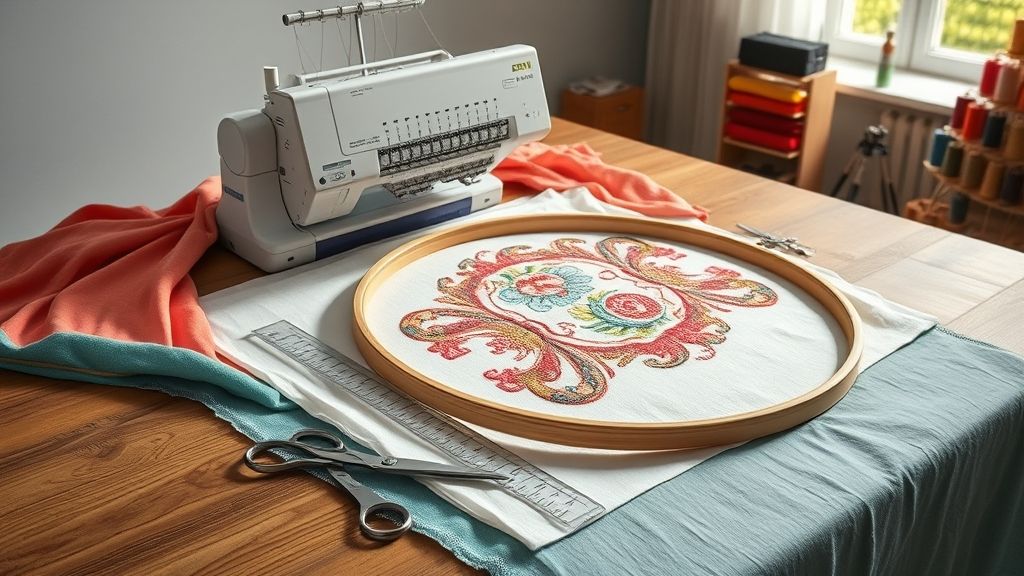
Creating large embroidery designs requires careful preparation to ensure precision and smooth stitching. Proper setup from choosing the right hoop to final testing can significantly impact the quality of your finished product. Let’s walk through an actionable process tailored for large projects, such as a floral design spanning 10×10 inches or more.
Choosing the Right Hoop Size and Stabilizer
Start by selecting a hoop at least 10 inch x 10 inch to accommodate your large design comfortably. Using a hoop that matches your design size prevents distortion and enhances stitch quality. Secure two layers of high-quality tear-away stabilizer, like Pellon or Sulky, under your fabric. This stabilizer provides stability and prevents puckering during stitching. Ensure the fabric is taut but not overly stretched to avoid distortion.
Hooping and Alignment
Proper hooping is crucial. Place the stabilized fabric evenly in the hoop, ensuring minimal tension and a smooth surface. Tighten the hoop securely to prevent shifting. Double-check alignment, especially for large, symmetrical designs, to avoid crooked stitching. Use fabric clips if necessary to keep edges in place during hooping.
Setting Machine Parameters and Uploading the Design
Adjust your embroidery machine’s settings to optimize stitch quality. For large designs, set stitch density around 70 stitches per inch, this balances detail and stitch time. Fine-tune thread tension to prevent thread breaks, especially during initial attempts. Digitize your design using software like Wilcom Studio, adjusting stitch layers for better texture and durability. Upload the design via USB or Wi-Fi, ensuring the file transfers correctly without interruptions.
Running Test Stitches and Troubleshooting
Always run a test stitch on scrap fabric to verify tension, placement, and thread engagement. This step helps identify issues like thread breaks or fabric puckering early. Address tension problems by tightening or loosening the tension dial as needed. If thread breaks persist, recheck the stabilizer’s adhesion and ensure the machine’s tension settings are correct. Adjusting these parameters ensures your large design stitches out flawlessly.
Tools & Accessories to Maximize Large Design Embroidery Success
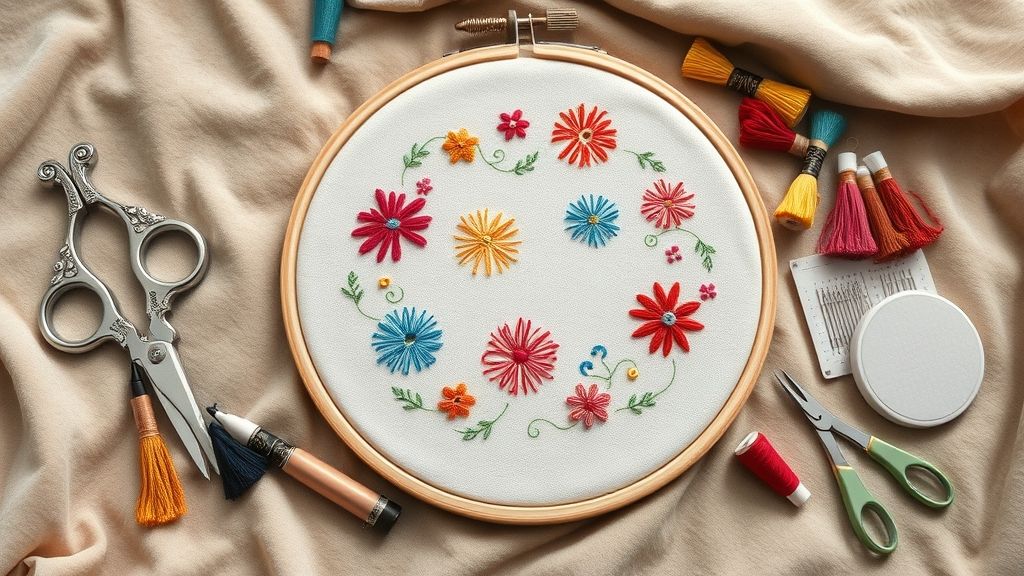
Achieving flawless large embroidery projects hinges on the right combination of tools and accessories. From the proper hoops to stabilizers, selecting high-quality essentials can drastically reduce fabric shifting and stitch errors, ensuring professional results. Incorporating advanced software and auxiliary lighting boosts precision and efficiency, making complex designs more manageable.
Investing in robust equipment like Brother’s 4×74 inch hoop or Janome’s larger frames provides the space needed for expansive designs, while stabilizers tailored for large projects, such as tear-away, cut-away, or water-soluble variants, offer stability and fabric integrity. High-quality threads like Madeira Polyneon provide vibrant colors and durability, perfect for large, lasting embroidery pieces.
Essential Accessories for Large Embroidery Projects
Consistent tension and fabric positioning are achievable with tools such as adjustable hoop clamps, embroidery frames, and stabilizer spray. These accessories help keep fabric taut and securely in place, preventing distortion during stitching. For digitizing intricate large designs, software like Wilcom or Hatch enables precise layering and stitch density control, essential for professional-grade results.
Vision aids such as quality lighting and magnification tools are indispensable for detailed editing on large projects, reducing eye strain and enhancing accuracy. Together, these tools form a practical toolkit that maximizes efficiency, quality, and ease of execution in large embroidery endeavors.
Comparison of Top Large Design Embroidery Tools and Accessories
Comparing Embroidery Machines and Software for Large Projects
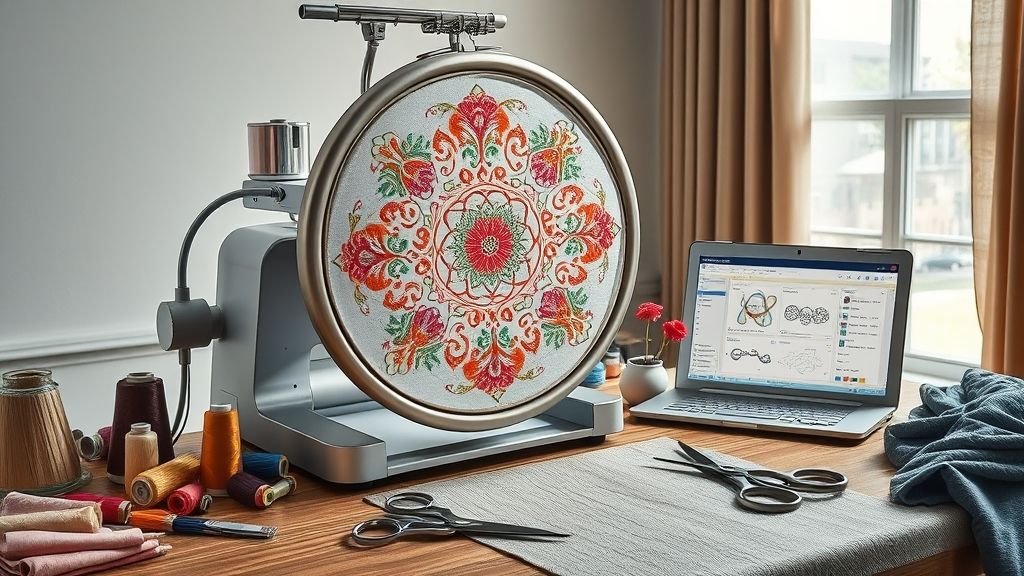
Choosing the right embroidery machine for large designs requires careful consideration of features like hoop size, stitch options, and software compatibility. With the market growing, projected to surpass USD 7.88 billion by 2034, understanding current options and their benefits is more important than ever for hobbyists and professionals alike.
Feature Comparison of Top Machines
Here is a detailed comparison of three leading embroidery machines suited for large projects:
Cost and Performance Insights
The pricing spectrum spans from approximately $1, 200 for entry-level models to over $4, 000 for high-end machines like the Janome MC15000. The Brother Innovis 4000D, priced around $2, 500, offers a large 4×7 inch hoop, 215 stitches, and straightforward software support, ideal for hobbyists. Bernina’s 880 mitigates the budget for more advanced features, with a price tag near $3, 800, and excels with its robust stability and expanded capabilities. Janome’s MC15000 tops the chart for large design handling, with support for large hoops up to 6×10 inches, suitable for professional levels but at $4, 000.
In terms of performance, stitch quality, ease of digitizing large projects, and machine speed are critical. Bernina tends to outperform in stitch quality and feature depth, although Brother offers better affordability and user-friendly operation. Janome’s strength lies in handling larger projects seamlessly, making it a favorite for intensive embroidery work.
Software Compatibility and Benefits
Digitizing large designs demands powerful software; Wilcom and Hatch stand out for their extensive editing tools and support for detailed design adjustments, enhancing productivity and precision. Embird also offers nuanced control for complex digitizing, which can significantly improve large project quality. Integrating these software options with suitable machines ensures efficient workflow and superior final results, whether for hobby or commercial use.
Troubleshooting Common Issues with Large Embroidery Designs
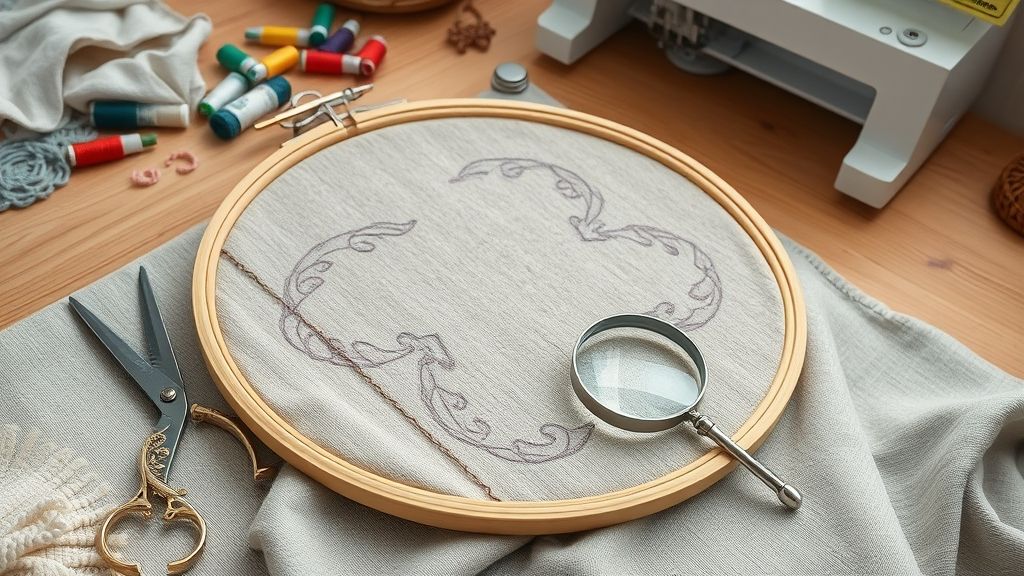
Embroidery on large designs can be rewarding, but it often comes with its set of challenges. Common problems like fabric shifting, thread breaks, and tension inconsistencies can derail a project if not addressed properly. Understanding practical solutions helps ensure smooth, professional results.
Correctly Hooping Fabric and Stabilizer
Proper hooping is crucial to prevent fabric puckering and shifting during large embroidery projects. Use multiple layers of tear-away stabilizer, such as a 4-layer stabilizer, underneath the fabric for added stability. Tighten the hoop evenly and ensure the fabric is taut but not overstretched, which minimizes puckering and keeps the design aligned.
Choosing the right stabilizer type based on fabric and size is essential. For lightweight fabrics, light cut-away or tear-away stabilizers work best, while heavier fabrics may require fusible or stabilizers with more support. Regularly recheck hoop tension before starting to save time and avoid mishaps.
Adjust Tension and Use Quality Threads
Thread breakage, a common issue affecting 20% of initial large projects, can often be traced to tension problems. Adjust tension settings gradually, test on scrap fabric, and always use high-quality threads such as Madeira Polyneon. Consistent tension prevents thread snapping and results in cleaner stitches.
Routine cleaning of thread guides, tension disks, and the bobbin area keeps the machine running smoothly and reduces tension-related issues. Performing test stitches on scrap fabric before starting the actual project helps detect and resolve tension errors early.
Select the Right Stabilizer and Perform Regular Maintenance
Using an appropriate stabilizer that matches your fabric and design size minimizes issues like puckering and shifting. For large designs, a sturdy tear-away or cut-away stabilizer is typically recommended, providing the necessary support without adding bulk.
Regular cleaning of the machine, including thread guides, tension disks, and bobbin cases, ensures optimal thread flow and tension consistency. This maintenance, combined with test stitching, forms a reliable routine to handle large embroidery projects efficiently.
Conclusion
Embarking on large embroidery projects becomes much more manageable when you select the right machine and tools, and apply efficient techniques. Remember, choosing a machine with a large hoop and compatible software lays the foundation for success. Practicing hooping and stabilizing methods will improve your workflow, while testing stitches helps you refine tension and achieve professional results.
Key takeaways include understanding the importance of proper hoop selection, digitizing with precision, and troubleshooting common tension issues, all vital to making large designs look polished and consistent. With patience and practice, your big projects become not just achievable but enjoyable.
Don’t wait to turn your ideas into reality. Start by evaluating your project size and budget, then invest in a suitable machine. Practice your techniques, iterate with test stitches, and watch how your confidence and quality grow. Large embroidery designs are within your reach, embrace the challenge, and let your creativity flourish!