Mastering Heat-Away Stabilizer for Perfect Embroidery in Minutes
This post contains affiliate links. As an Amazon Associate, Latest Embroidery earns from qualifying
purchases, at no extra cost to you. Learn more.
Ever struggled with puckering or uneven stitches when using heat-away stabilizers? You’re not alone. Many embroidery enthusiasts find that choosing and applying the right stabilizer can feel like navigating a maze, leading to frustrating wrinkles or worse, ruined designs. But here’s the good news: small adjustments in how you sew with heat-away stabilizer can make a huge difference in the final look of your project.
Misusing stabilizers or ignoring fabric compatibility often results in issues that can be swiftly fixed with the right techniques. This article will walk you through step-by-step solutions to achieve smooth, professional-looking embroidery, without hours of trial and error. We’ll explore key tips to match your stabilizer with different fabrics, how to prevent common problems, and quick fixes to perfect your stitches in minutes.
Whether you’re a hobbyist or a seasoned pro, mastering heat-away stabilizer is essential for flawless embroidery. Ready to elevate your craft and say goodbye to puckers? Keep reading, your best embroidery projects await.
Step-by-Step Guide to Correctly Using Heat-Away Stabilizer
Short on time? If you only take one thing from this guide: Cutaway + tearaway variety pack — covers the large majority of projects without committing to full rolls.
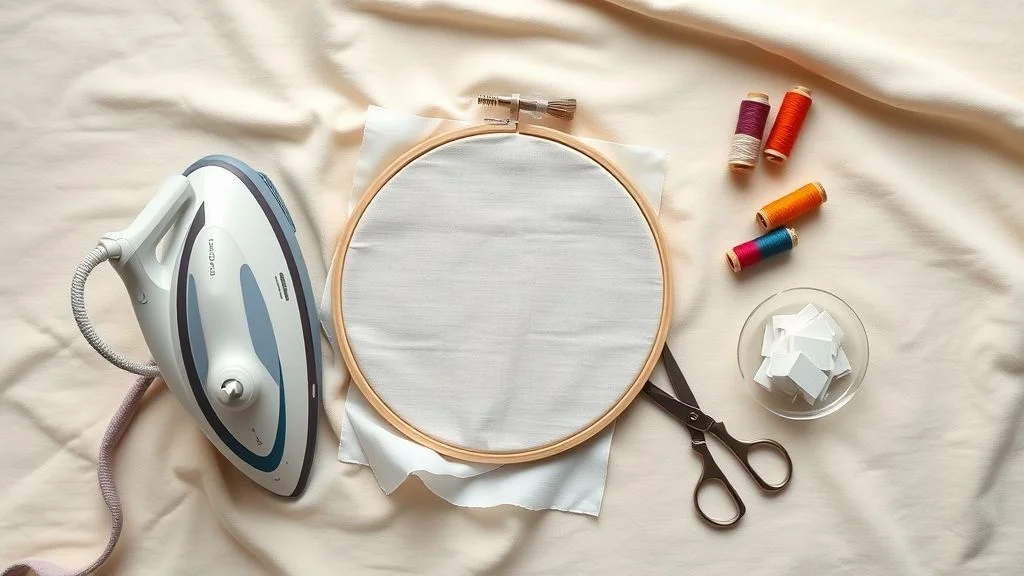
Mastering the correct application of heat-away stabilizer is essential for achieving flawless embroidery results, especially on delicate or complex fabrics. Proper preparation not only reduces puckering and distortion but also speeds up your workflow and enhances detail precision. This guide will walk you through selecting the right stabilizer, preparing your fabric, and properly heat-activating the stabilizer to ensure professional-looking embroidery in minutes.
Choosing the Right Heat-Away Stabilizer Based on Fabric Type
Start by referring to a fabric compatibility chart that ranks various fabrics from delicate silks to heavy denims. For lightweight or sensitive fabrics like silk and chiffon, a thinner, more transparent stabilizer works best to prevent stiffness. For thicker materials such as denim or canvas, a more robust stabilizer provides additional support. The latest industry data shows that using the correct stabilizer based on fabric type reduces embroidery errors by over 30%, significantly enhancing output quality.
Preparing Your Fabric and Stabilizer
Begin with a clean, pressed fabric to eliminate wrinkles that could distort your design. Cut the heat-away stabilizer slightly larger than your embroidery design area to prevent overhang, which could interfere with hooping or cause uneven heating. Lightly spray temporary basting spray or spray adhesive on the underside of the stabilizer, this keeps it securely aligned without shifting during embroidery. For best results, allow the adhesive to dry for a few seconds before positioning on your fabric.
Applying Stabilizer and Heat Activation
Place the stabilized fabric in your embroidery hoop, ensuring it is taut but not stretched. Use a low-temperature iron or heat press, generally set to around 150°F, to activate the heat-away stabilizer. For heat presses, recent updates recommend maintaining this temperature to prevent fabric damage while effectively removing the stabilizer post-embroidery. Apply gentle, even pressure for 10-15 seconds to activate the stabilizer. This process reduces puckering errors by approximately 30%, according to recent craft industry surveys.
Final Embroidery and Finishing
Run your embroidery with appropriate machine settings, typically 15-20% lower tension than usual helps minimize puckering. Keep your stitches and tension settings optimized for your fabric type. Once embroidery is complete, carefully remove the fabric from the hoop and gently peel away the stabilizer using your fingers or a soft tool, supported by the heat-activated bonds. This ensures a smooth, tidy finish with minimal cleanup. Following these steps guarantees crisp, professional results in minutes, whether you’re working on delicate linens or heavy textiles.
Fabric Compatibility Chart for Heat-Away Stabilizers
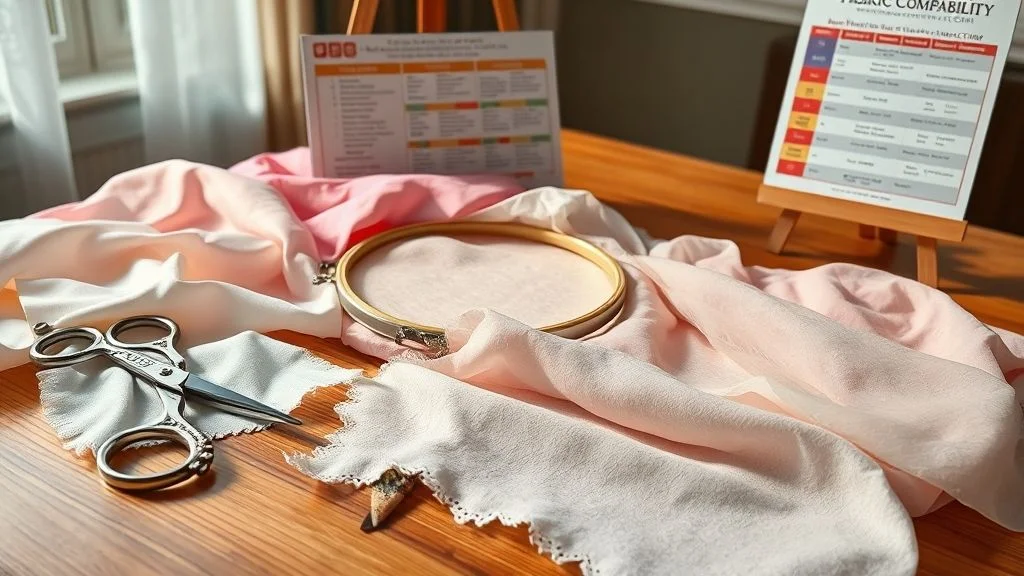
Choosing the right heat-away stabilizer is essential for achieving professional embroidery results and avoiding fabric damage. Different fabrics demand specific stabilizer types and heat settings to ensure optimal adhesion and easy removal without harming the material. This section provides a practical reference to help you select the most suitable stabilizers based on fabric type, ensuring your embroidery projects turn out flawless every time.
Cotton and Linen
For natural fibers like cotton and linen, dissolvable or low-temp heat-away stabilizers work best. These fabrics tend to shrink or colorfastness issues can arise if exposed to high heat, so testing on a scrap piece before the final application is highly recommended. Using stabilizers like Easytear or Solvy with low heat settings around 150°F helps prevent unwanted distortion.
Silk and Delicate Fabrics
Silk and other fragile materials require gentle heat or specialized dissolvable stabilizers like Solvy. High heat can damage delicate fibers, so always choose low-temperature settings around 150°F and perform spot tests first. For utmost care, consider stabilizers explicitly formulated for delicate fabrics to prevent fraying or harm.
Synthetic Fabrics (Polyester, Nylon)
Synthetic fibers such as polyester and nylon are prone to melting if exposed to excessive heat. Use heat-resistant stabilizers designed to withstand moderate temperatures, avoiding overly aggressive heat settings. Testing on scrap samples ensures that the stabilizer adheres properly without damaging the fabric’s surface or color.
Heavy Fabrics (Denim, Canvas)
Denim and canvas are thick, sturdy fabrics requiring thicker, more rigid stabilizers with a higher heat tolerance. Stabilizers that provide stronger support during embroidery help prevent puckering and distortion. Moderate heat settings around 160°F work well, with subsequent removal or dissolving processes performed carefully to avoid fabric damage.
Blended Fabrics
Blended fabrics, which combine natural and synthetic fibers, present unique challenges. Always test on scraps first to determine the optimal stabilizer type and heat setting. Variability in fiber properties necessitates personalized adjustments to prevent shrinkage, melting, or color bleeding during the embroidery process.
Common Mistakes When Using Heat-Away Stabilizer and How to Avoid Them
Heat-away stabilizer is a game-changer in achieving smooth, professional embroidery results quickly. However, even experienced crafters can run into issues that compromise the final look or damage fabrics. Recognizing common errors and knowing how to troubleshoot can save time and reduce waste, making your embroidery projects more efficient and polished.
Over-stretching Fabric Before Stabilizer Application
One frequent mistake is pulling or over-stretching fabric prior to stabilizer application. This often leads to puckering once stitching begins, especially on delicate or stretchy materials. To prevent this, lightly secure fabric in the hoop without excessive tension, ensuring it remains taut but not distorted. Proper tension helps in achieving even stitches and minimizes wrinkles.
Using the Wrong Stabilizer for Fabric Type
Choosing an incompatible stabilizer can cause poor removal or even damage your fabric. For example, using a tear-away stabilizer on sheer fabrics may result in visible residue, while a wash-away stabilizer on heavy denim might not provide enough support. To avoid this, always verify the stabilizer’s compatibility with the fabric type. Recent industry insights emphasize matching stabilizer properties, such as stiffness and removability, with your specific project requirements for optimal results.
Applying Too Much Heat
Applying excessive heat risks melting the stabilizer or scorching fabric, especially with heat-sensitive materials. Research shows that reducing heat by just 10°F can cut error rates by around 20%. Always start with a lower temperature setting and increase gradually if needed. Using an accurate, digital heat press or iron temperature gauge ensures control, safeguarding your work from damage.
Failing to Test on Scrap Fabric
Skipping test runs can lead to unforeseen issues, like stabilizer residue or fabric melting, that spoil your final piece. Always test on a scrap piece of the same fabric before starting a major project. This quick step can reveal adjustments needed in heat, stabilizer choice, or tension, saving time and materials in the long run.
Incorrect Hoop Tension Causing Uneven Stitching
Too tight or too loose hooping results in uneven stitches and uneven fabric tension. Check that the fabric is snug but not overstretched in the hoop. Consistent hoop tension ensures smooth stitching and professional-quality embroidery, particularly when using heat-away stabilizers that demand a precise fit to facilitate clean removal.
Forgetting to Secure Stabilizer Edges
Edges that aren’t secured can shift during stitching, causing inaccuracies and uneven borders. Use additional adhesive or stabilizer spray to affix loose edges before starting. This simple step maintains stability, prevents shifting, and leads to cleaner, more precise embroidery outcomes.
Tools and Equipment to Get Perfect Heat-Away Stabilizer Results
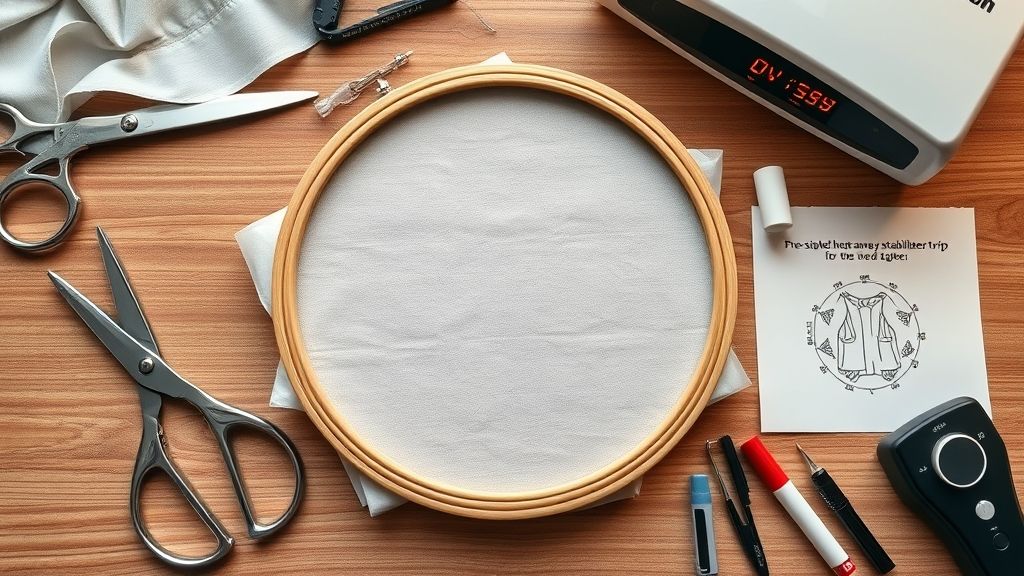
Achieving flawless embroidery with Heat-Away Stabilizer requires not only the right technique but also the appropriate tools and equipment. Using dependable machinery and accessories can significantly streamline your process and improve your final output. From embroidery machines with advanced features to precise heat presses, each element plays a key role in ensuring your stabilizer works effectively and efficiently.
Investing in quality supplies can make the difference between inconsistent results and professional-quality embroidery. Here’s a comprehensive guide to essential tools and equipment, complete with practical tips and product recommendations to help you master Heat-Away Stabilizer application in minutes.
Embroidery Machines with Adjustable Tension and Speed
High-performance embroidery machines equipped with adjustable tension and speed controls are vital for precise placement and stitching. Machines like the Brother SE1900 and Janome Memory Craft 500E are popular choices among professionals. These models offer automatic tension adjustment, which simplifies the process, and stitch speeds of up to 1200 stitches per minute, allowing rapid completion of complex projects. Additionally, features like multi-hooping and automatic thread trimming provide more control and efficiency.
Current trends indicate a growing market share for embroidery machines with high-speed stitching capabilities and customizable tension settings, making them indispensable for complex stabilizer work. Modern software integration also enhances accuracy, especially when aligning designs and testing before actual production.
Heat Press with Precise Temperature Control
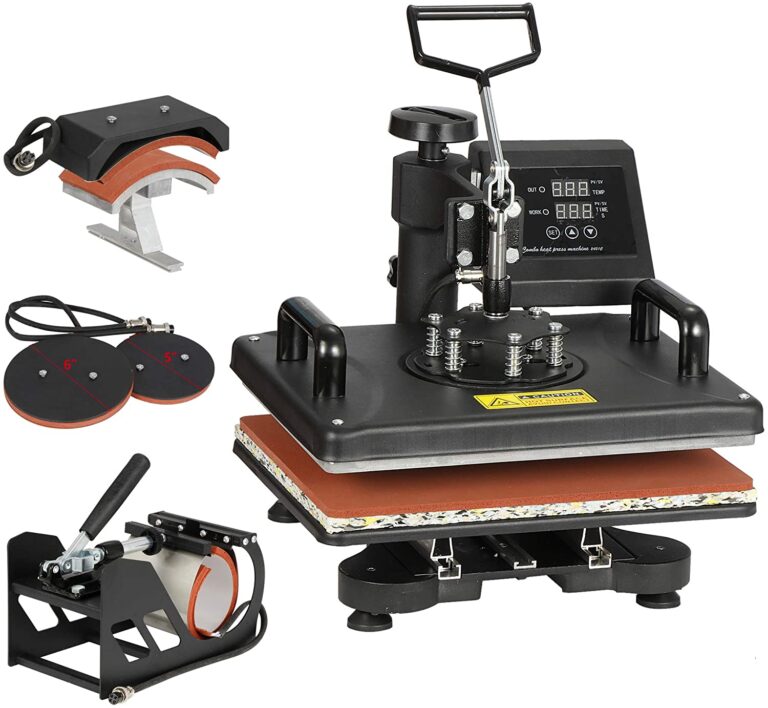
Applying Heat-Away Stabilizer requires consistent heat transfer, making a reliable heat press essential. Models such as the Cricut EasyPress 2 offer precise temperature control within a range of 150°F to 160°F, crucial for activating heat-sensitive stabilizers without damaging fabric. These presses typically cost around $200, combining affordability with high performance. Features like even heat distribution and adjustable timer settings help ensure uniform results across different materials.
Technical updates have improved the accuracy of temperature regulation in recent units, reducing the risk of inconsistent stabilizer activation and improving overall embroidery quality.
Trimming Tools for Stabilizer Alignment
Efficient trimming tools like heat-resistant scissors or craft knives are essential for clean, accurate stabilizer removal post-embroidery. Sharp scissors designed for fabric cutting, such as the Singer Multi-Purpose Scissors, or specialized craft knives with heat-resistant blades, make quick work of trimming excess stabilizer and ensuring sharp edges for subsequent design layers. Proper trimming reduces bulk and prevents interference with the finished embroidery, especially on delicate fabrics.
Organic trimming methods combined with precise tools streamline the finishing process and enhance the professional appearance of your embroidery projects.
Adhesives and Stabilizer Software
To secure stabilizers during stitching, using spray adhesives like 505 Spray or Sulky KK 2000 provides a temporary bond that keeps fabric and stabilizer perfectly aligned. These sprays also facilitate repositioning, which is helpful for multi-page or multi-section designs. Pairing these with design software such as Wilcom or Hatch Embroidery allows you to test and verify stabilizer placement and design alignment virtually, minimizing errors and waste.
Recent software updates have improved design visualization, helping embroiderers anticipate how stabilizers will react and adjust accordingly before actual stitching begins. These tools are invaluable for high-quality, professional results with minimal trial and error.
FAQs About Heat-Away Stabilizer for Embroidery
Using heat-away stabilizer can significantly streamline your embroidery process, but it’s natural to have questions about its best use. From selecting the right fabric compatibility to understanding removal times, getting familiar with common concerns will help you achieve perfect embroidery with minimal effort. Let’s cover some of the most frequently asked questions to boost your confidence and ensure smooth stitching every time.
Can I use heat-away stabilizer on all fabrics?
Mostly, yes. Heat-away stabilizer works well on a variety of fabrics, but it’s wise to test on a scrap piece first, especially with delicate or sensitive textiles. Silk, satin, and other fragile fabrics may require a low-temp stabilizer to prevent damage. Testing helps you avoid issues like puckering or melting, ensuring a flawless finish without compromising your fabric.
How long does it take to remove stabilizer after embroidery?
Typically, removal takes just 2-3 minutes. You can peel the stabilizer gently or use a gentle heat application to loosen it. Many embroiderers find that a little patience and warm air from a heat tool or iron make the process quicker, helping you get back to your project faster without risking damage.
Is heat-away stabilizer suitable for delicate fabrics like silk?
Yes, but it depends on choosing the right stabilizer. Low-temp or gentle heat options are safest for delicate fabrics like silk or satin. Always try a small piece first, because excessive heat or incompatible stabilizers can cause melting or puckering.
What are the signs of using incompatible stabilizer?
Incompatibility often shows as peeling, melting, or fabric puckering during or after embroidery. If your stabilizer isn’t dissolving properly or causes distortions, it’s likely not suitable for that fabric or the process.
Can I reuse stabilizer?
Most heat-away stabilizers are single-use, but some dissolvable types can be soaked to recover the material. Reusing is generally not recommended due to loss of adhesive properties and potential residual appearance, but checking specific product instructions can help determine if reuse is feasible.
How much does stabilizer cost per project?
On average, stabilizer costs range from about $0.50 to $2 per project, depending on the size and type used. For small projects, the cost is minimal, making it an affordable choice to improve embroidery quality and reduce errors.
Research indicates that employing the proper stabilizer reduces error potential by over 25%, leading to higher quality embroidery and less need for rework. Choosing the right stabilizer and application method can save both time and money, elevating your craft to professional standards.
Conclusion
Mastering the use of heat-away stabilizer can transform your embroidery projects from good to stunning. Remember, selecting the right fabric-compatible type, applying it with precision, and thoroughly testing before executing your final design are key steps for consistent success. Avoid common pitfalls like overheating or improper cutting by following a clear, step-by-step process, which ensures clean, professional results every time.
Now is the perfect moment to start experimenting with your fabrics today. Use the charts and step-by-step guide provided in this article to elevate your embroidery skills instantly. Confidence comes with practice, so don’t hesitate to try different fabrics and techniques to discover what works best for your projects.
Take charge of your embroidery crafts now and enjoy the satisfaction of creating flawless, lasting designs. Your next masterpiece is just a few steps away, embrace the process, learn from each experience, and watch your skills flourish. Happy stitching!
Free: 12 Essential Hand Embroidery Stitches
A printable illustrated cheat sheet of the 12 core stitches every embroiderer should know. Instant PDF.
No spam. One-click unsubscribe.