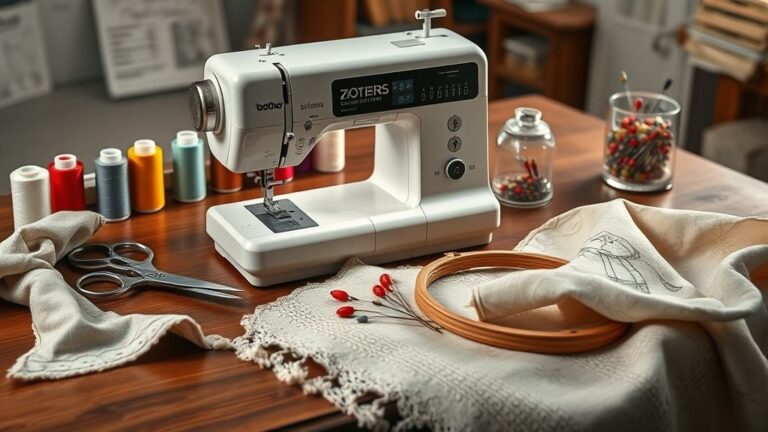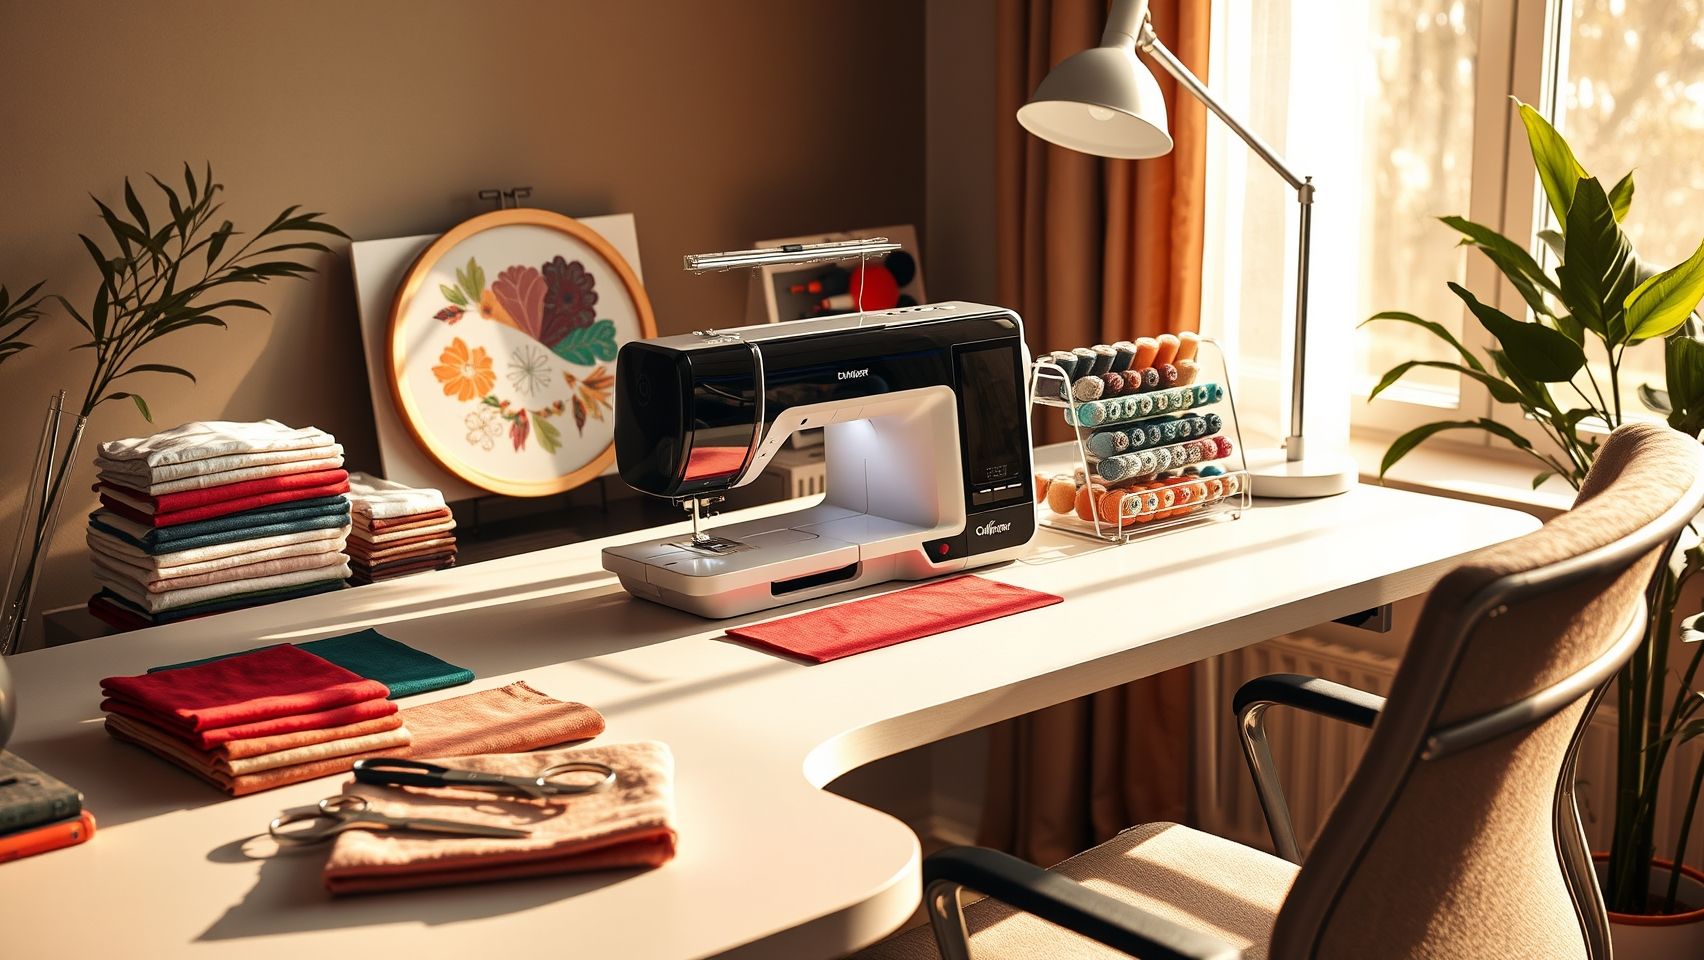
How to Optimize Your Embroidery Machine Table for Better Ergonomics
This post contains affiliate links. As an Amazon Associate, Latest Embroidery earns from qualifying
purchases, at no extra cost to you. Learn more.
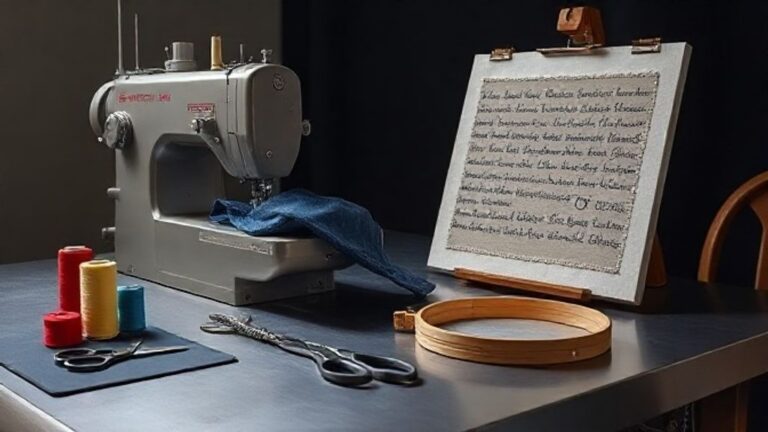
You know that feeling when you’ve been stitching away on a long embroidery project and suddenly find yourself with a sore back, neck ache, or just a general sense that your workspace isn’t working for you? I’ve been there, frustrated with awkward postures, pattern misalignments, and wasted time fumbling around a cluttered or poorly designed setup. Here’s the thing: a well-thought-out workspace can really make all the difference, not just in comfort but also in the quality of your work.
Many embroiderers struggle with posture discomfort, which can lead to fatigue quite quickly. According to ergonomic guidelines from science-based research, adjusting factors like table height and seat position can prevent a lot of common problems. Misalignment of patterns and fabric shifting are also big culprits, better workspace organization and proper machine placement can help eliminate these issues.
I’ve found that even small tweaks, like raising the table to a comfortable waist height or ensuring ample space around your machine, dramatically improve both comfort and efficiency. And trust me, it’s worth taking the time to set up a workspace that fits your needs. In fact, companies like [Brother](https://brother-usa.com/) constantly emphasize that ergonomic setups can boost both productivity and longevity in this craft. Ready to get started? Let’s dive into practical, step-by-step tips for creating a workspace that works for YOU:
Key Research Insights on Embroidery Workspace Setup
Short on time? If you only take one thing from this guide: Brother SE700 — the machine we point most beginners to — touchscreen, wireless transfer, and it sews as well as embroiders.

Setting up your embroidery workspace isn’t just about having the right tools, it’s about creating an environment that promotes accuracy, comfort, and long-term health. Recent research and expert insights emphasize that a thoughtfully arranged workspace can significantly improve your stitching results and reduce common frustrations like misalignments or fatigue. Trust me, a little ergonomic tuning goes a long way!
Now, let’s talk about some actionable insights from current studies and guides. One crucial finding is that working on 72-74 count near evenweave fabrics helps achieve finer detail, but this also means your workspace needs to be tailored specifically to handle these materials, like adjusting your lighting and workspace depth accordingly. Proper pattern alignment techniques, such as using center lines, hybrid repeats, or staggered drops, also demand workspace modifications to reduce errors and streamline the process. Interestingly, research shows that up to 70% of embroiderers improve accuracy simply by adjusting their setup for better visibility and comfort. It’s a reminder that investing a few moments in ergonomic tweaks can lead to noticeably better results.
Practical Ergonomic Factors to Focus On
Key factors include employing ergonomic chairs, adjustable tables, and appropriate lighting. These elements not only enhance comfort but also support steady, precise stitching. If your workspace is poorly set up, it’s common to encounter issues like partial stitches or misaligned patterns, issues that proper ergonomic setup can greatly minimize. Tools like the Ensamplario Atlantio series or digital pattern downloads can help with pattern alignment, saving you time and headaches. Ultimately, a workspace designed with ergonomic principles allows you to embroider longer without fatigue and with greater confidence, turning your projects into true works of art.
Enhancing Comfort with Accessories for Long Embroidery Sessions
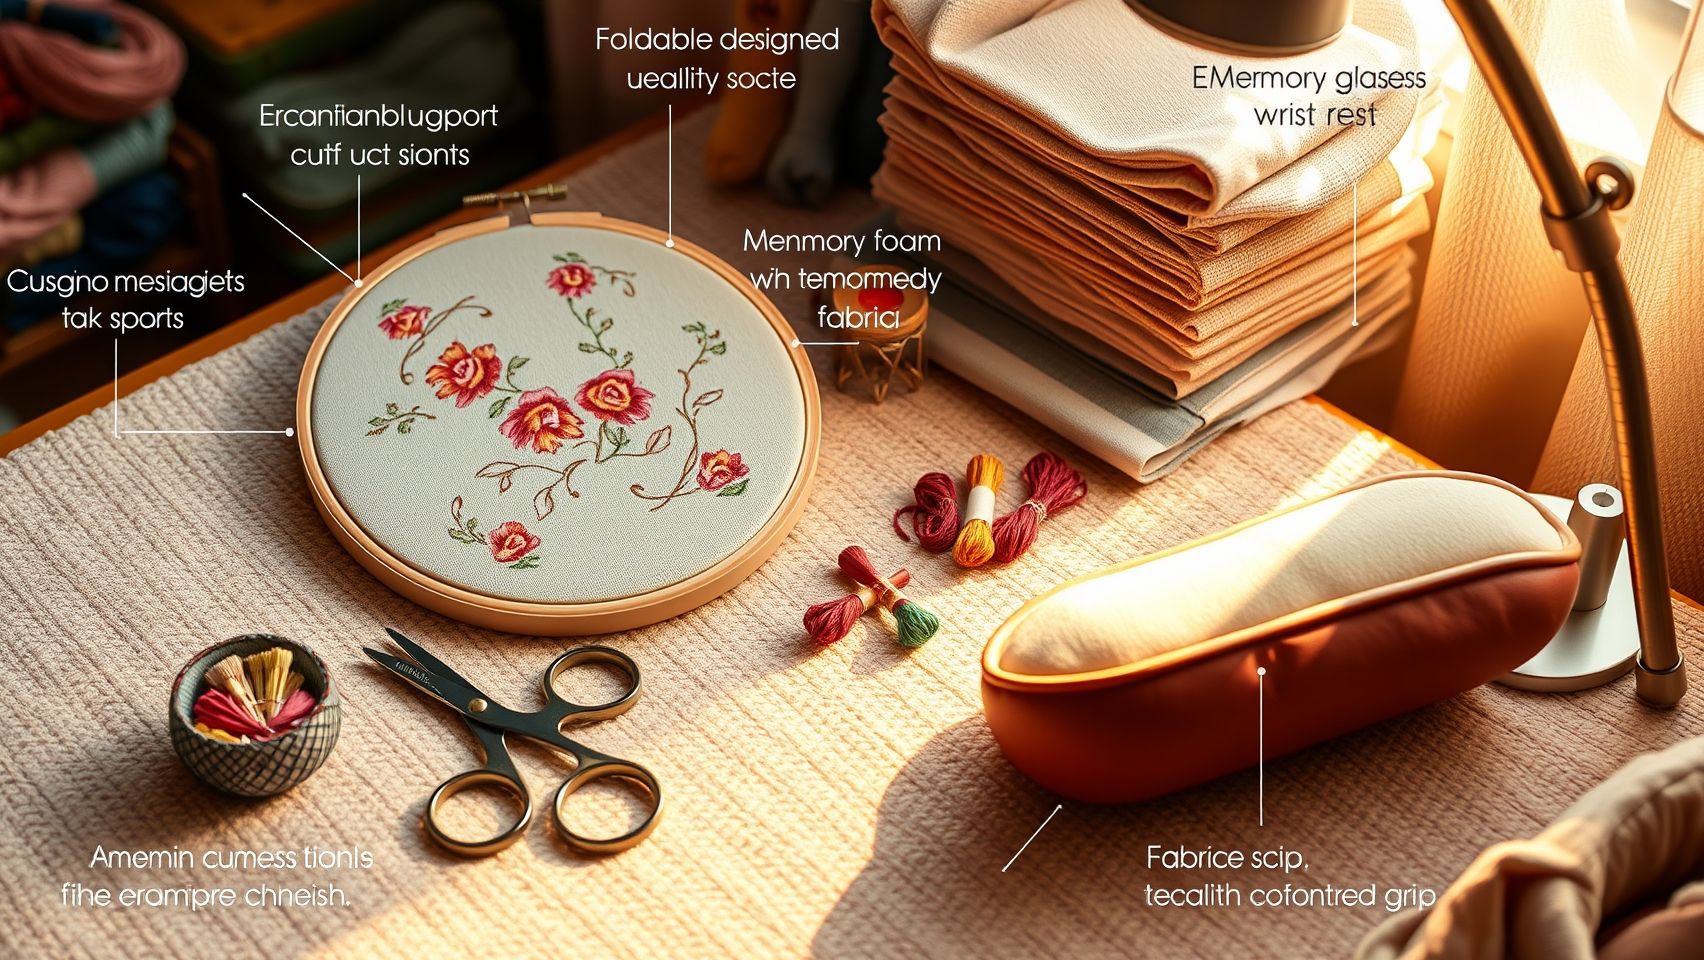
If you’re anything like me, spending hours at the embroidery machine can take a toll on your body, causing discomfort, fatigue, or even repetitive strain injuries. The good news is, with a few well-chosen ergonomic accessories, you can transform your setup into a comfortable, supportive workspace that makes even long sessions feel almost effortless. From wrist supports to adjustable lighting, these small improvements can make a huge difference in your focus and stitch quality.
Today, I’ll share some practical tips and product suggestions to help you support your body and eyes so you can enjoy embroidery without the usual aches. Trust me, investing in ergonomic accessories isn’t just about comfort; it’s about protecting your health while doing what you love most.
Use Padded or Gel Wrist Supports
One of the simplest upgrades is adding padded or gel wrist supports, which help reduce strain during those marathon embroidery sessions. Occupational health experts recommend gel wrist supports because they evenly distribute pressure and prevent repetitive strain injuries. These supports are affordable, easy to use, and can be placed directly on your work surface or wrist, making delicate stitching more comfortable and reducing fatigue.
According to recent studies, comfort accessories like these can decrease fatigue by up to 30%, meaning you’ll be able to keep your focus longer without discomfort setting in. They’re especially helpful if you notice your wrists feeling sore after embroidery marathons.
Select an Ergonomic Chair and Anti-Fatigue Mats
Quality ergonomic chairs with lumbar support and adjustable height are game-changers, they help maintain proper posture and reduce lower back pain. Prices typically range from $80 to $300, with many options available from office or craft supply stores. Pairing this with an anti-fatigue mat if you stand at your table prolongs comfort and reduces fatigue, standing on hard surfaces for hours can lead to leg and back tiredness.
Investing in these accessories encourages better posture, minimizes aches, and keeps you comfortable during those extended embroidery projects. It’s worth it for the health benefits and improved focus!
Utilize Adjustable Magnifying Lamps for Better Visibility
Ever squint at tiny stitches? An adjustable magnifying lamp can make a big difference. Modern models with flexible arms and LED lighting help illuminate your work clearly, reducing eye strain and enabling more precise stitches. This is especially helpful for detailed embroidery or when working on intricate designs. Because the lamp is adjustable, you can set the perfect height and angle, making your setup more ergonomic and less tiring on your eyes.
Reducing eye strain allows you to work longer and keeps your focus sharp, which ultimately improves your overall results.
Keep Tools Within Easy Reach with Tool Rings or Magnetic Mats
Finally, don’t forget about organization. Keeping scissors, needles, and other tools within arm’s reach minimizes unnecessary stretching and awkward movements. Using tool rings or magnetic mats keeps everything tidy and accessible, so you’re not constantly reaching or twisting your body.
This small change makes a big difference, saving your shoulders and back from unnecessary strain while ensuring everything you need is right at your fingertips. Little ergonomic adjustments like these help you enjoy embroidery more and face fewer aches.
Implementing Pattern Alignment Techniques for Flawless Designs

Hey fellow embroiderer! One of the most satisfying moments in our craft is getting those intricate motifs perfectly aligned. But it can also be one of the most frustrating, especially with complex designs or when working on larger projects. That’s why mastering pattern alignment techniques is a game-changer. Let me walk you through some step-by-step procedures I’ve found helpful for ensuring your designs come out flawless every time.
Step 1: Measure and Mark the Fabric
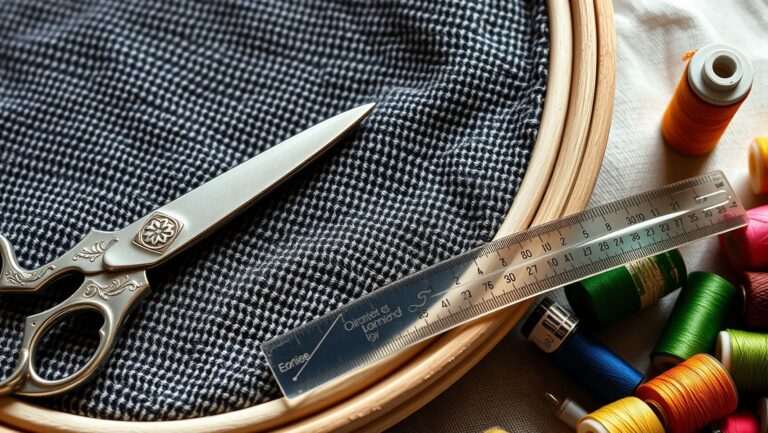
Start by accurately measuring your fabric dimensions and marking the center with a washable fabric marker or chalk. This gives you a reliable reference point. Use a ruler or a grid mat for precision, trust me, eyeballing it can lead to misplacement. Once you’ve found the center, draw a vertical and horizontal center line. This foundational step is critical, as research shows it can reduce stitching errors related to misplacement by up to 60%.
Step 2: Apply Pattern Repeat Methods Based on Your Design
Different motifs require different alignment strategies. For instance, if you’re working with a repeating pattern like lotus buds or carnations, decide whether to use center alignment, hybrid methods, or staggered repeats. Applying these based on your design helps prevent misalignment and uneven stitches. For example, staggered drop patterns can add visual interest while maintaining accuracy when properly aligned.
Step 3: Use Precision Tools for Placement
Now, let’s talk about tools. Rulers, grid mats, and laser pointers are fantastic for precise placement. A laser pointer, in particular, can project a guideline directly onto your fabric, making it easier to align intricate details. Always do a test run on scrap fabric first; adjusting your fabric or table position until you’re satisfied with the pattern placement is key. It’s better to spend extra time on initial setup than to redo the whole piece later.
Step 4: Digital Software for Pattern Placement
If you’re working with digital embroidery software like EmbroideryWare or Hatch, take full advantage of their pattern placement and resizing features. These tools allow you to meticulously position motifs on your fabric’s virtual canvas, ensuring perfect alignment and scale. Before starting your stitches, verify the pattern repeat alignment on the software to avoid partial or uneven stitches in the final design.
Incorporating these measurement and alignment techniques is proven to significantly reduce errors, especially with complex motifs. And with the help of digital tools, achieving that professional look becomes even more attainable. Happy stitching!
Troubleshooting Common Workspace and Technique Issues
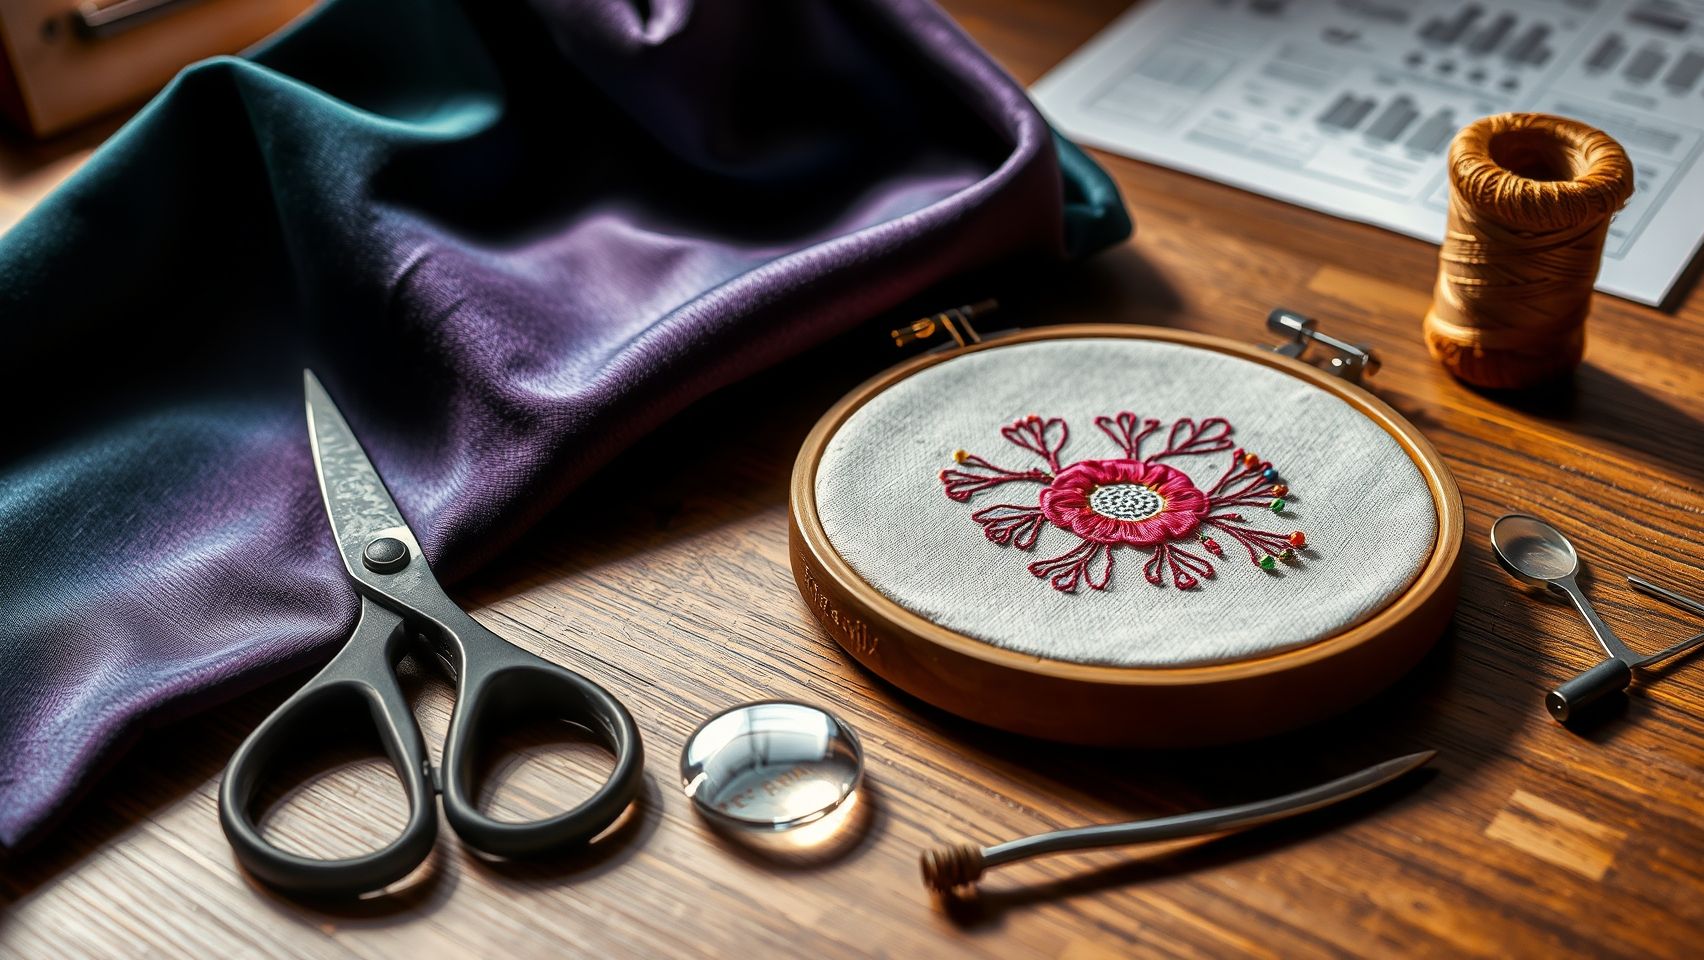
Hey fellow embroiderer! If you’ve been battling misaligned stitches, fatigue, or fabric slipping during your projects, you’re not alone. These issues often stem from setup flaws or ergonomic shortcomings in your workspace. Luckily, with a few quick adjustments and mindful techniques, you can turn your workspace into a comfortable, efficient zone that produces flawless embroidery every time.
Solution for Misalignment
Misalignment is usually caused by fabric shifting or pattern guides not being properly set. Always double-check the fabric’s center lines and ensure your pattern guides are aligned before you start stitching. Using a marking pen or temporary fabric spray can help keep everything in place during the process. Taking a moment to verify these points before beginning saves you time and frustration later.
Addressing Fatigue
If you find yourself tired or uncomfortable after short sessions, it’s time to reassess your ergonomics. Adjust the height of your embroidery machine so you’re not leaning or stretching awkwardly. Good lighting, preferably with adjustable magnifying lamps, reduces eye strain and enhances precision. Also, incorporate ergonomic accessories like cushioned mats or adjustable chairs to stay comfortable, especially during long projects.
Fixing Partial Stitches
Partial or uneven stitches are often linked to tension issues or incorrect needle size. Make sure your machine tension is balanced and that you’re using the right needle for your fabric type. Consistent fabric tension and firm placement in a stable hoop or stabilizer prevent shifting and uneven stitches. Regular workspace adjustments, like tightening clamps and ensuring a flat work surface, are key to high-quality results.
Preventing Fabric Slipping
Slipping fabric is a common headache. To combat this, always use appropriate stabilizers and secure your fabric with clamps or hoops firmly attached to your work surface. This keeps everything steady, especially with detailed or dense designs. A secure setup means fewer errors and cleaner results.
Handling Eye Strain
Eye strain can sneak up on you, especially during lengthy stitching marathons. Remember to take regular breaks, every 20-30 minutes is a good rule of thumb. Investing in a high-quality magnifying lamp and ensuring your workspace is brightly but comfortably lit will make a big difference. These small changes protect your eyes and keep your focus sharp for perfect embroidery.
Conclusion
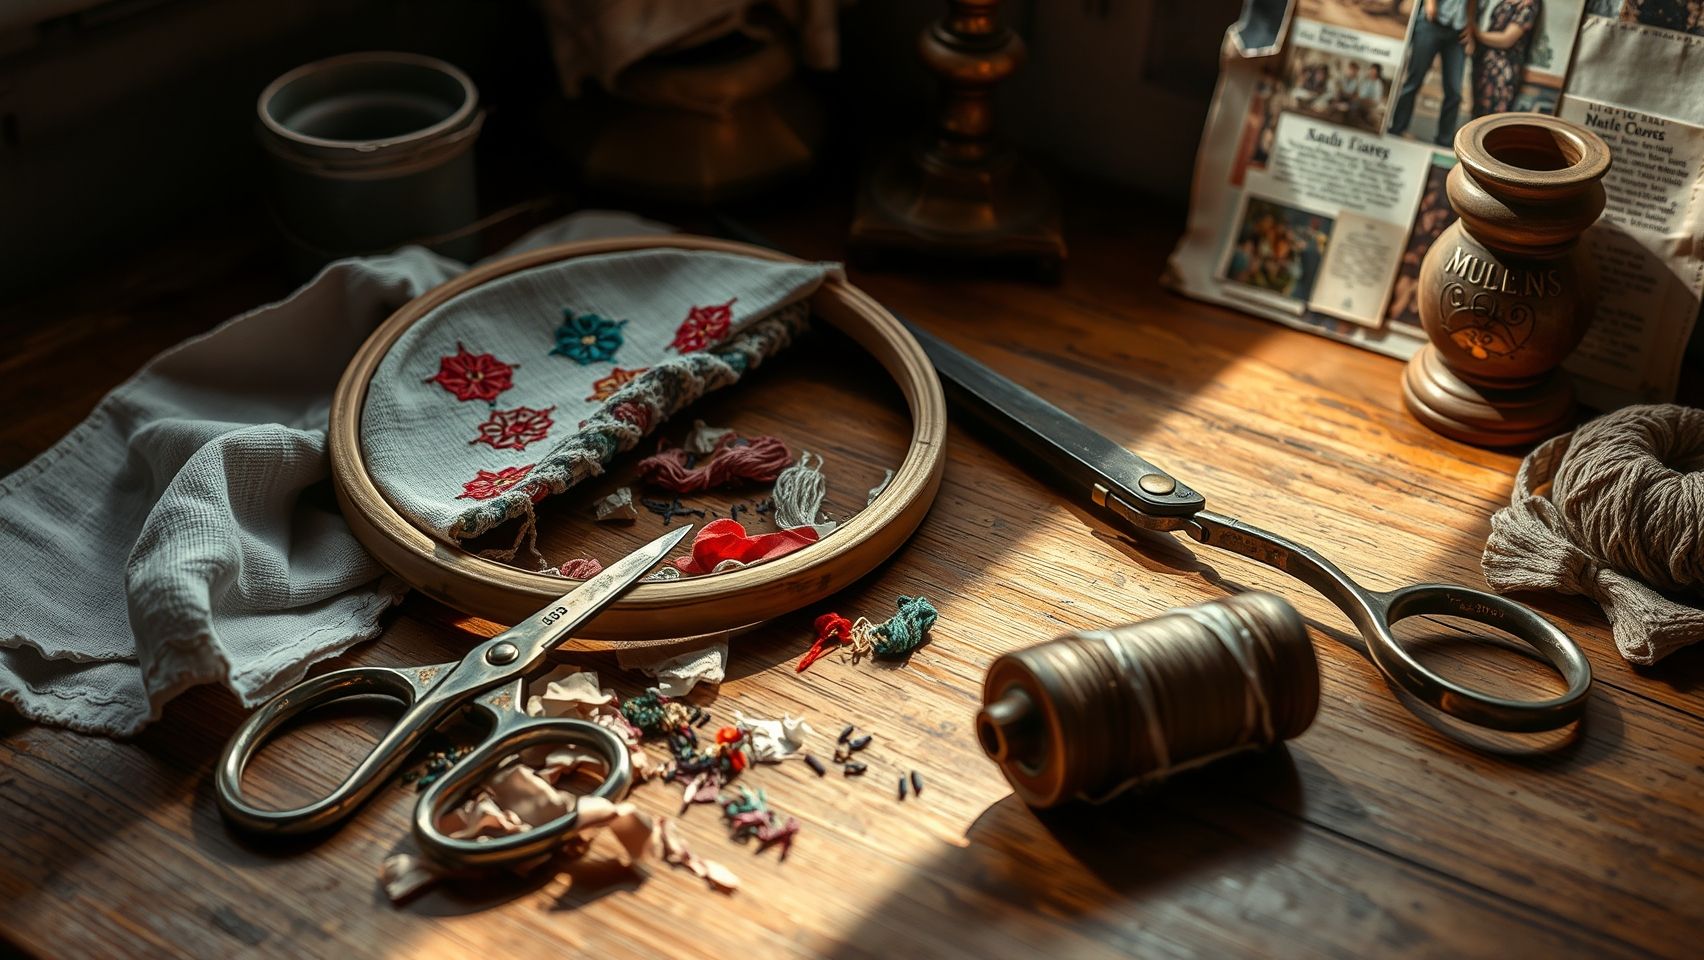
You now have the knowledge to transform your embroidery workspace into a comfortable, efficient haven that supports your creativity and well-being. By properly adjusting your table height, upgrading your lighting, and organizing your tools thoughtfully, you’ve taken crucial steps toward enhancing your accuracy, reducing fatigue, and increasing your enjoyment with each project. Remember, these improvements are not just quick fixes, they’re investments in your long-term success and happiness as a crafter. Even if you face challenges along the way, trust your instincts, and make adjustments as needed, your ideal workspace is within your reach.
Start applying these workspace improvements today, adjust your table height, upgrade your lighting, and organize your tools for better embroidery results tomorrow. You’re capable of creating a space that inspires your best work, and every small change brings you closer to that goal. Trust yourself and enjoy the journey, your most beautiful designs are waiting to be crafted in a space you love. Remember, your dedication and care turn ordinary setups into extraordinary creative environments. You’re ready, go make that beautiful embroidery magic happen!
You’ve got this, and I can’t wait to see your incredible projects unfold in a workspace tailored just for you.