How to Convert Pixel Art to Embroidery Stitch Files Efficiently
This post contains affiliate links. As an Amazon Associate, Latest Embroidery earns from qualifying
purchases, at no extra cost to you. Learn more.
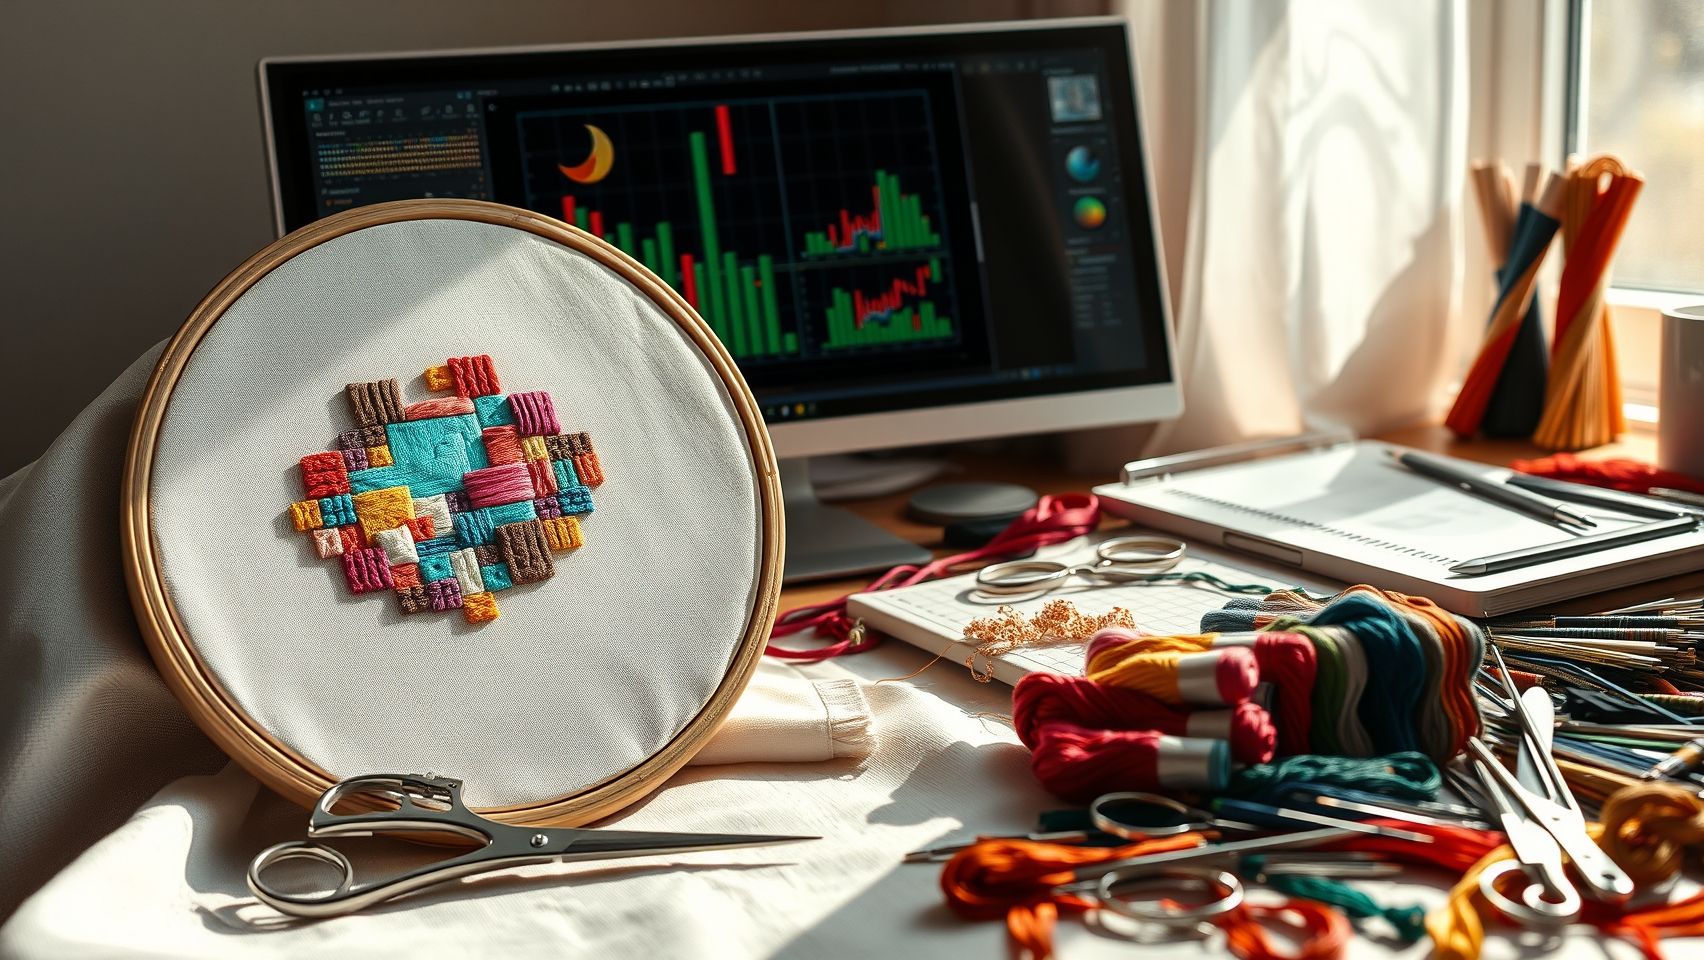
Ever wondered how those vibrant pixel art designs on your computer turn into beautiful embroidered pieces? If you’ve ever tried to translate digital pixel designs into stitch files, you know it’s not exactly a walk in the park. The challenge lies in keeping the integrity of your artwork while controlling the stitch count and making sure the result is machine-friendly.
With custom embroidery booming, whether for personal keepsakes or a small product line, knowing how to convert pixel-based images into embroidery files has become a genuinely valuable skill. But it’s not just clicking a button. It means understanding the right resolution, color reduction, dithering, and the choice between automatic tracing and manual digitizing. In this guide you’ll get a clear, step-by-step workflow, a comparison of the conversion methods and software, optimization tips, and a troubleshooting FAQ, so you can turn pixel images into embroidery-ready files with confidence.
Understanding Embroidery Digitization and Resolution Needs
In a hurry? Jump to our recommended digitizing picks ↓
When converting pixel art into embroidery, image resolution is the foundation. As a rule of thumb, aim for at least 300 DPI, and 300–600 DPI is a practical sweet spot. That range gives you enough detail for intricate designs without overwhelming your machine’s memory or producing excessive stitch density. Too low (150–300 DPI) and small pixel details lose their crispness; push far past 600 DPI and you generate a heavy file that bogs down processing for little visible gain.
Software features matter just as much as resolution. Look for programs that offer a pixel grid overlay so you can see exactly how each pixel maps to stitches, automatic color reduction to simplify a busy palette into manageable blocks, and a stitch simulator that previews the final embroidery before you commit thread to fabric. These three features prevent the most common, most frustrating mistakes, and they save material.
Resolution’s Impact on Stitch Density, Detail, and File Size
Resolution directly drives the density and clarity of your stitches. Designs made too low in resolution lose detail; too high and the file becomes unwieldy. Preparing your pixel art is equally important: resize it to match your hoop and fabric, and clean up stray or unnecessary pixels in your editor first. A few minutes of manual cleanup is often the difference between a clean stitch-out and a session full of thread breaks and uneven coverage.
Hardware Considerations and Managing Complex Details
Embroidery machines vary in how much stitch data they handle gracefully. Higher-end Brother, Janome, and Bernina models support higher stitch counts and resolutions, but it’s worth checking your specific machine’s limits. For lots of designs, batch processing in your software speeds things up, and trimming extraneous pixels keeps the machine from choking on unnecessary instructions. Designing at 300–600 DPI captures enough detail without taxing your machine’s resources.
Step-by-Step Guide to Converting Pixel Art into Stitch Files
Turning pixel art into a stitch file looks daunting at first, but with the right approach it becomes a repeatable, satisfying process. The secret is using the right software and understanding how to bridge the gap between digital pixels and thread.
1. Prepare Your Image
Start with a high-resolution pixel art image, ideally 300 DPI or higher. Use a raster editor like Photoshop or GIMP to clean up the artwork, adjust colors for clarity, reduce noise, and boost contrast. Resize the image to your embroidery hoop’s maximum size while keeping the aspect ratio intact so the design fits without distortion.
2. Import Into Digitizing Software and Add a Pixel Grid
Bring your cleaned image into digitizing software, Wilcom, Hatch, and AcuEdit are popular professional choices. Inspect the resolution after import; crisp, clear pixels convert more cleanly. If your software doesn’t add one automatically, overlay a pixel grid so you can align pixels precisely and map stitch placement accurately, either manually or via auto-conversion. Be aware that automation can introduce stitch overlaps or gaps, so always plan for some manual fine-tuning.
3. Simplify the Color Palette
Convert the image to an indexed color palette and reduce the number of colors. For embroidery, 6–16 colors is usually right, enough to keep detail, few enough to keep thread changes manageable. Match the reduced palette to thread shades you actually own. Most software includes auto-palette or color-reduction tools; preview the result and manually tweak colors for better contrast or thread matching.
4. Auto-Trace or Manually Assign Stitch Types
Use auto-trace/auto-digitize to convert pixel blocks into vector outlines suitable for embroidery, then refine. Assign stitch types deliberately: fill stitches for large areas like backgrounds, satin stitches for crisp borders and outlines, and running stitches sparingly for fine detail. Add underlay patterns to stabilize fills and satin edges and prevent puckering. Dithering (covered below) helps simulate shading and gradients so flat pixel blocks read more naturally in thread.
5. Adjust Density and Fine-Tune
Set stitch density to match your fabric, denser fabrics like denim tolerate higher density, while delicate fabrics like silk need lower density to avoid distortion. A working starting range for detailed pixel work is roughly 250–350 stitches per inch, lower for broad areas and higher for fine clusters. Preview in the simulator, expect some trial and error on intricate designs, and combine automatic conversion with manual corrections. With practice, a project runs about 30–45 minutes from import to finished file.
Dithering, Auto-Trace vs. Manual Digitizing, and AI Tools
How you convert pixels matters as much as the software you use. Three techniques deserve special attention.
Dithering to Preserve Detail With Fewer Stitches
Dithering strategically places pixels (and therefore stitches) to simulate gradients and subtle shading. It lets you retain intricate patterns while keeping the stitch count down, so the final stitch-out faithfully represents the original art without becoming overly dense. It’s a balanced method that protects clarity while keeping the file manageable.
Auto-Trace vs. Manual Digitizing
Auto-trace can speed up conversion dramatically for simple designs, but it frequently needs cleanup, especially on intricate or high-contrast artwork where it produces uneven lines, overlaps, or gaps. Manual digitizing is slower but gives you granular control over stitch placement and detail, which is what complex pixel art usually demands for a faithful result. Many embroiderers use a hybrid approach: auto-trace to rough it in, then manual refinement where fidelity matters.
AI-Assisted Conversion
Newer AI-assisted features in programs like Wilcom and Hatch help maintain detail while trimming unnecessary stitches, which reduces machine wear and run time. They’re a real time-saver for repetitive work, but treat their output as a strong first draft, review and adjust rather than trusting the result blindly, particularly around sharp edges and color transitions.
Tools, Software, and Equipment for Pixel-to-Stitch Conversion
Good results come from pairing the right machine, software, and accessories with the workflow above.
Embroidery Machines
For detailed pixel designs, choose a machine that handles high stitch counts and multiple file formats. The Brother SE1900 (around $999) is a versatile combo machine that suits beginners and pros and reads common formats via USB. The Janome Memory Craft 500E (around $1, 499) supports DST, PES, and JEF and handles higher stitch counts well. The Janome Skyline S9 excels at intricate, high-stitch-count designs. For simpler projects on a budget, the Brother PE770-class machines remain user-friendly entry points. Premium models like the Bernina 790 offer superior high-resolution stitching for large, complex work.
Leading Digitizing Software
Wilcom Embroidery Studio and Hatch Embroidery are the industry standards. Wilcom’s advanced stitch editing gives precise control over density and angle, critical for faithful pixel translation, while Hatch offers intuitive, AI-assisted auto-digitizing that simplifies turning images into stitch files. Embird supports pixel import and auto-trace at a lower price point. For hobbyists, SewArt or Inkscape-based Ink/Stitch provide accessible entry points, though they need more manual tweaking. Photoshop or free GIMP handle the image-prep stage before digitizing.
| Software | Auto-trace / AI digitizing | Best for |
|---|---|---|
| Wilcom Embroidery Studio | Yes, advanced optimization | Professionals needing precise control |
| Hatch Embroidery | Yes, AI-assisted | Intermediate users wanting auto + editing |
| Embird | Yes | Hobbyists/semi-pros, pixel import |
| SewArt / Ink/Stitch | Basic | Beginners on a budget (more manual work) |
| Photoshop / GIMP | Image prep only | Cleaning and recoloring before digitizing |
Accessories, Hoops, and Thread
Use hoop sizes that fit your design comfortably, 5×7 or 6×10 inches give detailed work room to breathe. Tightly woven, high-thread-count fabrics like linen or quilting cotton hold stitches well and resist puckering. For pixel work, a broad thread palette (40–50 colors) helps replicate the pixelated look and adds depth; brands like Madeira or Sulky pair well with software color-reduction. Match your stabilizer to the fabric, and always test thread tension on a scrap first.
Optimizing Stitch Quality and Minimizing Errors
Polished results depend on a few reliable practices. Use the right stabilizer and proper hooping, good stabilization keeps fabric taut and dramatically reduces puckering, the most common problem on high-count fabrics. Adjust thread tension carefully, since small variations cause mis-stitches and breaks; always run a test on scrap fabric to dial in tension and density before the main piece.
Density, Underlay, and File Size
Tune stitch density to the design: 250–350 stitches per inch for intricate areas, lower for bold broad fills. Apply underlay stitches to stabilize satin outlines and dense fills, preventing puckering and distortion. Limit your palette to 8–16 shades to cut thread changes and downtime, and simplify cluttered pixel patterns to essential features. Compressing or optimizing the exported file reduces machine lag. Together these adjustments can cut processing time noticeably while improving stitch definition.
Pattern Testing and Performance Review
Before committing to a large or intricate design, stitch small sample patches, they reveal overlaps, gaps, and density issues that digital previews hide. Many machines now offer stitch-analysis data; use it to confirm fills, satins, and runs are calibrated correctly. Reviewing stitch-out samples and nudging density by just a few points often makes a visible difference.
Design Repetition and Pattern Symmetry in Pixel Embroidery
Seamless repeats and clean symmetry make pixel embroidery look professional and speed up your workflow. Most digitizing software includes pattern-repetition and symmetry tools (mirror, radial, and grid snapping) that let you build large borders or background fills without manually placing every element. Test repeats on fabric scraps first to catch alignment or density issues early, and save your pattern settings for reuse. In-hoop placement apps help position repeats and symmetrical motifs precisely during hooping, so multi-repeat projects align without re-hooping guesswork. Documenting stitch types, densities, and placement lets you replicate complex designs consistently.
FAQs: Troubleshooting Common Conversion Issues
Why does my design look jagged after conversion?
Jagged edges usually come from low-resolution source images or rough preprocessing. Make sure your original is at least 300 DPI, and apply smoothing or anti-aliasing during image prep to create cleaner curves before tracing.
How can I reduce stitch count without losing detail?
Simplify the design: use a limited color palette to cut color changes, lower density in less-detailed areas while keeping it higher for critical details, and lean on dithering plus your software’s automatic simplification tools to balance count against fidelity.
What software is best for beginners?
Hatch Embroidery and Wilcom’s entry-level options are beginner-friendly, with intuitive auto-trace, editing tools, and guided tutorials. SewArt and Ink/Stitch are budget alternatives that require more manual tweaking.
My machine struggles with large files, how do I optimize?
Compress/optimize the export to shrink file size without losing quality, remove unnecessary trims, stops, and redundant color changes, and consider splitting very large designs into smaller sections to stitch separately.
How do I prevent fabric puckering on detailed pixel designs?
Puckering comes from excess tension or weak stabilization. Match the stabilizer (tear-away or cut-away) to your fabric, hoop the fabric taut, and test tension on a scrap before the real run.
Can I automate the entire process?
You can automate much of it. Auto-trace, pattern optimization, and smart color reduction handle the bulk of the work, but the best results still come from reviewing and fine-tuning the output rather than accepting it as-is.
Conclusion
Converting pixel art into embroidery stitch files is both challenging and rewarding. The key is balancing image detail against stitching efficiency: start with a high-resolution image, set the right resolution and palette, choose between auto-trace and manual digitizing based on complexity, and fine-tune density, underlay, and tension. Master that balance and your pixelated designs will stitch out as crisp, vibrant embroidery. Start your next pixel-to-stitch project today, each one sharpens your skills and brings the next masterpiece a little closer.