How to Optimize Machine Embroidery Thread Path for Faster, Tangle-Free Results
This post contains affiliate links. As an Amazon Associate, Latest Embroidery earns from qualifying
purchases, at no extra cost to you. Learn more.
Imagine finishing your embroidery projects 30% faster, no more wasting time untangling threads or fussing with jammed machines. Sounds like a dream, right? Well, optimizing the thread path could make that a reality. Many embroiderers struggle with thread bunching, uneven stitches, or frequent breaks, often because of less-than-ideal thread routing inside the machine. Did you know that a simple change in how the thread moves through the tension discs, guides, and bobbin case can drastically cut down on these frustrations? Auto-digitizing software, like those with built-in path optimization tools, are already helping professionals streamline their workflow, imagine applying that same logic to your manual adjustments. Learning the basics of proper thread path planning not only speeds up your process but also improves stitch quality, reduces thread waste, and minimizes maintenance. Curious about how to get started? Keep reading, your speedy, tangle-free embroidery future awaits.
Step-by-Step Guide to Thread Path Planning for Speed and Tangle Prevention
Short on time? If you only take one thing from this guide: 40wt polyester thread set — the single cheapest fix for shredding and thread breaks.
Embroidery machine operation is as much about precision as it is about efficiency. One of the most common hiccups embroiderers face is thread tangling or inconsistent tension, which can seriously slow down your workflow. The secret lies in meticulous thread path planning, think of it as mapping out a smooth highway for your thread to travel from spool to needle.
Getting the right setup begins even before you thread your machine. Start by selecting a hoop and stabilizer appropriate for your project size and fabric type. Larger hoops on lightweight fabrics tend to cause tension issues, so choosing the right stabilizer, like cutaway or tear-away, can make all the difference. When you’re ready to thread, always follow a consistent sequence, from spool to tension disks, then through the guides, and finally to the needle. This prevents overlaps and reduces tension fluctuations that tend to cause tangles.
Pre-Plan Pattern Alignment for Seamless Design Flow
Use embroidery software such as Hatch to pre-plan pattern repeats and alignment. For symmetrical designs, techniques like centering fills and hybrid repeats help maintain pattern integrity. This not only saves time but reduces the need for frequent adjustments mid-project, which can lead to thread jams. Proper alignment ensures your design runs smoothly across the fabric, especially with complex motifs.
Optimize Machine Settings and Routine Maintenance
Adjust your tension to match your thread type, most embroidery threads perform well around tension settings of 3.5 to 4.5, depending on your machine. When tension is off, loops and tangles tend to happen more often. Regular maintenance, such as cleaning tension disks and thread guides with compressed air (every 20 hours of use is a good rule of thumb), keeps everything running effortlessly. A well-maintained machine is a faster machine, plain and simple.
Finally, don’t forget to troubleshoot common issues like skipped stitches or thread breakage, often caused by thread path misalignments or worn-out parts. With practice, your thread will glide through the path like water, making your embroidery faster, cleaner, and more enjoyable. Master these steps, and you’ll find yourself completing projects with less fuss and more finesse.
Tools and Equipment that Help Optimize Thread Path
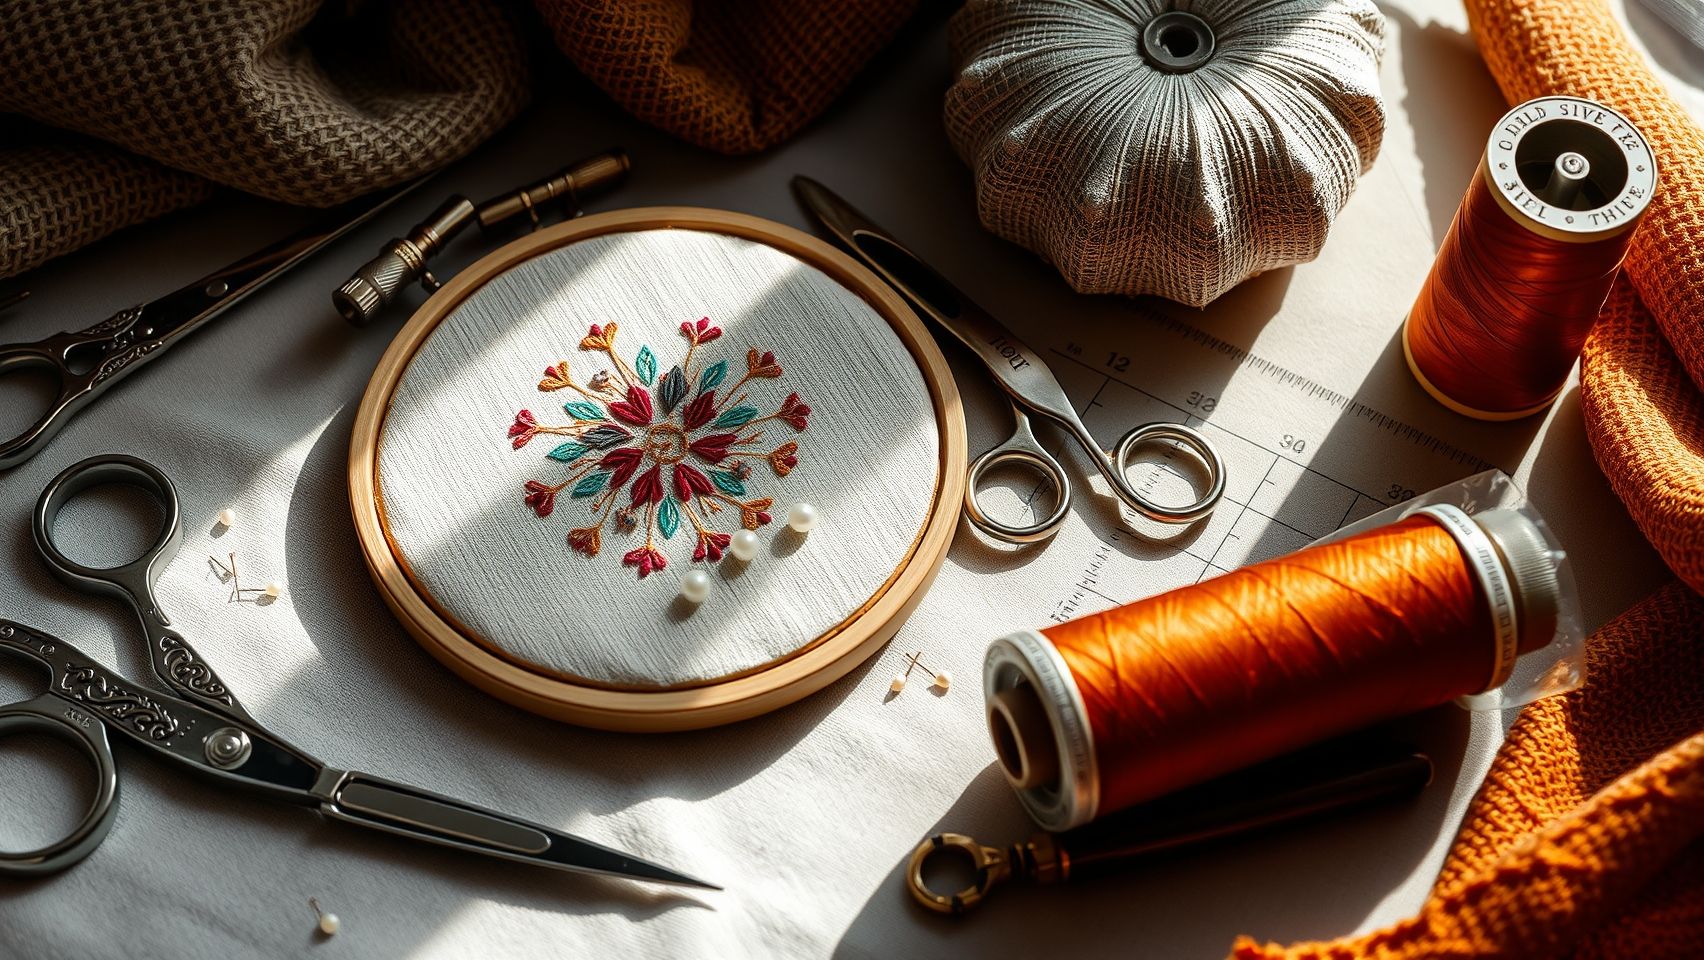
Embroidery professionals know that the secret to smoother, faster stitching lies not just in technique, but heavily in the right tools. When it comes to managing the intricate thread path, investing in the right equipment can dramatically reduce tangles, thread breakage, and wasted time. From advanced machines to clever accessories, there’s a wealth of options designed to make your embroidery journey more enjoyable and efficient.
Let’s explore some of the essential tools and software that help embroiderers optimize their thread paths, ensuring high-quality results while saving valuable time and effort. Whether you’re a hobbyist or a seasoned pro, having these in your toolkit can be a game-changer, particularly when working on complex designs or large projects.
High-Quality Embroidery Machines with Built-in Features
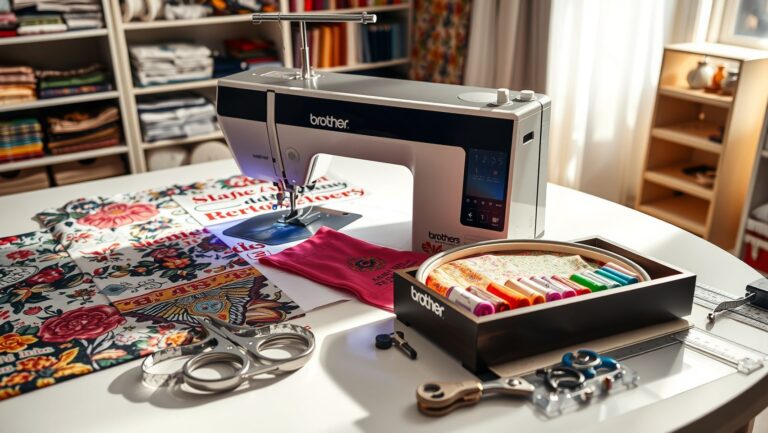
Modern embroidery machines like the Brother PE800 and the Bernina 700 series are equipped with automatic threading systems and built-in guides that significantly ease the process. The Brother PE800, costing around $800, offers automatic threading, which minimizes hand-tangling and speeds up setup. Meanwhile, Bernina’s advanced models at approximately $1, 200 feature sophisticated thread tension controls and automatic thread cutters, helping maintain consistent tension without manual adjustment, a crucial factor for preventing thread jams and tangles.
These machines often include built-in LED lights and easy-access thread guides, reducing the tendency to mishandle threads during high-speed stitching. Setting up with these help prevent common issues like skipped stitches or thread breakage, making your workflow much smoother.
Accessories for Better Thread Management
From thread stands to tension discs, the right accessories can prevent stress on your spools and minimize tangles. Thread stands from brands like Sulky, costing about $10 each, are especially useful when working with multiple spools, keeping threads off the machine and reducing tension inconsistencies. Tension disc accessories help maintain even tension, preventing the thread from slipping or catching during rapid stitching. Additionally, using thread nets can keep delicate threads from tangling or fraying, preserving the quality of your work.
Color-coded threading guides also speed up setup and help ensure correct threading every time, reducing mistakes and the need to re-thread, which can be tedious and time-consuming.
Digitization Software and Pattern Planning
When designing intricate patterns or repeatedly stitching motifs, software like Hatch Embroidery Studio (costs around $500) and Embird (about $150) become indispensable. These programs allow you to digitize designs efficiently, plan thread color changes, and optimize stitch order, reducing unnecessary jumps that can cause thread tangles or uneven tension.
Smart digitizing can also help you anticipate problem areas, like tight corners or dense fills, and adjust your stitching path proactively. This planning significantly improves the thread path, reducing stress and friction on your threads, which means fewer breakages and happier embroidery sessions.
Incorporating these tools, whether it’s upgrading to machines with auto-guides, using accessories like thread nets and stands, or digitizing patterns with sophisticated software, can truly revolutionize your embroidery workflow. The result? Faster, cleaner, and more consistent projects that reflect your skill and care, with less frustration and more time for creative freedom.
Implementing Pattern Repeats and Alignment Techniques for Seamless Embroidery
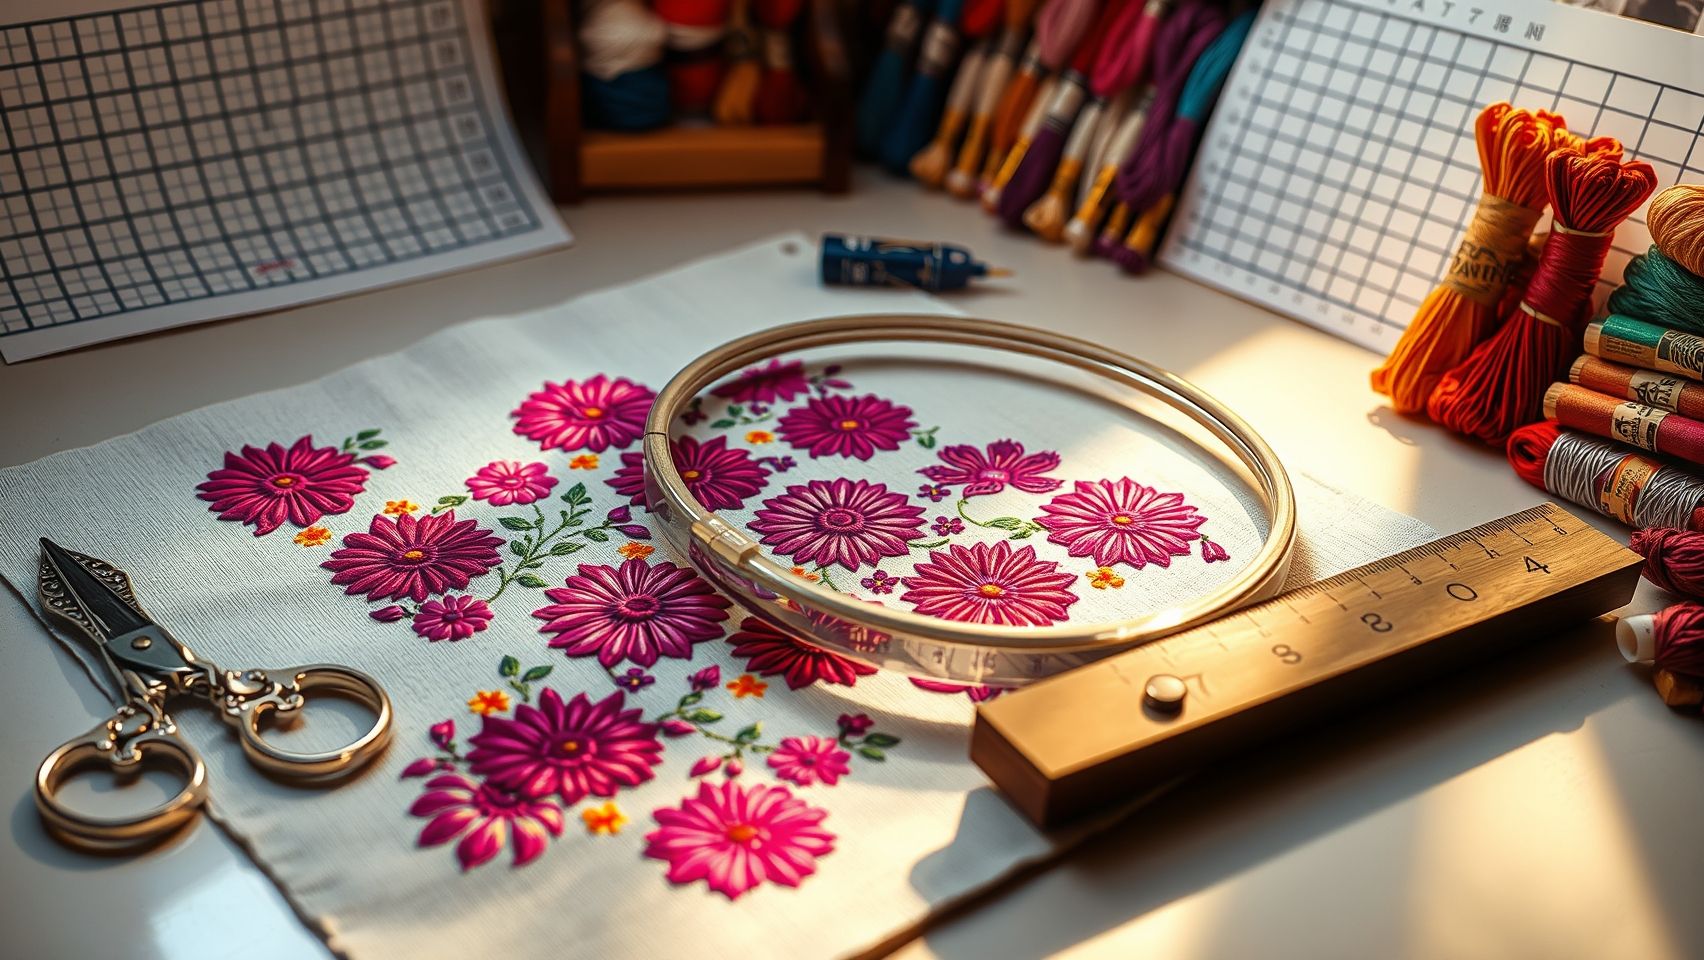
Creating perfectly aligned pattern repeats is one of those satisfying aspects of machine embroidery that really elevates a project. Whether you’re working on a quilt, wallpaper-inspired design, or intricate motifs, the key is planning your pattern placement meticulously to match your machine’s repeat capabilities, such as 14-unit, 36-unit, or 23-unit repeats. This planning not only guarantees a seamless look but also saves loads of time and frustration by avoiding rework and misaligned sections.
From my experience, using digital pattern software like Hatch can make all the difference. It allows precise pattern placement, enabling you to modify repeats to fit your machine’s specific capabilities. Applying hybrid repeat techniques, combining different pattern blocks, can be especially effective for complex or large designs, ensuring that sections align perfectly without missteps. And don’t forget, performing test runs on scrap fabric is a crucial step. These trials help verify pattern positioning and thread path, catching potential issues early so you can adjust stitch density or entry/exit points for smoother transitions.
When working on projects like a signature quilt, thoughtful planning of pattern alignment can cut project time in half. Centered fills and symmetrical stitching techniques not only reduce irregularities but also streamline thread flow, making it easier to maintain consistent tension and avoid thread congestion at pattern edges. Incorporating partial stitches at pattern edges acts as a simple trick to prevent thread buildup, especially when transitioning between repeats, this small detail often results in a more polished finish.
Using Pattern Software and Hybrid Techniques
Digital software, especially those with repeat capabilities like Hatch, empower you to preview and fine-tune your embroidery layout before stitching. By setting pattern repeats at optimal units, such as 14, 36, or 23, your machine can execute complex designs with minimal fuss. Hybrid repeats, where you combine smaller and larger blocks, help in managing intricate designs without losing alignment, especially on larger projects.
Testing and Adjustments for Perfect Results
Always start with test runs on scrap fabric. A quick sample can reveal hidden misalignments or thread path issues. Be prepared to adjust stitch density, sometimes reducing it slightly helps in smoother transitions, and tweak entry and exit points to facilitate seamless pattern flow. Partial stitches at the edges are a simple but effective trick for maintaining pattern integrity at the borders, especially when dealing with intricate fills or detailed motifs.
In essence, careful planning, test stitching, and mastering hybrid repeats are your best tools for achieving perfectly aligned, seamless embroidery designs. These techniques might take a little trial and error initially, but the satisfying results make it all worthwhile, trust me, once you see that flawless pattern emerge, you’ll be hooked on the process.
Troubleshooting Common Thread Path and Alignment Issues

Embroidery is as much about precision as it is about creativity. But even seasoned crafters run into frustrating problems like tangling threads, misaligned stitches, or irregular patterns. The good news? Many of these headaches have straightforward fixes if you know where to look, and a little patience.
Adjusting Tension for Smooth, Tangle-Free Results
One of the most common culprits behind thread tangles or irregular stitches is tension imbalance. If the tension is too high, expect loops and tangles where the thread loops around guides or creates pull issues. Conversely, too loose tension often causes loose loops or skipped stitches. Take a moment to re-thread your machine, paying close attention to the tension disks, debris or old guides can throw this off. A quick test with a scrap fabric helps you find that “just right” tension, saving hours of fixing tangled threads later.
Keeping Your Machine Clean and Well-Maintained
Nothing beats a clean machine when it comes to reliable embroidery. Regularly clear out lint, dust, and bits of thread from tension disks, bobbin areas, and guides. If you’re noticing frequent jams, replace worn guides and check for any debris that might be blocking the thread path. Keeping parts spotless is a surprisingly effective way to prevent a lot of common issues.
Re-routing Thread and Pattern Alignment
Sometimes, misalignment or overlaps in the thread path can cause skipped stitches or uneven patterns. Always follow the manufacturer’s threading guide, overlapping or crossing threads can throw everything off. For pattern accuracy, perform test stitches on scrap material. If the pattern isn’t aligned, adjust the positioning of your fabric or re-calibrate digitized designs, especially for digital embroidery machines. A tiny shift can make a big difference in the final result.
Routine Maintenance and Firmware Checks
Lastly, don’t forget routine maintenance. Regular updates to your machine’s firmware, especially for digital models, fix bugs and improve pattern handling. Firmware from brands like Brother or Bernina often include updates specifically aimed at enhancing tension control and stitch consistency. A small investment in time and software updates can significantly enhance your overall embroidery experience, minimizing misalignment and tension troubles.
Final Tips to Maintain Thread Path Optimization and Improve Embroidery Workflow
Maintaining an efficient thread path is crucial for achieving faster, tangle-free embroidery. A well-organized workspace and consistent routine care can drastically cut down on frustrating tangles and machine downtime. Embroiderers often discover that a few simple habits, practiced daily or weekly, can save hours in the long run and improve overall quality.
Routine Maintenance and Workspace Organization
Start with a clean, dust-free environment, regularly wiping down machine parts prevents lint buildup that can interfere with smooth thread movement. Incorporate a quick daily routine of checking for thread buildup, especially after changing needles or threads. Keeping a well-organized set of spools and accessories, preferably in dedicated containers, makes it easier to switch threads quickly without tangling or wasting time searching for the right color or size.
Invest in regular machine maintenance; many professionals recommend routine cleaning and lubrication schedules. For example, routine oiling of moving parts and checking tension systems contribute to consistent performance, as highlighted by recent industry guides. Timely re-threading and replacing worn-out parts prevent tension issues that often lead to thread jams or tangles.
Strategic Planning and Skill Development
Before starting a project, pre-plan pattern repeats and alignments using embroidery software. This planning minimizes unnecessary thread changes and ensures smooth transitions. Additionally, training yourself or staff to master proper threading techniques and pattern setup can save precious time and reduce errors. Even a small investment in learning about machine-specific features can dramatically improve workflow efficiency, as many advanced machines now include automated threading and tension adjustment options.
Community feedback consistently shows that routine maintenance and organized work habits can reduce thread-related issues by up to 70%. Incorporating these strategic practices into your embroidery routine ensures faster, more reliable results, keeping your creative momentum high and frustration low.
Conclusion
Embarking on the journey to optimize your machine embroidery thread path is both rewarding and transformative. As we’ve explored, careful pattern planning, choosing the right tools, and diligent maintenance can make a significant difference in your workflow, helping you achieve faster, tangle-free results that showcase your craftsmanship.
Remember that mastery comes with patience and practice. Implement these techniques today with your current machine, and consider investing in specialized software or tools to further elevate your efficiency. Sharing your progress in online communities can provide valuable feedback and motivation, while consulting professional resources keeps you inspired and informed.
Ultimately, every stitch you perfect brings you closer to embroidery mastery. Embrace the challenge, stay curious, and let your creativity run wild, because in the end, it’s the passion for the craft that transforms a simple project into a work of art. Keep stitching forward, and enjoy the process as much as the beautiful results.