How to Grade Embroidery Design Complexity for Better Skill and Price Planning
Ever stared at a new embroidery design and wondered, “Is this too complicated for my machine or my skill level?” Let’s be honest, choosing the right design can sometimes feel like navigating a maze. You want something that challenges you just enough to grow your skills, but not so complex that it causes frustration or takes twice as long to complete. And for those selling embroidered items, selecting designs with the right level of complexity directly impacts pricing and profitability.
Understanding how to properly grade embroidery design complexity isn’t just about avoiding disaster, it’s about unlocking your potential, streamlining your workflow, and offering clients work that’s tailored to skill level and machine capabilities. From mastering basic fill stitches to sprucing up with intricate satin or cutwork, the ability to evaluate a design’s complexity can save hours of trial and error. Plus, with the growing market of embroidery machines and advanced software, there’s never been a better time to get strategic about your design selection. Want to learn how to assess complexity easily and develop a clear system for skill and price planning? Keep reading, I’ve got practical tips to help you navigate this crucial aspect of embroidery like a pro.
Understanding Embroidery Design Complexity and Its Impact
Embroidery design complexity isn’t just about how pretty a pattern looks; it plays a crucial role in determining the skill level required, the time it will take to execute, and how well your machine will handle the task. Think of it like baking a layered cake, simple designs are like a basic sponge, while intricate stitched floral scenes resemble multi-tiered masterpieces with delicate decorations. Recognizing these differences helps you plan better each project, avoiding frustration and ensuring top-quality results.
Design complexity factors include stitch count, stitch density, level of detail, and special media effects, such as metallic or textured threads. These elements influence not only the look but also how the embroidery machine performs, more stitches and density mean longer machine runtime and increased chances of troubleshooting issues like thread breaks or fabric puckering. For example, textured embroidery like tufting or stumpwork can add 35% more complexity due to extra layers and techniques involved. Using digital tools like Stitch Delight or Janome AcuEdit can help assess these elements visually before starting, saving time and reducing errors.
Defining Design Complexity: Basic, Intermediate, and Advanced
To better categorize embroidery projects, many embroiderers adopt a grading system, think of it as a difficulty dial from beginner to expert. Here’s how these levels typically break down:
Designs at each level affect machine settings, more complex projects need slower speeds, tighter tension, and sometimes multiple color changes. Additionally, troubleshooting becomes more likely with denser or more delicate features, especially when using textured threads or specialty media. Being aware of these factors allows you to prepare accordingly, whether it’s adjusting thread tensions, stabilizers, or planning extra time for finishing touches.
Quick Assessment Tips for Embroidery Projects
Before diving into a new design, utilize your software’s preview features. Many programs, like Stitch Delight or Janome AcuEdit, let you see stitch counts, density, and features at a glance, almost like a virtual fitting room for your embroidery. Also, check for media effects; if the design calls for metallic or textured threads, anticipate an increase in complexity. Remember, when in doubt, start with a small test swatch to identify potential issues without risking your entire fabric or design. This quick analysis helps you categorize your project as beginner, intermediate, or advanced, ensuring smoother execution and more satisfying results.
Step-by-Step Guide to Assessing and Grading Design Difficulty
Embroidery design complexity grading is a vital part of planning your projects effectively. It helps you determine whether a design is suitable for your skill level, your machine’s capabilities, and your timeline. Rushing into complex projects without proper assessment often results in mistakes, missed details, or damage to your machine. Luckily, with a systematic approach, you can evaluate any design with confidence and set realistic goals for your embroidery sessions.
Loading and Analyzing the Design
Begin by loading the design into your embroidery software, such as Hatch Embroidery or Janome AcuEdit. Once imported, examine the stitch count closely. Studies indicate that designs under 10, 000 stitches are typically beginner-friendly, often taking less than an hour to complete and minimizing machine stress. Between 10, 000 and 30, 000 stitches, the project becomes intermediate, requiring more skill and time, usually a few hours, and demands attention to detail, such as thread color changes and density hotspots.
For designs exceeding 30, 000 stitches, you’re stepping into advanced territory. These often involve intricate detailing, multiple fabric changes, and longer production times, sometimes even requiring a second run or a more powerful professional machine. While software can simulate the stitch order and runtime estimates, be alert to potential issues like thread trims or density hotspots. Using simulation tools, you can identify areas where thread buildup might cause pucking or excessive heat buildup on your fabric.
Adjusting and Simplifying the Design
To make complex designs more manageable, consider simplifying the detail level, reducing small elements, smoothing out overly dense areas, or re-balooning (reordering and optimizing the stitch path). You might also reduce the overall stitch density by about 20%, which has been shown to lessen machine stress while maintaining a visually appealing result. This is a common discovery among hobbyists: lowering density not only improves efficiency but also reduces the risk of thread breakage and fabric distortion.
After making adjustments, it’s smart to stitch a small sample on a similar fabric and thread type you plan to use. This test ensures your machine can handle the revised design, and you can verify that the tension, speed, and needle size are appropriate for your materials. Document your assessment criteria like stitch count thresholds and density limits, then create a quick reference chart tailored to your machine and skill level, streamlining future evaluations.
Tools and Equipment to Support Complexity Grading
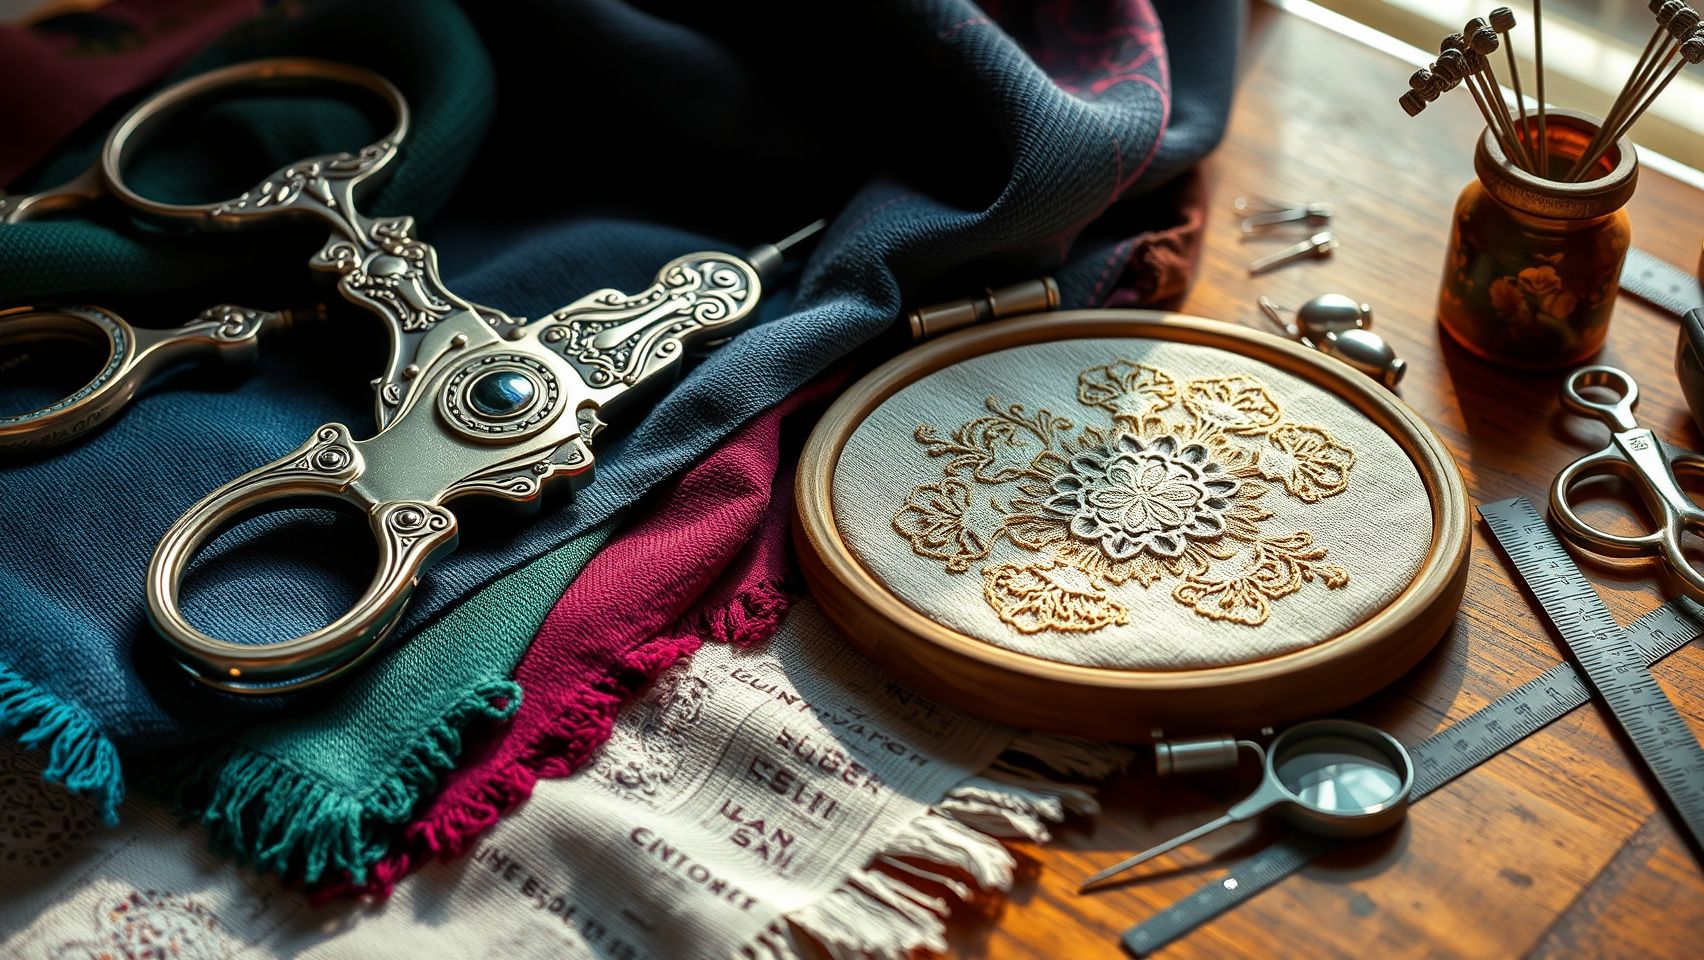
Embroidery design complexity grading isn’t just about artistic flair; it’s a strategic process that relies heavily on the right tools and equipment. When you’re evaluating whether a design is suitable for your skill level or for pricing your work, having the right digital and physical resources can make all the difference. From advanced software that analyzes stitch behavior to versatile embroidery machines capable of adjusting to intricate designs, each piece of equipment plays a vital role in ensuring your project flows smoothly and meets your standards.
Using the right tools not only enhances precision but also saves time and reduces errors, especially with complex or textured designs. Let’s explore some essential equipment that helps embroiderers manage design complexity effectively, whether you’re doing simple monograms or intricate multi-color compositions.
Embroidery Software for Design Evaluation
Top-tier embroidery software like Hatch, Wilcom Embroidery Studio, or Janome AcuEdit offer powerful features that directly support complexity grading. For example, Hatch 2.0 provides detailed stitch analysis and simulation, allowing you to preview how a design will behave in real time. These tools inform your decisions about stitch density, texture, and color layering before you even start stitching. Janome AcuEdit, in particular, includes specialized features for analyzing stitch types and evaluating the overall complexity of a design, saving you from costly retries.
Additionally, real embroidery professionals often utilize simulation functions that mimic stitches and fabric behavior, helping them optimize designs for flawless execution. This step is especially valuable with textured or metallic threads, where tension and stitch length become critical factors to avoid puckering or thread breakage. Overall, investing in advanced digitizing and editing software equips you with insights that elevate your craftsmanship and ensure your pricing reflects the intricate effort involved.
Embroidery Machines with Adjustable Features
The physical tools, your embroidery machine, are equally crucial. Machines like the Brother SE1900 or Bernina 770 QE feature automatic density adjustment and customizable stitch controls, empowering you to handle complex designs confidently. For example, the Brother SE1900, priced around $1, 199, offers automatic density adjustments that adapt to the intricacies of your design, reducing the need for manual tweaking and speeding up your workflow.
Investing in machines with adjustable speed and density not only helps manage complex stitches but also prolongs your machine’s lifespan by preventing undue stress. High-quality hoops and stabilizers tailored to your design size are indispensable, especially for complex or textured projects. Good stabilizers like Tear-Easy or super short trims help maintain stability during elaborate stitching, preventing puckering and skipping stitches.
So, choosing the right machine and supporting equipment ensures your technical setup is as refined as your creative vision, which in turn helps you competitively price your intricate projects without unnecessary frustration.
Practical Techniques to Reduce Design Complexity Without Losing Impact
Embroidery design complexity can be daunting, especially when you’re working with machine limitations or aiming to streamline your workflow. But here’s the good news: many designers and hobbyists find that with a few strategic edits, they can simplify a design while still maintaining its visual punch. This not only saves time but also reduces machine stress and improves the overall quality of the finished piece.
When I first started working with textured embroidery and metallic threads, I quickly learned that reducing stitch density by around 25% can significantly boost speed and outcomes. Recent trends, backed by industry adoption rates, show that simplifying fill patterns and eliminating unnecessary details are the most effective ways to keep designs impactful yet manageable. Now, let’s dive into some practical tips that can transform complex designs into more manageable projects without sacrificing their beauty.
Use Design Editing Tools to Simplify Fill Patterns and Reduce Stitch Density
Most embroidery software, including popular options like Janome AcuEdit, offers tools to adjust stitch density and fill styles. For instance, reducing stitch density by 25% in textured and metallic embroidery designs helps speed up the machine while maintaining the textured effect. Simplifying fill patterns by replacing densely stitched areas with satin or running stitches can dramatically cut your stitching time and reduce machine overheating or thread breakage. One common mistake is overcomplicating backgrounds or secondary motifs, but focusing on bold main motifs using fewer fills keeps things sharp and clear, even on simpler fabrics.
Break Complex Designs into Smaller, Manageable Parts
Layered embroidery or in-the-hoop assembly techniques are game-changers for intricate projects. Think of a detailed floral design, breaking it into smaller sections, stitching each separately, and then assembling can yield polished results. This approach gives you better control and allows you to focus on one segment at a time, reducing fatigue and errors. Plus, modular designs are perfect for experimenting with different textures or threads without committing to the entire complex layout from the start.
Adjust Design Parameters for Custom Complexity
Fine-tuning stitch length, underlay pattern, and density settings can make a huge difference. For example, increasing stitch length slightly (by about 0.2-0.3 mm) reduces total stitch count, which cuts down on machine time. For textured embroidery, decreasing stitch density by about 25%, a tip reinforced by recent industry trends, helps achieve a softer, more natural look and speeds up production. Don’t forget to preview your adjustments; software updates often include new features for better control over design complexity, making the process both easier and more predictable.
Implement Design Hierarchies and Use Pre-Made Elements
Building a design in layers allows you to focus on the main motifs first, then add background details sparingly. For beginners, suppressing background or filler layers initially can help develop an understanding of the design’s visual impact. Additionally, integrating motifs and pre-made embroidery elements as building blocks provides consistent quality and saves time. This step-by-step approach helps control complexity and fosters a sense of achievement as you see the design come together.
From sampling textured embroidery with metallic threads to experimenting with layered motifs, these practical modifications help you master the balance between complexity and simplicity. Remember, sometimes less really is more, it’s all about choosing the right spots to simplify while keeping that wow factor intact. Next, we’ll look at effective ways to handle intricate designs without overwhelming your machine or your creative process.
Cost and Time Planning Based on Design Complexity
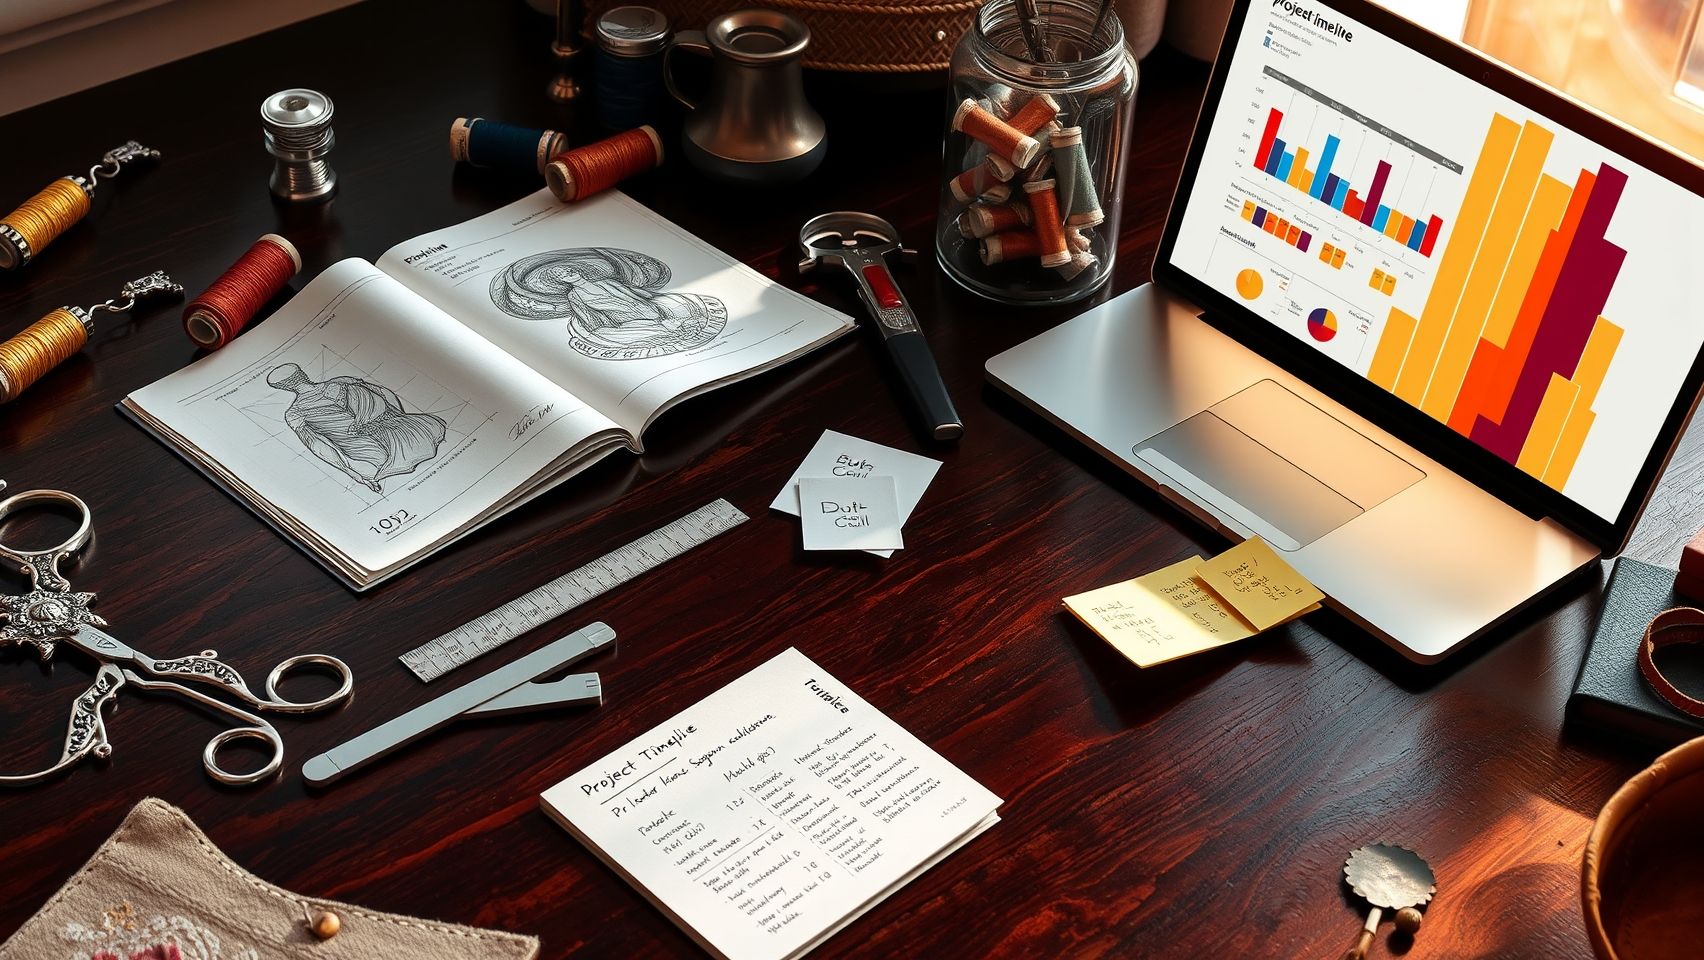
Embroidery projects come in all shapes and sizes, and understanding how to accurately estimate costs and time based on design complexity is crucial for efficient workflow management and setting proper client expectations. Whether you’re working on a simple monogram or a highly textured, large-stitch-count artwork, having a clear grading system helps determine resources needed, avoid surprises, and optimize your crafting sessions.
Let’s delve into how to break down those costs, covering machine time, thread and material usage, stabilization, and how project complexity influences overall expenses and duration.
Calculating Project Costs
Start by assessing the design’s stitch count and complexity. For example, a straightforward 10, 000-stitch logo might take about 1-2 hours on your machine, costing relatively little in thread and stabilizers. In contrast, textured threads like metallic or iridescent types tend to be more expensive, often adding around 20-30% to your thread costs due to their premium quality.
When working on textured, large, or highly detailed designs, say, over 30, 000 stitches and multiple thread types, the process can extend to 6+ hours, especially if frequent testing or adjustments are necessary. Incorporating software to simulate stitch times helps. Most embroidery software now offers project estimation features, allowing you to tweak design complexities virtually and see how changes impact time and cost.
For example, if a project involves stabilizers or in-the-hoop constructions, expect to reduce costs by approximately 20%, as these materials often provide efficiency gains by minimizing errors or rework. Additionally, selecting the right machine speed influences a lot; higher speeds cut down stitching time but may compromise precision, particularly in complex, textured designs where detail matters.
Estimating Work Duration
Most beginner projects, such as small logos or monograms, can be wrapped up in about 1-2 hours, making them feasible for quick turnaround times. Intermediate designs, like delicate floral motifs or multiple color changes, generally take 3-5 hours. For complex, textured pieces with large stitch counts and intricate detail, like 30, 000+ stitches or textured metallic threads, the job easily extends to 6 hours or more.
Utilizing embroidery software to generate a project simulation can save you countless trial-and-error hours. These tools allow you to input design parameters and get an approximate stitching time, which can be adjusted based on your machine’s speed settings. Remember, running at maximum speed might not always be the best choice for detailed work, often, a moderate pace ensures accuracy and reduces the need for troubleshooting.
Factor in time for potential troubleshooting, especially with textured or specialty threads, as these can cause issues like thread breakage or skipped stitches. Allow extra buffer time for design adjustments and test runs, building an efficient schedule that aligns with your workflow.
Conclusion
As we’ve explored, understanding and applying a clear embroidery design complexity grading system opens up a new world of possibilities for both beginners and seasoned professionals. By accurately assessing each design’s intricacy, you can better match projects to your skills, equipment, and workflow, ultimately leading to higher quality results and more satisfying creations. The latest trends and technological advances, from automation to innovative digitizing techniques, continue to push the boundaries of what’s possible in embroidery, making this an exciting time to refine your craft.
Remember, mastery comes with practice, patience, and a willingness to refine your approach. Using the step-by-step assessment tools today, evaluate your existing designs, experiment with modifications, and select your next project based on real complexity data, will empower you to work smarter and more confidently. Embroidery is as much about the journey as it is about the destination, and these practical methods will help you develop a deeper understanding of your craft.
So, why not take that next step now? Start implementing these grading techniques into your workflow and watch your skills grow. The timeless beauty of embroidery is rooted in both tradition and innovation, your continued exploration will keep this art form vibrant and evolving. Embrace the challenge and let your creativity flourish with every stitch!