How to Reduce Jump Stitches in Machine Embroidery for Cleaner Designs
Ever finished a beautiful embroidery project only to find those pesky jump stitches ruining the look? It’s one of the most common frustrations among {embroidery enthusiasts} and even seasoned pros. Perhaps you’ve noticed that despite using a high-quality machine, your designs still end up with visible, inconvenient stitches that need trimming, and sometimes, a lot of it. Doesn’t it feel like a never-ending battle to get perfectly clean results?
Well, here’s the good news: There are practical techniques to minimize jump stitches and achieve crisper, more professional-looking embroidery. When you master these tricks, not only do you save time on tedious trimming, but you also enhance the overall quality and finish of your work. Imagine completing a project and having it look just as polished on the first go, no extra fuss, no re-dos.
Ready to elevate your embroidery game? In this article, we’ll explore proven methods to reduce jump stitches, including the right machine settings, hooping tips, and some software shortcuts. Interested in how technology is shaping embroidery? Check out the latest insights on the embroidery machine market to see what tools other professionals are using. Let’s dive in and make those jump stitches a thing of the past!
Step-by-Step: Setting Up Your Machine to Minimize Jump Stitches
Embroidery enthusiasts know that those pesky jump stitches can turn a beautifully stitched design into a tangled mess. Proper machine setup is like laying a solid foundation, you won’t get perfect results without it. Let’s walk through the essentials for dialing in your machine to produce cleaner, more professional-looking embroidery with minimal jumps.
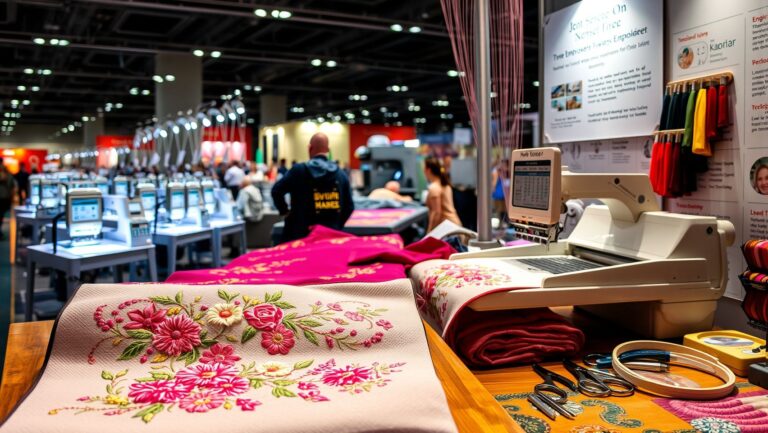
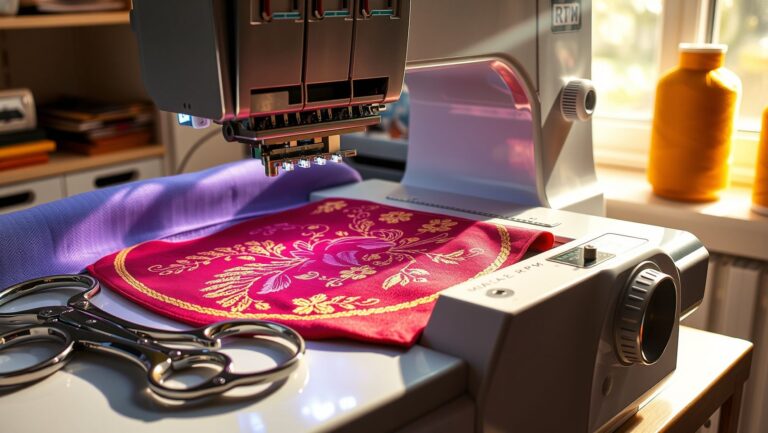
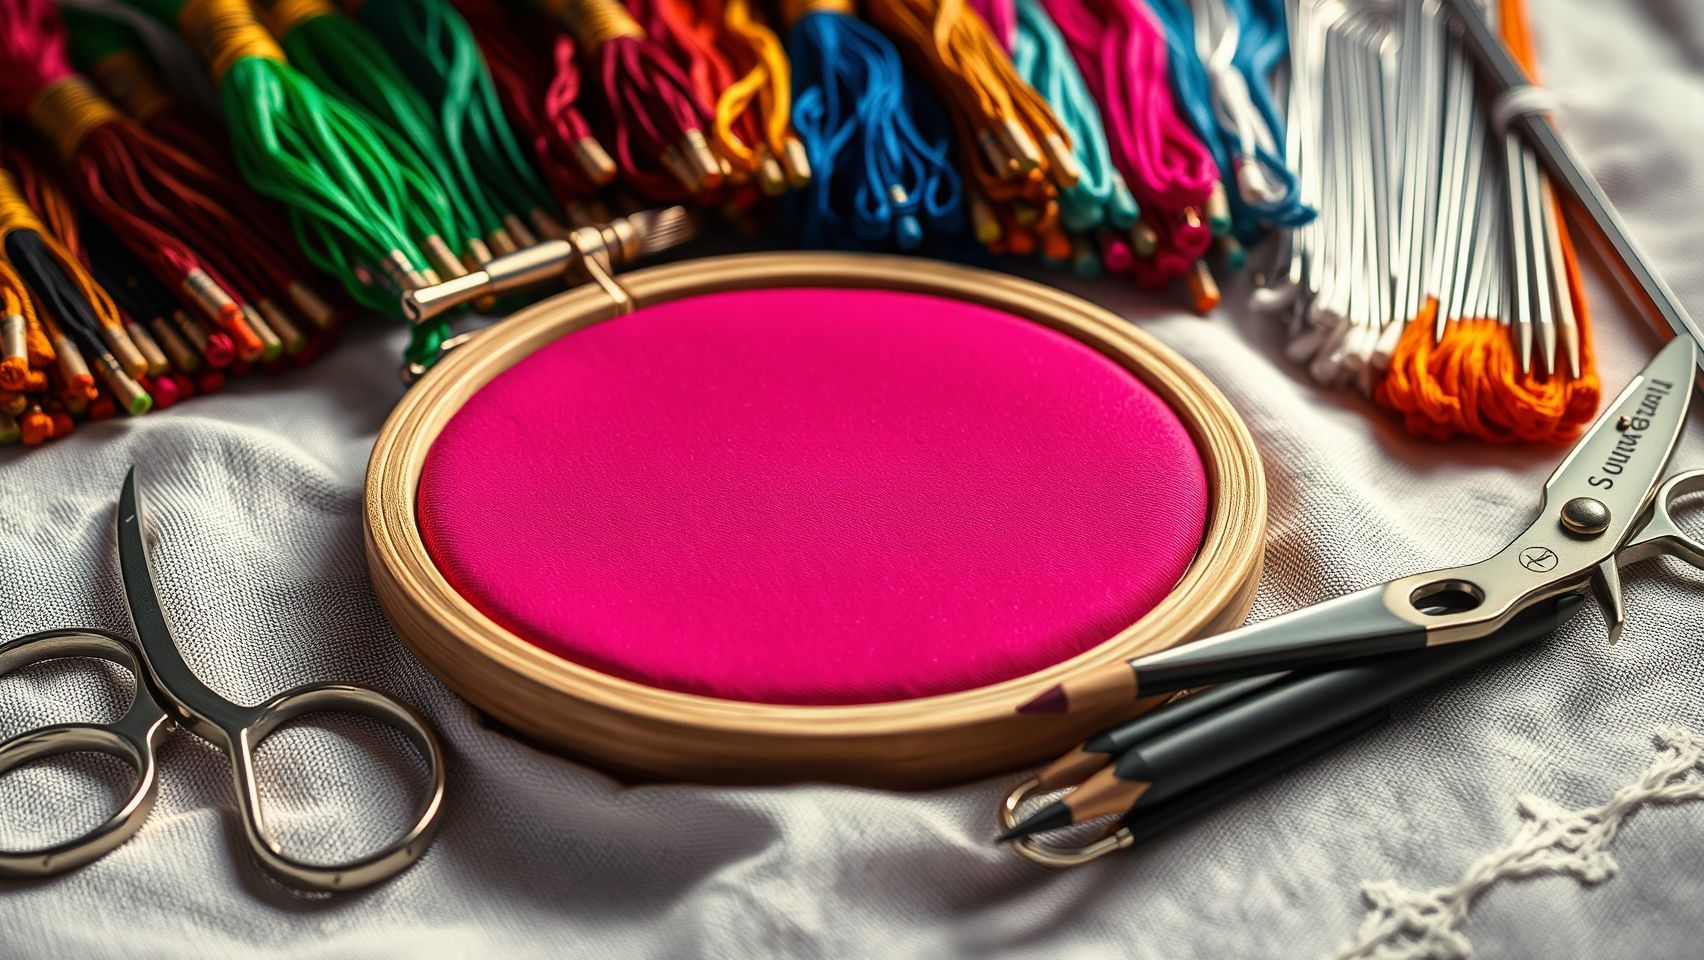
Selecting the Right Machine and Features
If you’re serious about reducing jump stitches, start by choosing a machine equipped with automatic jump thread cutting and adjustable tension. For example, the Janome Memory Craft 9850 SE has built-in automatic thread trimming and a user-friendly tension calibration system. Similarly, the Brother PE770 or the newer models in the Janome series allow for fine-tuning tension and have automatic thread-cutting features that significantly improve stitch quality by reducing unnecessary jumps.
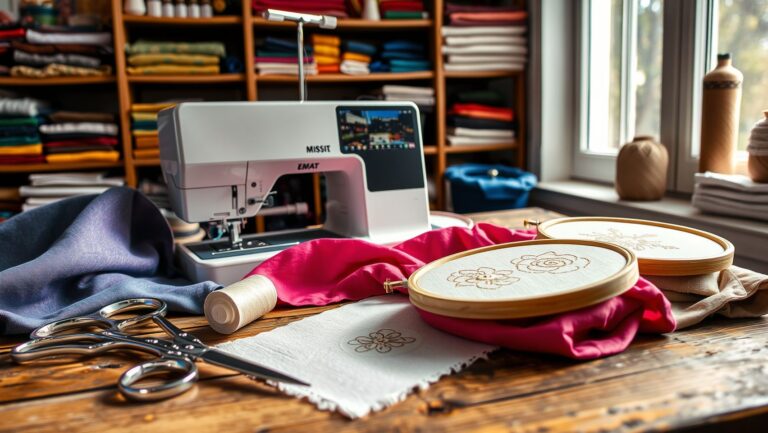
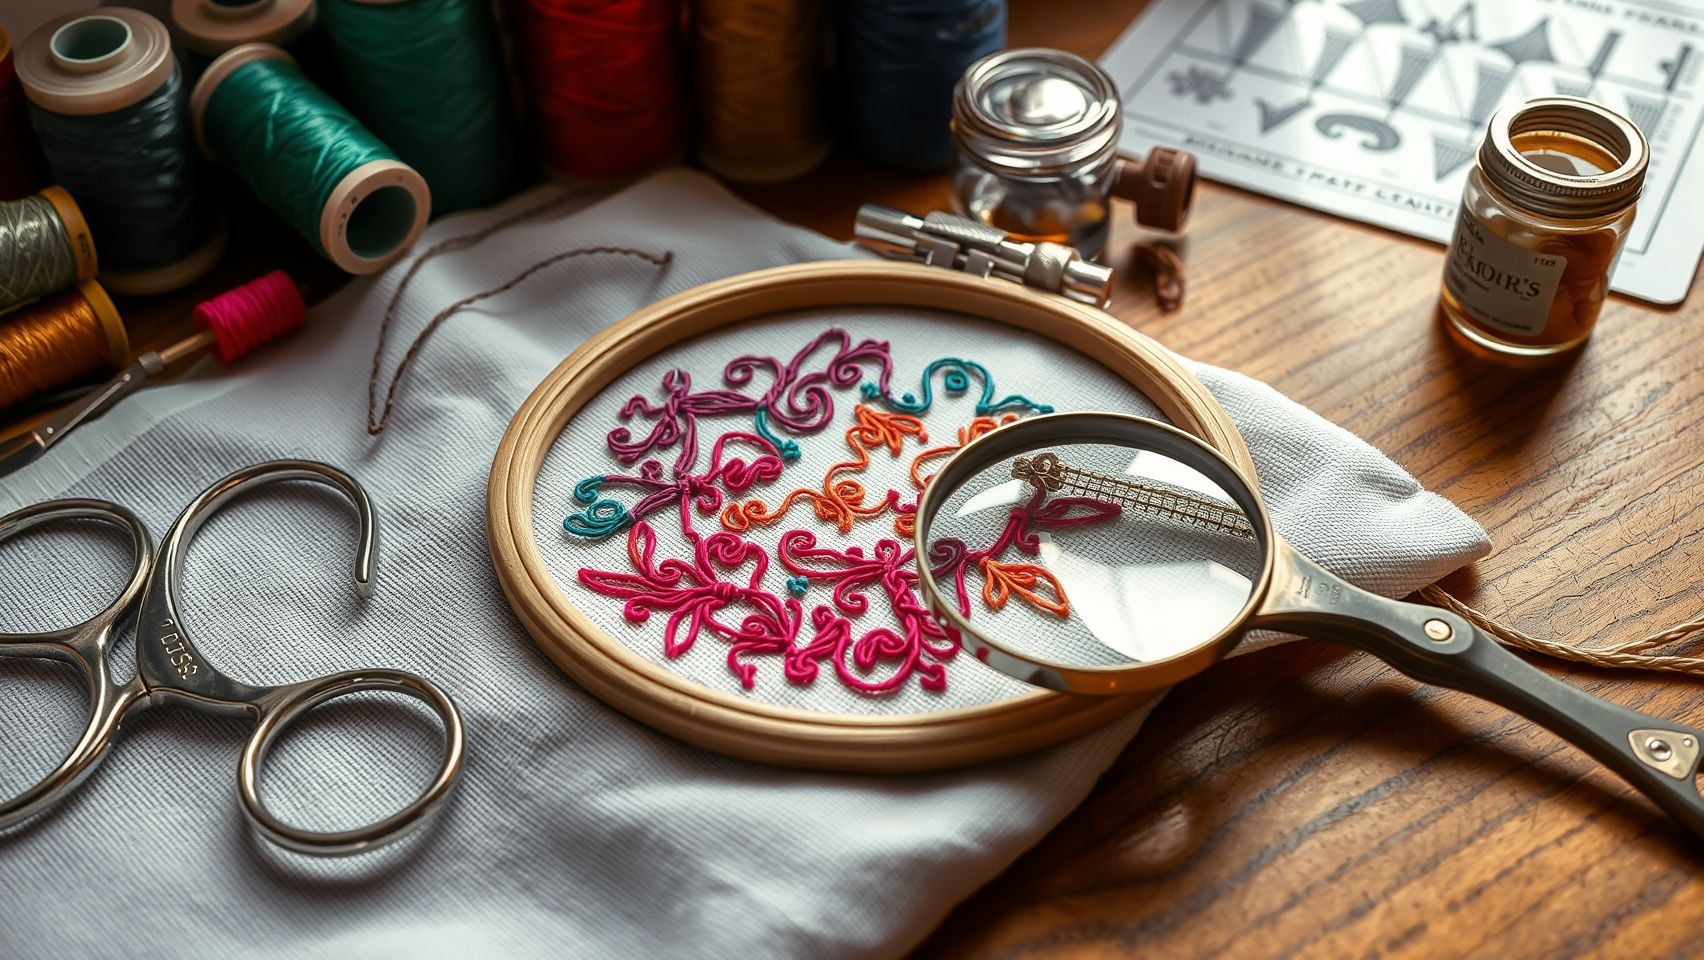
Hooping Tightly and Choosing the Correct Stabilizer
A common mistake is hooping fabric too loosely, which causes shifting and uneven stitches. Always hoop your fabric with tension just tight enough to eliminate slack, think of it as giving the fabric a gentle hug. For woven fabrics, a tear-away stabilizer provides firm support, while on delicate materials, a fusible stabilizer offers extra stability. Proper hooping prevents fabric movement that often leads to excess jump stitches. My personal discovery: double-check your hoop’s tension, especially on stretchy or slippery fabrics, because slipping is a major culprit for unwanted jumps.
Adjusting Tension Settings for Flawless Stitches
Once your hooping is secure, focus on tension. Most machines, like Janome’s, allow you to calibrate tension directly, reducing upper thread tension by 1-2 units can dramatically cut down on jump stitches during complex designs. For Brother models, manual adjustments via the tension dial are straightforward. Always run test stitches on scrap fabric reminiscent of your final project. If you notice excess jumps or uneven stitches, tweak the tension slightly and re-test until you achieve that perfect, smooth flow of stitches.
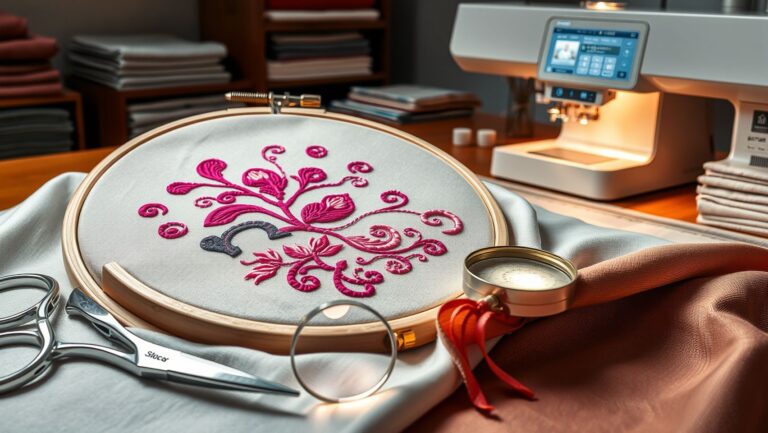
Using Quality Needles and Running Test Stitches
High-quality embroidery needles (size 75/11 or 80/12) help prevent skipped stitches and thread breakage, which can cause unnecessary jumps. Attach the correct needle for your fabric, using a too-large or too-small needle can introduce issues. Before embarking on your real project, run a test stitch on scrap fabric, observe for excess jumps or skipped stitches, and adjust as needed. Sometimes, switching to a sharper needle or changing the thread tension by a tiny fraction is all it takes for that ‘aha’ moment of perfect stitches.
Finalizing and Troubleshooting
After all adjustments, run a final test and carefully observe the result. If jump stitches persist, consider tweaking design placement to avoid tight corners or sudden directional changes that could trigger jumps. Remember, a little patience with tension calibration and hooping techniques goes a long way, especially when using new or high-tech embroidery machines. With consistent testing and small refinements, you’ll turn your machine into a precision stitching tool that minimizes those frustrating jumps and leaves you with crisp, professional designs every time.
Design Optimization Techniques to Cut Jump Stitches and Thread Waste
When it comes to machine embroidery, one of the persistent challenges is minimizing jump stitches, which not only waste thread but can also compromise the overall look of your design. The good news is that with thoughtful digitizing and a few strategic adjustments, you can drastically reduce these unnecessary threads and produce cleaner, professional-looking results. Whether you’re working with Wilcom, Hatch, or other embroidery software, optimizing your design is key to saving time and materials in the long run.
Digitize with Care: Smoothing Curves and Merging Overlapping Areas
One of the simplest yet most effective tricks is to pay attention during digitizing, specifically, smoothing out curves and merging overlapping fill areas. Overlapped stitches often create unnecessary jump points because the machine has to lift and reposition the thread between sections. By merging these overlaps where possible or using the software’s auto-merge features, you create a smoother stitch path. This not only reduces jump stitches but also distributes thread more evenly, leading to a more polished finish.
Additionally, setting longer stitch lengths for background fills can help. For instance, increasing the jump length in areas where high density isn’t crucial allows your machine to execute longer, continuous stitches, thus minimizing thread trimmings. Experimenting with this setting can significantly cut down on thread waste both in intricate designs and larger areas.
Most modern embroidery software like Wilcom or Hatch comes equipped with automatic stitch path optimization features. These tools analyze your design and adjust the path to reduce unnecessary movements, often cutting jump points by up to 50%. Don’t forget, manually adjusting jump points and trim locations in your software allows you to align stitching flow with the fabric’s orientation, which keeps the stitches cleaner and reduces the need for frequent trims.
Using Effective Stitch Types: Satin and Contour Stitches
Another practical tip is to choose the right stitch types. Dense fill stitches are prone to generating more jumps because of their complexity. Switching to satin or contour stitches in areas with sharp detail or when outlining can help maintain a continuous stitch flow. Satin stitches, especially when set to longer stitch lengths, can be executed in a single, long run, which minimizes jump points and thread waste.
Furthermore, incorporating long, continuous stitches over large areas, such as running stitches or long contour lines, can drastically cut down on thread consumption. This technique is particularly satisfying because it streamlines the stitching process and produces cleaner edges. Just remember, fabric type and design complexity should guide your choice of stitch style; overly dense fills on delicate fabrics may cause puckering, so balance is key.
Keep Software Updated for Better Efficiency
Lastly, always ensure your embroidery software is up-to-date. Developers frequently release updates introducing new tools specifically designed to optimize stitch paths and minimize jump points. Staying updated means gaining access to the latest innovations in stitch automation and efficiency improvements. Combined with thoughtful design choices, these updates can turn a tedious process into a more enjoyable, resource-efficient craft.
By integrating these techniques into your workflow, you’ll find that not only do your designs look more professional, but you also save time, thread, and frustration each step of the way. Remember, a little planning in digitizing can go a long way in achieving embroidery perfection.
Tools and Equipment That Help Minimize Jump Stitches
Achieving a clean, professional look in machine embroidery often feels like a constant battle against those pesky jump stitches. Luckily, the right tools and accessories can make a significant difference, smoothing out the process and enhancing your design quality. From fabric stabilization to cutting-edge machine features, each element plays a vital role in reducing unnecessary jumps and ensuring your project looks flawless.
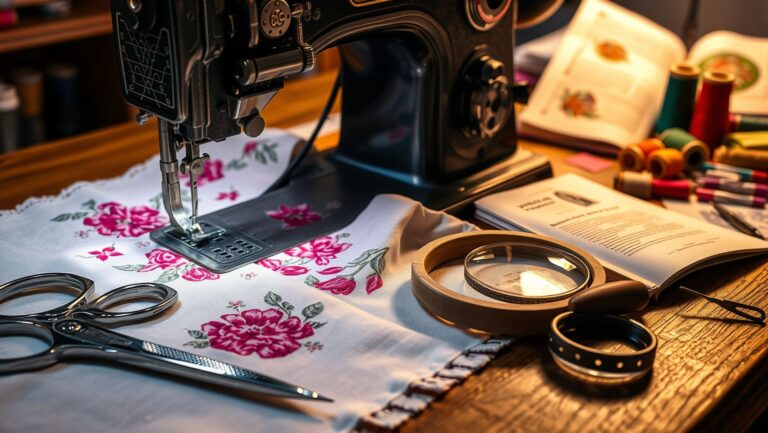
Embroidery Hoops with Adjustable Tension
One of the first things I always check is the hoop itself. Using embroidery hoops with adjustable tension is a game-changer because it keeps your fabric super taut. Loose fabric tends to shift during stitching, which often results in jump stitches. Securing the fabric tightly reduces slipping and movement, helping stitches land precisely where they should. A reliable hoop with a locking mechanism ensures your fabric stays perfectly in place, streamlining your workflow and minimizing those frustrating jumps.
High-Quality Thread Selection
The choice of thread is another crucial factor. I always recommend opting for high-quality polyester or rayon threads at 40-weight. They’re not only durable but also tend to have less slack, which translates into fewer skipped stitches and thread breaks. Cheaper threads or those with inconsistent thickness can cause tension issues that lead to jump stitches, so investing in good threads is a smart move for better results.
Advanced Features and Accessories
If your embroidery machine offers features like automatic thread cutters, like the Brother SE1900 or Janome 500E, it’s worth enabling these functions. These automatic trimmers cut the thread between color changes, reducing long jumps that happen when the machine waits for you to manually trim. Additionally, software plugins and accessories designed for automatic trimming and thread management can further streamline your work, saving time and preventing those unwanted jumps.
Troubleshooting Common Jump Stitch Issues in Embroidery
Jump stitches can be a real headache for anyone aiming for that perfectly smooth, professional finish on their embroidery projects. These tiny threads that hop from one part of a design to another not only mar the aesthetics but can also add extra finishing time. Fortunately, understanding some fundamental troubleshooting steps can dramatically reduce these issues and elevate your embroidery game.
Diagnosing Tension and Thread-Related Problems
If your jump stitches appear uneven or excessively large, start by examining your thread tension. Too loose tension on the upper thread often causes loose stitches, resulting in more jump stitches, while overly tight tension can cause puckering or thread breakage. Refer to your machine manual, and try tightening or loosening the tension slightly, typically, a 10-15% adjustment can do wonders. Regular tension calibration can reduce jump stitches by up to 30%, making your workflow much smoother.
Another common culprit is using mismatched or dull needles, which can skip stitches and cause thread jams. Make sure to switch to sharp, compatible needles like size 75/11 or 80/12, especially for dense fabrics or intricate designs.
Addressing Fabric Puckering and Pattern Misalignment
Puckering is frustrating because it distorts your design, often making jump stitches more likely. To prevent this, improve stabilizer support, use a higher density or more robust stabilizer suited to your fabric type. Also, ensure your hoop is tight enough; loose hooping allows fabric to shift, leading to pattern misalignment. Double-check your hooping before starting the project, especially on stretchy or delicate fabrics.
If the design appears misaligned, recalibrate your machine needle position and recheck your digitized pattern placement. Sometimes, tiny shifts in the needle’s position during setup can cause significant misalignment and unnecessary jumps.
Fixing Skipped Stitches and Thread Breakage
Skipped stitches are often due to dull or incompatible needles. Replace dull needles immediately and verify that your needle type matches your thread and fabric. Adjust stitch density settings in your design, lowering the density slightly can help reduce thread buildup and skipped stitches.
Thread breakage typically occurs when using low-quality thread or improper threading sequence. Always use high-quality embroidery thread and follow your machine’s threading order precisely, usually from spool to tension discs, then through the needle. Proper threading ensures consistent tension and smooth stitch flow, minimizing unnecessary jump stitches.
Additionally, use machine diagnostic tools if available. Many embroidery machines have self-check features that identify mechanical issues contributing to jump stitches, such as motor problems or misaligned parts. Regular maintenance and calibration are key to preventing these issues over time.
By systematically troubleshooting these common issues, whether tensions, fabric support, pattern alignment, or needle quality, you’ll find that jump stitches become less of a problem. With practice, these adjustments become second nature, turning embroidery from a frustrating task into a satisfying craft that you’ll improve with each project.
Conclusion
As we’ve explored, reducing jump stitches in machine embroidery is both an art and a science that significantly elevates the quality of your finished projects. From thoughtful design digitization and optimal machine setup to leveraging advanced features like auto-trimming, each step brings you closer to cleaner, more professional results. The journey may require patience and practice, but the rewards are worth it, less thread waste, faster completion times, and designs that truly shine.
Remember, mastery comes with consistent effort and experimentation. Start applying these techniques today: test adjustments on scrap fabric, refine your setup process, and share your improved projects with your embroidery community. Your progress not only strengthens your skills but also inspires fellow enthusiasts. Embroidery is a timeless craft; each stitch is a step toward creating art that endures.
Keep sewing, keep improving, and let your creativity flow beyond the stitches. The next level of embroidery mastery is just a trial away, happy stitching!