How to Fix Embroidery Machine LCD Screen Issues Fast
This post contains affiliate links. As an Amazon Associate, Latest Embroidery earns from qualifying
purchases, at no extra cost to you. Learn more.
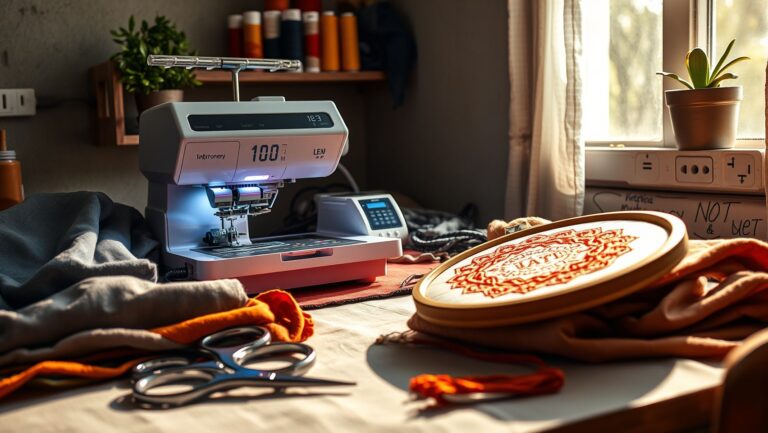
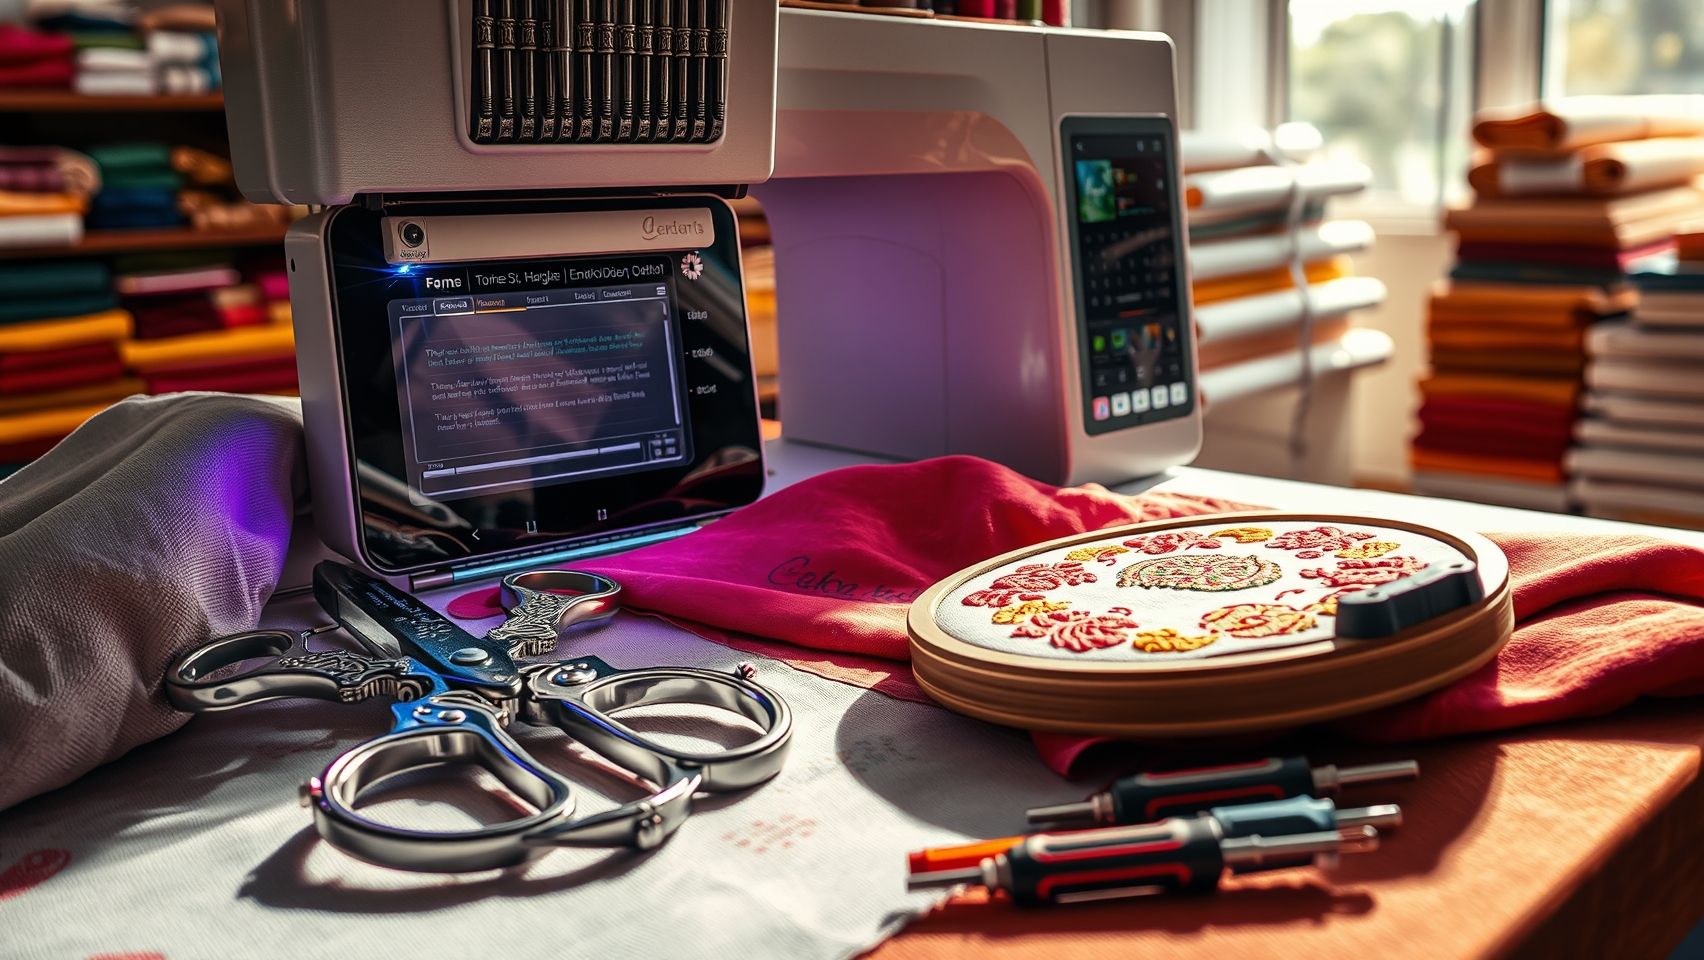
Are your embroidery machine’s LCD screen problems halting your creative projects? If you’ve ever faced a frozen display, unresponsive touch controls, or inconsistent image rendering, you know how frustrating it can be. A reliable LCD screen is the heart of a seamless embroidery workflow, guiding you through complex designs, adjustments, and troubleshooting. Fortunately, many common issues have practical solutions, whether you’re a DIY enthusiast or rely on professional repairs. Leading embroidery machines like Brother and Janome often feature intuitive LCD screens, making troubleshooting vital for uninterrupted crafting. This guide will walk you through quick fixes, simple tips, and when to seek expert help. Don’t let a glitchy display dampen your creativity, empowered with proper troubleshooting, you’ll get back to stitching in no time. Ready to troubleshoot with confidence? Let’s dive into the most common LCD issues and how to solve them efficiently.
Step-by-Step Guide to Reset Your Embroidery Machine LCD Screen
Short on time? If you only take one thing from this guide: Machine oil & cleaning kit — most “faulty machine” problems are lint and a dry hook race.
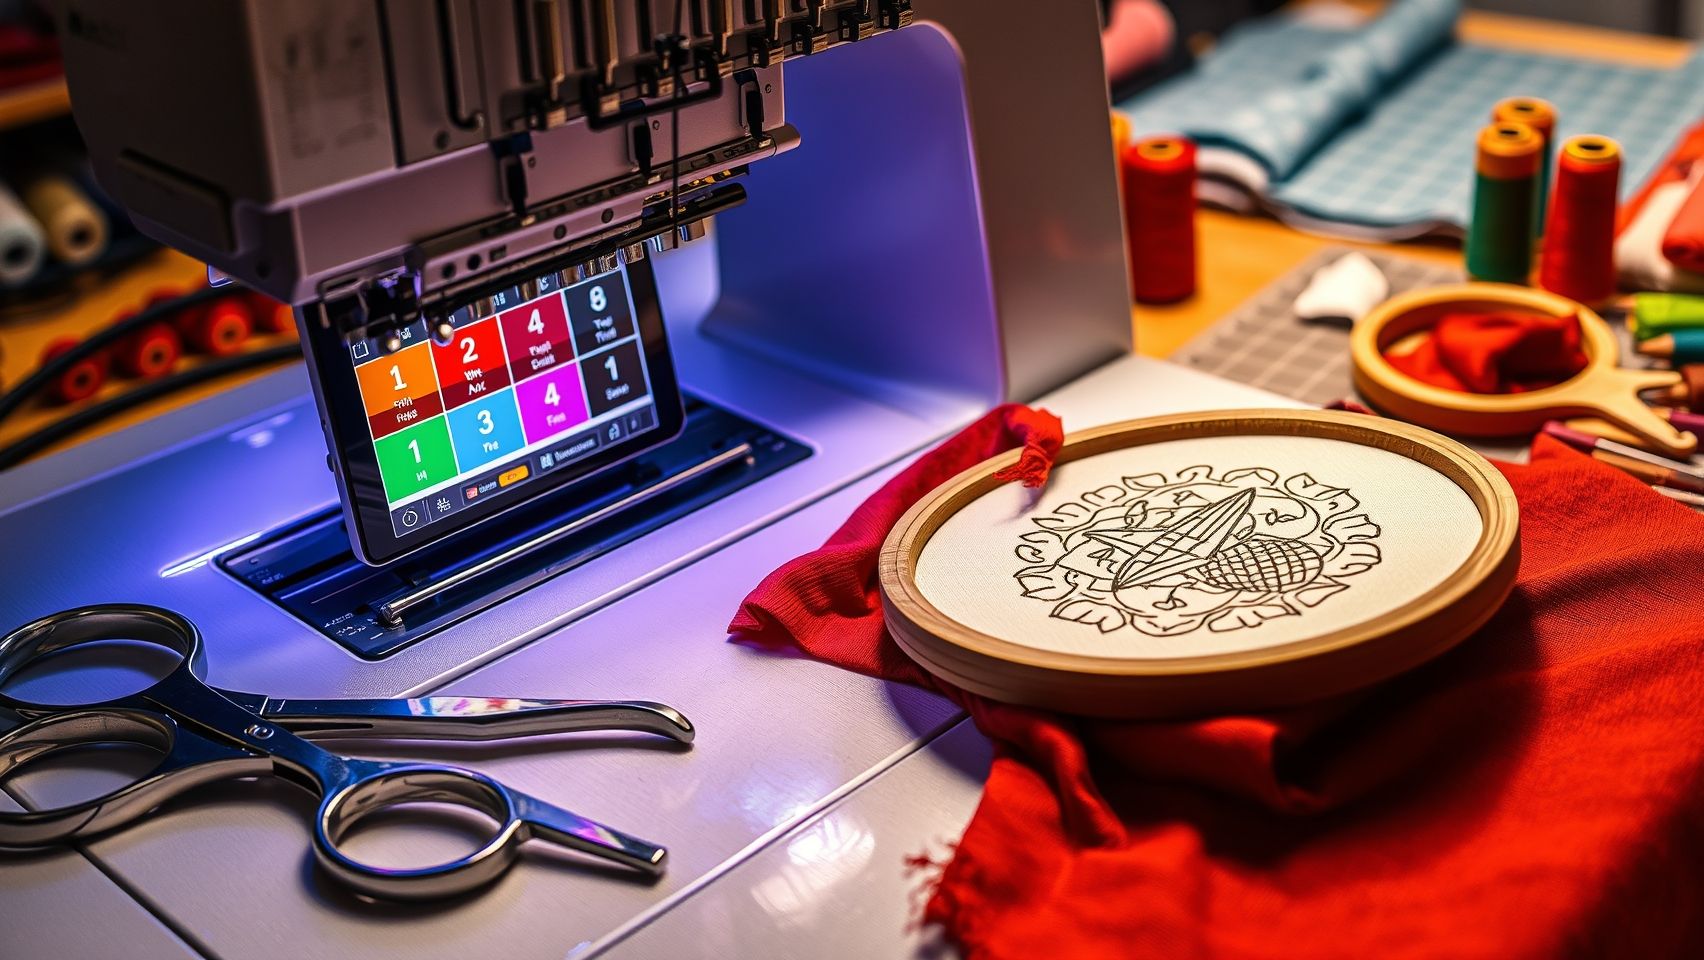
If your embroidery machine’s LCD screen is unresponsive, flickering, or displaying glitches, performing a reset can often solve these issues quickly and effectively. Resetting clears temporary software glitches and restores the display to normal operation, preventing recurring problems caused by power surges or outdated firmware. This guide provides clear, actionable steps to help you reset most common embroidery machine brands safely and efficiently.
Gather Tools and Prepare Safely
Before starting, gather the necessary basic tools: a small screwdriver, a soft lint-free cloth, and access to your machine’s manufacturer-specific reset instructions. Always ensure safety by turning off your machine and unplugging it from the power source. Waiting at least 2 minutes after unplugging helps discharge residual power, reducing the risk of electrical damage during the reset process.
Locating the Reset Button or Menu
Most embroidery machines from brands like Brother, Janome, and Bernina have a dedicated reset button or an option within the control panel menu. To locate the reset button, consult your user manual; it’s often a small, recessed button requiring a paperclip or similar tool. Alternatively, access the reset menu by pressing and holding specific button combinations during power-up, such as holding the ‘Stop/Reset’ button for a few seconds. This process may vary slightly based on your machine model.
Performing the Reset
Once you’ve located the reset option, proceed with the reset following your manufacturer’s instructions. In many cases, this involves pressing and holding the ‘Stop/Reset’ button for about 10 seconds until the display resets or restarts. If your machine has a factory reset option, select it carefully, note that this may erase customized settings. After completing the reset, reconnect the machine to power and turn it on to check if the LCD responds normally.
Updating Firmware and Testing the Screen
After resetting, updating your embroidery machine’s firmware can prevent future issues and enhance performance. Firmware updates are typically available from the official manufacturer’s website and may require a USB stick or direct connection to a computer. Once updated, test the LCD screen for responsiveness and clarity. If needed, follow calibration instructions to fine-tune the display’s touch and image quality for optimal operation.
Implementing these steps systematically helps restore your embroidery machine’s LCD screen to full functionality quickly. Regular firmware updates and gentle handling can also extend the lifespan of your device, ensuring smooth operation during your creative projects.
Calibrating Your LCD Screen for Optimal Embroidery Workflow
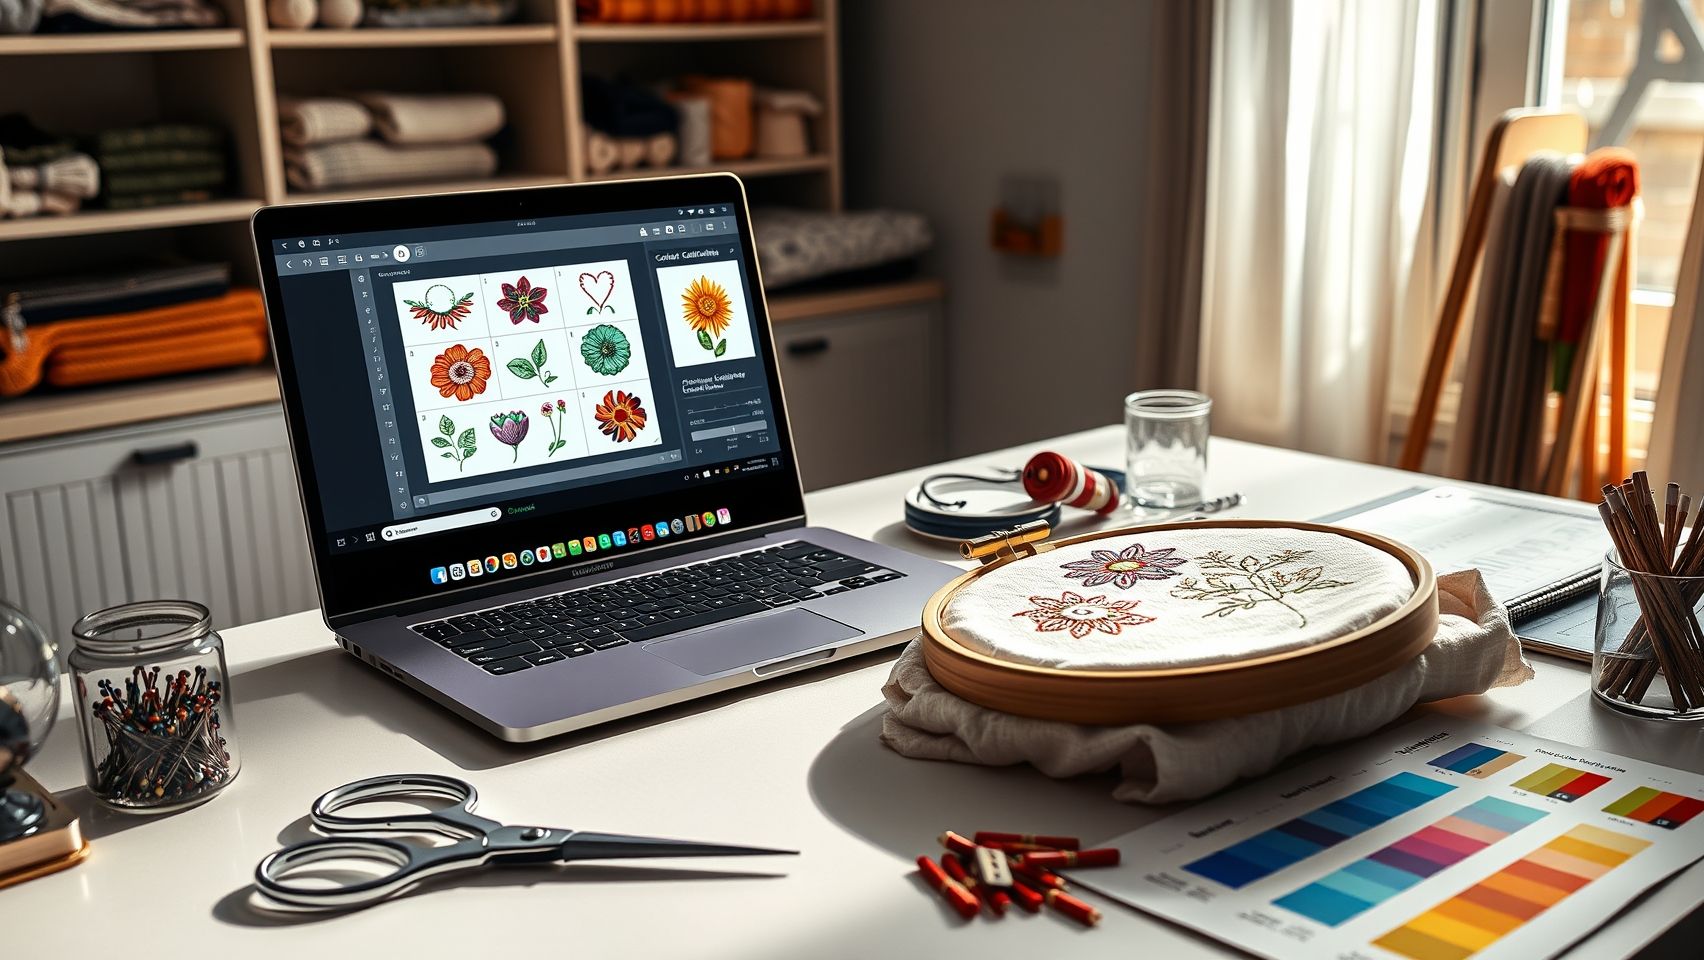
An accurately calibrated LCD screen is essential for efficient and precise embroidery machine operation. Proper calibration ensures that touch responsiveness is accurate, and display alignment is correct, reducing errors and enhancing overall user experience. Whether you’re dealing with blurry visuals or unresponsive touch areas, this guide provides practical, user-friendly techniques to calibrate your embroidery machine’s LCD effectively.
Practical Calibration Techniques for LCD Clarity and Touch Responsiveness
Before beginning calibration, confirm that your embroidery machine is connected to a stable power source to prevent interruptions during the process. Most machines feature a dedicated calibration menu accessible through the settings or advanced options. Navigate to this menu and follow the on-screen prompts, which typically involve touching specific points on the screen that appear sequentially. This process helps your machine map touch points accurately, improving responsiveness across the entire display.
Calibration involves two primary aspects: touch responsiveness and display alignment. For touch responsiveness, ensure you tap each point precisely and with a firm touch. For display alignment, observe if icons or text appear slightly off; during calibration, the system adjusts these discrepancies. After completing the process, verify the calibration by navigating through menus and testing touch responsiveness in different areas, top, middle, bottom, and corners.
Repeat calibration if you notice inconsistencies after firmware updates or if the machine experiences physical shocks. Manufacturer-recommended calibration tools or software often come bundled within the firmware or are available online, ensuring compatibility and accuracy. Proper calibration not only improves stitching precision but also minimizes user frustration, making your embroidery projects smoother and more professional-looking.
Calibration Procedures Across Brands and Features
While calibration steps vary by brand, most follow a common pattern, access calibration mode via settings, follow prompts, touch designated points, and verify accuracy. Brands like Brother and Janome often include dedicated calibration tools within firmware updates, simplifying the process for users. For detailed instructions, always refer to your machine’s official documentation for best results.
Deciding When to Repair or Replace Your Embroidery LCD
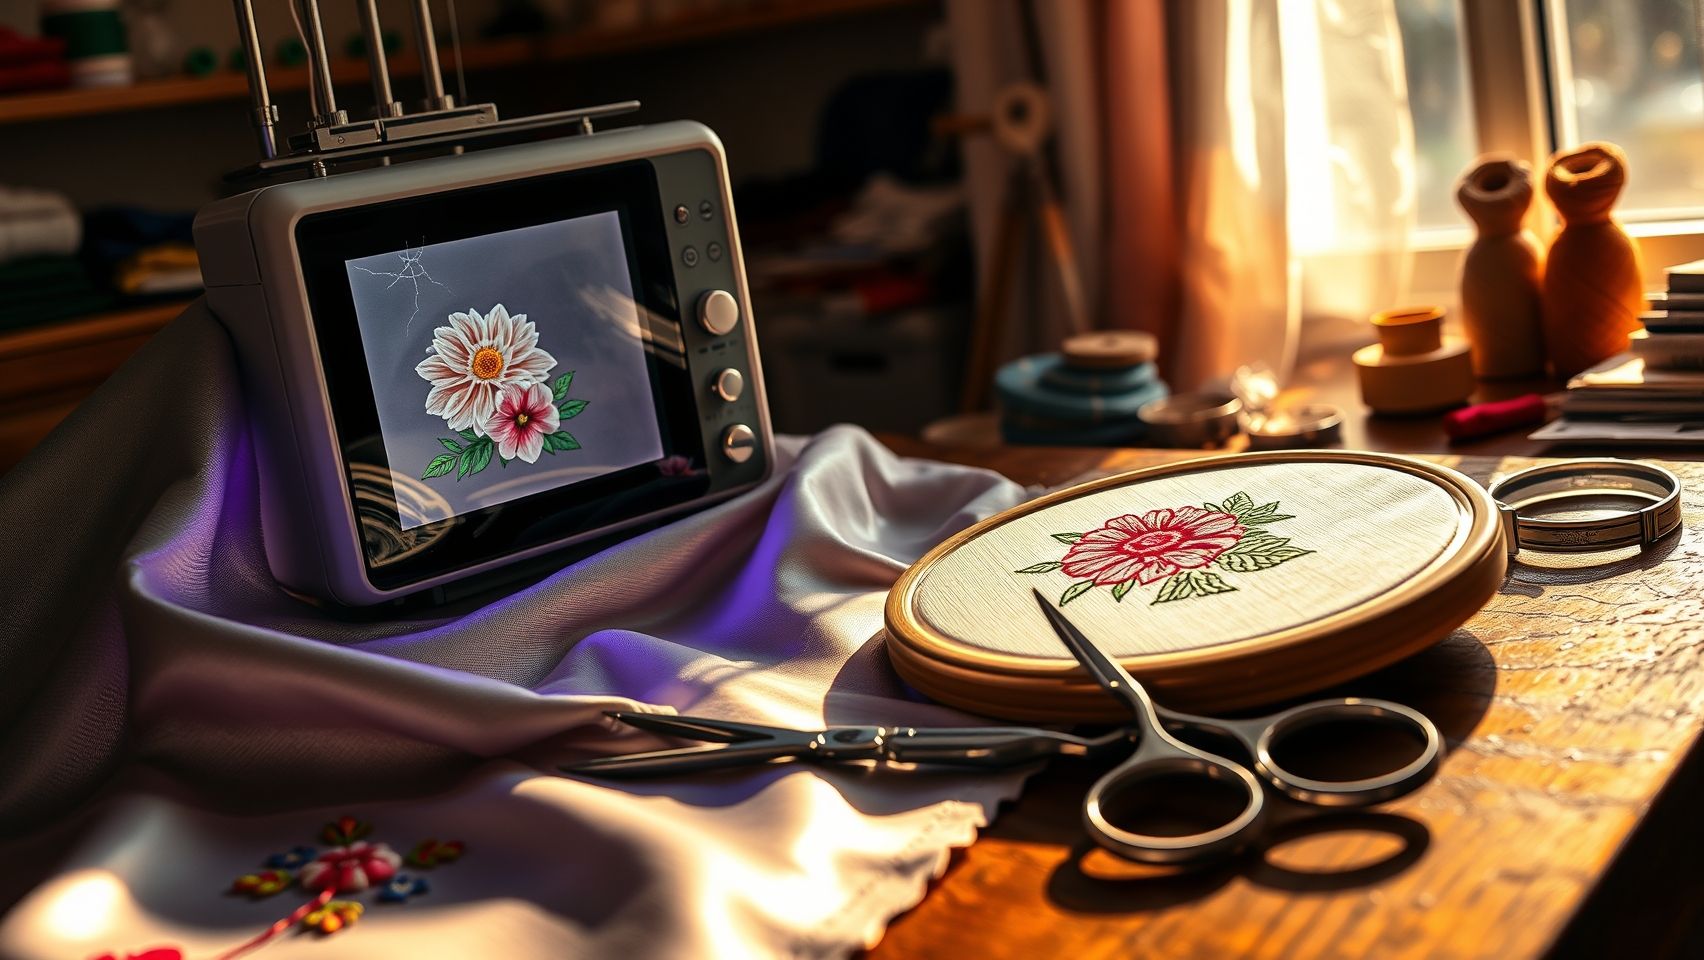
Encountering issues with your embroidery machine’s LCD screen can be frustrating and lead to concerns about the most cost-effective and efficient solution. Making the right choice between repair and replacement hinges on several key factors, including the machine’s age, warranty status, repair costs, and overall functionality. Understanding these aspects can help embroiderers avoid unnecessary expenses and downtime.
Assessing whether to repair or replace your embroidery LCD involves a practical evaluation of your machine’s condition and the potential costs involved. While minor issues might be easily fixed, significant or recurring problems could indicate that a replacement is more economical in the long run. The following criteria will help you make an informed decision.
Factors to Consider When Deciding
Machine Age: Older models often have higher repair costs due to scarce or discontinued parts. If your embroidery machine is several years old, replacing it might be more cost-effective than investing in costly repairs.
Warranty Coverage: Check if your machine is still under warranty, particularly for electronic components like the LCD. Repairs covered under warranty are typically less expensive or even free, making repairs a more attractive option during this period.
Repair Costs vs. Machine Value: Estimate the repair expenses, if replacing the LCD module costs between $200-$500, compare this with your machine’s current market value. If repair costs exceed 50% of its value, replacement should be strongly considered.
Repair Complexity and Availability of Parts: High-end models such as Bernina 880 or Janome MB-7 tend to have more complex and costly repairs due to advanced features. Limited parts availability can also delay repairs, potentially making replacement more practical.
Functionality Restoration and User Reports: Ensure the repair will restore full functionality. Review user experiences and expert advice, if many models frequently encounter LCD issues, it might be better to proactively replace the device to avoid ongoing frustrations.
Ultimately, a balanced approach considering all these factors will guide you to the most cost-effective and time-efficient decision for your embroidery machine. Sometimes, investing in a new machine equipped with the latest features may provide better value than repeatedly repairing an aging model.
Essential Tools and Supplies for Embroidery LCD Troubleshooting
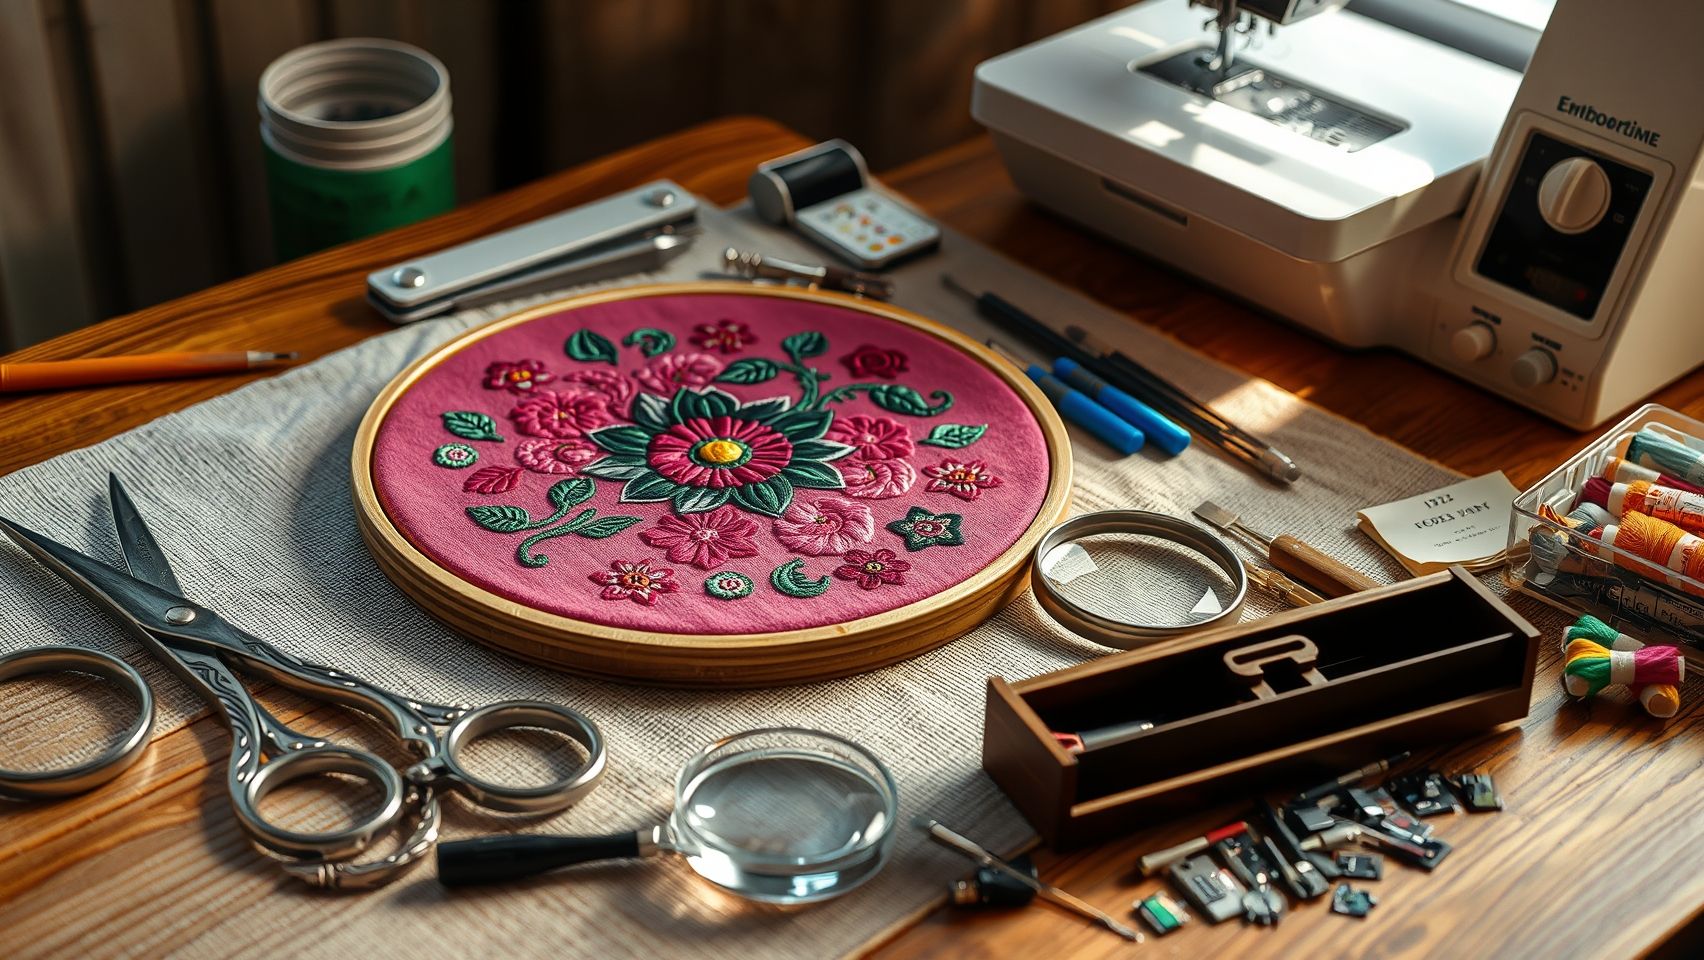
Fixing embroidery machine LCD screen issues efficiently requires a specific set of practical tools and supplies. Having these readily available not only speeds up diagnosis but also helps prevent further damage during repairs. In this section, we outline the most affordable and essential items DIY enthusiasts should keep in their repair toolkit.
Basic Mechanical and Electronic Tools
Small precision screwdrivers are indispensable for opening machine panels without damaging delicate components. A reliable set typically costs between $10 and $20 and can be sourced from hardware stores or online retailers. An electrostatic discharge (ESD) wrist strap, priced around $5, protects sensitive electronic parts from static damage during repairs. Official firmware update files, downloadable free from manufacturer websites, are crucial for restoring or upgrading the LCD’s software. Use a USB drive to transfer these files safely.
Cleaning and Calibration Supplies
Proper cleaning tools help maintain the LCD display’s clarity. Use a soft, lint-free cloth along with 70% isopropyl alcohol, available for $3-$8, to gently clean the screen without risking damage. Calibration software or utilities, often provided by the machine brand or compatible third-party apps, range from free to approximately $50. These tools ensure your display functions accurately after troubleshooting. In-depth repairs might require diagnostic tools or service kits, costing between $50 and $200, depending on the complexity.
Conclusion
When it comes to troubleshooting embroidery machine LCD screens, most issues can be effectively resolved through simple steps like performing resets, updating firmware, and recalibrating the display. These DIY methods often save you both time and money, minimizing the need for costly repairs or replacements. However, if problems persist despite your efforts, consult your manufacturer’s support or professional repair services to prevent further damage and ensure your machine functions reliably.
Always keep your tools ready and note your machine’s model details for faster troubleshooting in the future. Remember, many LCD issues are repairable without immediate replacement, being resourceful and following manufacturer guidelines can help you get your machine back in action quickly. Take these practical steps today and keep your embroidery projects running smoothly!