How to Remove Machine Embroidery Fabric Marking Safely and Cost-Effectively
This post contains affiliate links. As an Amazon Associate, Latest Embroidery earns from qualifying
purchases, at no extra cost to you. Learn more.
Ever tried to remove embroidery marks only to find stubborn residue that won’t budge? Or, worse yet, did you accidentally damage the fabric in the process? If so, you’re not alone. Many embroiderers, whether hobbyists or professionals, face the challenge of delicate fabric marking removal, it’s a tricky dance between getting rid of those pesky lines and keeping your fabric looking pristine. Did you know that the embroidery market is projected to reach over $10 billion globally by 2033? That’s a lot of creative projects, and a lot of potential mistakes too.
Thankfully, there are practical, cost-effective solutions that can help you remove markings safely, regardless of the fabric type. From gentle methods suitable for delicate linens to more robust techniques for sturdy textiles, understanding the right tools and steps can save you time, money, and frustration. This article will guide you through proven techniques, highlight common pitfalls, and introduce you to the best products on the market, so you can enjoy a residue-free finish every time. Curious? Let’s dive into how you can master fabric marking removal without risking your next masterpiece.
Understanding Fabric Safety & Residue Prevention in Marking Removal
Short on time? If you only take one thing from this guide: Brother SE700 — the machine we point most beginners to — touchscreen, wireless transfer, and it sews as well as embroiders.
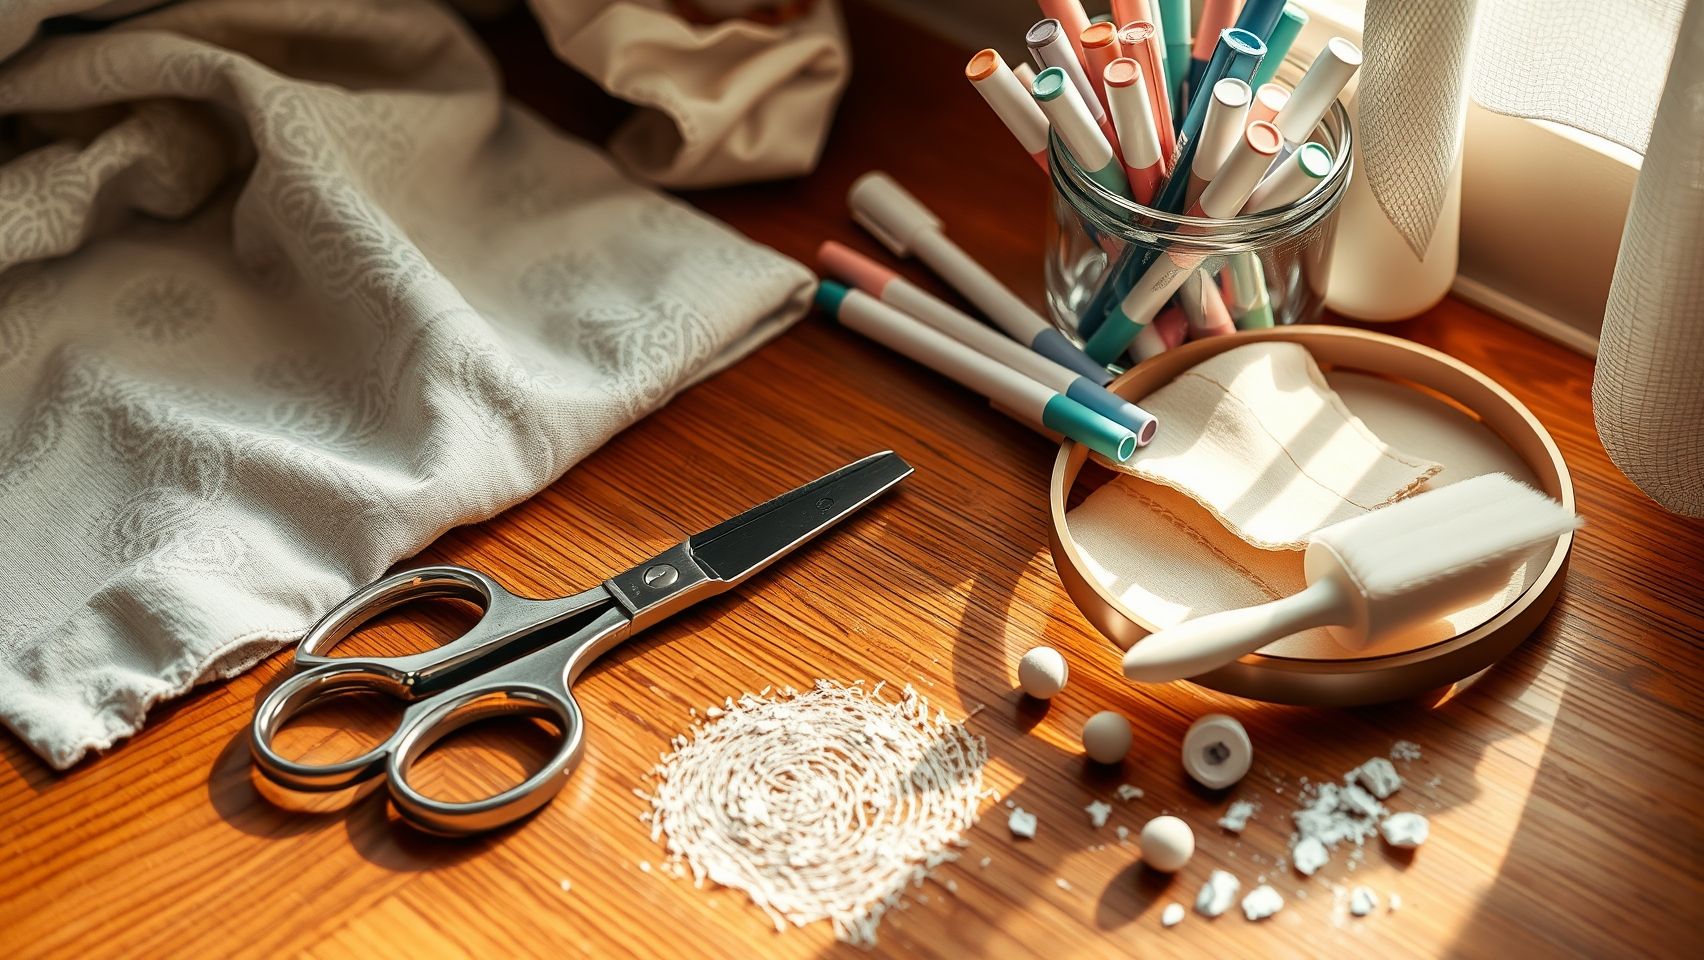
If you’ve ever tried removing fabric markers after a long embroidery session, you know it can be tricky, especially on delicate fabrics like Aida or Hardanger. The key lies in choosing the right products and techniques that clean the markings without harming your fabric or leaving traces behind. Safety and residue prevention are crucial because poorly selected methods can cause fabric distortion, color bleeding, or stubborn marks that spoil your work.
Recent industry insights show that about 65% of embroidery enthusiasts prefer gentle, residue-free solutions for fabric marking removal. This trend is driven by advances in eco-friendly water-soluble pens, dissolvable stabilizers, and mild solvents that effectively erase markings without the need for harsh chemicals. Testing your removal approach on a scrap piece first can save you time and prevent mishaps, think of it as a small insurance policy for your fabric’s integrity.
Common Marking Types and Their Safe Removal Methods
There are several popular marking options: washable fabric pens, air-soluble markers, and heat-erasable pens. Washable fabric pens are a favorite for their ease of use and gentle removal when washed; however, they sometimes leave faint traces if not completely washed out. Air-soluble markers are quick-dissolving when exposed to moisture, making them ideal for temporary markings, just be mindful not to get the fabric too wet too early. Heat-erasable pens can be removed with a warm iron or heat gun, which is quite satisfying when mastered, but beware, they can sometimes smudge if you’re not careful.
For fragile textiles like Hardanger, always opt for products explicitly labeled as safe for delicate fabrics. Using the wrong marker on fine linen can lead to pigment embedding or fiber distortion, an experience many embroiderers have faced. Testing on a small scrap insures that your chosen removal method won’t cause surprises down the line.
Tips for Choosing Eco-Friendly & Easy-to-Remove Marking Products
Eco-friendly water-soluble pens are gaining popularity because they combine safety and simplicity. They dissolve effortlessly with a damp cloth or a gentle wash, leaving no sticky residue behind. This not only preserves the texture of your fabric but also streamlines the cleaning process, saving you precious time during finishing. Additionally, many modern eco-friendly markers are formulated to be gentler on fibers, reducing the risk of color bleed or fabric weakening.
From practical experience, I’ve found that testing these markers on scrap fabric before starting your main project is a game-changer. It allows you to verify the removal process and anticipate any potential issues, especially on unique or high-value textiles. During my own work, discovering these gentle markers saved countless hours of scrubbing and re-stitching.
In summary, selecting safe, residue-free removal products and adopting a habit of testing can significantly improve your embroidery experience. Not only does it protect your fabric, but it also yields cleaner, professional-looking results, making your entire crafting process more enjoyable and confident.
Step-by-Step Technique for Removing Water-Soluble Marking Pens
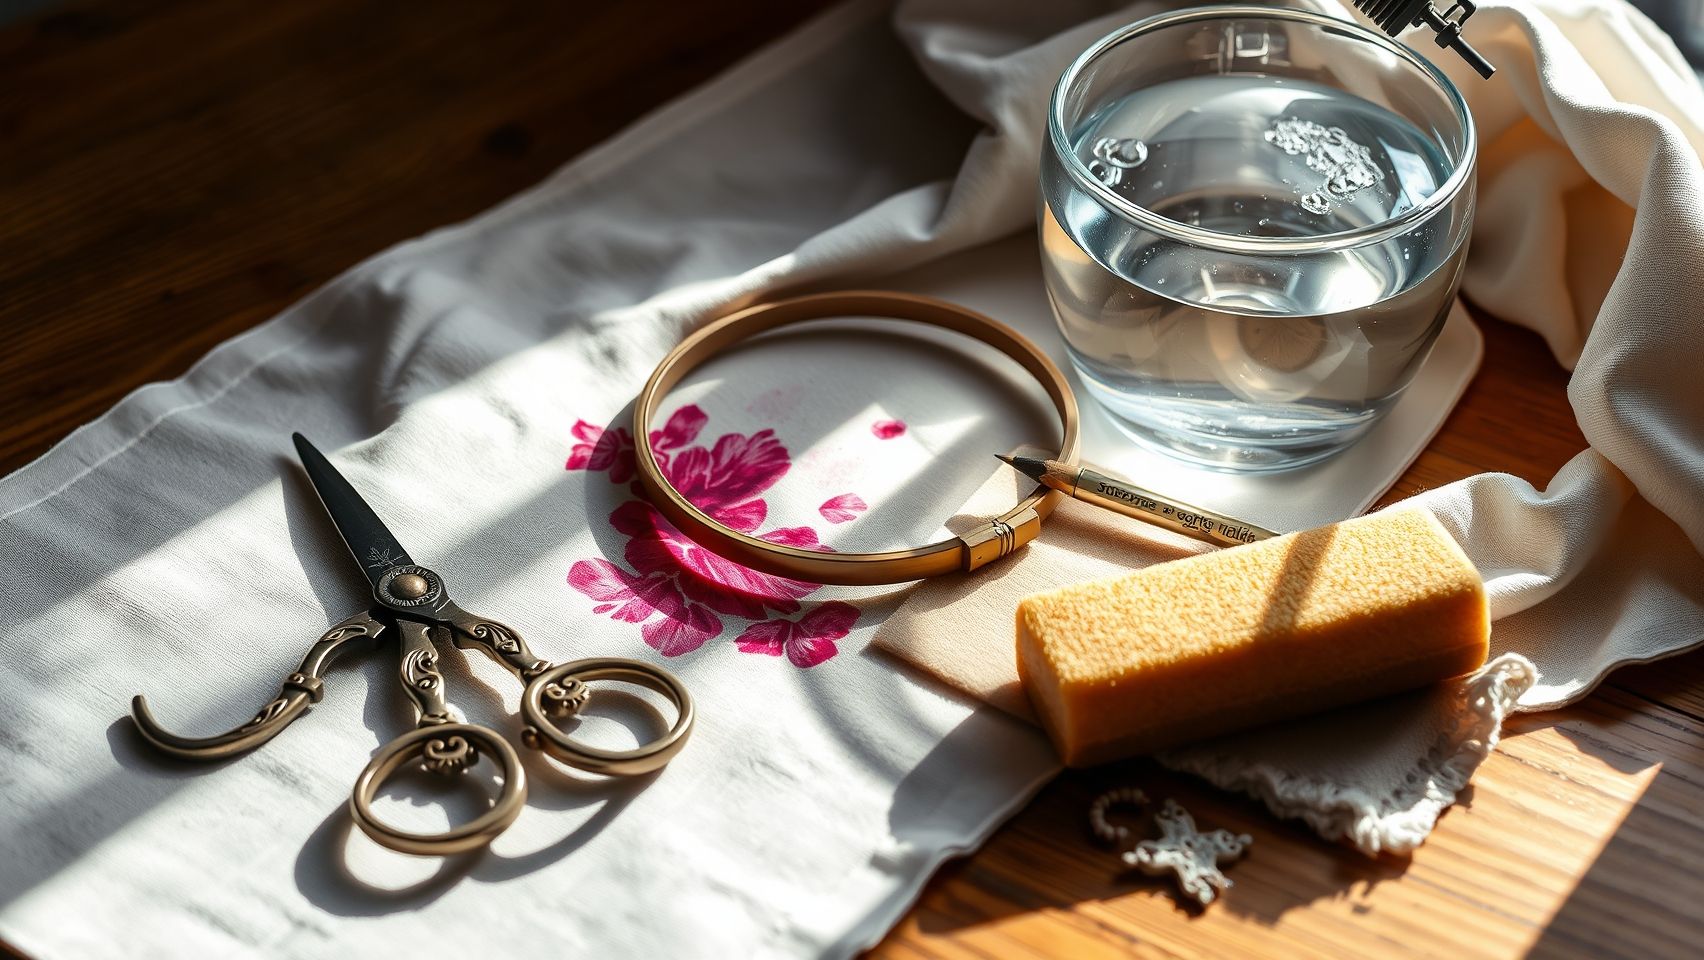
When you’re working on a delicate embroidery project, those water-soluble markings can sometimes be a tough stain to remove once they’ve served their purpose. The good news is, with the right approach, you can often get rid of these marks quickly without compromising your fabric’s integrity. It’s all about gentle handling, patience, and knowing which tools to use.
Over time, I’ve discovered that soaking is the game-changer, surprisingly, most water-soluble marks vanish within just 10 minutes of proper soaking. This minimizes fabric distortion and makes the whole process feel less like a chore and more like a small victory. If your marks are stubborn, don’t fret, sometimes a mild soap and a soft brush do the trick, but always prioritize gentle techniques to keep your fabric looking its best.
Gather Your Tools
Before you start, assemble a few simple supplies: clean, cold water, a soft sponge, mild soap, and a soft-bristled brush. These basic items are typically enough to tackle most water-soluble ink marks. It’s also helpful to do a quick spot test on a hidden section of your fabric to ensure that the cleaning won’t cause discoloration or damage.
The Removal Process: Step-by-Step Guides
- Soak the Embroidered Area: Submerge the marked section in cold water and let it soak for about 5–10 minutes. This process helps to loosen the ink without overly saturating the fabric or causing distortion. Keep in mind, warm water can set the marks, so stick with cold for best results.
- Gently Dab or Brush to Lift the Mark: After soaking, use a soft sponge to gently dab at the stain or a soft-bristled brush to lightly agitate the fabric. Avoid scrubbing aggressively, as it might damage the stitches or fabric fibers. Often, just a gentle lift is enough to see the mark fade away.
- Apply Mild Soap if Needed: If residue persists, dilute a small amount of mild soap in water and lightly apply it to the area. Use your sponge to work the soap into the fabric delicately. A little patience here helps prevent any unwanted discoloration or fabric weakening.
- Rinse Thoroughly and Pat Dry: Rinse the fabric in cold water to wash away soap and remaining ink. Pat dry with a clean, soft towel, air drying is preferable to maintain the fabric’s shape. Never wring or twist the fabric, as this can distort your embroidery.
Troubleshooting Common Issues
Sometimes, marks can be more stubborn than expected, or your fabric might show slight discoloration after cleaning. To tackle stubborn marks, repeat the soaking process or gently brush again, just don’t overdo it. If discoloration appears, try soaking in a mixture of water and a tiny bit of white vinegar for a few minutes. Always do a spot test first to ensure the vinegar doesn’t cause unexpected color changes.
Remember, patience is key. When handled gently, most water-soluble ink marks can be completely removed within ten minutes, especially with proper soaking and careful handling. This simple, cost-effective process not only preserves your fabric but also keeps your embroidery looking pristine and professional.
Using Heat and Solvent-Based Methods for Stubborn Markings
When embroidery marks refuse to fade with basic removal techniques, many embroiderers turn to more advanced methods involving heat and solvents. These approaches can be surprisingly effective, especially on stubborn residues like ink or transfer marks. However, they require careful handling to prevent fabric damage, so patience and control are key. I’ve found that the right combination of tools and cautious application can save a project without resorting to re-stitching from scratch.
One of the most common pitfalls is rushing the process, using high heat or too much solvent at once can cause shading, discoloration, or even weaken the fabric fibers. That’s why testing on a hidden corner of your fabric first is absolutely essential. It gives you confidence that your chosen method won’t ruin your work, especially when working with delicate textiles like silk or linen. Now, let’s walk through a step-by-step approach to tackle those tough markings safely.
Step 1: Cover with a Pressing Cloth
Start by placing a clean, damp pressing cloth over the embroidered area. This acts as a barrier, protecting the fabric from direct heat while helping to activate the solvent’s absorption if needed. Gently pressing with a low-temperature iron, usually set to the wool or synthetic setting, can help loosen the ink or transfer residue. Remember, patience is your best friend here; a quick, high heat can scorch or shine your fabric, defeating the purpose entirely.
Step 2: Apply Heat to Activate the Solvent
Once the cloth is in place, press lightly with the iron for a few seconds. This brief contact warms the area slightly, enough to encourage the solvent to work more effectively when applied later. It’s a delicate dance: if you notice any shine or change in the fabric’s texture, lift immediately. This step is particularly useful when using commercial fabric-safe solvents, which often rely on heat to penetrate and dissolve stubborn markings.
Step 3: Carefully Apply the Solvent
Use a cotton swab or a soft cloth to dab a small amount of alcohol-based or specialty fabric-safe solvent directly onto the stain. Less is more, adding too much can seep into unwanted areas or compromise the fabric’s integrity. Gently blot the mark, working from the outside inward, without rubbing vigorously. This preserves the embroidery stitches and prevents fraying or distortion, which is a common mistake many of us have made in frustration.
Step 4: Blot and Lift
Let the solvent sit for a moment to break down the mark’s adhesion. Then, carefully blot with a clean cloth to lift the residue. Repeating this process with fresh solvent and gentle blotting usually yields the best results. Patience here is crucial, pressing too hard or rubbing excessively can cause the embroidery to distort or even pull out threads, which I’ve definitely experienced during a late-night project!
Step 5: Air Dry and Inspect
Once the mark appears to be gone, allow the fabric to air dry completely in a flat position. Inspect closely, sometimes residues linger, or the fabric color may have shifted slightly. If needed, repeat the process carefully. If you notice any adverse effects like color change or weakening of the fabric, stop immediately. This method isn’t foolproof but, with cautious steps, can save hours of rework.
Both heat and solvents should be used with respect and attention to detail. When properly executed, these techniques are powerful tools in the embroiderer’s toolkit for handling the most stubborn markings, making the difference between a ruined project and a beautifully finished one.
Tools and Products for Cost-Effective Marking Removal
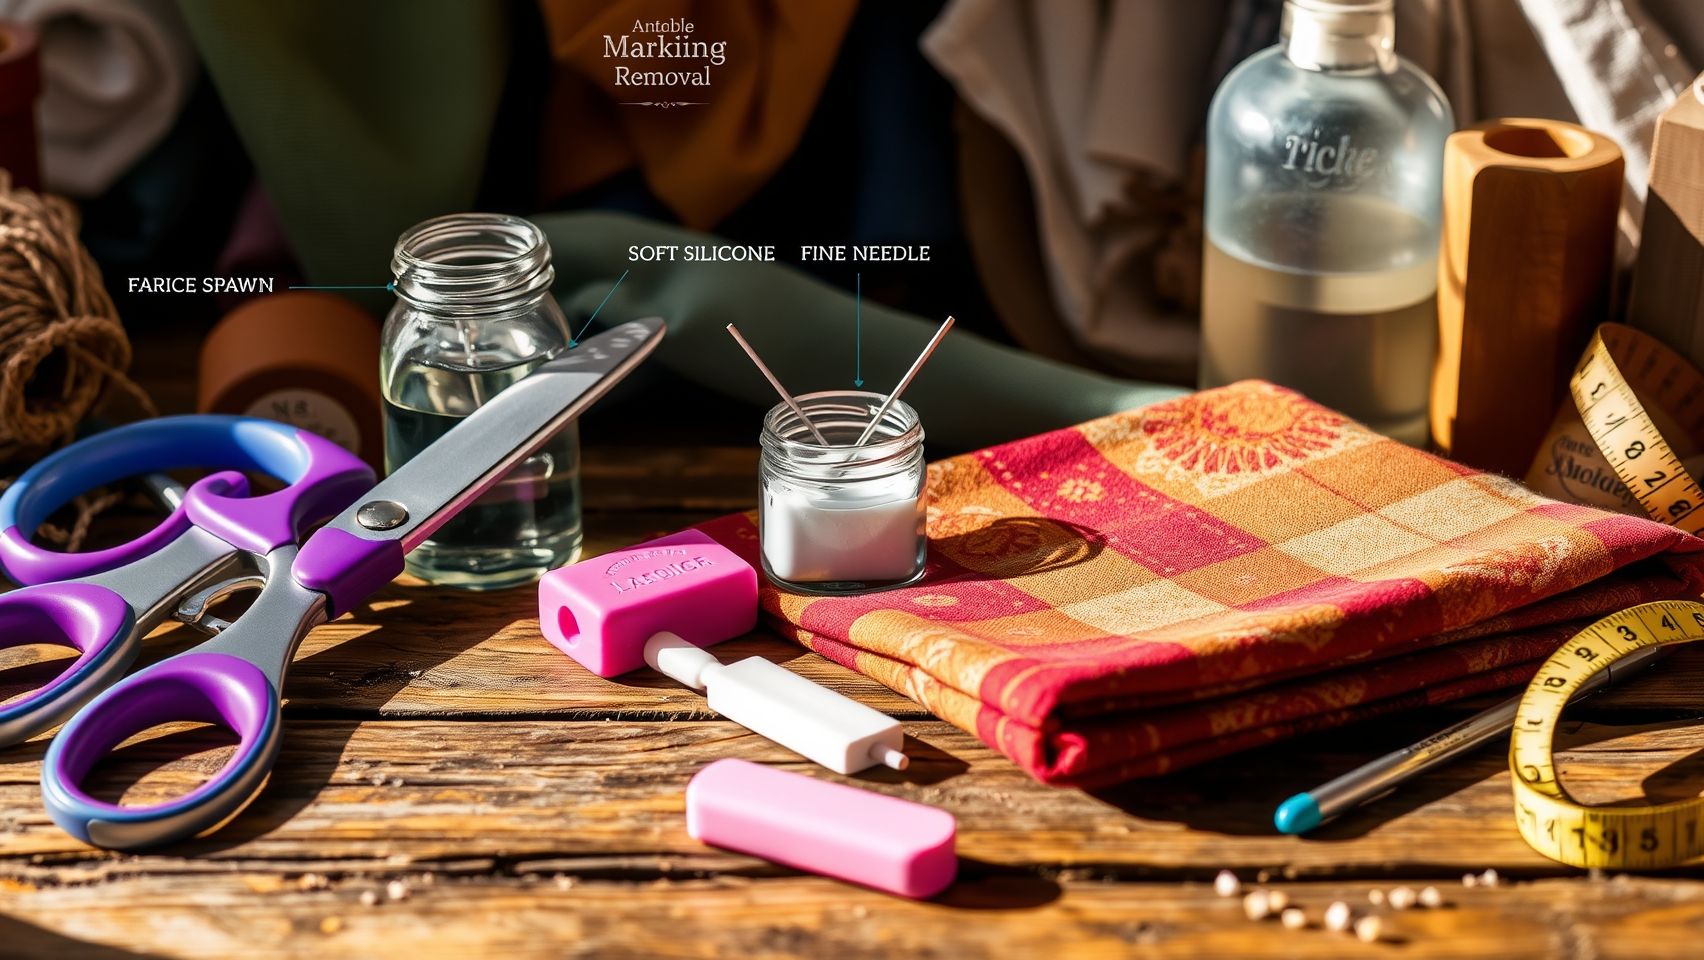
When it comes to removing fabric markings from embroidery, having the right tools can make all the difference in saving time and protecting your fabrics. Fortunately, there are plenty of budget-friendly and environmentally conscious options that work well for most projects. Let’s explore some of the most popular and practical tools handcrafters use daily, whether you’re working with delicate fabrics or sturdy linens.
Eco-Friendly Water-Soluble Pens
Reusability and ease of removal make water-soluble pens a favorite among embroidery enthusiasts. Priced generally between $5 to $10, these pens are designed specifically for fabric marking and are gentle on fabrics. Simply draw your design on the fabric; once you’re done with your embroidery, a light wash or moist cloth easily erases the marks. A little trick I picked up, testing the pen on a scrap piece first can save some worries about fabric reactions. These pens are especially useful for delicate or light-colored textiles since they leave no residue if removed promptly.
Basic Cleaning Supplies: Mild Hand Soap & Soft Sponges
For everyday cleanup or minor marks, mild hand soap combined with soft sponges or cloths under $5 works wonders. It’s surprising how effective gentle washing can be, perfect for small spills or accidental dashed marks. The key is patience: gentle circular motions prevent fabric damage and keep your project looking fresh. Keep in mind, gradually increasing your removal techniques helps avoid common mistakes like smudging or uneven marks.
Commercial Fabric-Safe Solvents
Sometimes marking removal requires a bit more muscle, especially with stubborn or older marks. Fabric-safe solvents, usually ranging from $8 to $15, are formulated to dissolve persistent residues without harming the fabric. These are best used in well-ventilated areas and tested beforehand on inconspicuous fabric parts. They’re invaluable for professional settings or when a project involves high-quality fabrics where preservation is critical.
Portable Spray Bottles & Cleaning Wipes
If you’re on the go or tackling embroidery projects outside the studio, portable spray bottles and wipes are your best friends. Compact and refillable, spray bottles allow for targeted application of cleaning solutions, while wipes provide quick cleanup for accidental marks or dust. They’re affordable, easy to carry, and streamline your workflow, saving precious time during busy craft fairs or on-site repairs.
Comparison Table of Cost-Effective Marking Removal Tools
In the end, choosing the right tool depends on your fabric type, project scope, and whether time or cost savings are your top priorities. Experimenting with these budget-friendly solutions can turn fabric marking removal from a chore into a seamless part of your embroidery routine. And remember, a little patience and testing go a long way toward pristine results every time.
Troubleshooting Common Marking Removal Problems
Removing fabric markings after embroidery can sometimes turn into a frustrating challenge, especially when residue or fabric damage occurs. Over the years, experienced embroiderers have discovered that gentle, well-tested techniques are key to avoiding project failures. According to recent industry insights, improper removal methods can lead to up to 12% of embroidery mishaps, often resulting from harsh chemicals or aggressive scrubbing. Luckily, there are practical solutions that blend safety with effectiveness, helping you keep your fabric pristine and your design sharp.
Residue Left After Removal
If you’ve noticed stubborn marks lingering on your fabric, a gentle approach with a fabric-safe solvent or a vinegar solution can do wonders. Rubbing alcohol, when used cautiously, can lift residual ink without harming delicate fabrics. Always test on a scrap piece first to ensure it won’t cause discoloration. Rinsing with a weak vinegar solution, about one part vinegar to three parts water, can also help neutralize leftover markings. Remember, patience is essential; slow, gentle blots are often more successful than vigorous scrubbing, which risks fraying fibers or spreading the mark.
Discoloration or Fabric Damage
Sometimes, marks seem to vanish, but the fabric shows signs of discoloration or even damage. This is often because the removal method was too harsh or improperly tested beforehand. Always perform a spot test on an inconspicuous area or a scrap of similar fabric, especially if you’re working with silk, linen, or other sensitive materials. Using a less concentrated solvent or switching to water-based removers can reduce risk. If you encounter persistent issues, switching to water-based tools or employing gentle steaming to loosen the marks can be more effective and safer for your fabric in the long run.
Marks That Do Not Soften or Lift
Occasionally, marks stubbornly refuse to soften, leaving you wondering if the product is incompatible with your fabric. Confirm the removal product’s suitability for your specific fabric type, read labels carefully or consult the manufacturer. Increasing the soaking time in a mild solution or applying low heat, like a quick press with an iron on a cloth barrier, can activate the mark’s breakdown. Often, practice and patience reveal the best method; what works on one fabric might not work on another, so always go slow and test frequently.
Preventing Future Marking Removal Issues
The best defense against removal problems is proactive: always test new marking tools and methods on scraps before working on your main project. Choosing appropriate marking tools for each fabric type, such as water-soluble pens for fine linens or air-erasable markers for sturdier cotton, can save you headaches later. With a little experimentation and care, you’ll master seamless, residue-free removal, keeping your embroidery work looking flawless and professional. Remember, a little preparation now can prevent a lot of frustration down the line.
Tips for Maintaining Fabric Quality During Marking and Removal
Embroidery on fabric is a beautiful art, but the key to ensuring your projects look professional and last long is handling your fabric with care, especially when it comes to marking and removal. It’s easy to make small mistakes, like pressing too hard or over-marking, that can embed ink or damage delicate fibers. But don’t worry, with a few practical habits, you can keep your fabric in top shape and achieve crisp, precise embroidery every time.
One of the most valuable pieces of advice I’ve learned is always to test your marking tools on scrap fabric before working on your actual project. This saves time and surprises later. For example, water-soluble markers are popular for their easy removal, but sometimes they can leave faint traces or take multiple washes to disappear completely. Doing a quick test helps you gauge how your fabric reacts and whether the ink can be safely removed without risking the fabric’s integrity.
Use of Stabilizers During Marking and Removal
Stabilizers play a crucial role in protecting fabric during embroidery and removal. Tear-away or wash-away stabilizers support the fabric, preventing puckering and distortion while stitching, and they also facilitate smoother removal of markings. For instance, when using water-soluble markers, applying a supporting stabilizer underneath can help prevent the ink from seeping into the fibers and make removal more straightforward, a true time-saver in the long run.
Gentle Handling and Post-Removal Routines
After your embroidery is complete, gentle washing and drying routines are essential. Soaking the fabric in mild detergent combined with gentle agitation often helps dissolve markings thoroughly, reducing the risk of embedded ink. When it’s dry, avoid vigorous scrubbing or high heat, which might weaken fibers or cause color bleeding. Instead, opt for a delicate hand wash or even spot-cleaning when necessary. These small steps preserve the fabric’s texture and colors, especially for those cherished, delicate textiles.
If you’re looking to reduce marking altogether, many embroidery software programs today include preview and adjustment features that help you pin down exact placement before you start stitching. This not only saves effort but also minimizes the need for heavy markings, making your entire process more precise and less stressful for your fabric.
Overall, consistent use of supportive stabilizers and gentle cleaning routines can significantly extend your fabric’s life while ensuring your embroidery results stay clean and professional. It’s all about developing a routine that combines technical care with a dash of patience, trust me, the results are worth it!
Conclusion
As we’ve explored, successfully removing fabric markings in machine embroidery hinges on understanding your materials and choosing the right techniques. Test runs on scrap fabric can save you time and prevent mishaps, while gentle methods like water-soluble pens, mild solvents, and proper tools ensure your projects stay pristine. With technological advances such as laser removal and innovative fabric markers, the industry continues to evolve, providing you with even more effective solutions. Start implementing these proven methods today to achieve crisp, professional results with minimal hassle and cost. Remember, patience and practice are your best allies in mastering this craft. Embroidery is more than a skill, it’s an art that appreciates the journey as much as the destination. Keep exploring, keep creating, and let your projects tell their unique story. After all, every stitch is a step toward mastery and a testament to your dedication to this timeless craft.