Embroidery Stabilizer Types Explained: How to Choose and Use
Are you unsure which stabilizer best suits your embroidery projects? You’re not alone. Many enthusiasts and professionals face frustrations when selecting the right stabilizer, whether it’s dealing with puckering, fabric distortion, or simply the confusion of which type to use for different materials. Understanding the various stabilizer options can dramatically improve your results, save you time, and reduce costly errors. In fact, the global embroidery market is projected to reach over USD 8 billion by 2034, highlighting how crucial quality tools and techniques have become. This complete guide will help you master the art of choosing the right stabilizer by sharing tested insights, cost analysis, and practical tips that make decision-making straightforward. Whether you’re working with delicate fabrics or heavy textiles, knowing what stabilizer to pair with your project empowers you to produce professional-quality designs with less hassle. Ready to elevate your embroidery game? Let’s dive into the world of stabilizer types and discover how to select the perfect one every time.
Below you’ll find the single most useful asset in this guide: an at-a-glance fabric → stabilizer → weight matrix you can keep by your machine, plus weight recommendations tied to stitch count and a troubleshooting hub that connects every common problem to a specific stabilizer fix. If you want to go deeper on any single category, we link out to dedicated tutorials such as our guide on mastering when and why to use stabilizers throughout.
What Research Tells Us About Stabilizer Effectiveness and Compatibility
Short on time? If you only take one thing from this guide: Cutaway + tearaway variety pack — covers the large majority of projects without committing to full rolls.
Recent research and industry reports provide valuable insights into the performance and suitability of various embroidery stabilizer types. Scientific testing indicates that tear-away stabilizers excel in quick projects on lightweight woven fabrics, offering a cost-effective solution at approximately $3 per yard. They provide sufficient stability for standard embroidery tasks but tend to be less durable for dense or heavy fabrics. Conversely, cut-away stabilizers deliver long-term support, particularly on dense fabrics like denim or canvas, at a slightly higher cost of around $4.50 per yard. These stabilizers ensure fabric integrity and prevent distortion during prolonged use, making them ideal for projects demanding durability.
For delicate textiles such as chiffon or tulle, wash-away stabilizers outperform other types, with excellent removal properties and minimal residue. Priced at about $5 per yard, wash-away stabilizers are preferred for intricate or transparent designs where stability during stitching is crucial without sacrificing the fabric’s aesthetic. The effectiveness of each stabilizer type also depends on proper matching with fabric characteristics. For instance, lightweight woven fabrics respond well to tear-away options, while heavier, dense fabrics necessitate cut-away stabilizers. Delicate fabrics benefit most from wash-away stabilizers, which support detailed designs while maintaining fabric softness.
Performance Metrics and Practical Tips
Performance evaluation of stabilizers in recent experiments highlights key metrics: stability during stitching, edge distortion control, and ease of removal. Tear-away stabilizers generally provide sufficient stability and minimal edge distortion for light fabrics but can be inadequate for heavy or dense materials where support needs are higher. Cut-away stabilizers excel in maintaining fabric shape over time, especially on sturdy textiles, though they can be more challenging to remove. Wash-away stabilizers are unmatched for delicate textiles or intricate designs, offering ease of removal and cleaner finish.
Choosing the right stabilizer involves considering project scope, fabric type, and cost. Popular brands like Pellon and Sulky offer a range of stabilizers ranked highly for value and performance. It is essential to avoid common pitfalls such as under-stabilizing delicate fabrics or over-stabilizing lightweight materials, which can cause puckering or stiffness. Practical advice includes testing stabilizer types on scrap fabric before starting the main project and matching stabilizer weight with fabric density for optimal results. Proper matching ensures high-quality finishes and minimizes the need for rework or corrections.
Fabric → Stabilizer → Weight Matrix
Related reading: embroidery backing paper comparison
This is the chart most embroiderers wish they had taped above the machine. Instead of vague “lightweight vs. heavyweight” advice, the table below pairs each common fabric with the correct stabilizer type, a real ounce-weight target, whether you need a topper, the best hooping method (hoop it, float it, or use sticky/adhesive), and a quick note. As a rule of thumb: stretchy knits get cut-away (it permanently supports the stitches as the fabric flexes), firm wovens get tear-away, sheer fabrics get wash-away, and anything with a high pile or nap (terry, fleece, Minky) needs a water-soluble topper to keep stitches from sinking.
Want the lamination-friendly cheat-sheet version of this chart? It pairs beautifully with our deep dives on the individual categories, especially our water-soluble vs. tear-away stabilizer comparison, which puts these recommendations to the test on real material.
Stabilizer Weight by Stitch Count
Fabric tells you which type of stabilizer to use; the stitch count of your design tells you how much support you need. A delicate left-chest monogram and a dense back logo can sit on the same shirt yet demand very different backing. The denser the design, the more the fabric wants to pull, pucker, and distort, so you compensate with heavier stabilizer, a second layer, or a topper. Use the bands below alongside the matrix above.
Light designs (under 8, 000 stitches)
Names, small monograms, simple outlines, and most lettering fall here. A single layer of the recommended stabilizer is plenty. For a cotton tee, a single 1.5 oz no-show mesh cut-away holds the design beautifully without stiffening the garment. On firm wovens like denim or a canvas tote, one layer of 1.5 oz tear-away is enough. Over-stabilizing a light design is a real mistake, it leaves a stiff, board-like patch behind delicate lettering.
Medium designs (8, 000–15, 000 stitches)
Typical filled motifs, left-chest logos, and most appliqué live in this range. Step up to 2 oz cut-away on knits, or double a layer of tear-away on wovens. On towels and fleece, this is where a water-soluble topper becomes non-negotiable so the fill stitches don’t sink. If the design has solid fill areas, a slightly heavier backing prevents the registration shift that shows up as gapping or outline misalignment.
Dense designs (over 15, 000 stitches)
Heavily digitized logos, photo-stitch, large filled backs, and 3D-puff designs need maximum support. The rule is simple: heavier or doubled stabilizer plus a topper. On a knit, run two layers of cut-away (or one 2.5 oz layer) and add a wash-away topper for any textured surface. On wovens, double the tear-away or move up to cut-away entirely. Dense designs are the single biggest cause of puckering, so this is where matching weight to stitch count pays off most. When in doubt, add the layer, it’s far easier than picking out a ruined design.
Cut-away vs Tear-away vs Wash-away vs Heat-away
For fabrics you’d normally fuse, our walkthrough on using fusible stabilizer for distortion-free embroidery covers the iron-on cousin of these four that bonds directly to lightweight or unstable material before you stitch.
Troubleshooting by Stabilizer Choice
Most embroidery problems are stabilizer problems in disguise. Before you blame your tension or your machine, run through these five symptoms, each one maps to a specific stabilizer fix. For thread-tension and broader machine issues, pair this section with our embroidery troubleshooting guide.
Puckering
Puckering, wavy, gathered fabric around the design, almost always means the stabilizer is too light for the stitch count, or the fabric was under-hooped (not held taut enough). The fix: step up a weight, double your stabilizer, or switch from tear-away to cut-away. On knits, puckering is a near-guaranteed sign you used tear-away where you needed cut-away. Re-hoop with the fabric firm but not stretched, and match stabilizer weight to the stitch-count band above.
Tunneling
Tunneling is when fabric ridges up between the columns of a satin stitch, creating a raised channel. It signals insufficient support under a dense design or too-tight top tension. The stabilizer fix is to add a layer of cut-away (or a heavier backing) so the fabric can’t draw inward, and to add a topper on any textured surface. Tunneling on towels and fleece is usually solved by a wash-away topper alone.
Show-through / shadowing
If you can see the stabilizer as a shadow or darker patch behind a light or sheer fabric, you’ve used the wrong color or type. On light tees, switch to no-show poly mesh cut-away, it’s engineered to stay invisible. On sheer fabrics, use a wash-away that dissolves entirely so nothing shadows through. Trim cut-away close to the stitching to minimize any ghosting at the edges.
Gummed needle / adhesive residue
A sticky, gummed-up needle or thread breaks usually come from adhesive sprays or sticky stabilizers building up on the needle. The fix: use temporary spray adhesive sparingly and spray it onto the stabilizer (not the fabric or near the needle), wipe the needle with rubbing alcohol, and change to a fresh needle. If you’re floating on a sticky stabilizer, a titanium-coated or non-stick needle resists buildup. Residue left on fabric from sticky stabilizer typically rinses out or releases with a press cloth.
Design shift after wash
If the design looked perfect off the machine but distorted, gapped, or relaxed out of shape after the first wash, the stabilizer didn’t permanently support the stitches. This is the classic tear-away-on-a-knit failure: tear-away gives way once the fabric flexes and launders, so the design shifts. The fix is cut-away, which stays embedded and holds the stitches in registration for the life of the garment. For sheer or lace work, make sure you fully dissolved any water-soluble backing so leftover film didn’t stiffen and crack.
Recommended Stabilizer Supplies
Here’s a starter kit that covers every fabric and design in this guide. These are search links to Amazon so you can compare current prices and brands; the matrix above tells you which one to reach for.
As an Amazon Associate we earn from qualifying purchases. The links above are affiliate links, which means we may earn a small commission at no extra cost to you.
Step-by-Step Guide to Choosing the Right Stabilizer
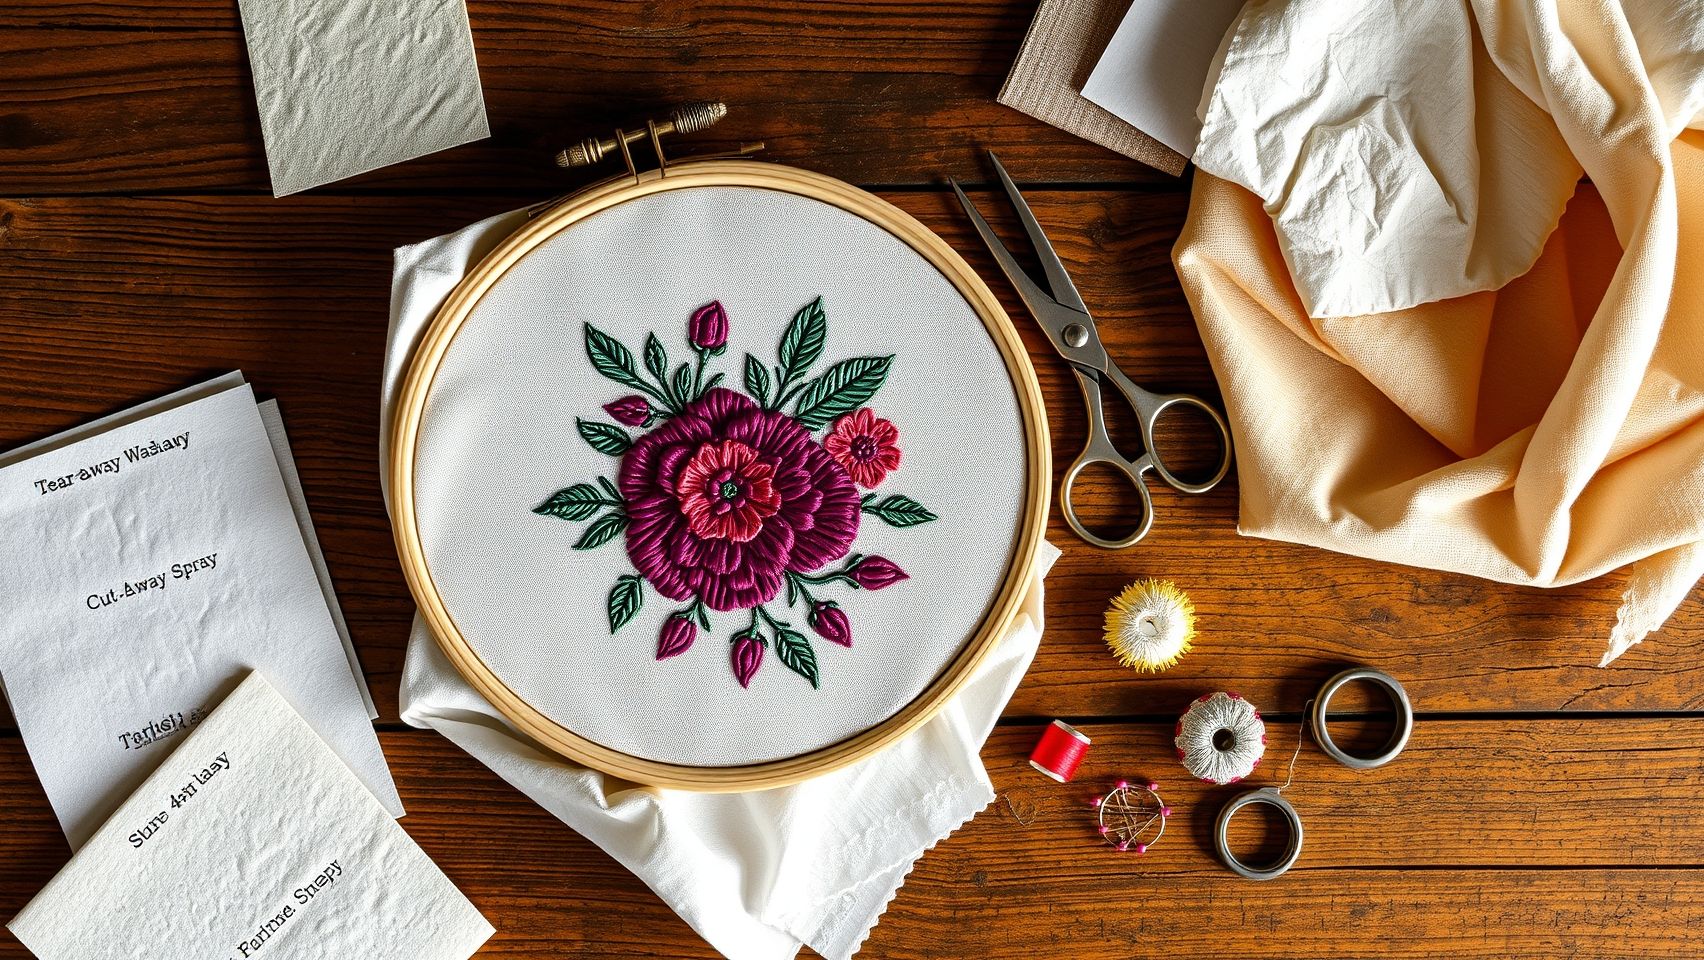
Selecting the correct embroidery stabilizer is crucial for achieving professional-looking results. The right stabilizer depends on factors such as fabric type, project complexity, and the desired finish. This guide provides a clear, actionable process to help you make the best choice for each project, ensuring optimal support and fabric preservation.
Assess Fabric Type and Weight
Begin by evaluating your fabric’s type and weight. Lightweight fabrics like voile or silk typically require gentle stabilization, while heavier fabrics such as denim or canvas may need more supportive stabilizers. For delicate or transparent fabrics, wash-away stabilizers are often the best choice to avoid stiffness or visibility.
Research indicates that stabilizer compatibility with fabric weight significantly impacts stitch quality and durability. Always test on a small sample to avoid project mishaps.
Identify Design Intricacy
The complexity of your design influences stabilizer selection. Simple text or minimal motifs usually need less support, often manageable with tear-away stabilizer. Conversely, intricate or densely stitched designs demand more support to prevent puckering and distortions, making cut-away stabilizer preferable. Use the stitch-count bands above to translate “intricate” into a concrete weight.
Recent updates from embroidery machine manufacturers highlight that complex designs benefit from supportive stabilizers to maintain detail. Testing on scrap material helps refine your choice before working on the final piece.
Match Stabilization Needs with Project Type
Different projects require different stabilizers:
- Quick projects or beginner stitches: Tear-away stabilizer offers easy removal and good support for simple, fast embroidery on stable wovens.
- Supportive, long-lasting designs: Cut-away stabilizer provides stability for items like apparel that will be washed frequently.
- Delicate fabrics or transparent designs: Wash-away stabilizer ensures details are preserved without added stiffness.
Price considerations also influence choice:
Always test your chosen stabilizer on a small sample with your fabric and design to ensure satisfactory results before starting the full project. Adjust machine tension and stitch density accordingly to match stabilizer support, which helps avoid puckering and uneven stitches.
Tools, Equipment, and Brands for Embroidery Stabilizers in 2026
Choosing the right tools and equipment is essential for achieving professional-quality embroidery results with optimal stability and ease of use. Today, a variety of reputable brands and innovative accessories are available to help embroiderers maximize efficiency and precision in their projects. From top stabilizer brands to advanced embroidery machines and organizational solutions, understanding the latest options can significantly enhance your craft.
Top Stabilizer Brands and Their Features
When selecting embroidery stabilizers, brand reputation and product quality are paramount. Pellon remains a leader in tear-away stabilizers, known for their reliability and affordability. Sulky’s cut-away stabilizers are celebrated for their superior support and durability, making them ideal for complex designs. Madeira offers a popular wash-away stabilizer that ensures clean, crisp embroidery after finishing. YLI, though less dominant, provides cost-efficient options suitable for bulk projects or beginners. Based on current market trends, Pellon and Sulky are ranked highest in both quality and cost efficiency, especially for hobbyists and professionals who need reliable, high-performance stabilizers.
Recommended Embroidery Machines Supporting Stabilizer Use
Modern embroidery machines integrate features that streamline stabilizer application and improve stitch quality. The Brother SE1900 offers versatile support for various stabilizer types and has automatic tension adjustment to ensure even stitching. The Bernina 590 excels with advanced stabilization sensors, reducing project errors significantly. The Janome Memory Craft 9850 is particularly notable for its built-in stabilization features, including automatic hooping and tension control, which minimize stabilizer-related issues and enhance precision. These machines are well-suited for both hobbyists and professional embroiderers aiming for consistent results.
Accessories to Enhance Stabilizer Placement and Organization
To optimize stabilizer placement and project outcomes, investing in high-quality accessories is crucial. Fabric-compatible hoops, such as magnetic or snap-on varieties, improve fabric stability during stitching. Spray adhesives like Sulky KK 2000 or similar products help secure stabilizers without wrinkling or shifting. Grip mats provide additional grip and prevent stabilizer movement on uneven surfaces. For organization, stabilizer folders and labeled vacuum-sealed storage bags extend shelf life and prevent mixing of types. Cost-effective bulk purchasing options are available from suppliers, which offer savings for frequent users and workshops. Proper organization and accessory selection reduce waste and streamline workflow.
Troubleshooting Common Stabilizer-Related Equipment Issues
Failures in stabilizer adherence or stitching quality often stem from improper application or unsuitable stabilizer choices. For instance, using a tear-away stabilizer on delicate fabrics may cause tearing or puckering. Solutions include choosing the appropriate stabilizer type, such as cut-away for dense stitches or wash-away for delicate fabrics, and ensuring proper tension settings. Regular maintenance of machines, including cleaning and calibrating tension mechanisms, is essential. If designs shift during sewing, verify hoop alignment and stabilize fabric using spray adhesives or grip mats. Investing in quality stabilizer brands like Pellon, Sulky, and Madeira can prevent many common issues, saving time and resources in the long run.
Cost-Per-Project Calculator and Budgeting Tips
Effective budgeting for embroidery projects requires understanding the total costs involved, from stabilizer to finished product. By calculating these expenses accurately, you can determine the cost per item and set appropriate pricing strategies. This section guides you through estimating stabilizer requirements, factoring in fabric and toolkit costs, and creating practical budgeting methods for ongoing projects.
Defining Project Scope and Stabilizer Needs
Start by clearly defining the scope of your project, how many items you plan to produce and the types of stabilizer required. For example, a typical project might need 2 yards of stabilizer at $4 per yard, totaling $8. Knowing this helps you estimate the stabilizer costs efficiently and avoid over-purchasing. Remember, different stabilizer types vary in price and quantity needed, so choosing the right one can optimize your expenses.
Estimating Total Costs per Project
Next, incorporate additional costs such as thread ($2), fabric ($3), and machine amortization ($5). Adding these to stabilizer expenses gives a comprehensive total, for instance, $8 for stabilizer + $2 for thread + $3 for fabric + $5 for machine use results in $18 per project. Considering production volume, like making 10 items monthly, the cost per finished piece drops to approximately $1.80, crucial for pricing accuracy.
Practical Budgeting Methods
Create simple spreadsheets or online calculators to track ongoing expenses and forecast future costs. Regularly updating these tools ensures accurate budgeting and helps spot cost-saving opportunities. Additionally, set aside a small budget for occasional repairs or replacements of tools and equipment. For example, consistently producing 10 items per month with known costs enables effective cost management and better profit margins.
Research indicates that using detailed cost estimates can significantly improve pricing strategies and overall profitability for embroidery businesses. Employing these practical calculation methods fosters smarter budgeting and enhances financial sustainability in 2026 and beyond.
Storage Tips for Stabilizers to Maintain Quality
Proper storage of embroidery stabilizers is essential to preserve their quality and ensure consistent results in your projects. Well-organized and airtight storage solutions not only prolong the shelf life but also make it easier to access the right stabilizer when needed. With many types of stabilizers available, from tear-away to water-soluble, maintaining their integrity requires specific practices.
Implementing effective storage practices can prevent moisture, dust, and temperature fluctuations from degrading stabilizers. Using sealed containers and organizing by type, size, and brand help streamline your workflow and reduce waste. These simple yet impactful tips can keep your stabilizers in prime condition, saving you money and effort in the long run.
Actionable Storage Solutions
Store stabilizers in airtight, labeled containers to prevent exposure to moisture and dust. Keeping stabilizers flat or rolled prevents creases that can impair their performance. Avoid direct sunlight and extreme temperatures by placing containers in a cool, dry, and dark location. Incorporate silica gel packs or desiccants inside storage boxes to absorb excess moisture, especially in humid climates. This matters most for water-soluble film, which is the most sensitive to humidity.
Organize your stabilizers by type, size, and brand for quick access during projects. Regularly check your stored stabilizers for signs of deterioration such as sticky residues or discoloration. If you notice any issues, replace or discard affected stabilizers to maintain optimal embroidery results. Using transparent containers allows easy inventory checks and helps prevent unnecessary waste.
Quality Brands and How to Rank Your Stabilizer Options
Choosing the right embroidery stabilizer is crucial for achieving professional-looking results. With numerous brands like Pellon, Sulky, Madeira, and YLI on the market, evaluating their quality, cost, ease of use, and project suitability can help embroiderers make confident decisions. Different brands excel in various areas, making it essential to understand their unique strengths and weaknesses.
Comparing Leading Embroidery Stabilizer Brands
Based on recent market insights and user reviews, Pellon tear-away stabilizers rank high for lightweight fabrics due to their easy removal and support, making them ideal for beginners. Sulky’s cut-away stabilizers perform well on dense textiles, providing firm support without distorting stitches. Madeira’s wash-away stabilizers are favored for delicate, transparent projects, appreciated for their clean finish and minimal residue. YLI offers cost-effective options that are versatile and popular among hobbyists.
Signs of High-Quality Stabilizers
Look for stabilizers with uniform thickness, clean edge cuts, and minimal residue after removal. High-quality stabilizers also support intricate stitch details without warping or bunching, ensuring professional results. Conducting a trial run with new brands is advisable to assess support level and ease of removal, especially for complex projects.
Additionally, reviews from both users and embroidery experts highlight that brands like Pellon and Madeira provide consistent quality, while newer brands benefit from trial and error to find the best fit. Recognizing these signs helps embroiderers pick stabilizers that enhance durability and overall project quality.
Frequently Asked Questions
What stabilizer do I use for t-shirts?
For t-shirts and most cotton or blended knits, use a no-show poly mesh cut-away stabilizer in 1.5–2 oz. T-shirts stretch, and only cut-away permanently supports the stitches as the fabric flexes and gets laundered. The no-show mesh version stays invisible behind lighter fabrics so it won’t shadow through. Tear-away will fail on a knit, it gives way after the first wash and the design distorts.
Cut-away or tear-away, which is better?
Neither is universally better; it depends on the fabric. Use cut-away for knits and stretchy fabrics (tees, polos, fleece, performance wear) because it stays embedded and holds the design’s shape for the life of the garment. Use tear-away for firm, stable wovens (denim, canvas, tightly woven cotton) where you don’t need permanent support and want clean, easy removal. When in doubt on a stretchy fabric, choose cut-away.
What weight stabilizer for a dense design?
Dense designs (over roughly 15, 000 stitches, or any solid-fill logo) need heavier or doubled stabilizer plus a topper. On knits, run two layers of cut-away or a single 2.5 oz layer; on wovens, double the tear-away or switch to cut-away. Add a water-soluble topper on any textured surface so the dense fill doesn’t sink or tunnel. Under-supporting a dense design is the number-one cause of puckering.
Can I reuse stabilizer?
It depends on the type. Tear-away cannot be reused, once you tear it, it’s done. Cut-away scraps, however, are useful for floating: you can hoop a leftover piece of cut-away and float a hard-to-hoop item on top of it. Wash-away and heat-away are single-use by nature since they dissolve or burn off. So save your cut-away offcuts, but toss the torn tear-away.
Why is my embroidery puckering even with stabilizer?
If you’re already using stabilizer and still seeing puckering, the usual culprits are under-hooping (the fabric wasn’t held taut enough) or the wrong weight (too light for your stitch count). Re-hoop with the fabric firm and flat, step up to a heavier or doubled stabilizer, and make sure you matched cut-away to a knit rather than tear-away. Check our troubleshooting guide if tension is also a factor.
Conclusion
As you head into 2026, mastering the art of choosing the right embroidery stabilizer is more crucial than ever. Understanding test results, fabric compatibility, and project needs can make a significant difference in the quality and durability of your embroidery work. Keep the fabric → stabilizer → weight matrix near your machine, match weight to your stitch count, and use the troubleshooting hub to turn problems into quick fixes. By leveraging reliable brands and maintaining organized storage, you can enhance efficiency and achieve consistently stunning results.
Remember, testing different stabilizers on sample fabrics and keeping detailed records of costs and outcomes is key to refining your selection process. Embrace a practical, trial-and-error approach today to build your expertise and confidence. Don’t wait, start experimenting now and watch your embroidery projects reach new heights of excellence. Your creative potential is unlimited, take the first step today!
Free: 12 Essential Hand Embroidery Stitches
A printable illustrated cheat sheet of the 12 core stitches every embroiderer should know. Instant PDF.
No spam. One-click unsubscribe.