Embroider Fleece Without Distortion: Essential Techniques & Tools
Tired of distorted embroidery on cozy fleece projects? Fleece’s soft, plush nap is wonderfully warm but tricky to stitch, it stretches, swallows stitches, and puckers if you don’t tame it first. With the right needles, stabilizers, hooping, and machine settings, you can get crisp, professional results every time. This guide covers the common pitfalls and the fixes, from tool selection to digitizing.
Choosing needles, threads, and stabilizers
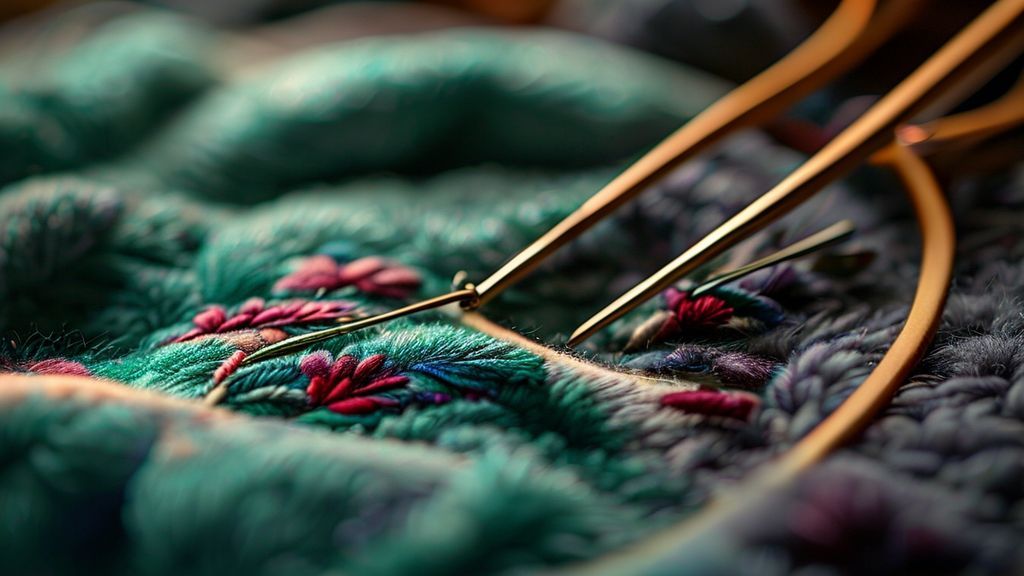
Needles. A ballpoint needle is your first defense, its rounded tip pushes fibers aside rather than piercing them, reducing snags and holes. Use 75/11 or 80/12 for medium fleece and 90/14 for heavier or bulky varieties like sherpa. For high-stretch fleece, stretch needles in 75/11–90/14 accommodate the give. Swap needles every 5–10 hours of run time, fresh tips prevent burrs and cut skipped stitches by roughly 20% on high-pile fabric.
Thread. Polyester thread is the workhorse: strong, break-resistant, and colorfast through repeated washing. Eco-polyester now matches traditional options on strength and cost, and glow-in-the-dark or metallic yarns glide cleanly through the pile for accent work.
Stabilizers and toppers. Use a medium-weight cutaway (≈2.5–3 oz) behind most wearable fleece for firm support. A water-soluble topper on top is essential, it keeps stitches from sinking into the lofty nap so the design stays crisp on the surface. For reversible blankets, a heavy water-soluble stabilizer on both faces gives a clean finish. A sticky tear-away or cut-away backing works well for hoopless work (see below).
✓ Do
Ballpoint/stretch needles to prevent snags · polyester thread for durability · cutaway backing for support · water-soluble topper so stitches stay visible · magnetic hoops for even tension.
✗ Avoid
Standard sharp needles (fabric damage, skipped stitches) · skipping the topper (stitches lost in nap) · insufficient stabilization (puckering) · over-hooping (permanent distortion).
Hooping and stabilization
Pre-wash and prepare
Pre-wash cotton-based fleece so it shrinks before you stitch, preventing post-embroidery puckering. Polyester fleece may not need it, test a swatch. When pressing polyester fleece, use low heat and a press cloth; high heat melts synthetic fibers.
Traditional hooping
Hoop the stabilizer, fleece, and topper together as a sandwich to reduce shifting. Stretch the fleece taut like a drum but never overstretch, that causes distortion once it’s released. Align with the nap direction for a consistent finish.
Hoopless embroidery (avoiding hoop burn)
Fleece is prone to “hoop burn.” To avoid it, hoop a sticky-backed stabilizer adhesive-side up, score and peel the paper, then smooth the fleece onto it without stretching. Magnetic hoops (MightyHoop, MaggieFrame) are another fix, they apply even pressure across the pile, eliminate screw marks, cut distortion by over 50% on heavy knits, and speed hoop changes.
The basting box
For very stretchy fleece or intricate designs, run a perimeter basting stitch around the design area before the main embroidery. It anchors the fleece to the stabilizer for extra stability.
Presser foot and feed
A walking foot or Even Feed presser foot helps multi-layer fleece (or fleece backed with lining) advance evenly, tests show it cuts jammed seams by nearly 50%. Presser-foot leveling plates match the pile height to keep alignment consistent during feed.
Machine settings and design choices
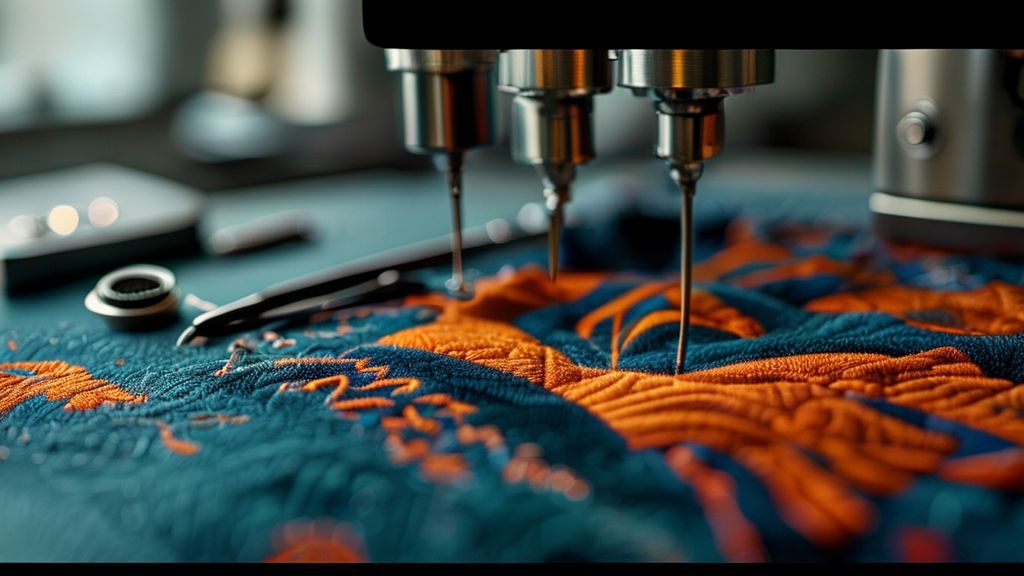
Lower the density to prevent puckering and stiffness, and increase pull compensation by about 10% of the column width on narrow satin columns to account for stretch. Loosen tension one to two full turns from your woven-fabric settings to reduce pull-through.
Stitch length: set 3.0–4.0 mm (8–10 SPI) to improve feed without skipping, this alone can cut pull-through on low-pile knits by up to 25%. Slow the machine to half speed (or slowest) for thick fleece or heavy threads to prevent breakage. For decorative hems, a 4 mm or 6 mm twin needle with a 4–5 mm stitch length spreads anchoring points without piercing the pile excessively.
Design choice matters: bold outlines and simpler shapes read best; fine detail gets lost in the nap. A knockdown (underlay) stitch, a light, low-density fill (around 0.5 mm height) placed beneath the main design, flattens the pile to create a stable, crisp base. Stitch-optimized BX fonts (e.g., Stitch Delight) are engineered for high pile and keep lettering legible.
Always stitch a 50 × 50 mm test swatch first to confirm thread coverage and motif clarity before committing to the garment.
Troubleshooting common fleece issues
Puckering and thread breakage
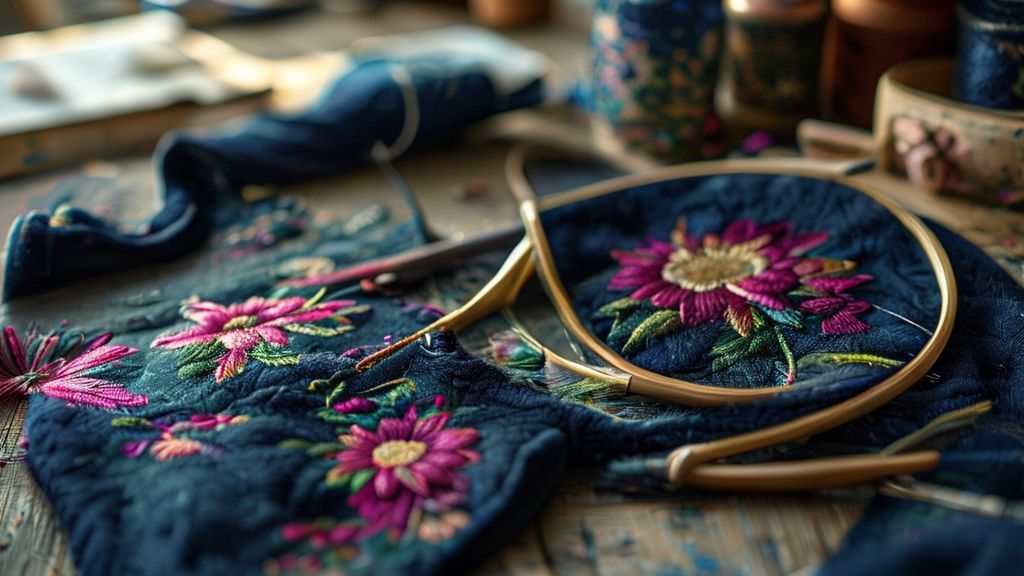
Use a good cutaway backing and a water-soluble topper, keep hoop tension firm but not tight, and find the sweet spot with slightly looser bobbin tension. A dull needle is a frequent breakage cause, replace it.
Hoop burn and distortion
Switch to hoopless adhesive methods or magnetic hoops to hold fabric without direct hooping pressure.
Skipped stitches or bobbin showing
Lower the upper thread tension slightly, confirm the needle is sharp, correct, and seated right, and re-check tension balance.
Lint buildup
Fleece sheds heavily. Clean the bobbin area and needle plate with a brush or compressed air after each project to prevent intermittent stitching problems.
Post-embroidery care
Trim excess stabilizer, rinse away water-soluble topper with lukewarm water, and air-dry flat without wringing.
Machines and software for fleece
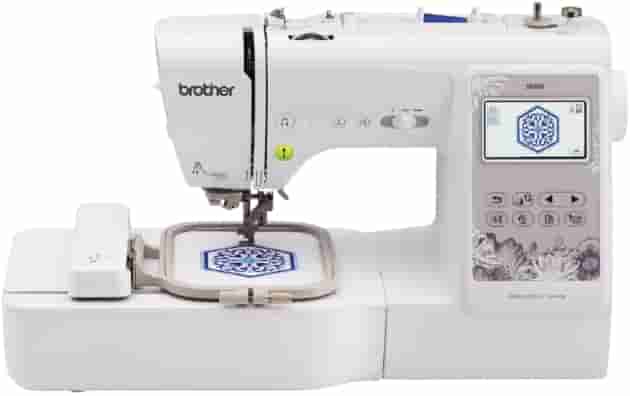
For home fleece work, Brother, Janome, and Bernina models are well regarded, look for adjustable thread tension, a 5″x7″ or larger embroidery area, and precise stitch control. Multi-needle machines speed multi-color jobs, while single-needle machines handle fleece well with the right stabilization. On the software side, Hatch, Wilcom, Embrilliance, and Embird let you adjust stitch density, build knockdown underlays, and preview the stitch-out before running, increasingly with AI-assisted density and underlay suggestions for textured fabrics.
Frequently asked questions
How often should I change needles on fleece?
Swap to a fresh 75/11 or 90/14 every 5–10 stitching hours, regular changes cut skipped stitches by nearly 20% on high-pile fabric.
Which stabilizer combination works best for heavy nap?
A sticky/cutaway backing plus a water-soluble topper, with an optional knockdown underlay for extra compression.
Why is my fleece puckering and how do I fix it?
Usually over-hooping or too-tight stitch length. Loosen hoop tension slightly, set stitches to 3.0–4.0 mm, and lower density.
Can I use a regular hoop instead of a magnetic one?
Yes, reduce tension and reposition gently. Magnetic hoops still win for no-mark finishes, but a well-adjusted regular hoop performs similarly.
What stitch length prevents thread breakage on thick fleece?
8–10 SPI (≈2.5–3.0 mm) lowers thread breaks by about 15%.
Conclusion
Distortion-free fleece embroidery is within reach: pick a ballpoint needle and polyester thread, back the fleece with a cutaway plus a water-soluble topper, hoop (or float) without overstretching, lower density and loosen tension, add a knockdown underlay, and always run a test swatch. Master those steps and this cozy fabric becomes a reliable canvas. Share your fleece projects in the comments or explore our other embroidery guides.