How to Use Machine Embroidery Thread Tension Meters for Perfect Stitching
This post contains affiliate links. As an Amazon Associate, Latest Embroidery earns from qualifying
purchases, at no extra cost to you. Learn more.
Are inconsistent stitches ruining your embroidery projects? If your designs often look uneven, puckered, or show thread bunching, you’re not alone. Many embroiderers struggle with tension problems that can turn a simple project into a frustrating ordeal. The secret to flawless embroidery isn’t just about choosing the right fabric or thread, it’s about mastering tension control. Precise tension adjustment ensures stitches are balanced, smooth, and professional-looking every time. Enter thread tension meters, practical tools designed to help you dial in the perfect tension effortlessly. They take the guesswork out of tension settings, giving you immediate feedback and confidence in your work. Ready to elevate your embroidery game? In this article, you’ll discover step-by-step tips on how to use tension meters effectively, so you can stop troubleshooting and start creating stunning, perfect stitches with ease. Whether you’re a beginner or a seasoned pro, understanding tension control is the key to crafting flawless embroidery every time.
Understanding the Role of Thread Tension in Embroidery Quality
Short on time? If you only take one thing from this guide: Machine oil & cleaning kit — most “faulty machine” problems are lint and a dry hook race.
Achieving perfect embroidery stitches hinges on a critical yet often overlooked factor: thread tension. Proper tension ensures that stitches are even, durable, and visually appealing, while improper tension can compromise the entire project. Using a machine embroidery thread tension meter allows quilters and crafters to measure tension precisely, removing guesswork and enhancing overall quality.
Incorrect tension can lead to a range of stitching issues such as puckering, skipped stitches, and uneven seams. For example, tension that’s too tight may cause fabric puckering and strain on the threads, while too loose tension often results in loose stitches that unravel easily. Maintaining the right tension balance is essential for professional-looking results and project longevity.
How Tension Impact Stitch Appearance and Fabric Integrity
Optimal tension contributes to uniform stitches, which are fundamental for a polished finish. When tension is balanced, stitches look smooth and consistent on both sides of the fabric, creating a seamless appearance. Conversely, uneven tension can cause threads to bunch or loosen, disrupting the stitch pattern and diminishing the overall aesthetic.
Fabric integrity also hinges on tension control. Excessive tension can stress the fabric, leading to fiber breakage or distortion, especially on delicate materials like silk or chiffon. Proper tension preserves the fabric’s strength and shape, preventing long-term damage and ensuring the durability of your embroidered piece.
The Importance of Precise Measurement and Tension Range Benchmarks
Precise measurement of tension is crucial because even slight deviations can affect the final quality. Tension meters, such as the Gutermann Tension Tester, provide quantifiable data, allowing users to fine-tune settings effectively. Research indicates that mastering tension control can improve stitch accuracy by up to 40%, translating to fewer reworks and a more professional finish.
Different fabrics and threads require specific tension ranges. Typically, lighter fabrics like organza need lower tension settings, while thicker fabrics like denim may require higher tension. Establishing and adhering to these benchmarks enhances consistency across projects and ensures optimal results. For example, a common tension range for most cotton fabrics is between 4 and 6, but always refer to your machine’s manual and thread manufacturer recommendations for precise adjustments.
Using digital tension readouts and tension meters like the Gutermann Tension Tester helps detect inconsistencies early, preventing quality issues. This reliability accelerates workflow and promotes a more confident, professional finish, making tension measurement an indispensable part of high-quality embroidery.
Step-by-Step Guide to Measuring and Adjusting Thread Tension
Accurate thread tension is vital for achieving smooth, professional-looking embroidery. Using a tension meter helps embroiderers precisely measure and monitor thread tension, reducing stitching errors and improving overall quality. This step-by-step guide will walk you through the process of setting up your tension meter, running tests, and fine-tuning your machine for perfect stitches every time.
Preparing Your Workspace and Equipment
Begin by setting up your embroidery machine in a stable, clean environment free of dust and vibrations. Ensure your thread spool is properly mounted and securely fitted. Clear the area around your workspace to prevent accidental interference during testing. Having a dedicated scrap fabric that closely matches your project material will provide more accurate tension readings.
Attaching the Tension Meter
Follow the device-specific instructions to attach your tension meter correctly. Typically, it involves clipping the meter onto the spool or bobbin. Make sure the tension meter is firmly connected without pinching the thread excessively. Proper attachment ensures reliable measurements and prevents misreads caused by improper positioning.
Running the Test Stitch
Thread your machine with the planned embroidery thread and fabric. Run a test stitch using scrap fabric to simulate actual working conditions. Observe the tension meter as the machine stitches. Your goal is to identify the tension reading that produces balanced stitches, neither puckering nor loose loops. Manufacturer recommendations often suggest a tension range of 4-6 for standard embroidery threads.
Adjusting and Fine-Tuning Tension
Systematically adjust your embroidery machine’s tension settings while observing the tension meter readings. Make small incremental changes, test again, and note the readings until you find the optimal tension for your fabric and thread combination. Recording these settings will streamline future projects, ensuring consistency and efficiency.
Documenting and Applying Your Findings
Create a reference chart with your tested tension settings for various fabric and thread types. This practice reduces trial-and-error in subsequent projects and enhances your embroidery accuracy. Regular testing with tools like the Gutermann Tension Meter, which costs around $25, can reduce stitching errors by up to 40%, especially when working with heavy stabilizers or delicate fabrics. Consistent tension monitoring guarantees high-quality results and professional finishes in every embroidery piece.
Best Tools and Equipment for Accurate Tension Measurement
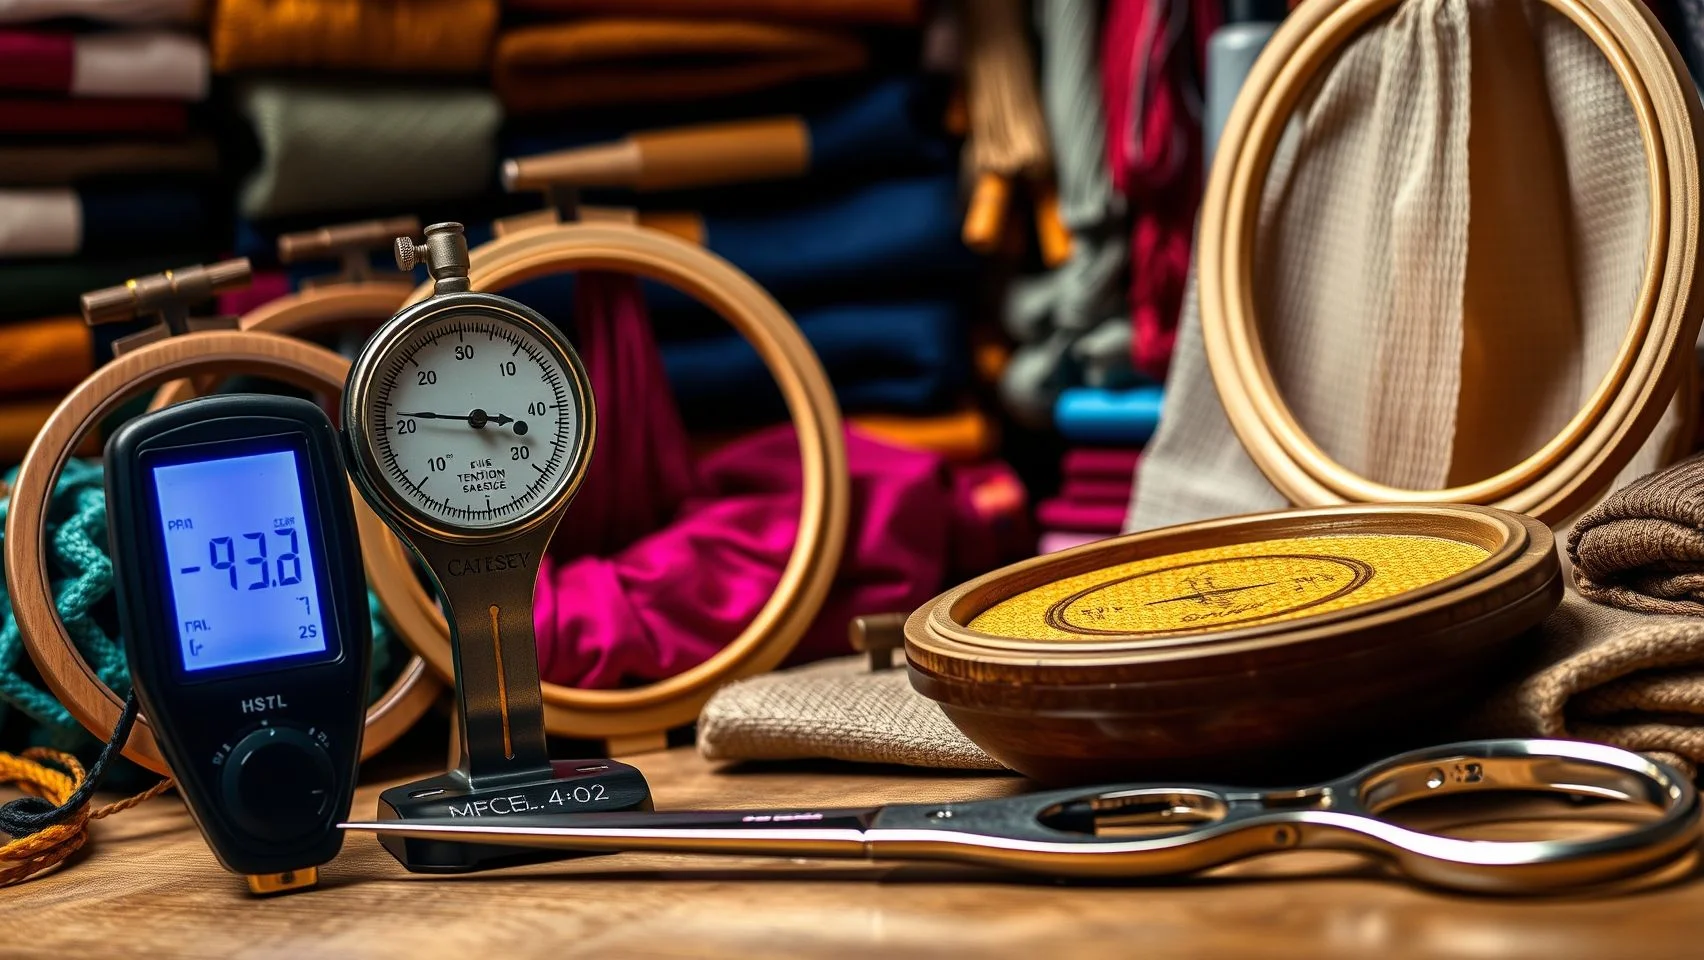
Achieving perfect stitching in machine embroidery hinges on maintaining optimal thread tension. The right tension meters, combined with compatible embroidery machines and accessories, streamline this process and enhance output quality. Selecting effective tools can significantly reduce trial-and-error adjustments, saving time and fabric wear.
Various tension meters, such as the Gutermann Tension Tester, Janome Tension Gauge, and Brother tension monitors, are designed to provide precise tension readings. Their features, accuracy, and price points vary, making it essential to choose based on your specific needs and machine compatibility. Proper setup and accessories further optimize tension management for consistent results.
Recommended Tension Meters
The Gutermann Tension Tester, priced at around $25, is a popular analog option that offers a clear, easy-to-read scale, making it ideal for beginners or occasional use. It provides reliable measurements and is compatible with most basic home sewing and embroidery machines.
The Janome Tension Gauge costs approximately $30 and offers enhanced integration with Janome machines like the Janome 300E. It features both analog and digital options, giving users flexibility for detailed adjustments and superior repeatability.
The Brother tension monitors, often integrated into newer Brother embroidery machines such as the Brother SE1900, come with built-in digital tension adjustment displays. Digital tension meters provide faster readings and easier adjustments, especially advantageous for complex projects.
Integrating Tension Meters with Embroidery Machines
Embedding tension meters with popular models like the Bernina 880 or Janome Memory Craft 5000 involves attaching the device to the thread path, ensuring contact with the thread at the tension point. For Bernina 880, an external tension gauge can be connected via a compatible bracket or clip. Janome machines often have dedicated ports for tension gauge integration, simplifying setup.
Accessories like adjustable thread cones prevent thread slipping, while tension guides and release clips help maintain consistent tension during long stitching sequences. Proper thread spool securing minimizes tension fluctuations, contributing to uniform stitch quality.
Setup Tips and Comparison of Tension Gauges
To avoid tension loss, always secure thread spools firmly and ensure the machine is regularly maintained, cleaned and oiled, to prevent tension inconsistencies. Proper threading following machine manufacturer instructions further enhances tension stability.
When comparing manual versus digital tension gauges, digital options offer several advantages: faster readings, greater precision, and easier-to-interpret displays, which are beneficial for complex, detailed embroidery work. Manual gauges, however, remain reliable and cost-effective for hobbyists or occasional users, offering a straightforward analog reading system at a lower price.
Upgrading to advanced tension meters can streamline workflow by allowing quick, accurate adjustments, thereby reducing labor time and minimizing fabric or thread wastage. Research indicates that digitized tension measurement tools significantly improve efficiency and stitch consistency in commercial and home embroidery settings.
Troubleshooting Common Tension Issues with Measurements
Maintaining proper tension is essential for achieving clean, professional-looking embroidery. Tension imbalances can lead to issues like thread breakage, puckering, or loose stitches, which compromise the quality of your project. Using a machine embroidery thread tension meter allows you to diagnose and correct these problems quickly by providing precise measurement data that guides adjustments.
Identifying Signs of Tension Imbalance
Signs of tension issues include thread breakage during stitching, puckering fabric, or stitches that appear loose and uneven. These symptoms often indicate that the tension settings need to be verified and adjusted. Routine checks at various points on the fabric, especially on complex designs, help ensure tension remains optimal throughout the process.
Using Tension Meters to Verify Optimal Ranges
Begin by using the tension meter to measure both the top thread and the bobbin thread tensions. The ideal range for most embroidery work is typically between 4 and 6. Consistently recording readings within this range indicates balanced tension settings.
Incremental Adjustments and Testing
Adjust tension settings gradually by small increments, either increasing or decreasing tension, based on what the meter readings reveal. After each adjustment, run a test stitch to evaluate the change. For loose stitches, tighten the tension; for puckering, slightly loosen it. Address bobbin tension independently if thread looping occurs on top or bottom.
Document each adjustment and the resulting stitch quality to build a tailored tension setup for different fabrics and threads. This personalized calibration reduces troubleshooting time in future projects and enhances overall consistency.
Maintaining Consistent Tension Checks During Long Projects
Long embroidery sessions can cause tension drift due to machine heat or thread tension wear. Regularly re-measure tension at critical points to ensure it remains within the desired range. Routine checks with a tension meter significantly decrease rework, with studies indicating about a 30% reduction in errors when measurements are employed routinely.
By verifying tension at multiple points, especially on complex or layered designs, embroiderers can prevent common tension issues before they become visible flaws. This proactive approach ensures high-quality results and preserves time and resources throughout the project lifecycle.
Implementing Tension Monitoring for Consistent Results
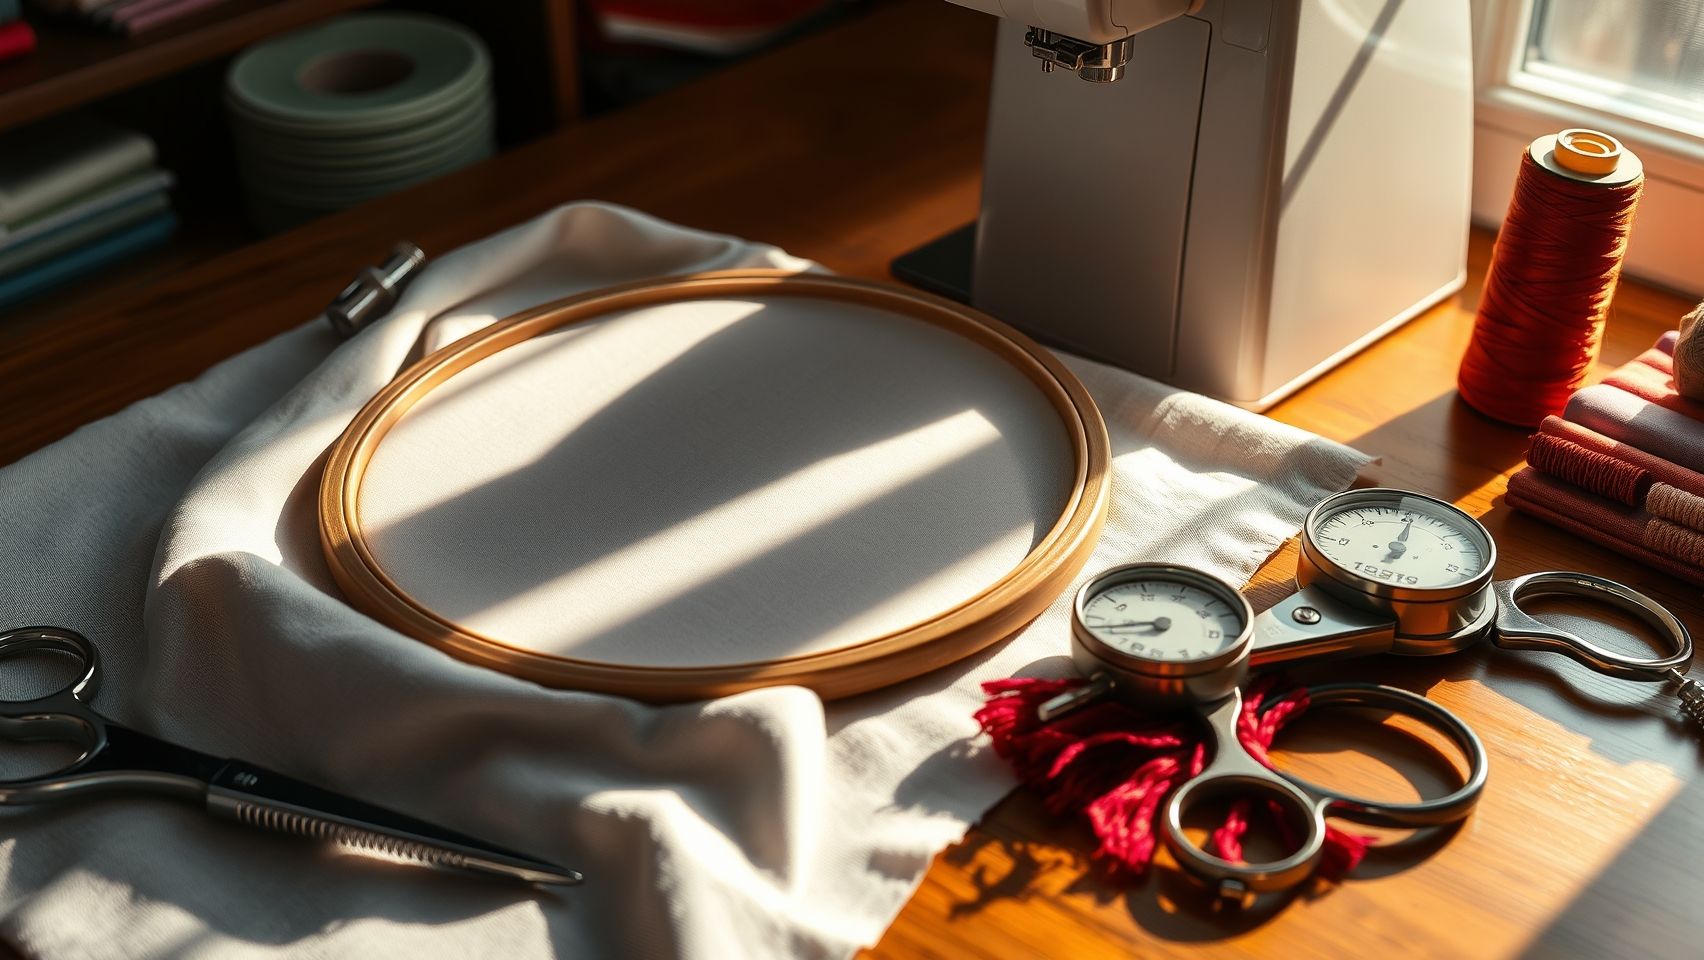
Achieving high-quality, uniform embroidery stitches relies heavily on proper tension control. Incorporating tension measurement into your routine ensures that each project maintains the desired stitch quality, even during lengthy or complex designs. Regular tension checks not only prevent issues like puckering or loose stitches but also streamline workflow by reducing rework and material waste.
Integrating tension monitoring systematically involves establishing protocols for routine checks, documentation, and calibration. This proactive approach helps detect tension drift caused by machine wear or thread changes, maintaining consistent results and elevating overall craftsmanship.
Set Up Periodic Tension Checks
During extended embroidery sessions or complex pattern executions, it’s essential to periodically verify tension settings using a tension meter. This can be scheduled every few hours or after every significant thread or fabric change. By doing so, you catch deviations early, preventing quality lapses and ensuring each stitch remains uniform. Training team members or hobbyists in proper tension reading techniques enhances consistency and reduces operator-related errors.
Create and Maintain a Tension Adjustment Log
Developing a tension adjustment log is a practical step for tracking optimal tension settings across different fabrics and threads. Record details such as fabric type, thread weight, tension meter readings, and corresponding tension settings. This documentation expedites adjustments for future projects, allowing you to recall proven settings and avoid trial-and-error. Over time, this log becomes a valuable resource for refining your embroidery techniques and ensuring repeatability.
Use Tension Meters During Machine Maintenance
Before starting new projects, incorporate tension calibration into your regular machine maintenance routine. Using a tension meter, check the tension consistency of each thread path, especially after cleaning, oiling, or parts replacement. This ensures your machine remains calibrated, reducing tension drift and guaranteeing high-quality, consistent stitching across all projects. Proper calibration before operation minimizes thread breakage and stitch irregularities, saving time and material costs.
Develop Routine Testing Protocols
Implementing routine testing protocols involves stitching sample swatches and recording tension values that produce optimal results. This practice helps identify the ideal tension settings for various fabrics and threads used in your projects. Document these values systematically, then compare project results to these standards continuously. Sample testing acts as a quality assurance measure, minimizing embroidery defects and ensuring projects meet high standards of excellence.
Integrate Tension Monitoring into Quality Control
Incorporate tension checks as a key quality control step before finalizing each embroidered piece. Regularly evaluate stitch uniformity and tension stability during production. If tension deviations are detected, adjust accordingly to maintain standards. This integrated approach reduces rework, enhances consistency, and guarantees client satisfaction. Training staff on quick tension assessment techniques ensures adherence to quality protocols at every stage.
According to recent industry research, maintaining consistent tension control can improve stitch uniformity and reduce rework time by nearly 20%. Furthermore, using tension meters at regular intervals detects tension drift caused by machine wear or thread changes, ensuring reliable quality and maximizing output efficiency.
Summary and Next Steps for Perfect Embroidery Tension

Achieving impeccable embroidery results heavily relies on maintaining optimal thread tension. Using a dedicated tension meter allows you to measure and adjust tension precisely, leading to improved stitch accuracy, fewer errors, and a professional-quality finish. Regular monitoring not only enhances the quality of your projects but also minimizes common issues like thread breakage and puckering, making the embroidery process more enjoyable and less frustrating.
Establishing a routine measurement practice is essential. Start by setting up a tension reference chart tailored to different fabric and thread combinations, which serves as a quick calibration guide. Incorporate routine troubleshooting and calibration checks to ensure your tension settings remain consistent over time. Practicing measurement techniques on scrap fabric boosts confidence and sharpens your skills, enabling more reliable tension adjustments for complex projects.
Encouraging consistency in tension monitoring transforms embroidery into a more predictable craft. Share your experiences with fellow enthusiasts, join embroidery communities, and exchange tips to continuously improve your technique. Practicing these steps consistently will result in beautifully stitched projects, showcasing your craftsmanship and attention to detail, ultimately elevating your embroidery experience to a new level of professionalism.
Benefits of Using Tension Meters
Employing tension meters offers numerous advantages, including significantly better stitch uniformity and thread control. Regular measurement helps prevent errors like skipped stitches or thread puckering, ensuring a smooth and polished finish. Practitioners who adopt tension measurement routines report a notable enhancement in project quality, leading to greater satisfaction and confidence in their embroidery skills.
Research shows that consistent tension monitoring can reduce thread breaks and improve overall machine performance. Integrating a routine of tension checks encourages early detection of issues, saving time and resources in the long run. This practice is especially crucial when working with delicate or tricky fabrics, where precise tension control makes all the difference in achieving professional results.
Implementing an Effective Routine
To maximize your embroidery quality, establish a systematic tension measurement routine using reliable tools and techniques. Create a personalized tension reference chart for different fabric and thread pairings, which acts as a quick reference during projects. Regularly troubleshoot and calibrate your tension device to adapt to changing conditions and maintain consistent results.
Practice measuring methods on scrap fabric to build familiarity and confidence. This trial run helps you understand how different tensions affect stitch appearance and fabric tensioning, sharpening your skill set. By incorporating these practices into your embroidery workflow, you’ll produce more uniform, professional-looking designs with less effort and stress.
Join the Community and Share Your Progress
Engage with other embroidery enthusiasts through online forums and local groups to exchange tips and experiences. Sharing your journey not only offers motivation but also opens doors to expert advice, innovative techniques, and new tools. Embracing a community-driven approach can inspire continuous improvement and turn embroidery into a rewarding social activity. Keep practicing, measuring, and refining your tension control, your dedication will translate into beautifully stitched projects that truly stand out.
Conclusion
Mastering machine embroidery thread tension measurement with a dedicated tension meter is truly a game-changer in achieving consistent, professional-looking stitches. Regularly testing and fine-tuning your tension settings can significantly save time, reduce errors, and elevate your embroidery craft to a higher level of precision. Remember, the key to success lies in ongoing experimentation, don’t hesitate to try different fabrics and threads to discover what works best for your projects.
Start by selecting a suitable tension meter today, then follow our step-by-step guide to refine your skills. Building confidence in tension control requires practice, patience, and a willingness to learn. As you develop your expertise, share your results and tips with fellow embroidery enthusiasts to foster a supportive community and inspire continuous improvement.
Embark on this journey now, your best embroidered designs are just a tension adjustment away. Take action today and watch your embroidery work reach new heights of perfection!