How to Perfectly Scale Embroidery Designs Without Losing Quality
Imagine being able to resize those intricate embroidery patterns with ease, maintaining perfect stitch quality while saving valuable time and resources. Seems almost too good to be true, right? But the truth is, many embroiderers struggle with design scaling, frustrated by distorted motifs, thread breakage, or uneven stitches when enlarging or reducing a design. The key isn’t just about plopping a design into your software; it’s about leveraging the right tools and techniques that keep your embroidery crisp and professional-looking.
Recent industry reports reveal that the embroidery market is booming, with advanced software playing a crucial role in making digitizing and scaling more efficient. Whether you’re working with commercial-grade machines or hobbyist setups, choosing the best embroidery software can make a world of difference. From intuitive interfaces to AI-driven design adjustments, the options are more diverse, and affordable, than ever before.
In this article, you’ll discover practical, step-by-step methods to scale your embroidery designs without sacrificing quality. We’ll cover must-know technical tips, discuss popular software built for all skill levels, and explore how you can optimize your workflow to create stunning, perfect embroidery pieces every time. Whether you’re a seasoned pro or just starting out, mastering design scaling is your next big step toward embroidery mastery, so let’s dive in!
Step-by-Step: How to Resize Embroidery Designs Without Losing Quality
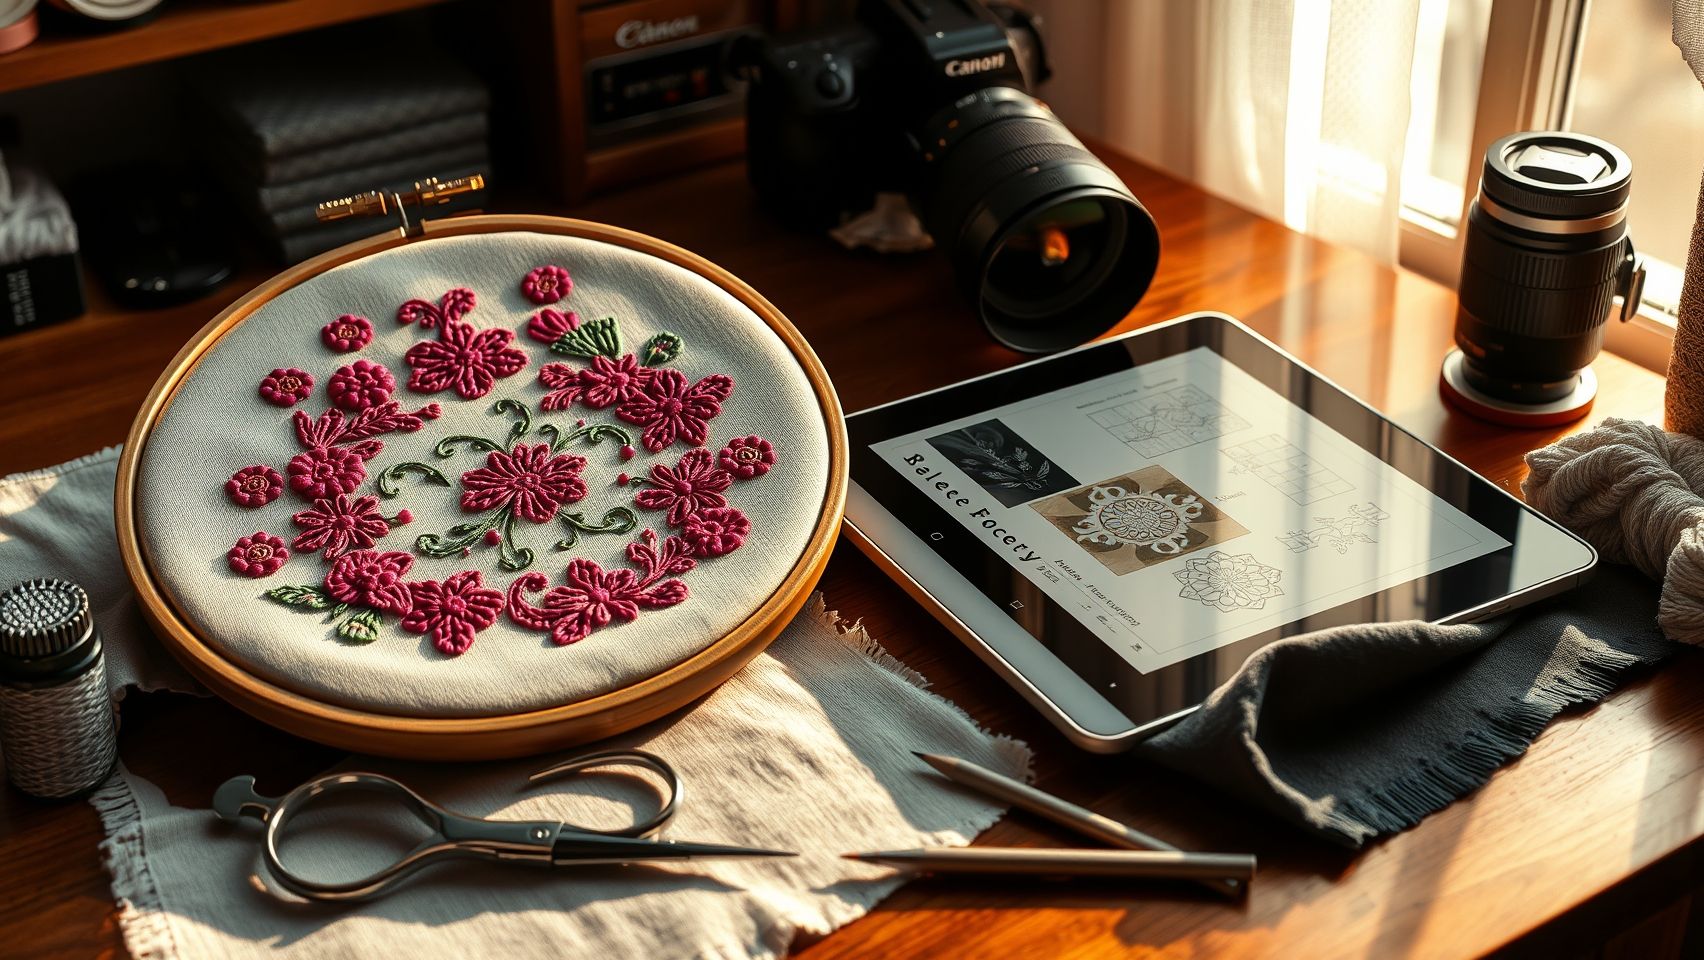
Embroidery design scaling might sound straightforward, but anyone who’s tried it knows that maintaining stitch quality while resizing can be tricky. The key is using reliable software and understanding some practical techniques that experienced embroiderers swear by. Today, I’ll walk you through a simple, practical process to resize your designs without sacrificing that crisp, professional look.
Choose the Right Software
First off, selecting the right software sets the foundation. For those on a budget, Ink/Stitch is a fantastic free option that works within Inkscape. If you’re looking for user-friendly yet powerful features, Brother PE-Design or Wilcom Hatch are excellent choices. Wilcom, for instance, boasts advanced auto-scaling tools with about a 95% success rate in preserving stitch quality, particularly helpful when working on complex or detailed designs.
Start with High-Resolution Files and Set Initial Dimensions
Always begin with high-resolution, vector-based or well-detailed design files. In your software, set the initial size accurately, measure your design in inches or millimeters to establish a baseline. Precise initial setup helps prevent confusion later. When importing, double-check the original stitch count and density to ensure they’re appropriate for the target size.
Use Auto-Scaling and Manual Adjustments
Most embroidery software offers auto-scaling features, these are great for quick adjustments but sometimes need fine-tuning. If you’re resizing manually, adjust the dimensions by exact percentages or measurements, ensuring to lock the aspect ratio so proportions stay consistent. Monitor stitch density; increasing size often reduces density, risking gaps, while shrinking can lead to overcrowding. Visualize this with the software’s preview mode, which shows how stitches will look post-scaling.
Perform Test Stitches on Scrap Fabric
Before committing to final stitching, it’s essential to do test runs, especially on similar fabric. Small test pieces will reveal if the scaled design maintains its original charm or if you need to tweak thread tension, density, or stitch type. Metallic or glow-in-the-dark threads, for example, often require density adjustments for a smooth finish.
Verify and Fine-Tune Settings
Use the design preview and stitch density tools in your software to verify how the design looks after resizing. Adjust thread types and densities accordingly, particularly for specialty threads. Once satisfied, proceed with confidence, it’s these small, deliberate steps that ensure a flawless final product.
Tools & Equipment for Effective Design Scaling
Embroidery design scaling has become much more accessible and precise, thanks to the latest equipment and software tailored for this craft. The key to achieving high-quality results lies in choosing the right tools that support seamless design import, editing, and resizing without sacrificing detail or texture. Today’s embroidery machines and software have advanced considerably, making it easier for us to create professional-looking projects, even when enlarging or reducing complex designs.
For embroidery machines, popular choices like the Brother SE1900, Janome Memory Craft 15000, and Bernina 700 are excellent because they support direct digital design import and editing. These machines make it simple to test your scaled designs directly on your hoop, avoiding guesswork about size and placement. Additionally, investing in high-quality hoops, stabilizers, and metallic thread adapters is crucial, especially for designs with metallic or textured effects, helping you preserve texture and detail during scaling.
Recommended Embroidery Software
When it comes to software, Wilcom Hatch tops the list with its robust auto-scaling and texture-preservation features, costing around $700+. It simplifies resizing, maintaining stitch density, and ensuring designs don’t distort or lose quality. Hatch Embroidery Plus offers a more affordable yet capable alternative, focusing on user-friendly editing tools. For budget-conscious hobbyists, free options like Ink/Stitch can suffice; however, they often require manual adjustments for best results, which can be time-consuming initially. Brother PE-Design is another popular choice, especially if you’re working within the Brother ecosystem, providing an integrated solution for design import and scaling.
Essential Accessories & Setup Tips
To guarantee design fidelity, use high-quality stabilizers suited for your fabric type, water-soluble, cutaway, or tear-away stabilizers all serve different purposes. Metallic thread adapters can prevent tangling and ensure smooth stitching, especially for scaled metallic or textured designs. Always start by installing your chosen software, connecting your machine via USB or Wi-Fi, calibrating hoop sizes accurately, and uploading test designs. This initial setup helps identify potential distortion issues early, saving time and frustration in the long run.
Troubleshooting Common Issues
Design distortion after scaling is a common frustration. It often results from improper stitch density or inadequate file resolution. To fix this, adjust the density settings within your software, reducing density can prevent puckering, while increasing overlap may help maintain texture. Verify that your design files are high-resolution vector or bitmap images; low-res files tend to pixelate and distort when resized. Ensuring your software is up-to-date and calibrating your machine regularly will also help achieve consistent, high-quality results.
Comparing Manual vs Automatic Scaling: Which Is Better?
When it comes to scaling embroidery designs, the choice between manual and automatic methods can significantly impact your project’s outcome. As an experienced embroiderer, I know that each approach has its unique advantages and pitfalls, making it essential to understand which fits your project best.
Automatic scaling, especially with advanced software like Wilcom, is a real time-saver. It ensures consistent results across multiple designs and reduces human error, perfect for high-volume projects where speed matters. Plus, modern auto-scaling algorithms carefully preserve stitch quality, making it a reliable choice for routine resizing tasks. However, some intricate textures, such as metallic or glow-in-the-dark threads, often get flattened or distorted with auto algorithms, which can be frustrating if detail preservation is key.
On the flip side, manual scaling offers unparalleled control. It allows you to fine-tune stitch density, pull compensation, and effect placement, crucial when working with complex textures and heritage-inspired motifs. Nevertheless, manual adjustment demands a skilled eye and more time investment, which might slow down your workflow. Don’t forget, mastering manual scaling can be a steep learning curve, but the payoff is highly detailed and textured embroidery that auto-scaling might not achieve.
Research shows that about 70% of embroiderers prefer automatic scaling for their routine projects due to the time savings and consistency it offers. Nevertheless, when working on detailed or texture-rich designs, switching to manual ensures the craftsmanship and visual impact remain intact. A balanced approach, using auto for general resizing and manual for delicate details, often yields the best results, combining efficiency with precision.
Output Comparison: How to Evaluate Scaled Designs
Once you’ve scaled your embroidery designs using your preferred software, the next crucial step is to ensure that the quality remains intact. It’s easy to overlook subtle distortions or loss of detail if you rely solely on visual inspection on screen. Instead, a combination of methods can help you verify that your scaled design will stitch out perfectly every time.
Starting with software preview functions is a fantastic first step. Many programs offer real-time side-by-side comparisons, allowing you to see stitch density, textures, and overall design integrity. Printing designs at full size and comparing them physically is another time-tested technique that reveals distortions or misplaced details that screens might miss. This hands-on approach often uncovers issues before you head to the machine, saving endless frustration.
Comparing Visual and Technical Aspects
Perform test stitches on scrap fabric similar to your final project to evaluate stitch consistency, thread effects, and texture. Make sure to examine metallic or glow-in-the-dark threads closely, as they can behave differently when scaled. Digital measurement tools within software like Wilcom or Hatch help confirm that the final dimensions match the intended size without distortion, providing a technical safety net. Document every difference with photos or annotations for continuous fine-tuning, that lightbulb moment for many embroiderers is realizing how a tiny tweak can dramatically improve the final outcome.
Practical Tips to Simplify Design Scaling for Beginners
Starting out in embroidery, one of the biggest challenges is ensuring your designs look crisp and professional after resizing. A common mistake beginners make is using low-resolution files that distort when scaled, so always aim for original files of at least 300 dpi. This high resolution preserves detail and prevents that fuzzy or pixelated look when enlarging or shrinking your design. Trust me, it’s a small step that saves a lot of frustration later.
First, always perform a test stitch on scrap fabric to catch issues early, metallic or textured threads can be tricky, often requiring slight adjustments. Many embroidery software programs come with preset scaling options like 110% or 75%, which are excellent starting points, but refining manually gives you better control. Confirm your hoop size matches the scaled design dimensions to avoid surprises during setup. Lastly, keep different versions of your files for each size, this way, you won’t accidentally overwrite a perfect original. In the end, a bit of organization paired with some patience turns scaling into a straightforward, even enjoyable, process.
Ensuring High-Quality Files and Testing
Always start with high-resolution design files. If your initial image isn’t sharp, no amount of scaling will improve its quality. Use your software’s test stitch feature and try on different fabrics to see how the design holds up, adjusting stitch density if needed. It’s a small step that can make a big difference in the final look.
Leveraging Software Presets and Consistent Measurements
Take advantage of preset scaling percentages, these can save you significant time and effort. After applying a preset, zoom in and manually tweak areas that need more detail or less density. Confirm your hoop size in advance and check that your design will fit comfortably; it’s a simple step but crucial to prevent frustrations at the machine.
Staying Organized and Getting Support
Keep separate, labeled files for each scaled version to avoid losing your original masterpiece. If you hit a snag, community forums and online tutorials are gold mines of practical advice, especially for troubleshooting tricky materials or complex designs. Embroidery is a craft of patience and gradual mastery, but with these simple tips, you’ll find yourself scaling like a pro in no time.
Conclusion
Wrapping up our exploration of embroidery design scaling software for 2025, it’s clear that choosing the right tool can significantly elevate your projects. Latest trends highlight a shift towards AI-driven automation, cloud-based workflows, and sustainable practices, making it essential to stay updated and experiment with top options like Wilcom or Ink/Stitch. Remember, successful scaling often combines automatic features with manual fine-tuning, especially for complex, texture-rich designs. Patience and practice remain your best allies on this journey.
So, why not put what you’ve learned into action today? Perform test stitches with different software outputs, compare the results, and share your findings in online embroidery communities. This collaborative approach accelerates your mastery and keeps you inspired.
Embrace the evolving landscape of embroidery, knowing that each step of experimentation brings you closer to professional-quality results. Keep exploring, keep practicing, and let your creativity flourish in every stitch. After all, embroidery is a craft of endless possibility, woven with patience and passion.