Embroidery Thread Cone vs Spool: Which Packaging Saves Money & Space?
This post contains affiliate links. As an Amazon Associate, Latest Embroidery earns from qualifying
purchases, at no extra cost to you. Learn more.
Are you wasting money or space with your embroidery thread choices? Many hobbyists and small business owners face the dilemma of choosing between thread cones and spools, each with its own perks and pitfalls. High costs, cluttered storage, and machine compatibility issues often make the decision more confusing than necessary. Understanding the differences can help you make smarter purchases and optimize your workspace. Whether you’re trying to cut expenses or streamline your setup, this article offers practical tips tailored to both passionate crafters and entrepreneurs. We’ll explore which type of packaging offers better value, how to avoid common frustrations, and share tips to keep your embroidery projects running smoothly. Continue reading for actionable insights that could save you both money and space, making your embroidery experience more enjoyable and efficient.
How to Choose the Right Thread Packaging for Your Embroidery Projects
Short on time? If you only take one thing from this guide: 40wt polyester thread set — the single cheapest fix for shredding and thread breaks.
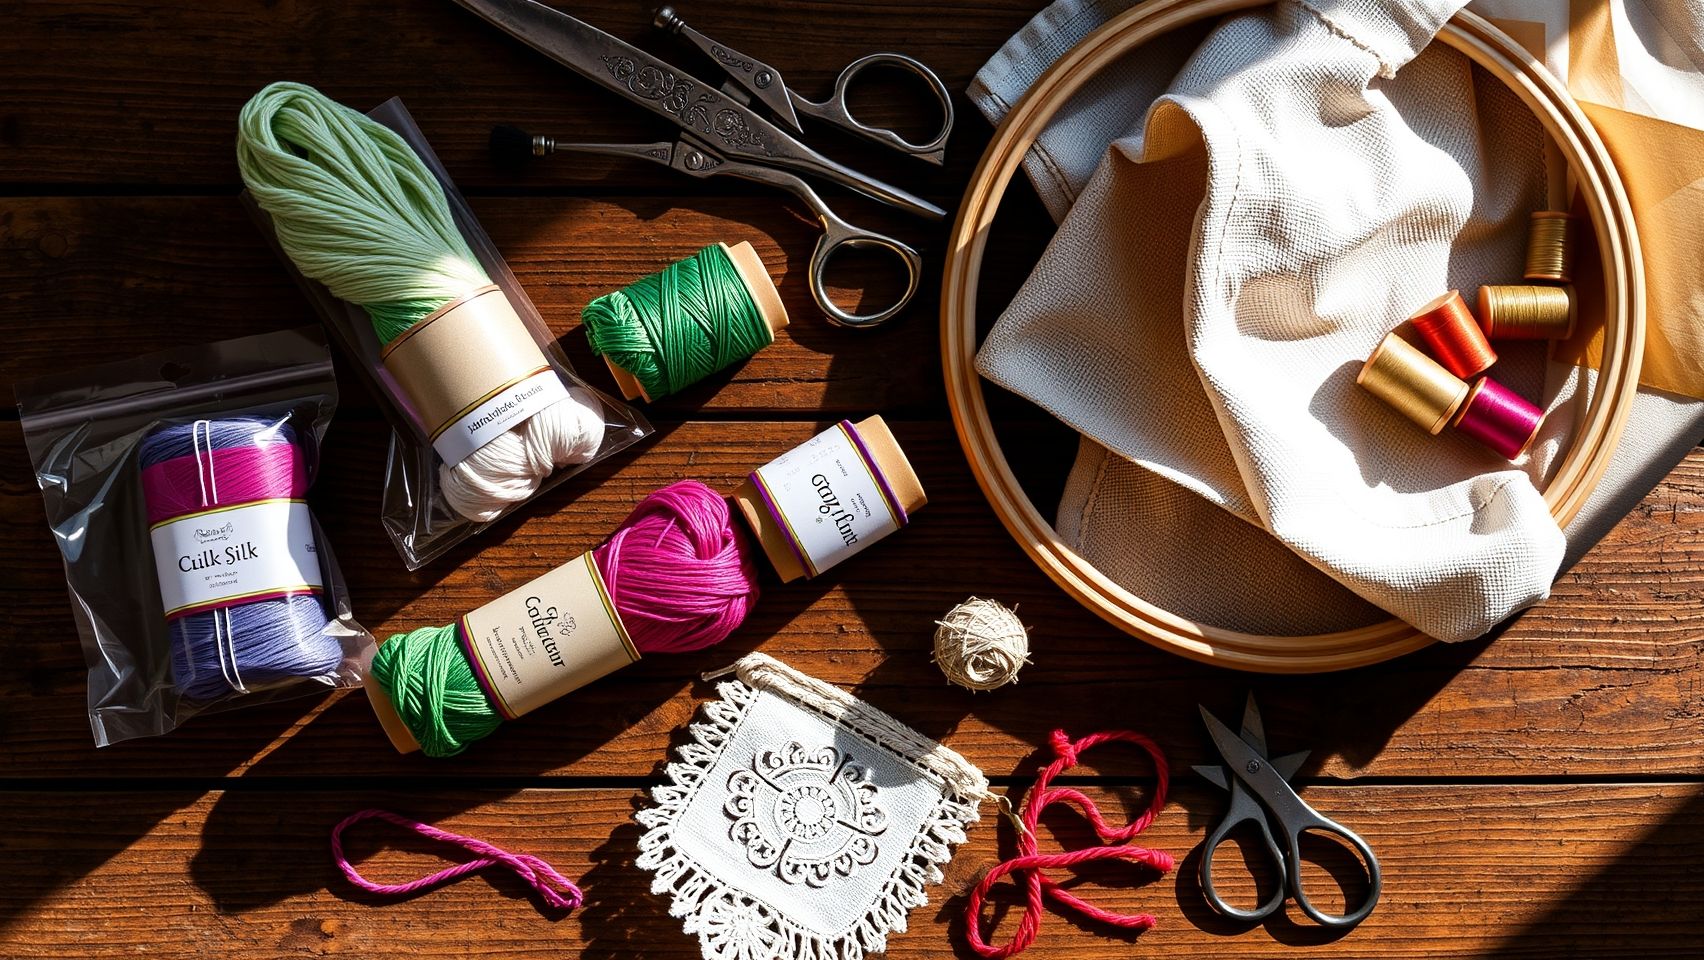
Selecting the appropriate packaging for your embroidery thread is essential for optimizing your workflow, managing costs, and saving space. Whether you’re working on large-scale projects or occasional crafts, understanding the differences between cone and spool packaging helps you make informed decisions that improve efficiency and reduce waste. This step-by-step guide walks you through assessing your needs and choosing the best option for your embroidery endeavors.
Step 1: Evaluate Your Project Volume
Begin by estimating the typical size and frequency of your embroidery projects. Large, bulk projects requiring extensive thread usage are better suited for cones due to their high capacity and cost efficiency. Spools are ideal for small, occasional projects or when specific colors are needed in limited quantities. Analyzing your project volume will help determine if investing in bulk packaging makes economic sense, potentially saving you money per yard and freeing storage space.
Step 2: Verify Your Machine Compatibility
Next, check your embroidery machine’s threading system. Most commercial embroidery machines support large cones, but many home models require spool adapters or specific configurations. Consult your machine’s manual or technical specifications to ensure compatibility, preventing threading issues that could lead to threading breaks or inconsistent stitches.
Step 3: Compare Costs and Purchase Options
Compare pricing from suppliers like Madeira or Sulky by calculating the cost per yard/meter for both cones and spools. Buying in bulk generally reduces the cost per yard, but only if the thread quality matches your needs. Consider potential waste and pre-winding methods to maximize your investment, ensuring you choose economical options that deliver value for your projects.
Step 4: Organize Storage for Efficiency
Organize your workspace by implementing storage solutions like stackable bins, pegboards, or foam core boards designed specifically for cones. Proper organization minimizes clutter, makes it easier to access specific colors, and optimizes space, especially important if you’re handling large cone quantities regularly.
Step 5: Fine-tune Machine Settings and Practice Waste Reduction
Adjust your machine’s tension and speed settings according to thread packaging. Cones may require slight tension adjustments to prevent birdnesting, as detailed in your machine manual. Pre-winding thread onto bobbins also helps maintain consistent tension and reduces waste, facilitating smoother embroidery workflows and improving thread economy over time.
Tools & Equipment to Maximize Your Thread Efficiency

Optimizing embroidery thread usage requires the right tools, machines, and accessories that support different packaging options like cones and spools. Proper setup and maintenance can significantly improve workflow, reduce thread waste, and ensure consistent stitch quality. Whether working with cones or spools, investing in the correct accessories can make a noticeable difference in your embroidery projects.
Selecting Compatible Embroidery Machines
When choosing embroidery machines, ensure they support both cones and spools by using appropriate adapters. Popular models from Brother, Bernina, and Janome offer compatibility with both packaging types, but require specific hardware such as cone adapters or spool pins. Bernina, in particular, provides automatic cone support systems that help reduce thread tension issues, enhancing stitch consistency.
Investing in Essential Thread Support Tools
To maximize thread efficiency, consider dedicated thread stands and tension guides designed for cones. Cone holders with swivel arms facilitate smooth feeding and prevent tangling, especially for large cone volumes. Additionally, using bobbin winding stations allows pre-winding from cones onto bobbins, streamlining workflow and improving tension control during sewing.
Implementing Storage and Organization Accessories
Effective storage solutions are vital for space-saving organization. Stackable bins, pegboards, and spool racks help keep different colors and sizes accessible while reducing clutter. They also prevent thread tangling and damage, prolonging the usability of your threads and maintaining a tidy workspace.
Leveraging Software for Design Optimization
Digital design management software like Wilcom Embroidery Studio 12 enhances thread color matching and design efficiency. This software allows embroiderers to plan color palettes accurately, simulate stitch layouts, and reduce material waste by selecting optimal thread types and quantities before stitching begins.
Troubleshooting Common Thread Issues
Choosing the right packaging can impact thread tension and stitch quality. Birdnesting, thread breakage, and uneven stitches often relate to improper tension settings or incompatible feeders. Regular maintenance of thread stands and tension guides, along with verifying machine settings for cone or spool use, can mitigate these issues and improve overall results.
Step-by-Step: Setting Up Your Thread for Quick & Accurate Embroidery

Efficiently preparing your embroidery thread, whether it comes from cones or spools, is crucial for achieving high-quality stitches and minimizing troubleshooting time. Proper setup not only saves time during your project but also ensures consistent tension and smooth operation of your machine. Here’s a detailed, actionable guide to help you get your thread ready for flawless embroidery.
Pre-wind Thread from Cones onto Bobbins for Consistent Tension
Start by selecting the appropriate thread from your cone or spool. Use a dedicated winding station, such as a vertical bobbin winder, which costs approximately $30 and takes about 5 minutes per batch. Carefully thread the cone or spool through the winding guides to avoid tangles. Wind the thread onto the bobbin, ensuring even distribution and tight winding to prevent slack during sewing.
Consistent tension on the bobbin is vital. Test the tension by manually rotating the bobbin; it should turn smoothly without slipping or being too tight. Re-wind if necessary. For cones, keep the tension slightly looser than spools because cones tend to be more flexible, which can affect tension during stitching. Regularly check and adjust tension settings as needed, especially when switching between different types of thread.
Label each pre-wound bobbin with the intended thread color and type. This step enables quick identification, reducing delays during your project. Use a simple label printer or write directly on the bobbin with a fabric-safe marker. Well-organized, labeled bobbins streamline your workflow and prevent mistakes, especially when working with multiple colors.
Adjust Tension Settings & Set Up Guides to Prevent Tangles
Adjust your machine’s tension settings based on whether you’re using cones or spools. Tighter tension is generally suitable for spools, while cones require slightly looser tension. Testing with a sample stitch on scrap fabric helps identify the correct tension before your main project. Observe the stitch quality, if it puckers or loops, tweak the tension accordingly.
Set up thread guides and tensioners properly to prevent tangles and birdnesting. Ensure the thread feeds smoothly from the cone or spool, passing through all guides without dragging or resistance. Use thread guides designed for your machine to maintain a steady flow, which significantly reduces thread breakage and tension inconsistencies.
Regularly clean your machine parts, especially the tension discs and bobbin area, to prevent lint buildup. Lint can cause tension fluctuations and stitch irregularities. Scheduling routine maintenance enhances your machine’s performance and prolongs its lifespan, contributing to better embroidery results.
Test Stitch & Final Checks Before Starting Your Project
Before diving into your main work, run a test stitch on a scrap piece of fabric similar to your final work. Evaluate the stitch quality, tension, and thread alignment. Adjust tension and guides if necessary, ensuring even stitches and no puckering. This step can save hours of troubleshooting later by catching tension issues early.
Once satisfied with the test stitches, you can confidently proceed with your embroidery project. Proper setup, careful pre-winding, tension adjustment, and testing, not only boosts efficiency but also elevates the overall quality of your embroidery. Investing a few minutes upfront results in a professional finish and fewer disruptions during your craft session.
Comparing Cost & Performance: Cone vs Spool in Real Projects
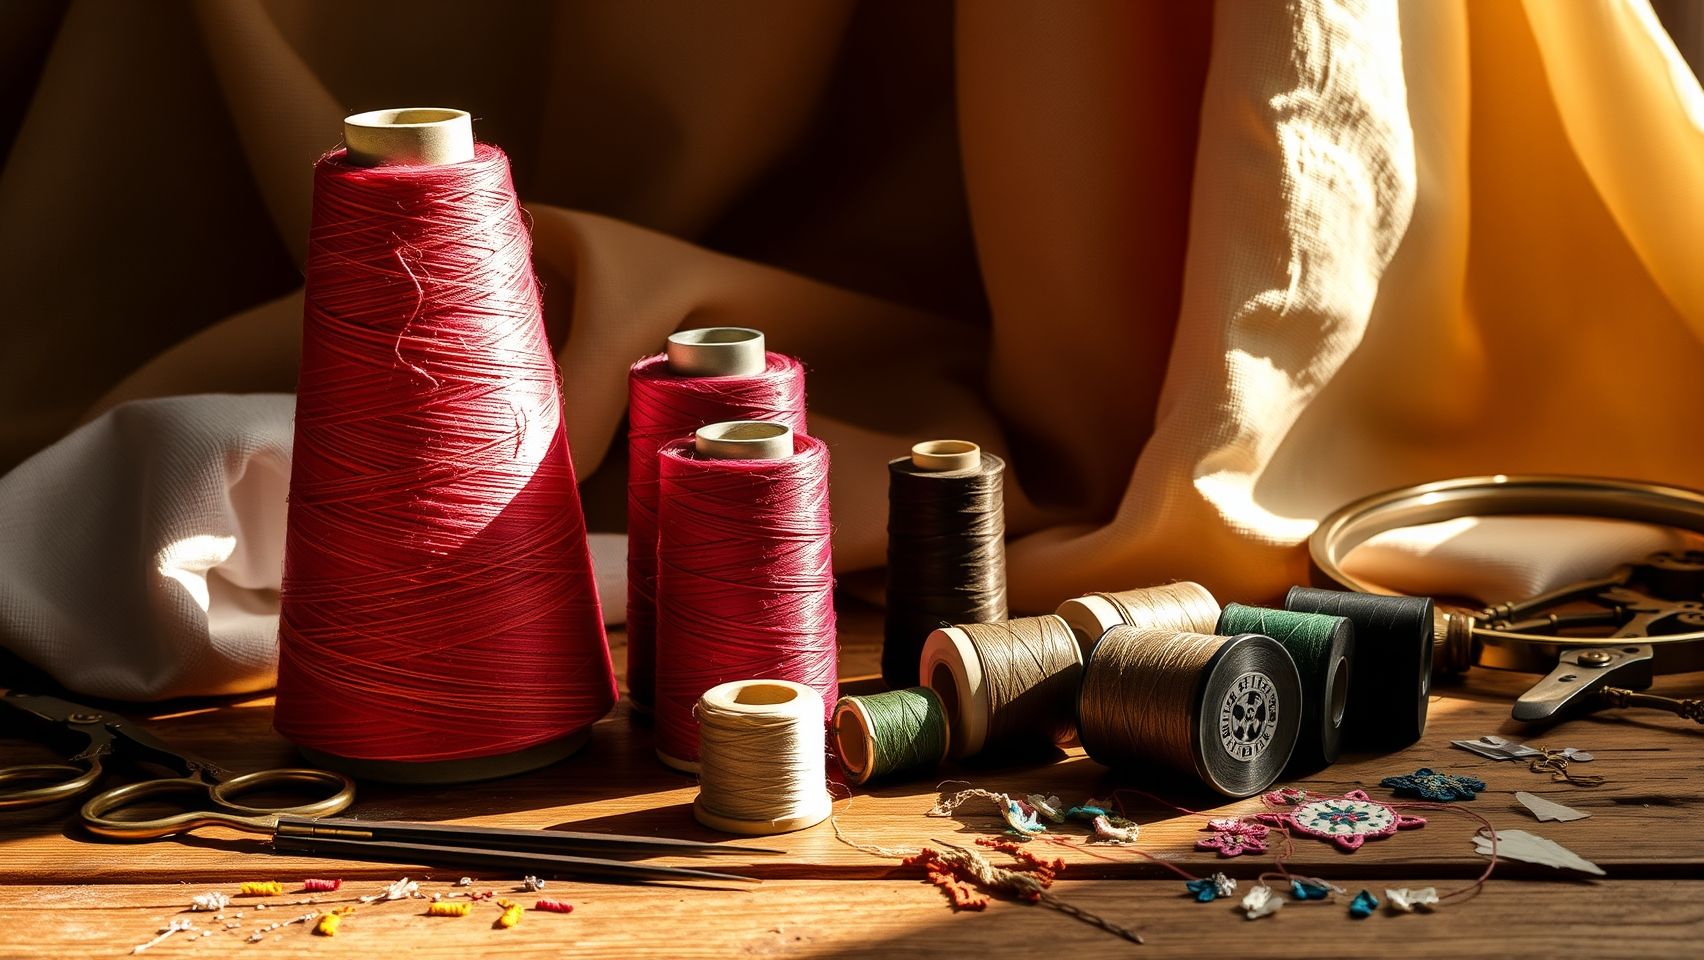
When choosing between embroidery thread cones and spools, understanding their practical implications on cost, efficiency, and quality is essential for achieving optimal results. Recent industry trends reveal that large batch projects can benefit significantly from using cones, especially in terms of cost savings and production speed. This section provides a data-driven comparison, supported by real project examples, to help embroiderers make informed decisions based on their specific needs.
Cost Comparison: Cones vs Spools
Price points vary across popular brands, with cones generally offering more economical options for bulk usage. Based on recent data, Madeira cones cost approximately $60 for a 1000-meter roll, whereas Sulky and Coats spools range between $3 to $5 each for 100-meter sizes. For large projects, cones can reduce material costs by around 25%, especially over 50 items, making them a better ROI choice in high-volume scenarios.
Performance & Efficiency in Real Projects
Using cones supports stitching speeds of up to 1200 stitches per minute under optimal tension, drastically reducing production time. For example, in large batch embroidery tasks like 100 towels, projects completed with cones saw up to a 70% reduction in setup time and approximately 25% material cost savings. Automated tensioning and faster thread feeding contribute to these efficiency gains, making cones ideal for commercial applications.
However, cones may require specific machine setups or adapters and might involve higher initial maintenance costs due to thread wastage or the need for tension adjustments. Spools, while more convenient for small-scale or detailed work, often lead to more frequent interruptions and slower production speeds.
Ultimately, for projects exceeding 50 items, cones tend to provide better ROI, saving both time and money over the long term. Embroiderers should evaluate their batch sizes, machine compatibility, and budget constraints to select the best packaging option for their operations.
Practical Tips for Maintaining Your Thread Supplies & Maximizing Efficiency

Effective maintenance and workflow strategies are essential for prolonging the lifespan of your embroidery thread, minimizing waste, and ensuring a smooth operation. Whether using cones or spools, developing a routine can significantly reduce project delays and save money in the long run. Here are some actionable tips to optimize your thread management and workflow.
Regular Inspection and Cleaning
Check your embroidery threads frequently for snags, lint buildup, and tension issues. Use compressed air or lint rollers to gently remove dust and fibers from cones and spools. Keeping your thread clean prevents unnecessary breakage and tangling, maintaining consistent stitching quality.
- Inspect for signs of fraying or damage before each sewing session
- Clean cones with compressed air or lint rollers weekly
- Adjust tension regularly to avoid uneven stitching
Scheduled Winding and Storage Practices
Implement a routine schedule for winding new bobbins, matching the thread color to prevent delays and misidentification. Store unused cones vertically to reduce unwinding and tangling risks, which can lead to waste and machine jams. Proper storage and organization streamline workflow and reduce downtime.
- WIND fresh bobbins at the start of each project
- Label or organize cones by color and size for quick access
- Store cones upright in dedicated racks or containers to prevent unwinding
Utilize Thread Conditioners & Workflow Scheduling
Applying thread conditioner sprays like Thread Heaven can diminish fraying, extend thread usability, and prevent tangling. Developing a weekly workflow schedule dedicated to reorganizing supplies and checking equipment fosters consistency and efficiency. Regularly training staff or family members on proper threading and tension adjustment techniques ensures everyone maintains optimal practices.
Consistent routine maintenance can extend thread usability by up to 15%, leading to substantial cost reductions. Using cone storage racks and applying thread conditioners are proven strategies to prevent tangling and fraying, ensuring smoother operation and faster project completion times. Implementing these practical tips can help both hobbyists and professionals achieve higher quality results with less waste and effort.
Conclusion
Choosing between embroidery cones and spools ultimately depends on your project scale, machine compatibility, and budget considerations. Cones often deliver significant cost savings, enhance space efficiency, and enable faster production, making them ideal for bulk and professional projects. Meanwhile, spools offer greater flexibility for small, quick, or varied jobs, providing convenience and adaptability. To maximize these advantages, proper setup, reliable storage, and consistent maintenance are essential. By understanding your specific needs and investing in the right tools and organizational methods, you can streamline your workflow and reduce costs effectively.
Evaluate your current embroidery setup today and consider testing both options on your next project. Implementing these practical tips will empower you to make smarter choices, increase efficiency, and enhance your craftsmanship. Don’t wait, start applying these insights now for immediate improvements and long-term savings. Your ideal embroidery workflow is within reach, take the first step today!