How to Replace Embroidery Machine BELT in 30 Minutes
This post contains affiliate links. As an Amazon Associate, Latest Embroidery earns from qualifying
purchases, at no extra cost to you. Learn more.
Tired of sudden embroidery machine breakdowns causing delays? You’re not alone. Embroidery machine belts are crucial components that endure wear and tear over time. Signs like slipping stitches, unusual noises, or inconsistent embroidery can signal it’s time for a replacement. Performing this task yourself has distinct advantages: it saves money, reduces downtime, and gives you a deeper understanding of your equipment. Plus, with the right tools and guidance, you’ll be able to fix it in just about 30 minutes. This article walks you through every step, gathering simple tools, removing the old belt, and installing a new one efficiently. Knowing how to handle belt issues can keep your projects on schedule and extend the lifespan of your machine. Ready to master this quick maintenance trick and keep your embroidery work flawless? Keep reading to discover how easy and rewarding DIY belt replacement can be.
What Embroidery Machine Belt Wear Indicators Should You Know
Short on time? If you only take one thing from this guide: Brother SE700 — the machine we point most beginners to — touchscreen, wireless transfer, and it sews as well as embroiders.
Regularly inspecting the belt of your embroidery machine is essential to maintaining optimal performance and preventing unexpected breakdowns. Wearing signs and performance issues can often be mistaken for other problems, so recognizing early indicators is crucial for timely replacement and avoiding costly repairs. This section will guide you through the key visual signs, machine performance clues, and best inspection practices.
Visual Signs of Belt Wear and Damage
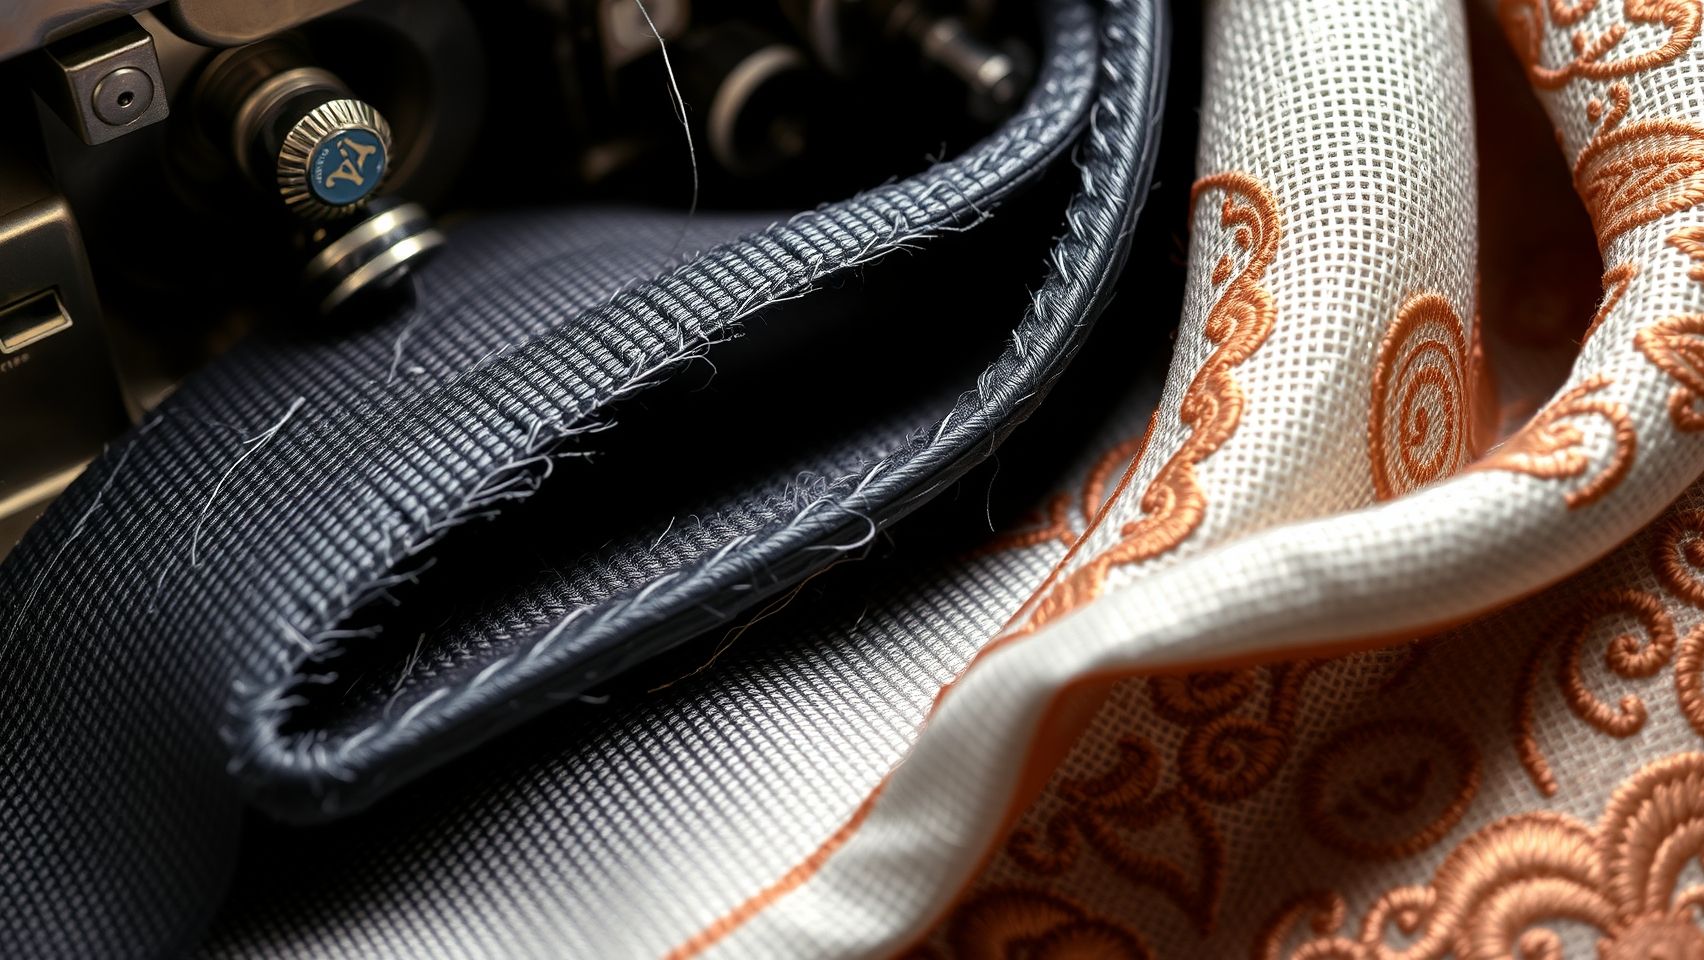
Embroidery machine belts typically show wear through cracks, fraying, and stretch marks. Cracks may appear as fine lines on the surface, especially on older belts or after prolonged use. Fraying occurs when the edges begin to unravel, signaling that the belt is losing structural integrity. Stretch marks or visible elongation indicate that the belt has been overstretched, leading to slippage and reduced efficiency. These signs are particularly noticeable on belts from popular models like Brother, Janome, and Bernina, which often reveal wear at the edges or along the surface.
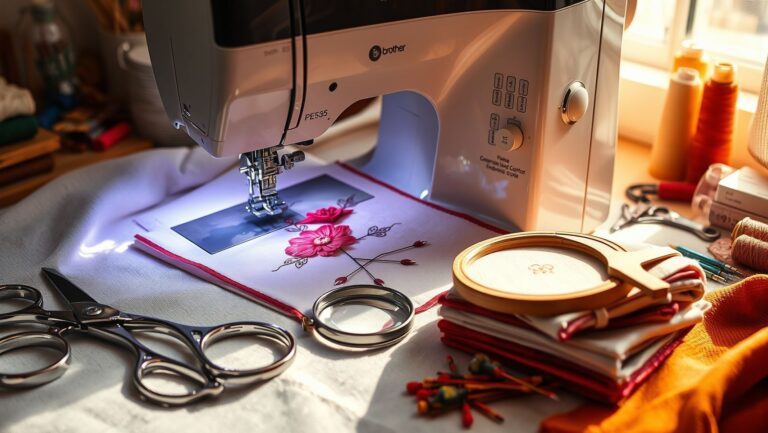
Tools such as a flashlight and magnifying glass significantly aid in detailed inspection. Using a visual checklist helps ensure no signs are overlooked, especially in hard-to-see areas.
Performance Issues Signaling Belt Wear
Beyond visual cues, performance issues are reliable indicators of belt wear. Noises such as squeaking or grinding often stem from a loose or worn belt. Slipping of the belt causes skipped stitches, uneven tension, or erratic embroidery quality. You might also notice inconsistent stitch lengths or thread bunching, which suggests the belt is no longer maintaining proper tension. In some cases, the embroidery machine might halt unexpectedly or produce irregular patterns due to slipping belts.
Regularly checking belt tension with a tension gauge is a good practice, especially for machines in frequent use. Proper tension ensures even transfer of power and prolongs belt life.
Frequency of Belt Replacement and Effective Inspection
Most embroidery machine belts require replacement every 1 to 3 years, depending on usage and machine model. Heavy-use machines, especially those used commercially, may need more frequent checks and replacements. For example, belts in Brother, Janome, and Bernina models tend to show visible wear signs sooner if not regularly inspected. Manufacturers recommend scheduled inspections every few months to prevent unexpected failure and improve longevity.
Incorporating regular tension assessments and visual checks with simple inspection tools will help extend belt life and ensure your embroidery projects proceed smoothly without interruptions.
Step-by-Step Guide to Replacing Your Embroidery Machine Belt
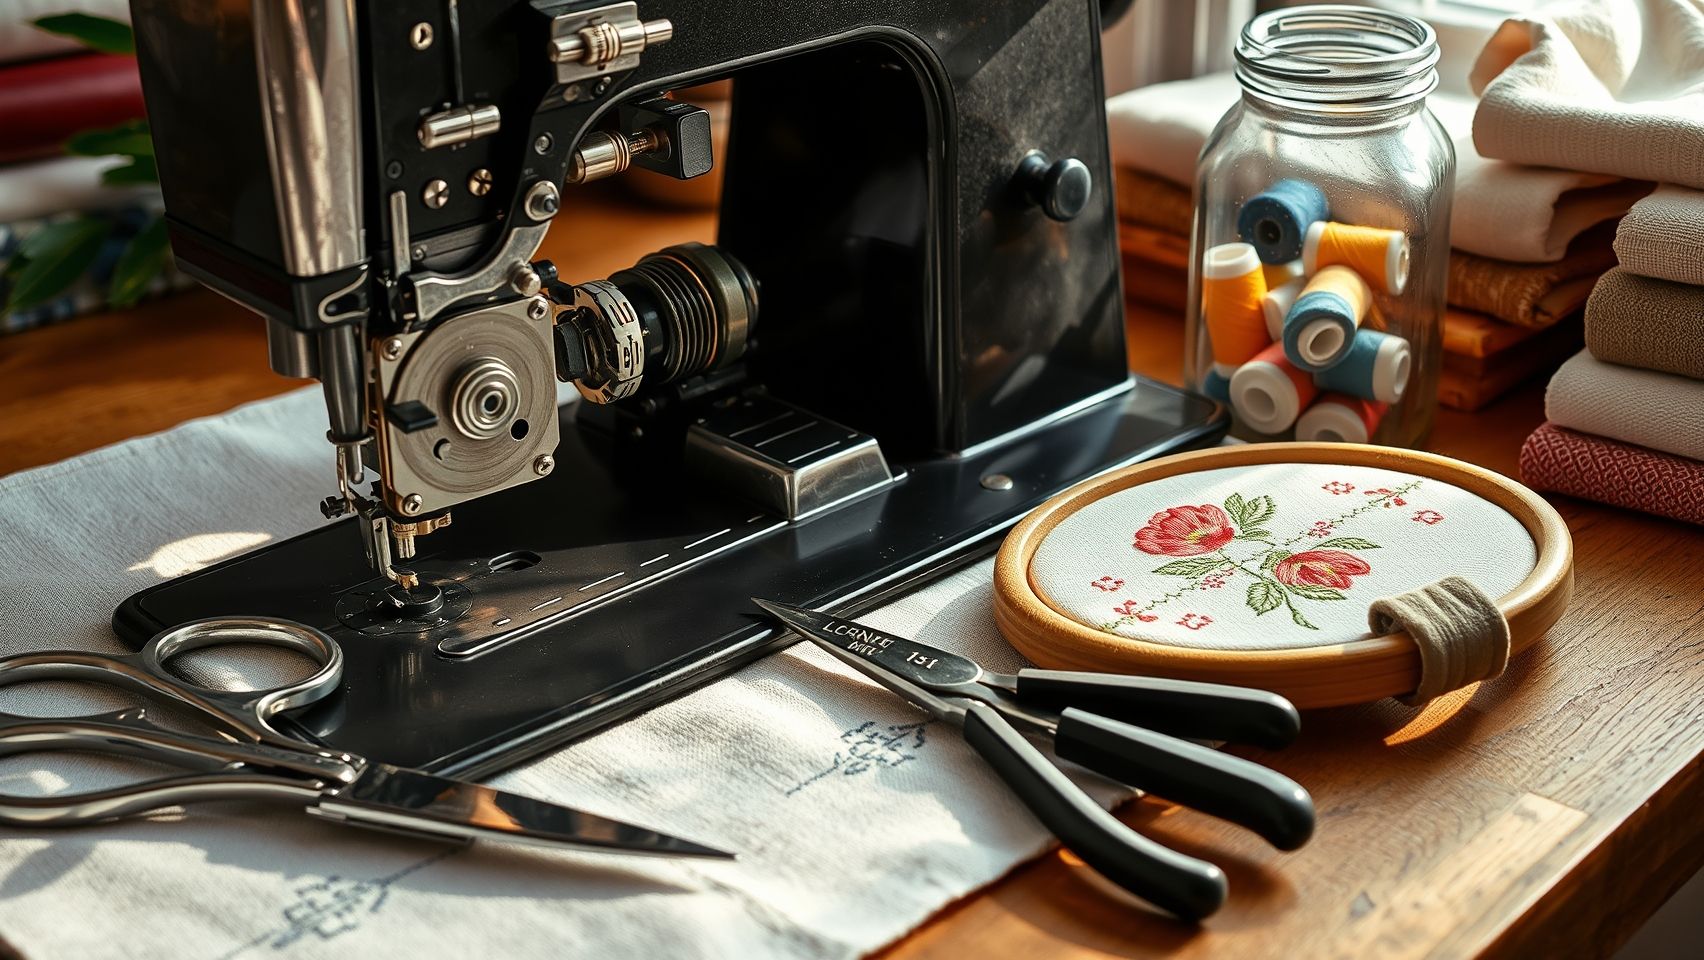
Replacing the belt on your embroidery machine is a straightforward process that can be completed in about 30 minutes with the right tools and precautions. Proper maintenance ensures smooth operation and prolongs the lifespan of your equipment, making belt replacement a critical skill for embroidered enthusiasts and professionals alike.
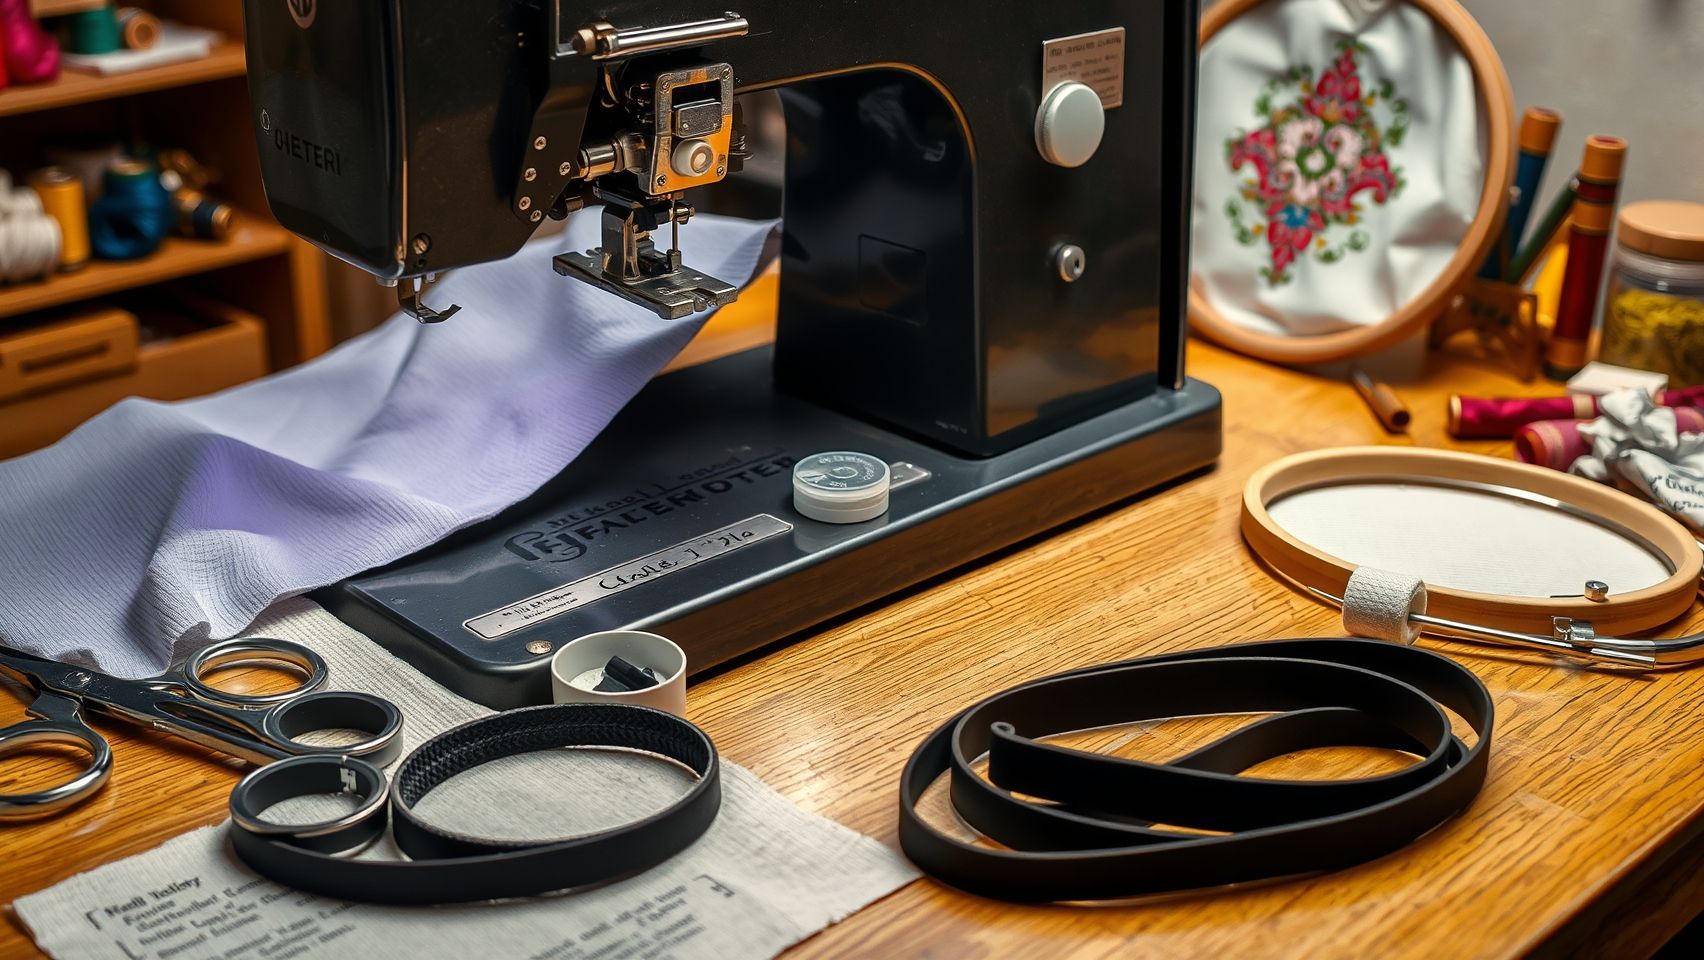
Before starting, ensure you have the necessary tools: a Phillips screwdriver, flat-head screwdriver, pliers, and a compatible replacement belt, typically ranging from 12 to 15 inches depending on your machine model. Adhering to safety precautions, such as unplugging the machine, prevents accidents during the procedure.
Preparations and Safety Measures
Begin by turning off and unplugging your embroidery machine. Remove the needle plate and accessory table to create ample clearance for disassembly. This step makes accessing the drive pulley and belt easier while reducing the risk of damage.
Next, release tension from the current belt by loosening the drive pulley screw. This is usually done with a Phillips screwdriver. Carefully note the belt’s routing pattern to ensure the new belt will be installed correctly, which is essential for proper functioning.
Disassembly and Belt Removal
With the tension released, gently remove the worn belt from the pulleys and wheels, paying close attention to the routing path. Using pliers may help with stubborn belts, but avoid applying excessive force to prevent damage to pulleys or other components.
Installing the New Belt
Position the new belt along the same routing path observed earlier. Ensure it sits properly on all pulleys and wheels, avoiding twists or misalignments. Once the belt is in place, tighten the tension pulley screw or adjust the tension screw to achieve the correct tension, about a half-inch of slack is ideal, which prevents slipping or undue strain.
Finally, reassemble the needle plate and accessory table. Run the machine at low speed to verify smooth operation and proper belt tension. Regularly inspecting and maintaining your belt can optimize performance and extend the lifespan of your embroidery machine.
Tools, Parts, and Cost-Saving DIY Tips
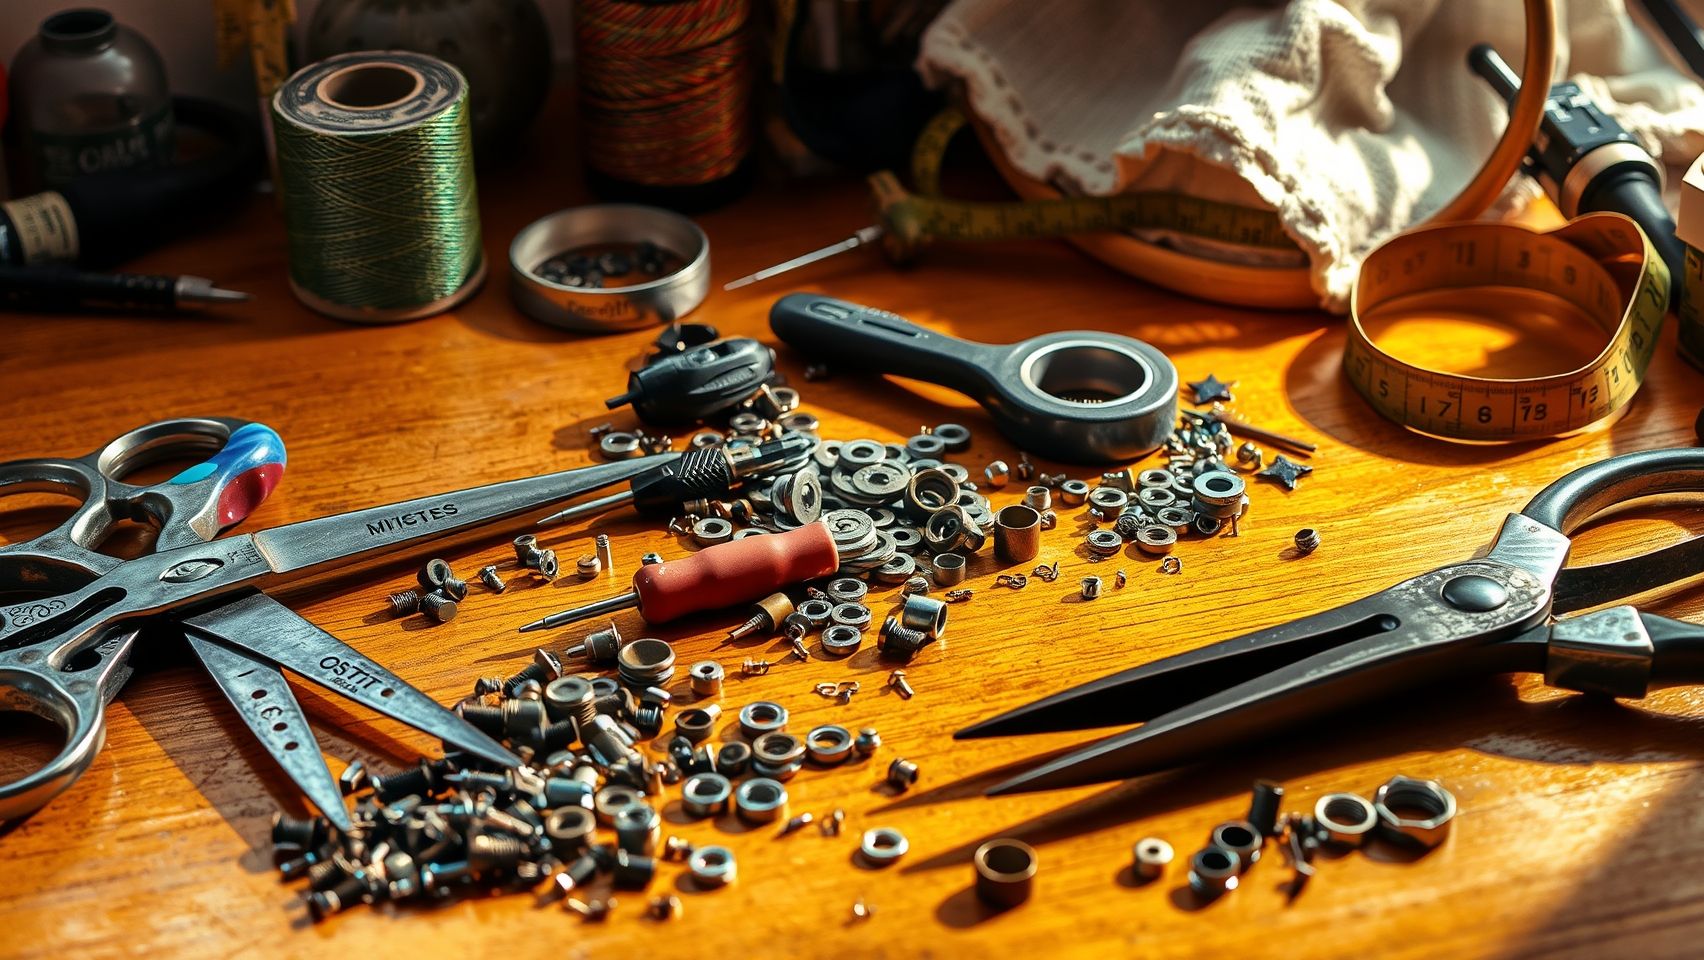
Replacing an embroidery machine belt is a manageable task that can be accomplished efficiently with the right tools and resources. Not only does this DIY approach save money on labor charges, but it also empowers you to maintain your machine proactively, extending its lifespan and ensuring optimal performance.
To start, gathering essential tools and sourcing genuine replacement belts from reputable suppliers are key. Additionally, applying some cost-saving tips can make routine maintenance more affordable, especially for embroiderers working on a budget.
Tools Needed for Belt Replacement
Having the right tools at hand simplifies the process significantly. You will need a Phillips screwdriver for removing covers and access panels, a flat-head screwdriver to assist in loosening tension or prying off parts, and a tightening wrench to adjust belt tension precisely. A tension gauge is also invaluable, as it ensures the belt is neither too tight nor too loose, which is critical for smooth machine operation and longer belt life. Maintaining a small toolkit with these essentials and extra belts on hand makes regular replacements quick and hassle-free, preventing project delays.
Where to Source Genuine Replacement Belts
Authentic belts are available through authorized dealers, online marketplaces such as Amazon and eBay, or directly from machine manufacturers like Brother, Janome, and Bernina. Authentic belts guarantee compatibility and durability, often costing between $10 and $25 per belt. When selecting aftermarket options, prioritize those with high reviews to balance cost savings with quality. High-quality, eco-friendly belts with longer lifespans are also worth considering, as they reduce the frequency of replacements and are better for the environment.
Cost Comparison and DIY Savings Tips
Original embroidery machine belts typically range from $10 to $25, depending on the brand and size. While aftermarket belts can be cheaper, reviewing customer feedback is crucial to ensure that the quality remains high. DIY replacements eliminate labor costs, often a significant portion of professional services, making it a frugal choice. Buying belts in bulk can further reduce costs, especially for consistent projects or repair needs. Accessing online tutorials or videos helps build confidence in performing the replacement correctly, avoiding mistakes and additional expenses. Keeping a small toolkit and spare belts readily available encourages routine maintenance, preventing unexpected breakdowns and costly repairs.
Troubleshooting Common Belt Replacement Issues
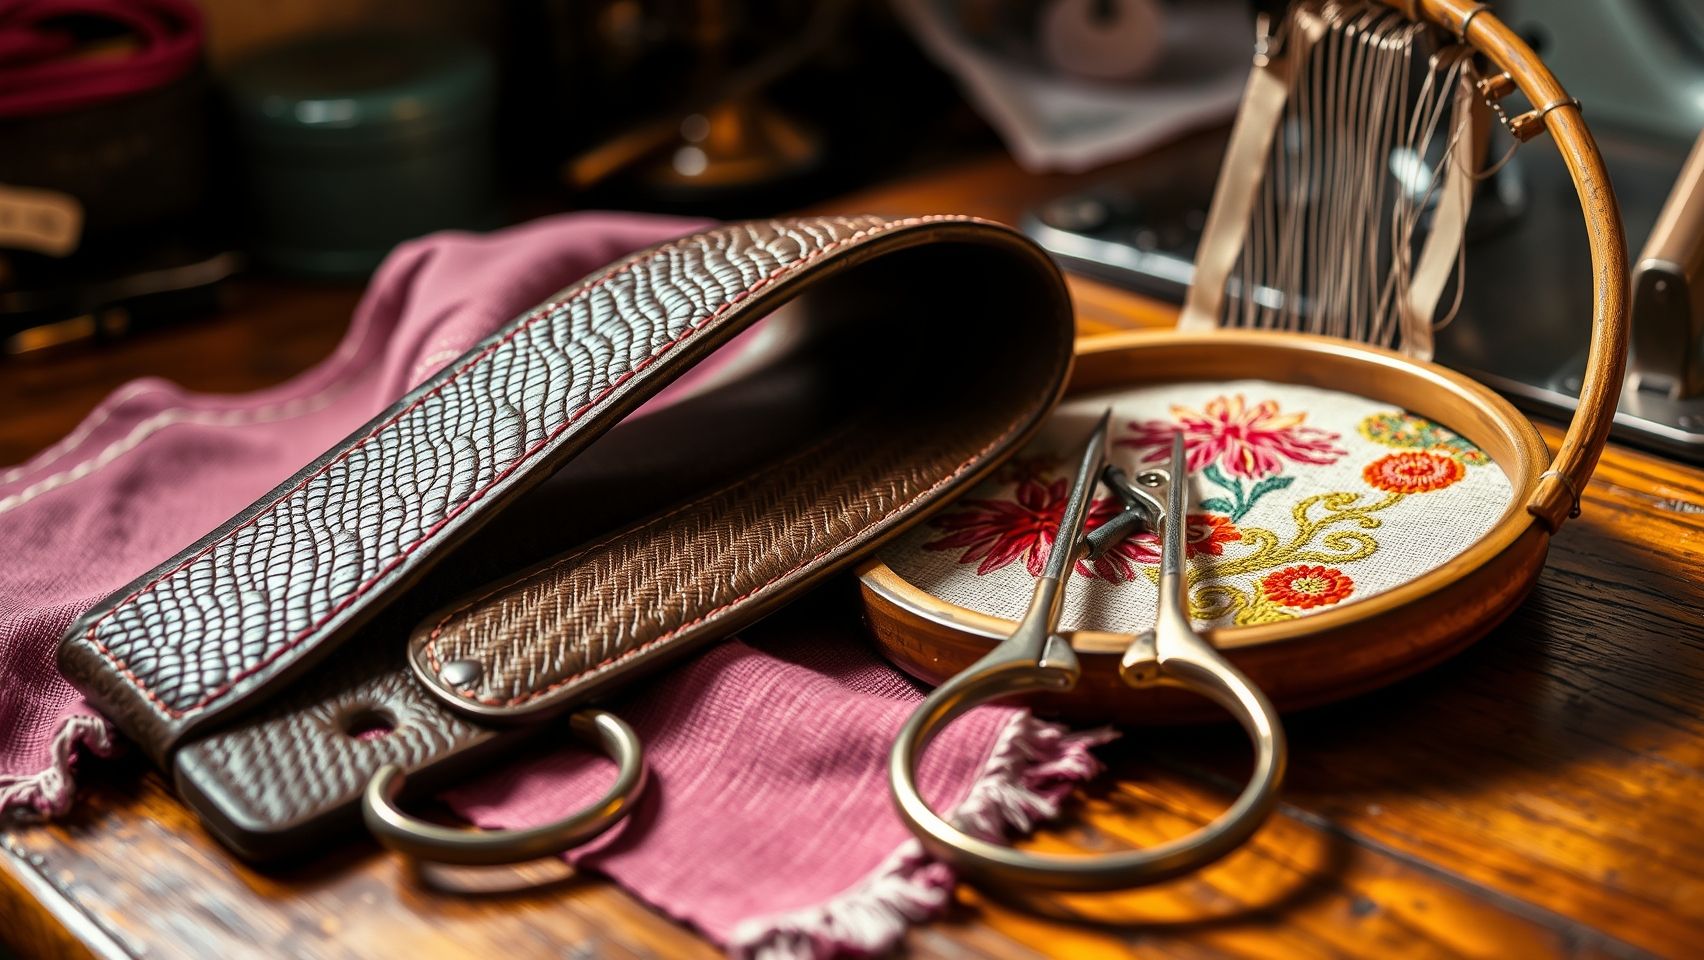
Replacing the belt on your embroidery machine is a straightforward process that can significantly improve its performance. However, during replacement, you might encounter issues such as belt slipping, misalignment, or tensioning errors. Addressing these problems quickly ensures minimal downtime and optimal stitching quality. Here are practical solutions to common belt replacement challenges to help you get back to creating beautiful embroidery in no time.
Belt Slipping
If your embroidery machine’s belt slips during operation, the most common cause is incorrect tension. Ensure the belt is tight enough to grip the pulleys securely but not so tight that it strains the motor or causes excessive wear. Use a tension gauge to set the proper tension, typically indicated in your machine’s manual. Additionally, verify pulley alignment to prevent slippage; misaligned pulleys can reduce grip and cause the belt to slip. If slipping persists, consider upgrading to a higher grip or textured belt compatible with your model, which offers better traction under demanding conditions.
Belt Misalignment
Misalignment often results in uneven tension and irregular stitching. Double-check the routing of the belt according to your embroidery machine’s manual, ensuring it follows the correct path around all pulleys. Use an alignment tool or a straightedge to verify pulleys are perfectly aligned in a straight line. Slight shifts in pulley positions can lead to belt wear and stitching issues, so precise alignment is crucial for smooth operation.
Uneven Stitches or Skipped Stitches
This problem can stem from improper belt tension or debris on guide rollers. Reassess the tension to confirm it is within recommended specifications, it should be taut but not overly tight. Clean any dust or lint from guide rollers and check for signs of damage or wear. Damaged rollers or a loose belt can cause the needle to skip stitches, affecting the quality of your embroidery work.
Noise During Operation
Noises such as squeaking or grinding often indicate that the belt is not seating properly or there are loose parts interfering with operation. Confirm the belt is securely seated on all pulleys and tighten any loose components. If the noise persists, inspect for debris or damage in the drive area. Persistent noise may also signal the need for a belt upgrade or professional servicing if alignment or tension adjustments do not resolve the issue.
In cases where belt slipping or misalignment issues are ongoing despite troubleshooting, upgrading to specialized belts or using alignment tools like a laser alignment device can make a significant difference. Proper tension and alignment are vital for smooth, high-quality embroidery, and addressing these common issues promptly will extend your machine’s lifespan and improve stitch consistency.
Maintaining Your Embroidery Belt and Extending Its Life

Proper maintenance of your embroidery machine belt is crucial for ensuring optimal performance and longevity. Regularly inspecting and caring for your belt can prevent unexpected failures and save you money on replacements. Implementing simple routines can keep your machine running smoothly and extend the lifespan of its components.
Regular Inspection and Cleaning
Every 3 to 6 months, inspect the belt tension for signs of slack or excessive tightness. Look for visible wear, cracks, or glazing that indicate aging. Keep the belt free of dust, lint, and debris by gently wiping it with a soft cloth. If necessary, use a mild cleaner to remove stubborn dirt, but avoid harsh chemicals that might degrade the belt material.
Cleaning and Lubrication Practices
Clean the pulleys and surrounding mechanisms with a soft brush or cloth regularly. Lubricate pulleys with a suitable silicone spray to reduce friction; avoid oil-based lubricants, which can attract lint and cause belt slippage. Maintaining a clean, well-lubricated pulley system minimizes wear and improves belt performance.
Storage and Environmental Considerations
Store your embroidery machine covered in a dust-free environment to prevent dirt accumulation on the belts and internal mechanics. Protect your machine from extreme temperatures and high humidity, which can accelerate belt deterioration. A controlled environment helps preserve belt elasticity and extends performance life.
Proactively replacing belts at the first signs of aging, such as cracks or loss of tension, rather than waiting for failure, can avert costly repairs. Regular maintenance routines are simple yet highly effective, significantly prolonging belt life and ensuring consistent embroidery quality.
Conclusion
Replacing your embroidery machine belt is a simple and rewarding DIY task that can significantly save you money and reduce machine downtime. By recognizing wear indicators, following a clear step-by-step process, sourcing high-quality replacement parts, and practicing routine preventive maintenance, you can ensure your machine operates smoothly and efficiently for years to come. Empower yourself today to take control of your machine repairs with confidence and skill.
Now is the perfect time to gather your tools, order your replacement belt, and start experiencing the benefits of DIY maintenance. Don’t let small issues turn into costly repairs, act now and keep your embroidery projects on track with less hassle and expense.
Take charge of your embroidery machine’s longevity and enjoy the satisfaction of mastering a valuable skill. With a little effort and the right mindset, you can keep your machine running flawlessly for years to come. Your best embroidery work awaits, get started today!