Embroidery Thread Weight Chart: How to Choose 30wt, 40wt, and 60wt for Perfect Projects
This post contains affiliate links. As an Amazon Associate, Latest Embroidery earns from qualifying
purchases, at no extra cost to you. Learn more.
Are you confused about which embroidery thread weight to use for your projects? You’re not alone. Selecting the right thread can make or break the outcome of your handiwork. With so many options available, knowing whether to choose a 30wt, 40wt, or 60wt thread can feel overwhelming. Each weight has its unique characteristics and best uses, depending on the fabric and design details. For instance, understanding thread weight standards is essential for making informed choices. In this article, we’ll explore the differences between these common thread weights, offer practical tips for matching them with your projects, and provide handy comparison tools to help you choose the perfect thread every time. Whether you’re a seasoned sewer or just starting out, mastering thread selection will elevate the quality of your embroidery work. Ready to become a thread weight expert? Let’s dive in and simplify the process of choosing the right thread for your next masterpiece.
Step-by-Step: How to Select the Right Thread Weight for Your Project
Short on time? If you only take one thing from this guide: 40wt polyester thread set — the single cheapest fix for shredding and thread breaks.
Choosing the appropriate embroidery thread weight is crucial for achieving professional-looking results tailored to your fabric type and project goals. The right combination ensures your stitches are smooth, durable, and visually appealing. This practical guide will walk you through the essential steps to match thread weight with fabric and project requirements, while also configuring your embroidery machine for optimal performance.
Identify the Fabric Type
Start by assessing the fabric you’ll be working with. Light fabrics such as chiffon, silk, or organza typically require finer thread weights to prevent puckering and maintain delicacy. Medium-weight fabrics like cotton, linen, or lightweight denim can handle a broader range of thread options. Heavy fabrics such as canvas, burlap, or thick denim demand stronger, thicker threads to ensure durability without damaging your material.
Determine Your Desired Finish
Next, clarify the look you want to achieve. For detailed monograms or fine needlework on silk, a lightweight thread like 60wt is ideal for precision. For creating bold, visible designs on wall art or canvas, opt for 40wt for a balanced, inviting finish. If your project involves creating sturdy, long-lasting embroidery like monograms on heavy fabric or decorative stitching, 30wt thread offers the strength needed for durability.
Match Thread Weight to Fabric and Project Goals
Based on your fabric assessment and desired finish, select the appropriate thread weight:
- 30wt for light to medium fabrics where strength matters but finesse is still important.
- 40wt as a versatile choice suitable for most heavier fabrics and general embroidery work.
- 60wt for extremely fine details, sheer fabrics, or projects needing delicate, intricate stitching.
For example, when doing a monogram on linen, choose 30wt with a smaller needle size like 75. For dense wall art on canvas, 40wt with a larger 90 needle works well. Conversely, fine needlework on silk might require 60wt with a 60-sized needle for precise stitches.
Adjust Tension and Needle Size
With your thread chosen, fine-tune your machine’s tension setting to prevent puckering or skipped stitches. Use a smaller needle, such as size 60 with 60wt thread, for delicate work. For thicker threads like 40wt or 30wt on sturdy fabrics, revert to larger needles like size 75 or 90. Always test your setup on a scrap piece of fabric first to confirm stitch quality and tension balance.
Test on Scrap Fabric Before Proceeding
Before starting your final project, run a test sample with your selected thread, tension, and needle setup. Check for even stitches, proper tension, and fabric integrity. Adjust settings as needed, especially if you notice puckering, skipped stitches, or thread breakage. This step saves time and ensures your finished piece looks polished.
Use Visual Guides or Charts
Leverage printable embroidery thread weight charts that are color-coded for quick reference. These visual guides streamline decision-making, especially when switching between different projects and fabrics. Keeping a handy chart nearby helps you quickly select the right thread weight and needle size without second-guessing, contributing to a smoother embroidery process.
Essential Tools and Equipment for Thread Selection and Embroidery Success
Achieving professional-quality embroidery results begins with the right combination of tools, from machines to accessories. Choosing the appropriate equipment ensures that your selected thread weight, whether 30wt, 40wt, or 60wt, works seamlessly with your project. This section highlights key tools and practical tips to optimize your embroidery endeavors.
Modern embroidery machines like the Janome Memory Craft 500E, Brother SE1900, and Bernina 700 offer advanced tension control and versatility, critical for fine thread handling. Pairing these with specialized needles, such as size 60 for 60wt or size 75 for 30wt/40wt threads, ensures smooth stitching and minimizes thread breakage.
Key Tools for Optimal Thread Use
- Embroidery Machines: High-performance models like Janome Memory Craft 500E or Bernina 700 provide precision and customizable tension settings for different thread weights, enhancing design clarity.
- Needles: Using the correct needle size is vital; size 60 for 60wt threads and size 75 for 30wt/40wt threads promotes proper thread flow and reduces fabric damage.
- Stabilizers: Selecting the right stabilizer enhances design stability. Tear-away stabilizers work well for thicker fabrics, cut-away stabilizers are ideal for dense designs, and wash-away stabilizers suit delicate materials.
- Threads: Reputable brands like Aurifil, Madeira, and Sulky consistently deliver high-quality thread options, particularly in the popular 30wt and 40wt categories, ensuring vibrant colors and smooth stitches. Modern software like Embrilliance or Hatch Embroidery assists in designing and testing thread colors and densities before stitching.
Setup and Maintenance Tips
Proper setup involves adjusting your machine’s tension settings to match thread weight, fine-tuning is especially critical with 60wt threads for delicate projects and 40wt for bold, dense designs. Regularly cleaning the bobbin area prevents lint buildup, which could cause thread breakage. Investing in high-quality threads minimizes tension issues, offering more consistent and professional results over time. Routine maintenance and correct tool pairing are crucial for embroidery success, particularly as industry trends show increased demand for intricate, detailed designs.
Comparing Thread Weights: Visual Charts and Performance Tests
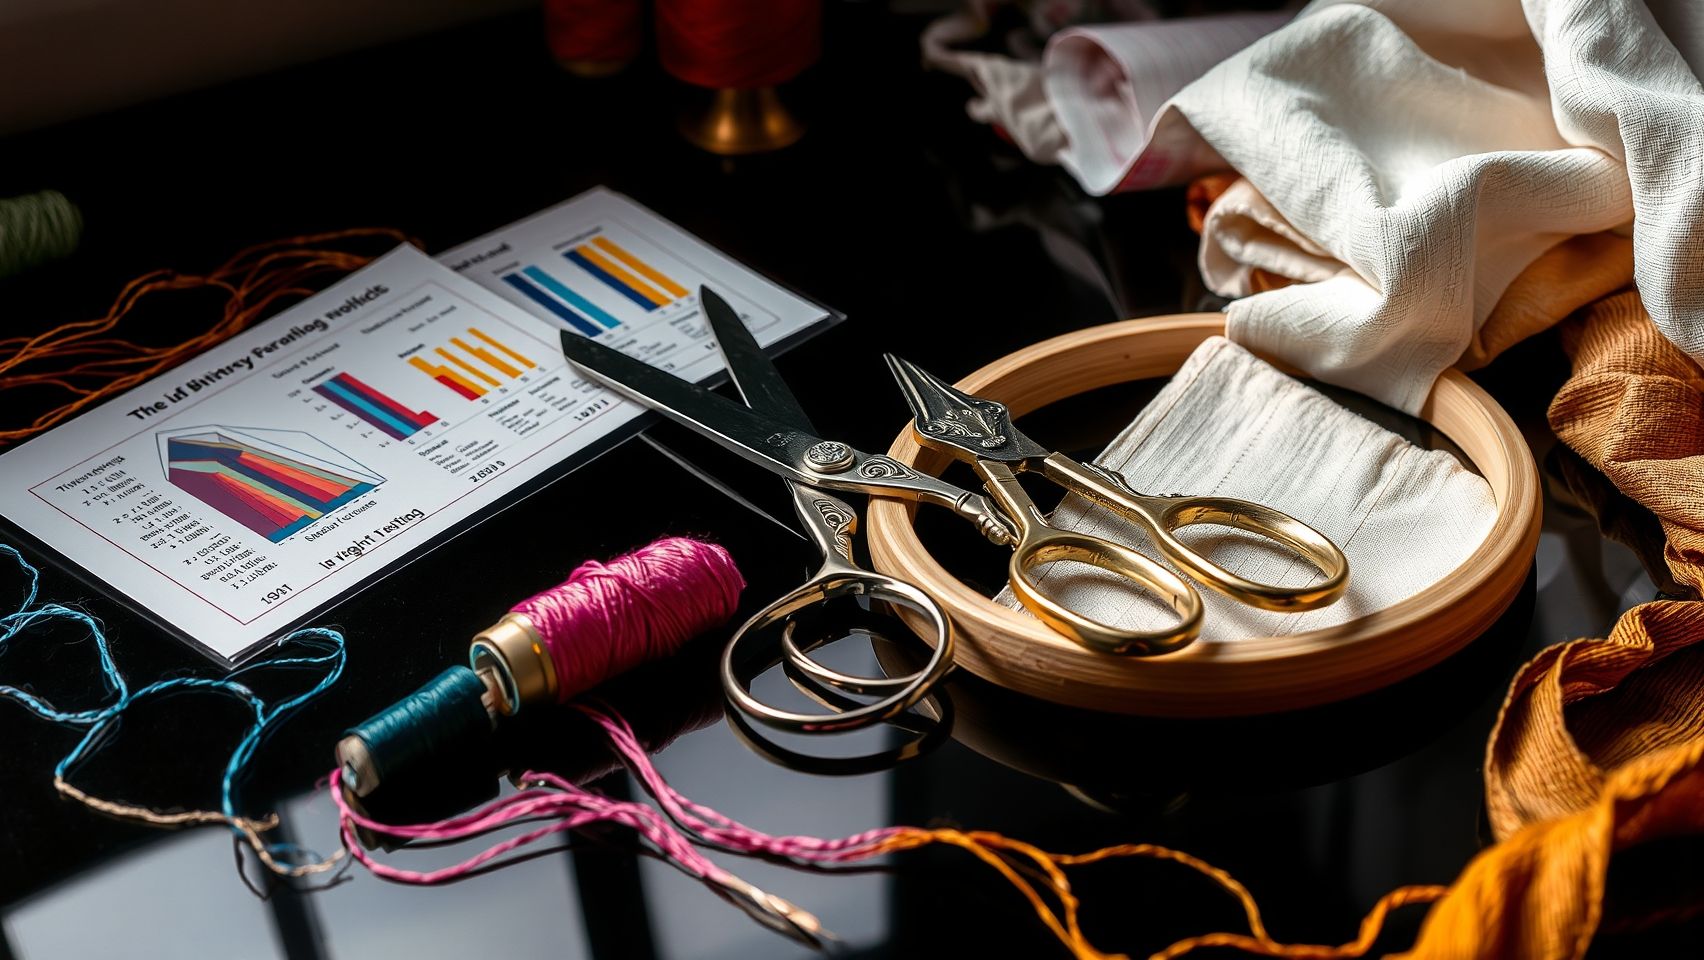
Choosing the right embroidery thread weight is crucial for achieving professional-looking results. To help you make informed decisions, this section provides detailed visual comparison charts and performance test results for 30wt, 40wt, and 60wt threads. Understanding their differences in thickness, coverage, and performance can significantly impact your project outcomes.
Visual Comparison of Thread Weights
Below is a side-by-side visual chart illustrating the thickness, coverage, and stitch tightness of each thread weight:
Performance Metrics in Practical Use
Performance tests reveal notable differences among thread weights. The 40wt thread strikes the best balance, offering durability and detailed embroidery without excessive puckering or breakage. The 60wt thread excels in preventing fabric puckering and is perfect for intricate details but may require tension adjustments. Conversely, the 30wt thread performs well for general-purpose projects and lightweight fabrics but may lack the robustness needed for heavy-duty applications.
Real-world samples show that 30wt threads are optimal for casual or lightweight fabrics with simple designs, while 40wt provides durability for various materials. The 60wt is best suited for fine, detailed work on delicate fabrics, ensuring minimal puckering and a refined finish.
Pros and Cons of Each Thread Weight
Troubleshooting Common Mixing of Thread Weights and Fabric Issues
Embroidery projects can sometimes present challenges related to thread weight and fabric compatibility. Understanding how to address issues such as puckering, thread breakage, and uneven stitching is key to achieving professional-looking results. Proper troubleshooting not only improves your current project but also builds confidence for future embroidery endeavors.
In this section, we will explore common problems faced by embroiderers, with step-by-step solutions tailored to specific thread weights like 30wt, 40wt, and 60wt, along with fabric types. Implementing these tips will help you maintain stitch quality and avoid common pitfalls, ensuring your projects turn out flawlessly.
Issue: Puckering Caused by Heavy Thread on Lightweight Fabrics
Puckering often occurs when heavier threads such as 40wt or 60wt are used on delicate, lightweight fabrics. The added bulk of heavy thread can pull the fabric, creating tension that results in puckers. To fix this, first consider switching to a finer thread like 30wt or 60wt for light fabrics.
Next, adjust your machine tension, reducing tension by 0.1-0.2 units can alleviate pulling. Additionally, stabilize the fabric by using a suitable stabilizer such as tear-away or cut-away based on fabric weight. Always test on a scrap piece before proceeding with your main project to fine-tune the settings and stabilizer choice.
Issue: Thread Breakage on Dense Designs
Thread breakage is common in dense, intricate designs that demand high stitch counts. Thin, high-quality threads like 40wt or 60wt are designed for such applications, but improper tension or needle size can still cause issues.
To resolve this, lower your machine tension slightly, by 0.1-0.2 units, and increase stitch length to prevent the thread from snapping under pressure. Use a sharp, appropriately-sized needle to match the thread type; for example, a size 75/11 or 80/12 for 40wt or 60wt threads. Testing on scrap fabric helps determine the optimal balance, reducing ongoing thread breakage.
Issue: Uneven Stitches on Textured Fabrics
Textured fabrics, such as knits or canvas, can pose challenges for achieving even stitches. Variations in fabric tension and uneven stabilization often cause stitch inconsistency.
Test different thread tensions, starting at default and adjusting in small increments, and always stabilize the fabric with an appropriate backing to support stitch evenness. Use a stabilizer that matches the fabric weight; lightweight fabrics benefit from multi-purpose or spray stabilizers, while heavier textiles may require cut-away stabilizers. Frequent testing on scrap helps identify the ideal tension and stabilizer combination.
Implementing the Right Thread Weight for Different Projects
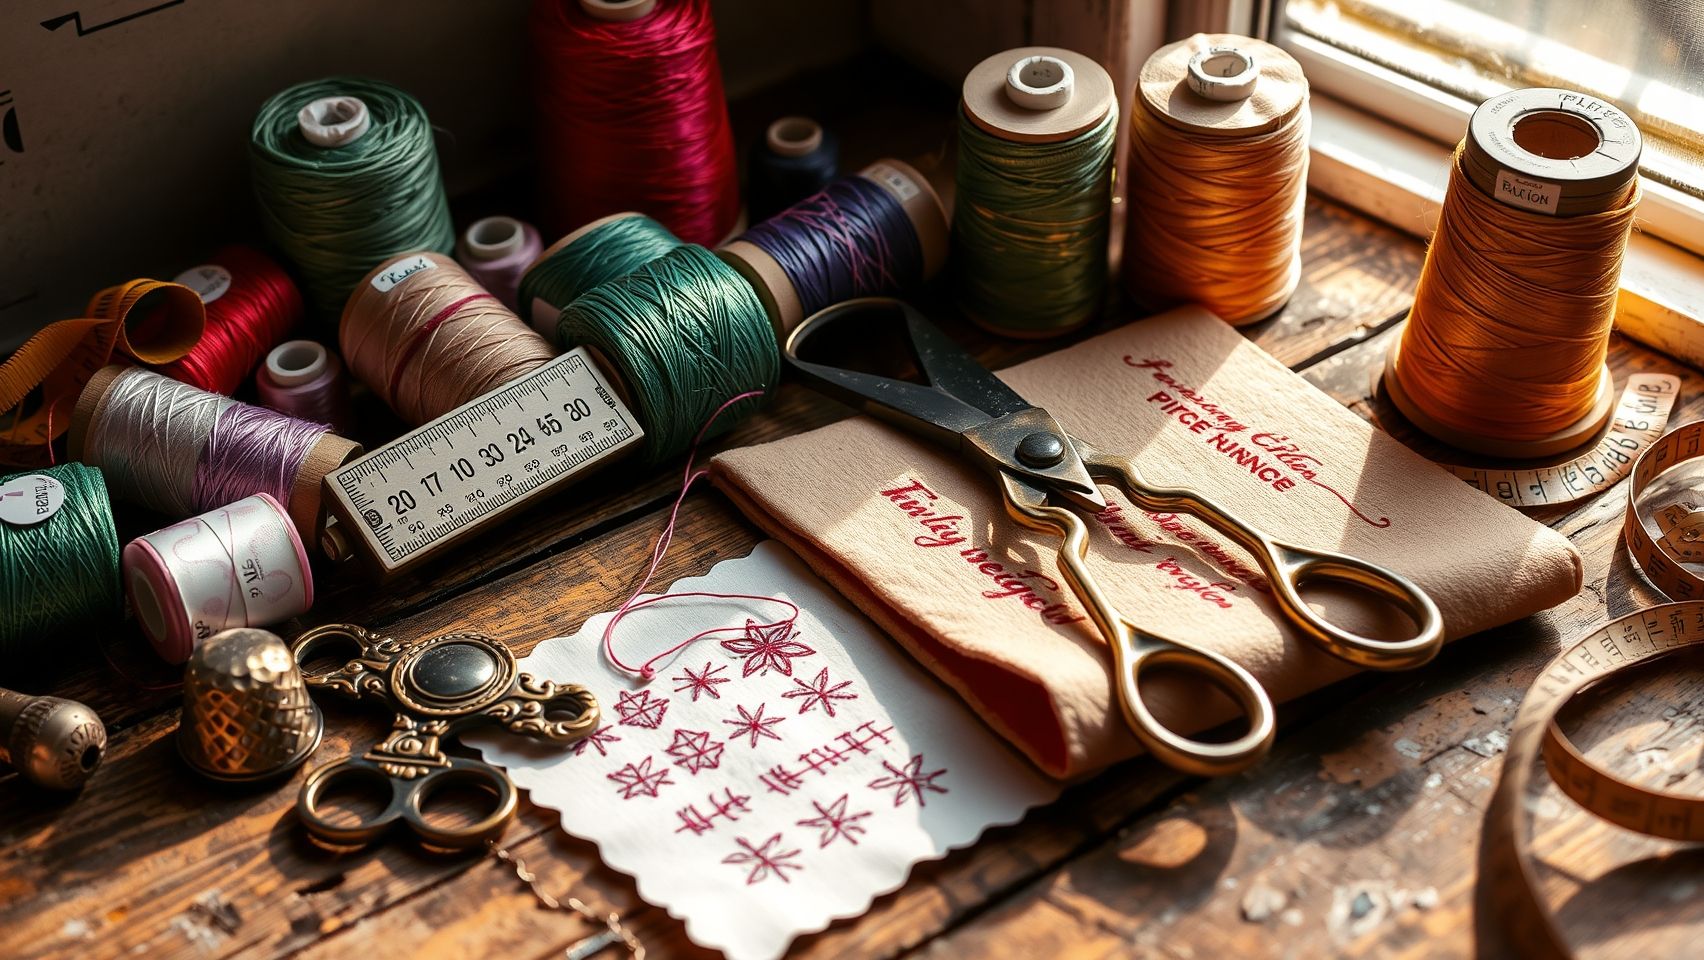
Selecting the appropriate embroidery thread weight is essential for achieving professional-looking results tailored to each project’s unique needs. Understanding how different thread weights influence texture, durability, and detail can significantly improve your embroidery outcomes. Whether you’re creating wall art, monograms, or delicate appliqués, choosing the right thread weight ensures your project looks polished and lasts over time.
Currently, the embroidery market highlights growing trends toward customizing threads for specific applications. Innovations in thread manufacturing and software have made it easier than ever to match thread weights to project demands, from vibrant home décor to fine textile ornamentation. Keeping informed about these updates can help you select the best options to elevate your craft.
Wall Art: Using 40wt Thread for Bold, Durable Designs
When creating wall hangings or large decorative pieces, durability and vivid color expression are priorities. A 40wt thread offers a robust balance, providing enough strength for larger designs without sacrificing vibrancy. For a 23-unit pattern repeat wall hanging, using 40wt thread with a stabilizer is recommended for structural integrity and color pop. Applying a stabilizer as backing stabilizes the fabric and prevents puckering, ensuring clean, professional stitches.
Visual guides often show 40wt thread as suitable for projects with moderate thickness, offering a smooth finish that stands out on various fabrics. The increased thread thickness compared to finer options also enhances the longevity of wall art, making it resistant to wear and tear.
Monograms on Household Linens: Opting for 30wt Thread for Elegance and Strength
For monogramming household linens such as towels, pillowcases, or napkins, a 30wt thread strikes a perfect balance between detail and durability. Its moderate thickness creates crisp monogram outlines while maintaining enough strength to withstand frequent washing. Using a smaller needle with 30wt thread minimizes fabric puncture and ensures cleaner, finer details.
This thread weight is ideal for finer stitches and neat lettering on delicate fabrics, offering an elegant finish that enhances the overall aesthetic. Proper tension adjustment and test stitches are vital to achieve optimal results, especially when working on varied fabric textures.
Delicate Appliqué or Sheer Fabrics: Choosing 60wt Thread for Minimal Bulk
When working on lightweight fabrics like silk or using delicate appliqué techniques, 60wt thread is the best choice. Its fine gauge minimizes bulk, which is critical for sheer or silky materials where heavy thread can create unwanted puckering or a bulky appearance. For embroidery on silk, 60wt thread not only reduces bulk but also maintains the fabric’s delicate look and feel.
Step-by-step, prepare your fabric and stabilizer carefully. Use a fine needle, set a lower tension, and run test stitches to fine-tune your settings. The result should be fine, detailed stitches that seamlessly blend into the fabric, preserving its softness and elegance.
Guidelines and Tips for Optimal Results
Start by prepping your fabric with the appropriate stabilizer, lightweight for delicate fabrics, more substantial for wall art. Choose your thread weight based on the project’s desired texture and durability as discussed. Adjust tension settings according to thread and fabric specifications, and always run test stitches before beginning the final embroidery. Using visual guides to match thread weight with project thickness and finish can save time and improve quality.
Post-project, ensure your threads are cleaned and stored properly to maintain their quality. Coil or skein threads neatly in a dry, dust-free environment, and label them for easy identification on future projects. This care prolongs thread life and keeps colors vibrant for your next creative endeavor.
Conclusion
Choosing the right embroidery thread weight, whether 30wt, 40wt, or 60wt, is essential for achieving professional, polished results tailored to your fabric, design, and durability needs. By utilizing visual comparison charts, conducting performance tests on scrap pieces, and following troubleshooting guides, you can develop a confident understanding of what works best for each project. These practices not only improve your technical skills but also ensure your finished embroidery looks flawless and aligns with your creative vision.
We encourage you to download our free embroidery thread weight chart to keep handy as a quick reference during your projects. Take the time to test different threads on scrap fabric, observe how they handle tension, shine, and texture, to find what truly works for your style. Also, consider keeping a project journal to record thread choices and tension settings that yielded the best results; this habit will streamline your workflow and boost your confidence with future projects.
Remember, embroidery is a skill refined by experimentation and patience. Don’t hesitate to try new threads and techniques, your perfect project is just a stitch away!