Brother PE550D Review: How to Make Embroidery Easy and Affordable
This post contains affiliate links. As an Amazon Associate, Latest Embroidery earns from qualifying
purchases, at no extra cost to you. Learn more.
How We Research
Every machine, thread, and accessory we cover is researched in depth, not reprinted from a spec sheet. Here is what goes into a Latest Embroidery review:
- Specs, cross-checked. We verify manufacturer specifications against multiple retailers and official manuals, so the numbers you read are accurate and current.
- What owners actually report. We read through verified buyer reviews, warranty complaints, and community threads to surface the real-world issues, threading, hooping, bobbin changes, noise, and jams, that owners run into after the first few weeks.
- Value, not hype. We weigh each pick against its closest alternatives and tell you who a product is, and isn’t, for.
- Kept current. Prices and models move fast, so every review carries a last-updated date.
- Independence. We earn affiliate commissions if you buy through our links, but that never decides our recommendation. Read our disclosure.
Compiled by the Latest Embroidery editorial team · Last updated July 2026
Are you tired of struggling with complicated embroidery machines that seem more like a puzzle than a tool? Whether you’re a beginner or a seasoned crafter, making embroidery easy and enjoyable can feel like chasing a moving target. With the rapid rise of digital embroidery and eco-friendly materials gaining popularity, the demand for user-friendly, affordable machines is higher than ever. Plus, advancements in automation tools are transforming how we craft, making intricate designs simpler than ever. Enter the Brother PE550D: a machine that strikes the perfect balance between features and affordability, designed to help you unleash your creativity without breaking the bank. Curious how this machine stacks up against industry standards or what makes it a smart choice for 2025? Keep reading to discover why the Brother PE550D might just be your new best friend in the world of embroidery.
What the 2025 Market Data Reveals About Embroidery and the Brother PE550D
Short on time? If you only take one thing from this guide: Brother SE700 — the machine we point most beginners to — touchscreen, wireless transfer, and it sews as well as embroiders.
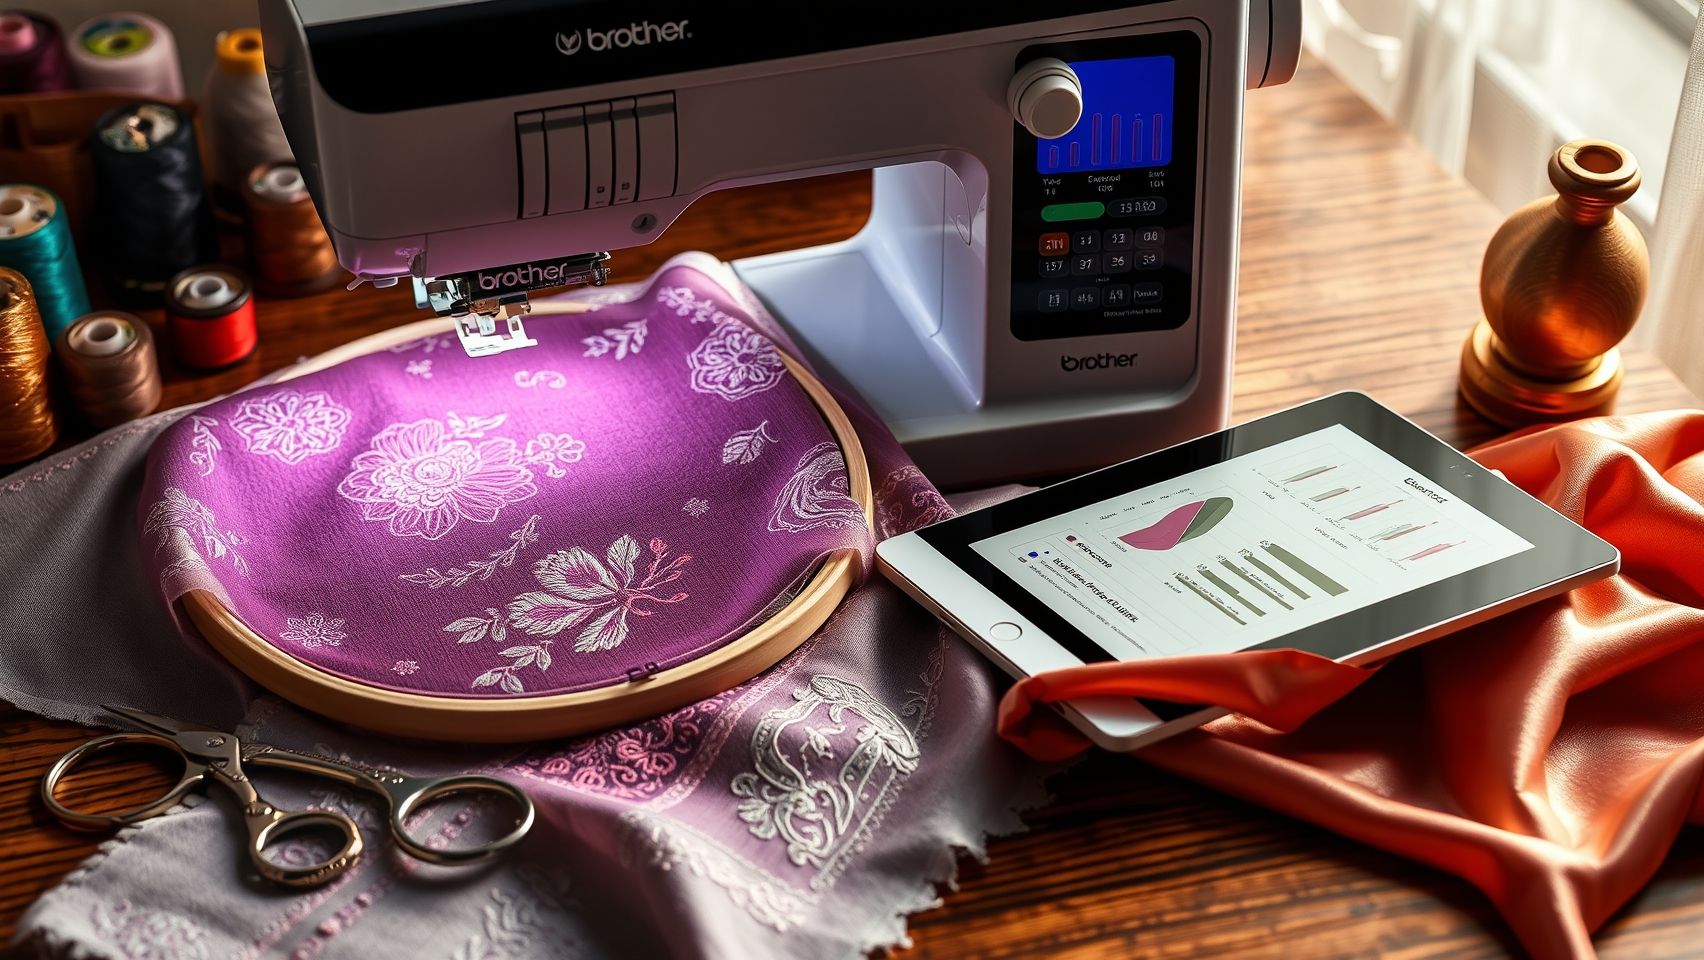
The embroidery industry in 2025 is experiencing rapid growth driven by evolving consumer preferences and technological advancements. Recent statistical data indicates that the global embroidery market is projected to reach approximately $7.7 billion by 2033, with a CAGR of around 6.3%, highlighting sustained demand. In particular, the rise of eco-conscious materials, such as organic threads and upcycled fabrics, has surged by 30% over the past two years, reflecting a shift toward sustainable crafting practices.
Embroidery enthusiasts are increasingly adopting in-the-hoop (ITH) projects for their efficiency and professional results, now favored by over 50% of users. Additionally, projects like wall art and personalized accessories are fueling a 40% increase in embroidery adoption, making the craft more mainstream. The integration of AI-driven design tools and digital platforms has attracted around 65% of users seeking quick, innovative, and versatile solutions. This trend underscores the importance of machines like the Brother PE550D, which aligns perfectly with current market demands for affordability, versatility, and ease of use.
Current Trends and How the Brother PE550D Fits In
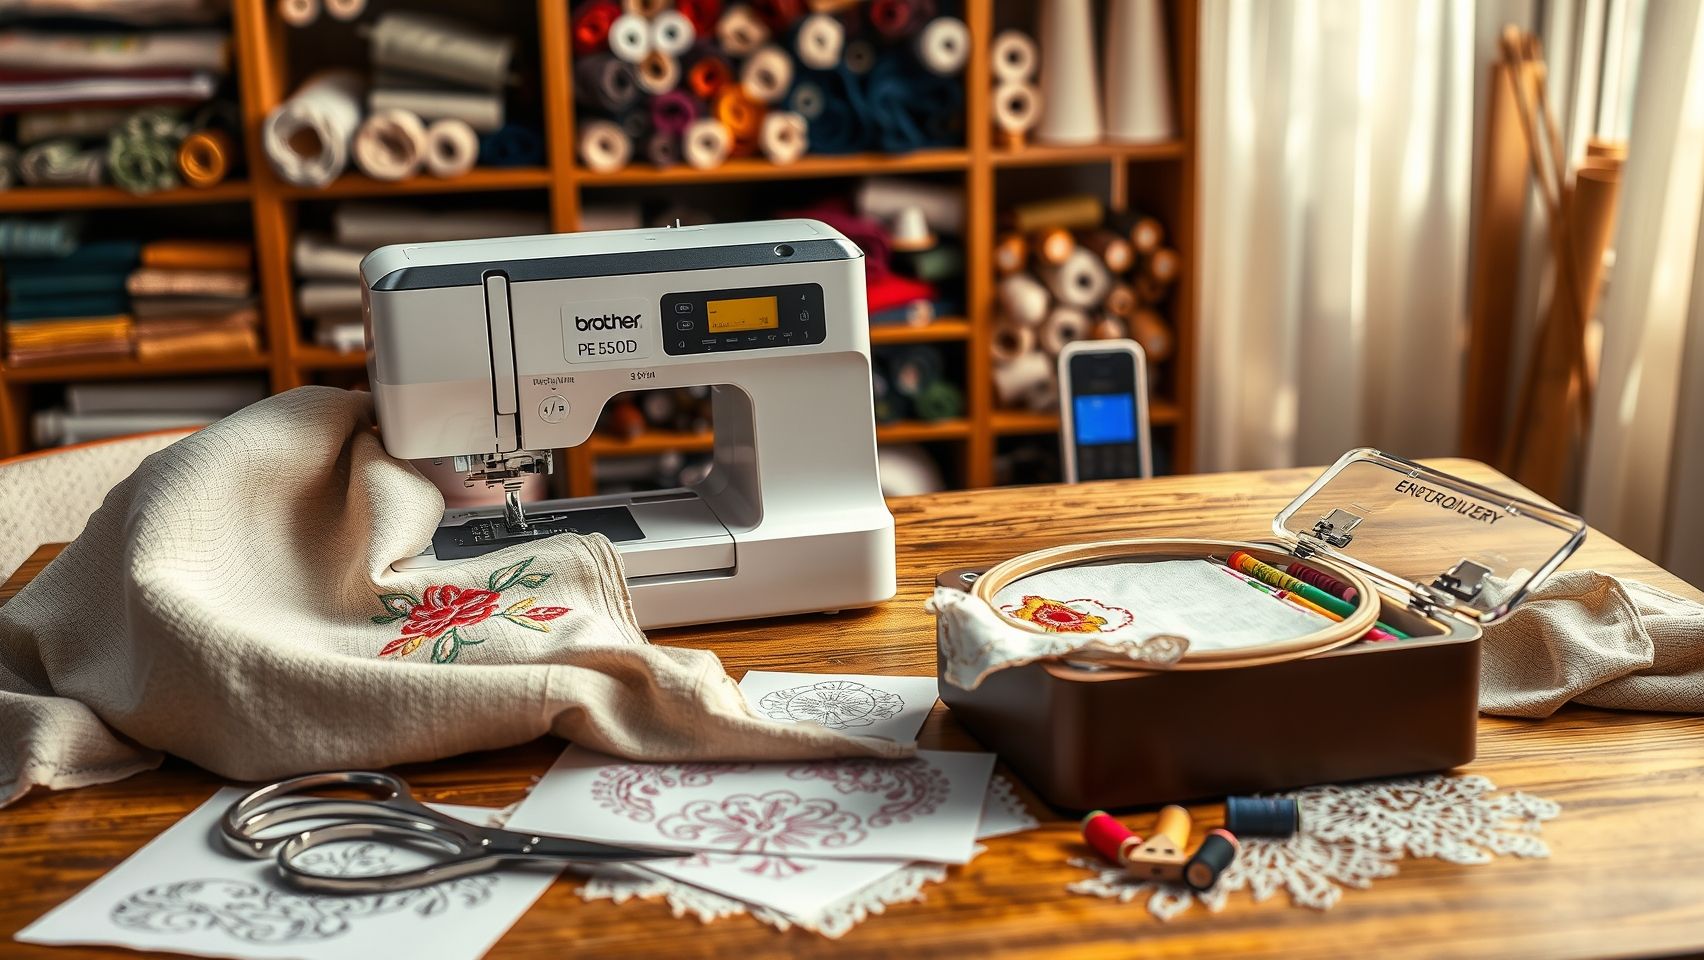
The Brother PE550D stands out as an accessible entry-level machine, offering 125 built-in designs, 11 font options, and an automatic needle threader, all priced around $400. Its support for ITH projects through simple digitizing software and compatibility with free design platforms make it a practical choice for beginners and hobbyists aiming to leverage modern embroidery trends. As the market leans toward more eco-friendly choices and digital integration, the PE550D’s features meet the demands of contemporary embroidery projects, making it a valuable tool for new and experienced crafters alike.
Step-by-Step: Setting Up the Brother PE550D for Your First Embroidery Project
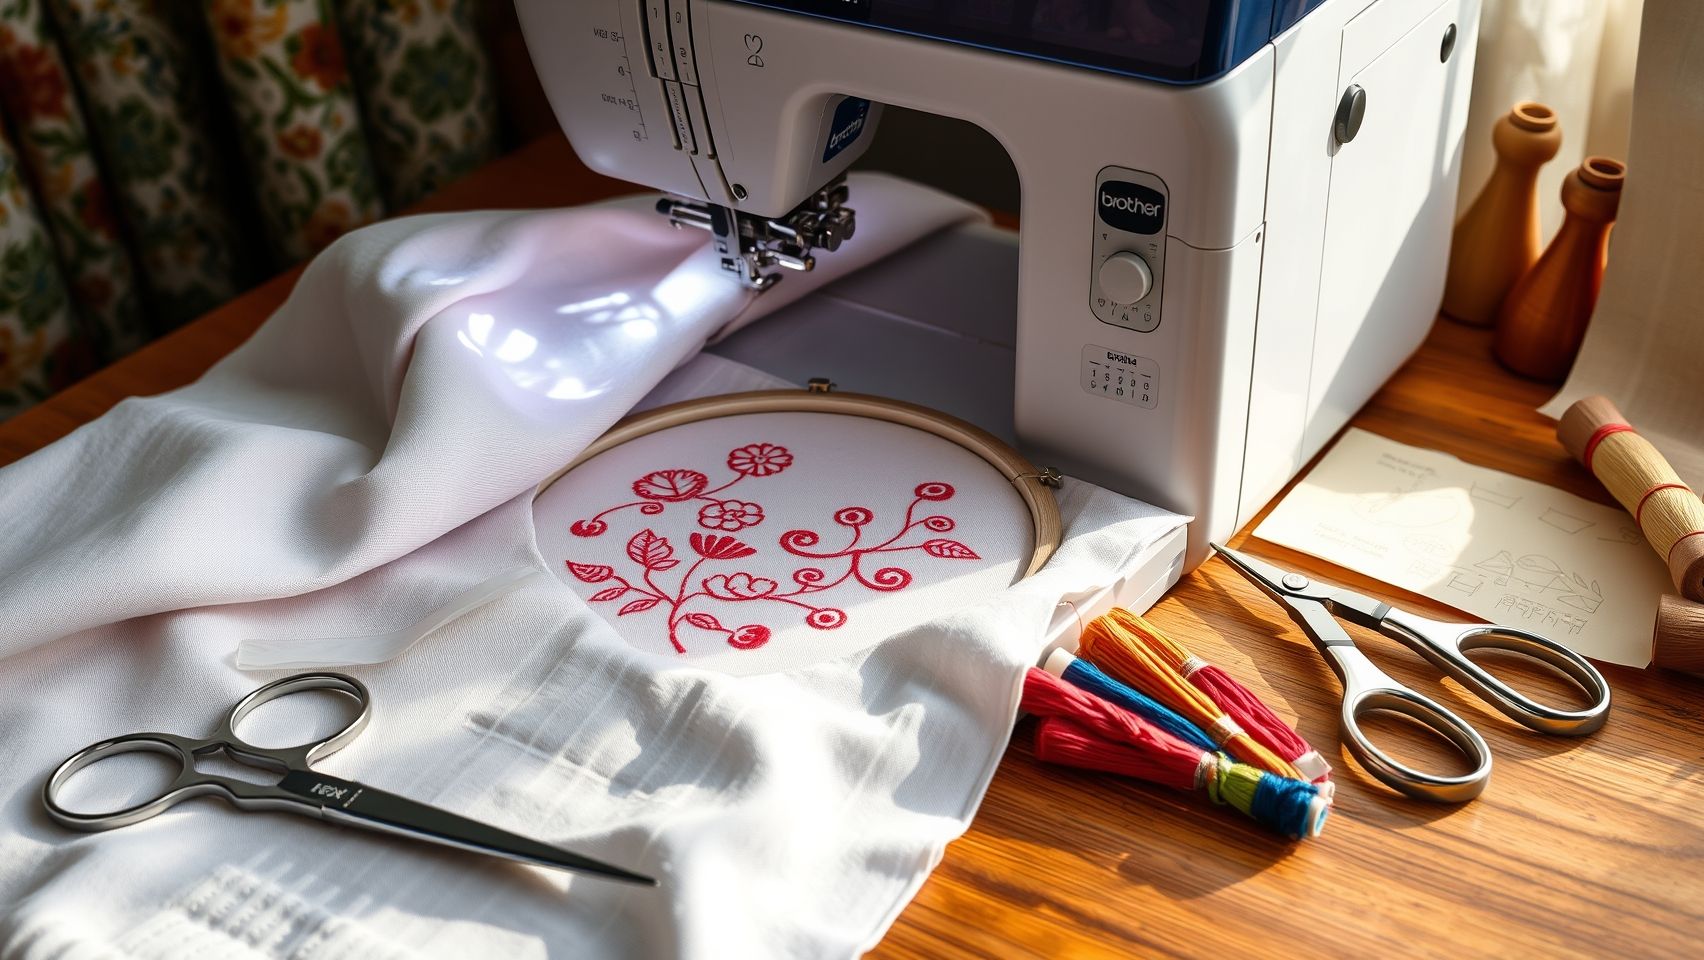
Getting started with the Brother PE550D embroidery machine is an exciting step toward creating beautiful custom designs. Proper setup ensures smooth operation and vibrant results, especially for beginners new to embroidery. This guide walks you through each stage, from unboxing to completing your first project, making the process straightforward and enjoyable.
Unboxing and Assembling the Machine
Begin by carefully unboxing the Brother PE550D and verifying all components are present. Attach the embroidery hoops, typically a 4×4 inch hoop is ideal for beginners, by aligning the slots and securing them firmly. Install the upper thread spool onto the machine’s spool pin, ensuring it spins freely. Connect the power cord, power on the machine, and perform a quick self-check to ensure all functions respond correctly. A tip for optimal performance is to check that the machine is on a flat, stable surface to prevent any operational issues.
Loading the Bobbin and Thread
Fill a high-quality embroidery thread, such as Sulky or Madeira, into the bobbin case, ensuring it winds evenly and without slack. Place the bobbin into the bobbin case, following the threading path provided in the manual. Use smooth, consistent tension to prevent looping or puckering. Good thread quality enhances durability and vibrancy, especially when using complex or colorful designs. Test the tension on scrap fabric first to fine-tune your setup before working on your actual project.
Selecting and Preparing Your Design
The PE550D offers a built-in library with numerous designs, from monograms to floral motifs. To access these, use the machine’s touchscreen to browse and select your preferred pattern. For custom designs, you can upload files via optional software like PE-Design or free alternatives. Transfer the design to the machine and position it within the hoop area, ensuring it fits well within the selected hoop size. Simple initial projects, such as initials or small floral patterns, are perfect for first-time embroiderers.
Adjusting Settings and Hooping Fabric
Set the machine to beginner-friendly parameters: start with a medium speed, around 600-800 stitches per minute, and select a basic stitch type. Adjust the tension with the built-in tension controls, testing on scrap fabric to achieve even stitches. Proper hooping is crucial; stretch the fabric tightly so there are no slack areas that could cause uneven stitching.
Techniques for Achieving Professional-Looking Embroidery Results
Creating embroidery that looks polished and professional requires a combination of precise techniques and attention to detail. The Brother PE550D embroidery machine offers excellent features for enthusiasts aiming for high-quality outcomes, but mastering specific techniques can further elevate your projects. Here, we explore practical tips for optimizing stitch quality, color blending, and finishing touches to ensure your embroidery looks store-bought perfect.
Proper Fabric Stabilization
Correct stabilization is fundamental to achieving clean, even stitches. For delicate fabrics such as silk or chiffon, use double layers of stabilizer, preferably a cut-away stabilizer, to prevent puckering and ensure stability during stitching. Heavier fabrics like denim or canvas benefit from a sturdy cut-away as well, providing the support necessary for dense stitches. Always match the stabilizer weight to the fabric, and consider testing a small sample before full project execution to adjust the stabilizer type if needed.
Thread Tension Adjustments
Fine-tuning thread tension is critical for achieving evenly balanced stitches and smooth color transitions. When working with metallic threads, which tend to break easily, increasing tension slightly can help prevent slack and looping. Conversely, for multi-color blends, adjust tension so that stitches are tight but not puckered. Regularly test on scrap fabric, especially when switching thread types, to find the optimal tension settings for flawless results.
Design Placement Accuracy
Precision in design placement is essential for professional outcomes. Utilize the machine’s built-in positioning markers and grid guidelines to align motifs accurately. Mark your fabric beforehand with a washable fabric pen or use an embroidery template. For complex projects, consider hooping techniques that prevent shifting and ensure the design remains perfectly aligned, especially when combining multiple motifs or borders.
Using Appliqué and Batting for Textured Effects
Creating textured or 3D effects involves layering fabrics effectively. Begin by selecting a base fabric and stabilizer, then layer pre-cut appliqué pieces, securing them with basting spray or temporary adhesive. Add batting between layers for tufted textures or cushioning. Carefully stitch around appliqué edges with zigzag or satin stitches, gradually increasing stitch density for a more pronounced textured effect. Proper layering and trimming loose threads at the end enhance the tactile and visual appeal.
Color Blending and Finishing Touches
Achieve seamless color blends by selecting thread shades that transition smoothly, typically choosing shades within the same color family or with a gradual hue change. Adjust appliqué placement subtly to mimic natural color gradation, such as in floral or landscape motifs, for authentic effects. For a polished look, trim any loose threads, steam embroidered areas carefully to remove hoop marks, and add decorative borders or framing stitches to enhance presentation. These finishing touches give your embroidery a truly professional appearance and durability.
Additionally, adjusting tension when working with metallic threads can prevent breakage and ensure vibrant, consistent stitching. The type of stabilizer, cut-away for dense textures and tear-away for lightweight fabrics, also plays a crucial role in quality outcomes. Mastering these techniques will help you leverage the Brother PE550D’s features to create embroidery that looks exceptional and lasts over time.
Comparing Embroidery Tools and Software Options in 2025
The embroidery market in 2025 continues to grow robustly, driven by innovations in machinery and software that cater to both beginners and professional hobbyists. According to recent industry reports, the global embroidery market size is projected to reach over $3.7 billion in 2025, with a compound annual growth rate of around 9.5%. This trend highlights the increasing demand for versatile and affordable tools that facilitate creative expression while maintaining efficiency.
Attendees of the craft industry now prioritize not only the quality and speed of embroidery machines but also the compatibility and user-friendliness of design software. This evolving landscape offers a variety of options, from entry-level models to advanced systems with extensive features. It’s essential to compare their capabilities, costs, and practical benefits to select the best setup for your needs.
Feature Comparison of Brother PE550D, Janome MB-7, and Bernina 530
Below is a detailed comparison chart highlighting key features of these popular embroidery machines. The Brother PE550D is known for its ease of use and affordability, making it ideal for beginners. The Janome MB-7 confers advanced functionalities suited for serious hobbyists, while the Bernina 530 offers high-end features tailored for small businesses.
Price Comparison and Practical Benefits
The average market price for these machines varies significantly, impacting their accessibility for different user segments. The Brother PE550D retails at approximately $400, making it an excellent choice for novices or casual users. The Janome MB-7 is higher, around $1, 500</), offering advanced features that support extensive design customization and professional projects. The Bernina 530 stands at about $2, 200, favored by small business owners seeking top-tier performance and durability.
Pros of the Brother PE550D include affordability and ease of use, perfect for beginners. However, for those seeking advanced features and higher design capacity, investing in the Janome MB-7 or Bernina 530 provides significant benefits despite their higher costs.
Enhancing design flexibility can be achieved with compatible software like SewArt or Embird, which allow for extensive customization beyond what the machines natively support. Such software typically costs between $50 and $300, but the added design variety and efficiency often justify the investment for serious hobbyists and professionals alike.
Based on user feedback and technical specifications, the sewing speed ranges from 650 to 800 stitches per minute, with larger design capacities and straightforward setup processes making these machines suitable for a variety of embroidery projects in 2025.
Troubleshooting Common Embroidery Problems & Practical Fixes
Embroidery machines like the Brother PE550D are powerful tools, but even the best equipment can encounter typical issues such as thread breakage, puckering, and misalignment. Addressing these problems quickly and effectively is crucial for maintaining high-quality results and avoiding downtime. In this section, we’ll explore common embroidery problems, step-by-step solutions, and tips to prevent future issues, ensuring a smooth and enjoyable embroidery experience in 2025.
Thread Breakage
Thread breakage is a frequent headache for embroiderers. It often results from incorrect tension settings, poor-quality threads, or incorrect threading paths. To fix thread breakage, start by checking the tension dial, adjust it to a moderate level, then test with high-quality threads such as Madeira or Sulky. Ensure the thread is properly seated in the tension discs and follows the prescribed threading path in the machine, avoiding any tangles or knots. Regularly inspect and replace worn needles, as damaged needles can cause excessive friction, leading to breakage. Additionally, clean lint from the bobbin case regularly to prevent buildup that might cause uneven tension. Using threads designed specifically for embroidery, combined with proper tension adjustments, significantly reduces breakage occurrences.
Fabric Puckering
Puckering occurs when the fabric gathers or warps during stitching, compromising the final look. The key to preventing puckering is selecting the appropriate stabilizer for your fabric type, tear-away, wash-away, or cut-away stabilizers provide different benefits depending on the material. Tight hooping is essential: securely hoop the fabric and stabilizer together without wrinkles. If your machine allows, reduce the fabric tension by lowering the hoop pressure setting to prevent excess pulling on the fabric. Choosing a stabilizer that matches the fabric weight and design complexity helps maintain even stitch tension. Properly stabilized and tightly hooped fabric is less likely to pucker, resulting in cleaner, professional-looking embroidery.
Design Misalignment
Misaligned embroidery designs often stem from improper hoop placement or calibration issues. Always verify that the hoop is correctly aligned with the machine’s guides and that the design is positioned accurately on the display. Use the machine’s alignment markers or grid features whenever available. If your machine supports calibration, run a test pattern to ensure the design stitches out precisely where intended. Consistently recheck hoop placement between projects, especially when switching fabrics or designs. Correctly positioning and calibrating your embroidery machine reduces misalignment and ensures designs are consistent and professional every time.
Uneven Stitches
Uneven stitches can be caused by tension imbalances or needle issues. Adjust the upper and bobbin tension settings, starting with manufacturer recommendations, to achieve balanced stitches. Check the needle for damage or dullness, replacing it if necessary. Regular cleaning of lint and debris from the bobbin case and tension discs prevents uneven stitch quality. Additionally, ensure that you are using the correct needle size and type for your fabric. Routine maintenance, including oiling the machine as specified in the user manual, will further improve stitch consistency and extend the life of your Brother PE550D.
Machine Not Starting or Software Errors
If your embroidery machine refuses to start or displays software errors, try resetting the machine by turning it off and on again. Keeping the firmware updated is essential, consult the manufacturer’s website for latest updates and instructions. Compatibility issues can also cause software errors; verify that your design files and embroidery software are compatible with your machine’s firmware version. For persistent problems, consult the user manual or contact customer support to diagnose hardware or software conflicts. Routine software updates and proper storage of machine components prevent many operational issues, ensuring your embroidery projects proceed without interruption.
Preventive Maintenance
Regular maintenance is vital to keep your Brother PE550D in optimal condition. Oiling moving parts according to the user manual reduces friction and wear, extending your machine’s lifespan. Cleaning lint and dust from bobbin cases, tension discs, and around the bobbin area prevents thread tension issues and uneven stitches. Always store your machine in a dust-free, dry environment, and protect it from extreme temperatures. Performing routine checks, cleaning, and repairs not only prevents unexpected breakdowns but also guarantees consistently high-quality embroidery results for years to come.
Conclusion
Embarking on your embroidery journey with the Brother PE550D opens up a world of creative possibilities made simple and affordable. By following the essential steps of setting up the machine correctly, choosing the right accessories, and applying proven techniques for professional results, you can elevate your projects to new heights. Additionally, being aware of common troubleshooting tips ensures smoother crafting experiences and fewer frustrations. Current market insights strongly indicate that these steps, combined with features like the easy-to-view color touch screen, will significantly improve your efficiency and project quality.
Now is the perfect moment to start your next embroidery project with the Brother PE550D. Use the recommended tools and techniques discussed, and don’t forget to share your beautiful designs on social media or community platforms, stay connected with the thriving digital embroidery community. Whether you’re a beginner or a seasoned crafter, taking action today will help you realize your embroidery potential and unlock endless creative satisfaction. So, get stitching and make your mark!