How to Improve Workshop Air Quality with Embroidery Machine Filtration
This post contains affiliate links. As an Amazon Associate, Latest Embroidery earns from qualifying
purchases, at no extra cost to you. Learn more.
Ever notice your embroidery space getting stuffy, or that you sneeze more after a long session? You’re not imagining it. Embroidery workshops generate thread dust, fine fabric fibers, and fumes from adhesives and dyes that linger in the air. Left unmanaged, these contaminants raise real health concerns, but the good news is that practical, affordable filtration can transform your workspace into a safer environment. This guide covers what the research says about the risks, how to choose and size a system, how to install and maintain it, the specific machines and accessories worth buying, and budget-friendly options, so you can breathe easier and create with confidence.
Choosing and Sizing the Right System
Short on time? If you only take one thing from this guide: Brother SE700 — the machine we point most beginners to — touchscreen, wireless transfer, and it sews as well as embroiders.
Assess Your Space and Airflow Needs
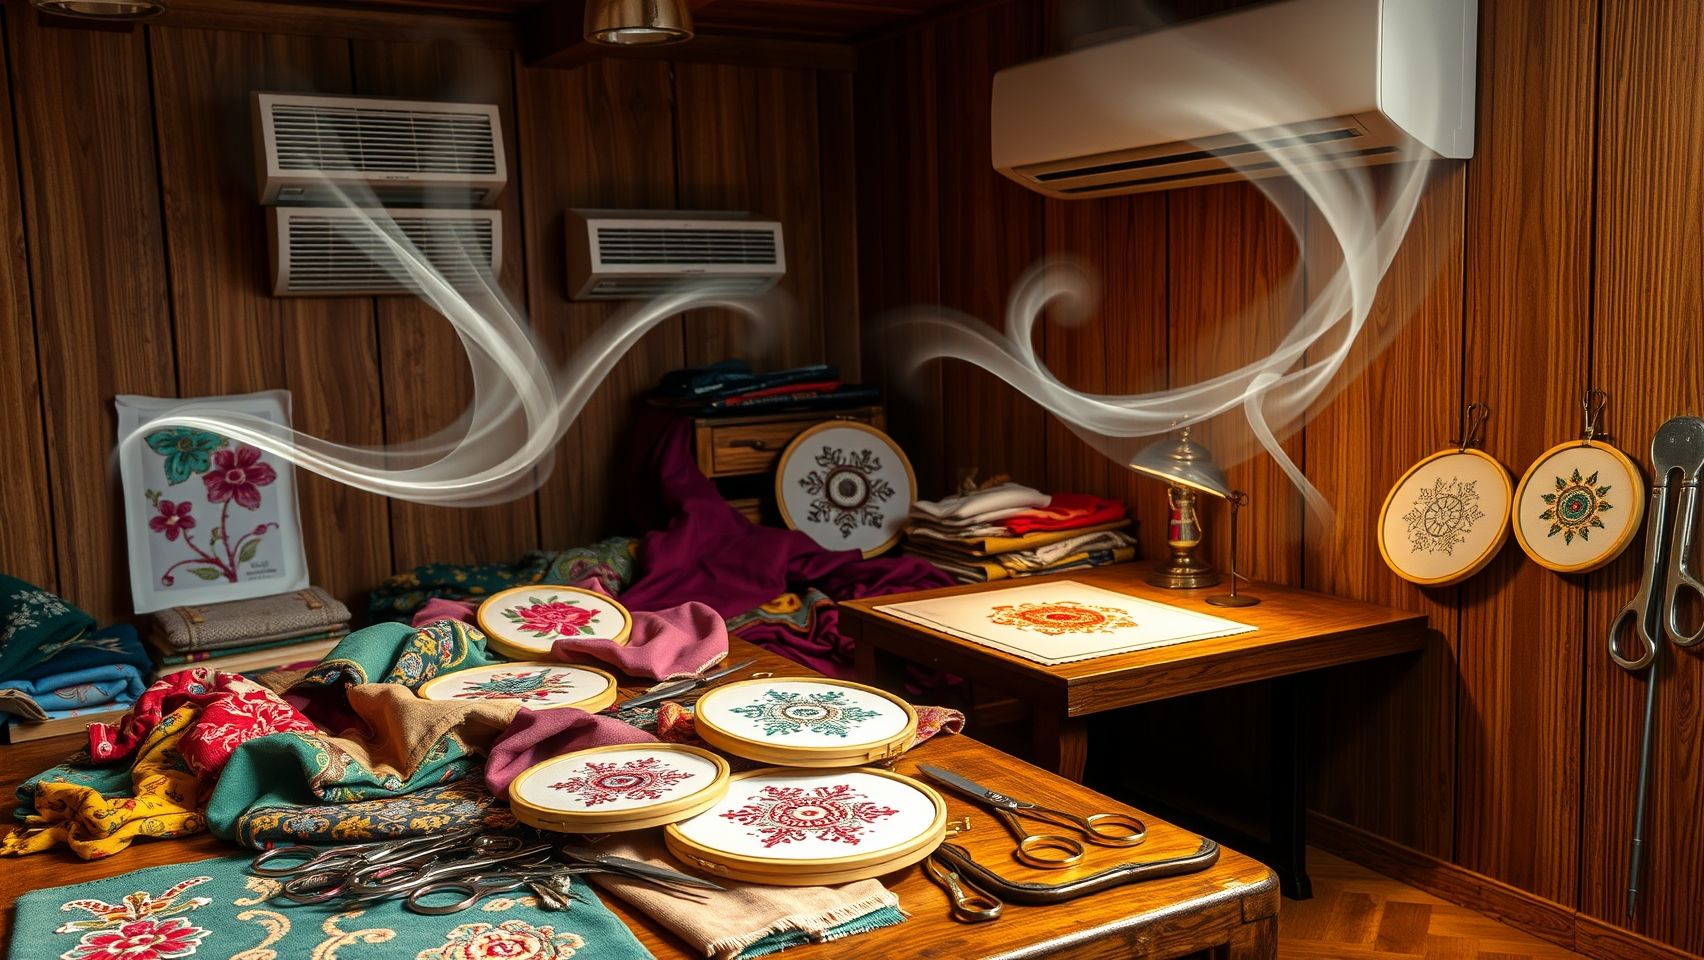
Start by sizing the room. Calculate volume (length x width x height), a 15 x 10 ft room with 8 ft ceilings is 1, 200 cubic feet, and aim for one complete air change every 5–10 minutes. Use a CADR (Clean Air Delivery Rate) calculator to match a purifier to your space; a typical 200 sq ft studio needs roughly 150–200 CFM to keep dust and fibers in check. Matching capacity to room size avoids wasted power and noise.
Choose Effective Filters
For tiny fibers, dust, and allergens, true HEPA filters are the gold standard, trapping 99.97% of airborne particles down to 0.3 microns, essential where you cut, trim, or shed thread. Add activated carbon filters to absorb fumes, odors, and VOCs from eco-dyeing and rust dyeing. A multi-stage system (HEPA for particulates, carbon for chemicals) makes the biggest difference.
Tools and Equipment
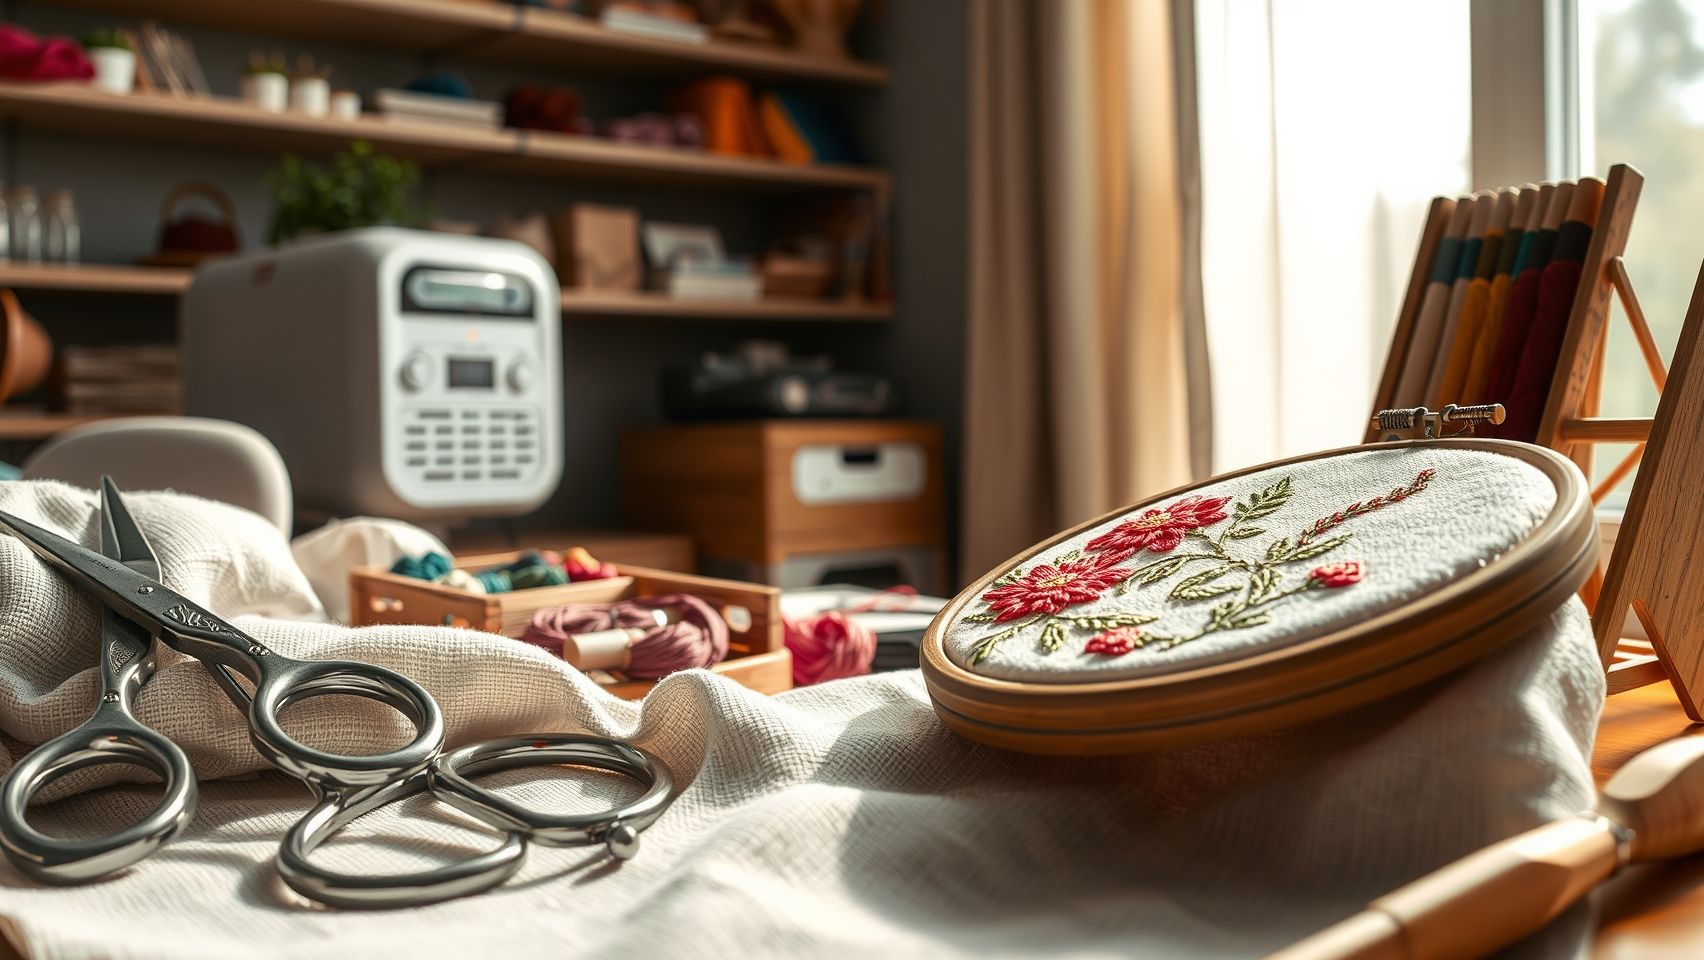
Popular HEPA purifiers among embroiderers include the Levoit Core 300, Blueair 411, Winix 5500-2, Winix Zero, and Coway Airmega. Match the unit to your workshop size using the chart below.
Supporting filters and accessories: Activated carbon inserts (~$25–$50/year) neutralize VOCs from dyes, solvents, and adhesives. Pre-filters (~$20/pack) catch large debris and extend HEPA life. UV sterilizers help sanitize the air and curb bacteria or mold in humid spaces. Ducting, mounting brackets, and filter holders from HVAC suppliers let you build ducted or wall-mounted setups. A portable particulate counter like the Temtop M2000C gives real-time readings so you can fine-tune placement.
Step-by-Step: Installing and Maintaining Your System
Placement
Position the unit centrally for maximum airflow, within about 3 feet of the embroidery or dyeing area but not so close that it creates turbulence around the machine. Place it at breathing level, on an open surface free of obstructions. For multi-zone workshops, use multiple units, and if you have HVAC, integrate the filtration with proper ducting.
Connect and Run
Secure filters per the manufacturer’s instructions, checking that HEPA and carbon filters fit snugly, loose seals let unfiltered air bypass the system. Run the unit for at least 30 minutes before starting a project to circulate clean air, and use a particulate detector to confirm levels are dropping.
Maintenance Schedule
Clean pre-filters monthly with a vacuum or damp cloth, this alone can extend HEPA effectiveness by up to 30%. Replace HEPA filters every 3–6 months (or 6–12 with lighter use), sooner in dust-heavy environments. Inspect seals and housings for cracks or leaks each session, and watch for reduced airflow or strange noises, which usually signal a clogged filter. A monthly air-quality test confirms the system is still performing.
Cost Analysis and Budget-Friendly Solutions
Entry level: A basic portable HEPA unit runs $150–$250 and suits small to medium studios, capturing dust, lint, and allergens. Budget for filter replacements every 3–6 months ($50–$100 each, less for smaller units).
Mid-range: Combined HEPA + activated-carbon systems run $300–$500 and add odor and chemical-fume control, ideal for larger workshops or multiple machines.
DIY: A box fan paired with a quality HEPA filter can be built for under $80 (around $50 for the fan, $30 for the filter), with annual filter swaps around $20. A larger custom ventilation box runs about $150 in supplies. DIY setups lack quiet operation and automatic modes but deliver real improvement on a tight budget.
The return adds up: a roughly $200 unit has shown noticeable air-quality improvement within days, and over time cleaner air means fewer respiratory issues, fewer dust-related project errors, and less cleanup.
FAQ
Is embroidery dust actually harmful? Over time, yes. Fine fibers and VOCs can trigger allergies, asthma, and lung irritation, and poor ventilation can raise those risks by up to 35%.
What size air purifier do I need? Calculate room volume (L x W x H), aim for one air change every 5–10 minutes, and choose a CADR that meets it, about 150–200 CFM for a typical 200 sq ft studio.
Do I need activated carbon, or is HEPA enough? HEPA handles dust and fibers; add activated carbon if you dye or use adhesives, since it absorbs VOCs and odors HEPA can’t.
How often should I change filters? Clean pre-filters monthly; replace HEPA filters every 3–6 months (up to 12 with light use), sooner in dusty conditions.
Can I build a cheap filtration setup? Yes, a box fan plus a HEPA filter costs under $80 and meaningfully improves air quality, though it lacks the quiet operation and automatic modes of a commercial unit.
Conclusion
Clean workshop air isn’t just about comfort, it safeguards your health, sharpens project accuracy, and extends your machine’s life. Size a system to your space, pair HEPA with activated carbon, position it well, and keep to a maintenance schedule. Even a budget HEPA unit or a DIY box-fan build delivers fast, measurable improvement. Evaluate your air quality today, and breathe easier knowing your craft and your lungs are both protected.