How to Ensure Quality in Machine Embroidery: Checklist & Action Steps
This post contains affiliate links. As an Amazon Associate, Latest Embroidery earns from qualifying
purchases, at no extra cost to you. Learn more.
Ever started a project only to realize that your embroidery has inconsistent stitches or visible defects? It’s a common frustration among both hobbyists and seasoned professionals. No matter how advanced your embroidery machine or software may be, achieving flawless results often comes down to something more than just pushing buttons. Quality control isn’t just a buzzword, it’s the secret sauce that keeps your customers happy and your reputation intact. But where do you start? That’s where a practical checklist can make all the difference. It streamlines your process, saves you time, and helps catch those pesky issues before they escalate into bigger problems.
From thread tension and hooping precision to file compatibility and stitching order, there are many factors at play. Understanding these variables means you can troubleshoot effectively and consistently produce professional-grade designs. If you’re like most embroiderers, you’ve probably experienced how a small oversight, like skipped bobbin thread or a loose hoop, can ruin an entire project. That’s why establishing a steady routine for quality assessment is essential. Ready to transform your embroidery workflow into a well-oiled machine? Keep reading, because I’ll guide you through the key steps and actionable tips that will elevate your craft to new heights.
And hey, if you’re thinking about upgrading your tools, check out this selection of high-quality embroidery threads. Proper materials are just as crucial as solid techniques to ensure your finished work looks perfect every time.
What Embroidery Quality Control Reveals About Common Issues
Short on time? If you only take one thing from this guide: Brother SE700 — the machine we point most beginners to — touchscreen, wireless transfer, and it sews as well as embroiders.
Anyone who’s spent time on the embroidery machine knows that even the most skilled crafter encounters issues from time to time. Recent studies and industry feedback highlight some consistent defect patterns, puckering, thread snags, misalignment, and unexpected color bleeding top the list. Recognizing these defects isn’t just about catching mistakes; it’s about understanding their root causes to prevent them from happening in the first place.
For example, intricate designs like 14-unit blackwork fills or 36-unit band repeats can often lead to specific problems. The complexity of such patterns means that even a slight misalignment or tension imbalance can result in puckering or pattern distortion. The more detailed and dense the pattern, the more critical it becomes to ensure precise settings and high-quality materials. This is where digital tools such as Janome’s AcuEdit and AcuSetter apps come into play, they help embroiderers achieve consistent pattern accuracy, reducing errors significantly.
Choosing the right fabric is equally crucial. Fabrics like 72-74 count evenweave are preferred because they offer a stable, smooth surface that minimizes puckering and stitch distortion. These fabrics allow for finer, detailed work and help maintain pattern integrity, thus prolonging the project’s longevity and enhancing customer satisfaction. If defects are caught early during inspections, adjustments can be made, like tension tweaks or repositioning, saving time and material costs.
Understanding these common defect trends helps embroiderers create cleaner, more professional results while also building trust with clients. Every defect you prevent is a step toward flawless craftsmanship and happier customers who keep coming back for that perfect, last-lasting embroidery.
Step-by-Step Inspection Process for Embroidery Quality
Ensuring top-notch embroidery quality isn’t just about choosing the right fabric or thread; it hinges significantly on a thorough, systematic inspection process before delivering your finished piece. This step-by-step approach not only helps catch imperfections early but also saves you from rework and client dissatisfaction down the line. As an experienced embroiderer, I’ve learned that a well-organized inspection routine can be the difference between a good job and a great one.
Let’s dive into a practical process that combines the technical nuances with everyday craft wisdom. From preparing your workspace to marking defects, each step will guide you through verifying your embroidery’s quality comprehensively yet efficiently.
Preparing Your Inspection Workspace
First things first, create an environment conducive to detailed inspection. Proper lighting is crucial, natural daylight or daylight-simulating lamps help reveal subtle flaws. Sometimes, I use a magnifying glass or a handheld magnifier for close-up checks, especially on intricate designs. Keep your embroidery placed on a clean, flat surface, and gather tools like removable fabric markers, a ruler, and a lighted magnifier to streamline the process.
Initial Checks: Machine Calibration & Setup
Start by confirming your machine’s calibration. For Janome machines, automatic tension control has been a game-changer, ensuring tension is even across all threads prevents puckering or loose stitches. Double-check the hoop tension; fabric should be taut but not stretched, which can distort the final design. If the tension is off, recalibrate before proceeding; a small tweak here can prevent a cascade of defects later on.
Inspecting Early Stitches for Pattern Alignment
Once the machine setup is verified, examine the first 3-5 inches of embroidery. This initial segment reveals a lot about the stitch quality, tension consistency, and alignment. Using digital pattern alignment tools like AcuSetter makes this step faster and more precise, especially useful for complex logos or text. If the pattern isn’t aligned perfectly, it’s better to fix it now rather than after the entire design is done.
Comprehensive Final Review & Defect Marking
Now, take your time to carefully inspect the whole embroidery. Look for puckering, skipped stitches, thread breaks, or areas of color bleeding. These are common pitfalls that can sometimes be overlooked at a quick glance. As you identify defects, mark them with removable fabric markers, this keeps your corrections organized and prevents accidental rework. If a defect is minor, re-stitching in the same session is often possible; for major issues, plan a rework or panel matching.
Implementing this systematic approach ensures you catch imperfections early, maintain high quality, and build trusted craftsmanship. Mastering the inspection process might take practice, but once it becomes second nature, your finished embroidery will reflect your true skill and dedication to quality.
Recommended Equipment & Software for Quality Assurance
When it comes to achieving top-notch embroidery quality, having the right equipment and digital solutions is essential. It’s the difference between a professional finish and a project riddled with thread breakage or uneven stitches. From selecting the ideal machine to using precise software for pattern design, each element plays a crucial role in the overall quality control process.
Modern embroidery machines have advanced significantly, offering features that streamline workflow and improve stitch consistency. Additionally, high-quality software ensures your designs are accurate before even starting the stitching. Proper tools like large hoops and stabilizers are equally vital, especially when working on delicate fabrics. Let’s dive into some of the essential equipment and software that can elevate your embroidery game.
Embroidery Machines: Choosing the Right Fit
The market offers a wide range of embroidery machines suitable for different skill levels and budgets. For instance, the Brother SE1800, priced around $700, is a versatile choice with its user-friendly interface and multiple built-in designs. On the higher end, Bernina models ranging from $1, 200 to $3, 000 are renowned for their incredible detail work and precision, making them ideal for professionals who demand perfection with every stitch. Janome machines, especially those with automatic tension and multi-design options, strike a balance between affordability and advanced features, allowing for efficient, high-quality embroidery.
Recent reviews highlight that machines like the Brother SE1800 and Bernina 590 are favorites among hobbyists and pros alike, thanks to their durability and feature sets. Their ability to handle complex designs with minimal fuss significantly reduces errors, saving time during quality checks.
Pattern Design Software: Accuracy and Efficiency
Design software is the backbone of precise embroidery. Janome’s AcuEdit and AcuSetter apps provide intuitive editing, automatic pattern alignment, and easy management of large projects. Embird, costing between $200 and $500, is celebrated for its extensive digitizing capabilities, enabling detailed customization of patterns. Wilcom, often regarded as a professional industry standard, offers advanced tools for perfecting designs and ensuring their digital accuracy before the stitching begins.
Using these solutions cuts down on troubleshooting and rework, directly impacting your quality assurance by ensuring your designs are flawless from the start. Plus, software updates constantly refine pattern accuracy, keeping your embroidery sharp and professional.
Hoops, Stabilizers, and Thread Quality
Matching the right hoop size, up to 12 inches, is key to handling large or complex designs smoothly. Tear-away and wash-away stabilizers are your allies when working on intricate fabrics like 72-74 count weaves, as they maintain stitch uniformity and reduce defects. Investing in high-quality threads, such as Madeira or Sulky’s polyester and rayon, drastically diminishes breakage and inconsistent tension issues.
These accessories are often overlooked but are vital in maintaining a consistent quality standard. A common mistake is using stabilizers that don’t suit the fabric, which can lead to puckering or loose stitches. Experimenting with different stabilizer types helps identify the best options for specific projects, ultimately saving time in the long run.
Inspection Tools for Quality Control
To catch small flaws early, many experienced embroiderers rely on LED magnifiers, portable light boxes, and digital tension meters. A simple digital tension meter, costing around $50, allows you to monitor and maintain consistent thread tension across multiple machines. This consistency is crucial for preventing defects like skipped stitches or thread breakage.
Regular inspection using these tools fosters a meticulous approach, think of it as your personal quality inspector, ensuring every project meets your high standards and reducing wastage and rework.
Implementing Corrective Actions During Production

When you’re deep into a machine embroidery project, the last thing you want is to let a defect go unchecked and affect the final outcome. The best approach is to be proactive: immediately stop the machine at the first sign of trouble. Whether it’s misalignment, thread breakage, or puckering, catching issues early prevents them from cascading into larger problems and saves you a lot of time in rework later.
Immediate Stopping and Troubleshooting
Once you notice a defect, say, stitches are out of alignment or a section appears puckered, hit the emergency stop or pause button. It’s tempting to keep going to save time, but a quick pause allows you to assess what went wrong. Common mistakes like overhandling the fabric, improper hooping, or incorrect tension settings can cause defects. Address them on the spot, re-hoop if needed, check for fabric shifting, or tighten/loosen threads accordingly.
Check and Re-Thread the Machine
A frequent culprit behind embroidery issues is improper threading, especially in multi-needle machines. Double-check that every thread passes through the tension disks correctly and is securely seated in the needle bar. Even a slight misthread can lead to inconsistent tension, which results in loose stitches or puckering. Re-thread the machine if anything looks off, and then run a few test stitches to gauge improvements.
Adjust Tension Settings
Adjusting tension can dramatically improve stitch quality, by up to 30%, based on industry data. If stitches are loose or puckered, carefully tighten or loosen the upper and bobbin tension. Use scrap fabric to test after each tweak, ensuring the tension is balanced for your specific fabric and thread type. Remember, different fabrics like fleece or silk may require different tension settings for optimal results.
Modify Stitch Density
Sometimes, adjusting the stitch density in problematic areas can salvage a project. For puckering, decrease stitch density; for loose stitches or gaps, increase it gradually. Use your software to fine-tune the density in specific pattern segments, rather than globally, to maintain consistency. Running test segments on scrap material helps you find that sweet spot without wasting your main fabric.
Re-Seal or Rework Sections
If defects persist, it’s often better to re-embroider the affected sections. Carefully remove the problematic stitches, reapply a fresh stabilizer if needed, and re-stitch. This is particularly important if the stabilizer was improperly placed or shifted during initial embroidery. Sometimes, a minor rework is quicker than trying to fix a defect post-embroidery, especially on intricate designs.
Utilize Test Stitches for Quality Assurance
After making any adjustments, always run test stitches on scrap fabric to verify improvements. Short segments help you spot tension issues, thread breaks, or misalignment before proceeding onto your main project. Keeping this iterative process consistent saves you from costly rework and reinforces your skill at troubleshooting on the fly.
Maintaining Consistent Quality and Customer Satisfaction
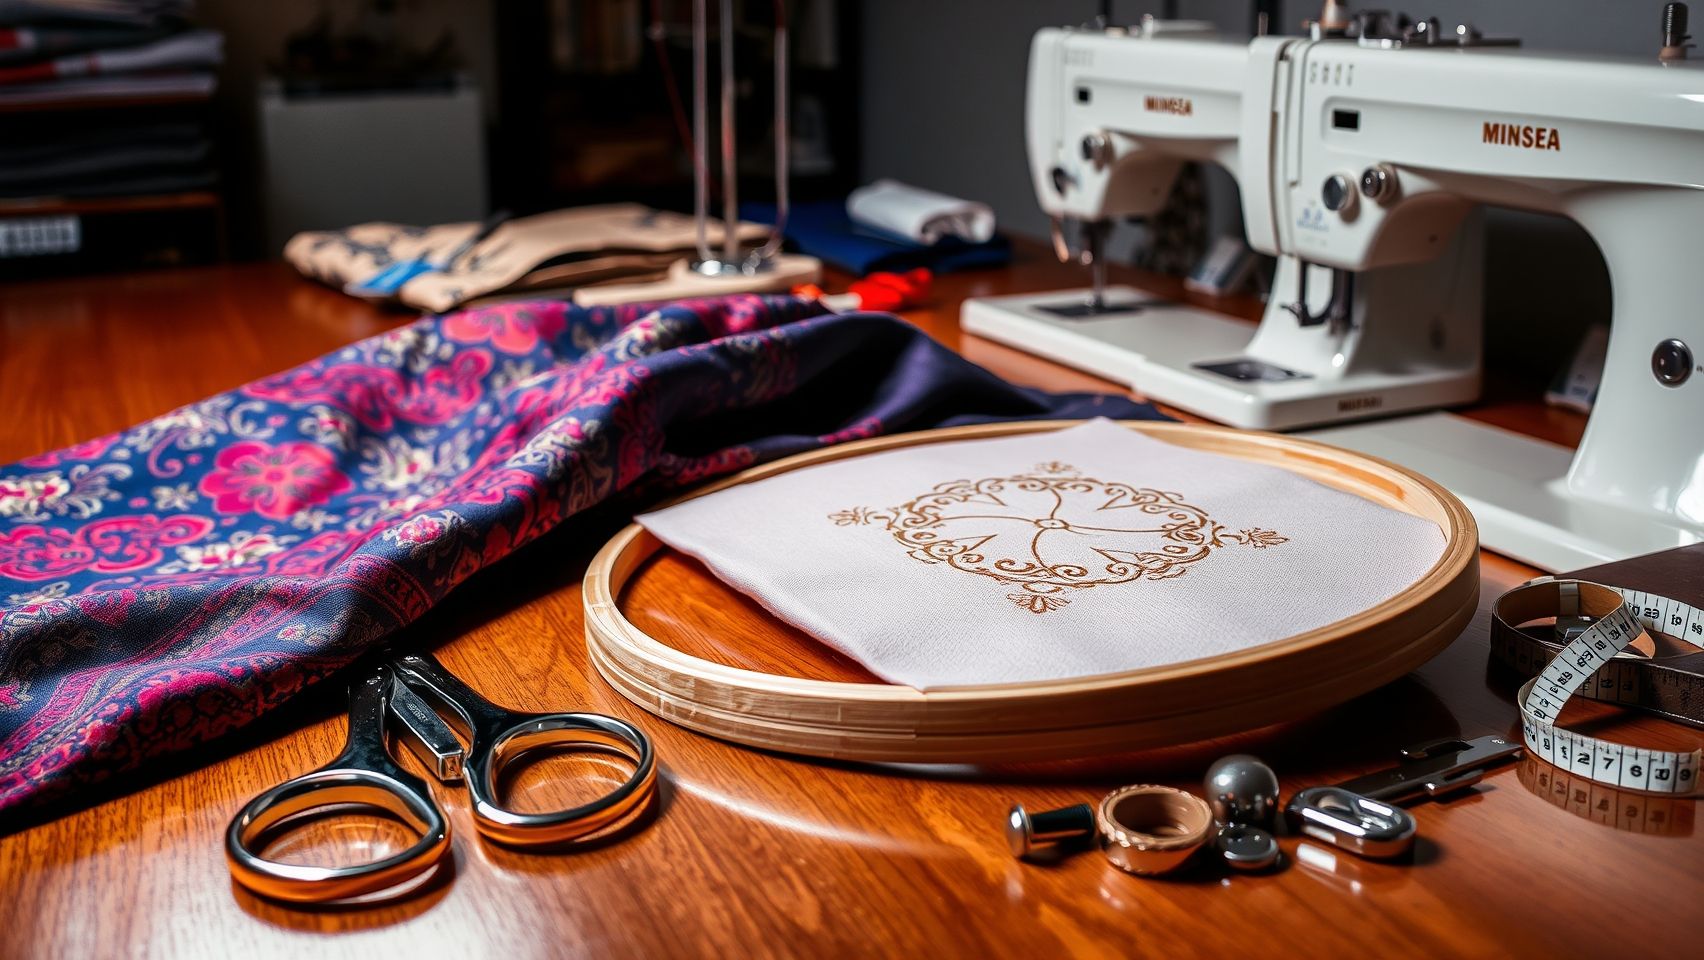
Achieving top-notch quality in machine embroidery isn’t a one-and-done task; it’s an ongoing commitment that requires vigilance, skill, and a bit of strategic planning. Regular equipment checks, meticulous staff training, and attentive listening to customer feedback form the backbone of a successful quality control system. When you cultivate these habits, you not only reduce errors but also build trust and loyalty among your clients.
From my own experience, routine maintenance on embroidery machines, following manufacturer guidelines, can dramatically cut down on defects. For example, Janome, Brother, and Bernina models all benefit from scheduled calibration and cleaning, which keeps stitches crisp and fabric tension consistent. Over time, I’ve found that a simple weekly check of bobbins, needles, and tension settings prevents most issues before they escalate into reworks or complaints.
Routine Equipment Checks and Staff Training
Creating a standardized checklist for each embroidery batch ensures no step is overlooked. This might include confirming hoop alignment, thread condition, and machine calibration. Training staff to recognize common defects like puckering, misalignment, or thread breaks speeds up troubleshooting. Teaching them to document these issues also feeds into a larger quality management system, allowing you to analyze defect trends over time.
Investing in ongoing education is equally vital. Attending workshops or engaging with industry forums reveals new techniques, software updates, and best practices. For instance, staying updated with the latest firmware or embroidery software, such as Wilcom or Bernina’s new tools, keeps your machines performing at peak efficiency, reducing error rates and rework efforts.
Leveraging Customer Feedback
After delivering each batch, actively seeking customer reviews is a game-changer. Complaints about puckering, misalignment, or inconsistent color matching often point to specific process flaws or equipment needs. By tracking these feedback points systematically, you can implement targeted staff training or machine adjustments, leading to a measurable increase in client satisfaction, research indicates that incorporating customer input can boost satisfaction levels by 15–20%.
In practice, I keep a simple feedback log that helps spot recurring issues, and before long, you start noticing patterns. This proactive approach gives you the edge in refining workflows, selecting better materials, or upgrading equipment, all of which reinforce your reputation for quality.”
Conclusion
As we’ve explored, maintaining top-notch embroidery quality requires a thorough understanding of both foundational techniques and emerging innovations. Incorporating a detailed quality control checklist, along with proper equipment and systematic inspection processes, can significantly reduce defects and elevate your craftsmanship. Regular maintenance and ongoing staff training are vital to sustaining high standards, especially as technology continues to advance in exciting ways.
Remember, building a reputation for excellence is a journey, one that balances skill, patience, and a keen eye for detail. The latest trends suggest that embracing innovations like AI and automation can give you a competitive edge, but mastering the essentials always remains paramount. Your dedication now sets the stage for future growth and success in the vibrant world of embroidery.
Start implementing these practical inspection and correction steps today to improve your embroidery quality and truly delight your clients. Keep exploring, keep learning, and let your passion for this timeless craft continue to inspire both you and those who wear your creations. The art of embroidery is endless, it’s about weaving your vision into every stitch and embracing the journey ahead.