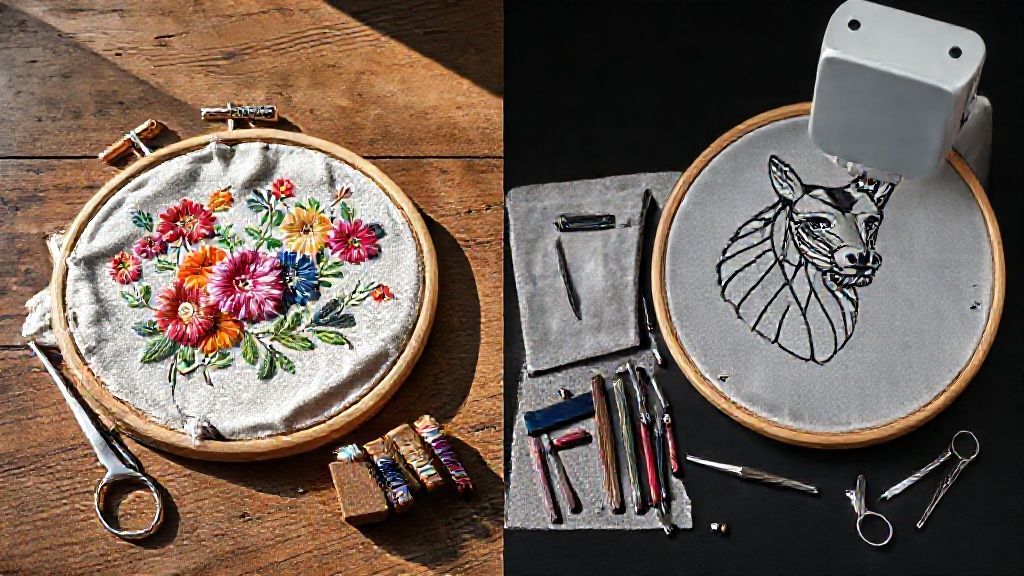
Free vs. Paid Embroidery Software: Practical Choices
This post contains affiliate links. As an Amazon Associate, Latest Embroidery earns from qualifying
purchases, at no extra cost to you. Learn more.
Navigating the diverse landscape of embroidery software in 2025 can be challenging, with many users unsure whether to invest in paid solutions or leverage free alternatives for their projects. This article addresses that core dilemma by directly comparing a prominent free option, Ink/Stitch, with established paid software in the market. We will examine their respective features, identify inherent limitations, assess output quality, and evaluate cost-effectiveness for a range of embroidery needs. Understanding these practical differences is crucial for making informed decisions that align with project scope and budget. The embroidery software market continues to evolve, with significant advancements impacting both free and paid offerings. Examining the current state of these tools provides a clear path forward for hobbyists and professionals alike. Continue reading to understand which software category best suits your specific embroidery workflow in 2025.
Free vs. Paid Embroidery Software: Practical Choices 2025
In a hurry? Jump to our recommended digitizing picks ↓
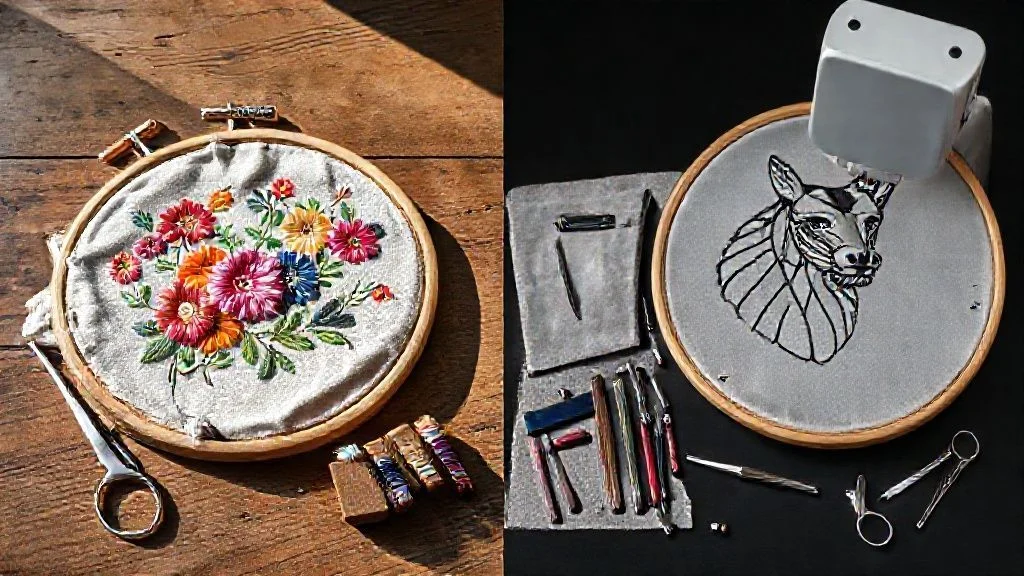
For hobbyists and small-scale creators, the accessibility of free embroidery software presents a compelling entry point into digital design for stitching. These tools offer a foundational understanding of embroidery design principles without the financial commitment required by professional-grade paid software. Exploring these options allows users to experiment with designs and learn the basics of digitizing.
While free software may not possess the automated features of its paid counterparts, it provides essential functionalities for creating and editing embroidery files. Understanding these capabilities and limitations is key to managing expectations and leveraging these tools effectively.
Comparing Free Embroidery Software Capabilities
Ink/Stitch stands out as a prominent free, open-source embroidery digitizing solution. It operates as a plugin for the popular vector graphics editor Inkscape, making it accessible to users already familiar with or willing to learn Inkscape’s interface. This integration allows for the creation of designs using Inkscape’s drawing tools, which are then translated into embroidery stitches by Ink/Stitch.
Ink/Stitch supports fundamental stitch types and enables manual pathing, offering users direct control over stitch placement and direction. This manual approach is beneficial for learning the intricacies of digitizing and for creating precise, simple designs. Users can achieve a range of effects by strategically manipulating stitch directions and densities. For instance, satin stitches might be manually angled for different visual textures, and underlay stitches can be added manually for better fabric support.
However, free software like Ink/Stitch generally lacks sophisticated auto-digitization features found in paid programs. This means that converting complex raster images or intricate vector graphics into stitch files typically requires significant manual effort. Advanced functionalities such as professional lettering modules, automatic object conversion, or sophisticated stitch effects are also usually absent. The learning curve for free tools can vary; while some are designed with beginners in mind, others, like Ink/Stitch due to its reliance on Inkscape, may require a more dedicated learning period.
File format support is a critical consideration, and free software often supports common embroidery formats. Ink/Stitch, for example, allows users to export designs in formats such as DST, PES, EXP, HUS, and JEF, which are compatible with most home and commercial embroidery machines. This broad compatibility ensures that designs created with free tools can be readily used on various embroidery hardware.
Community support and ongoing development are significant advantages of open-source projects like Ink/Stitch. Users can often find assistance through online forums, user groups, and developer channels. The collaborative nature of open-source development means that the software is continuously being improved and updated, often incorporating user feedback and bug fixes. While specific technical details like stitch density ranges or optimal tension settings are not hardcoded into the software itself, they are informed by community best practices and can be adjusted manually by the user based on fabric type and desired outcome, typically falling within ranges like 0.2mm to 0.5mm for standard fill stitches, depending on the desired density and fabric.
Pros and Cons of Free Embroidery Software
Other Free Software Options
Beyond Ink/Stitch, other free or trial-based options exist for embroidery enthusiasts. SophieSew offers a free version with basic digitizing capabilities suitable for simple projects. My Editor provides a straightforward interface for editing existing embroidery files. SewArt, while a paid software, often provides a free trial period, allowing users to explore its features before committing to a purchase. These alternatives cater to different user needs, from basic editing to initial digitizing attempts.
Free vs. Paid Embroidery Software: Practical Choices 2025
For individuals looking to create custom embroidery designs without the immediate investment in professional software, Ink/Stitch offers a viable entry point. This open-source tool, integrated with the free vector graphics editor Inkscape, provides a functional pathway for beginners to translate their creative ideas into stitchable files. Understanding the workflow from design conceptualization to machine-ready export is key to leveraging its capabilities.
This section will guide you through the process of creating basic embroidery designs using Ink/Stitch, covering installation, design manipulation, and export options. We will also touch upon the importance of previewing your work and generating supplementary documentation for project management.
Installing Inkscape and Ink/Stitch
The first step involves setting up your design environment. You’ll need to download and install Inkscape, a powerful, free, and open-source vector graphics editor. Once Inkscape is installed, the Ink/Stitch extension can be added. This extension transforms Inkscape into an embroidery design tool, enabling the conversion of vector graphics into machine embroidery formats.
Drawing Basic Shapes and Adding Text
Within Inkscape, you can utilize its familiar drawing tools to create your designs. This includes drawing geometric shapes like circles and squares, or freehand drawing with the pencil tool. To incorporate lettering, Inkscape’s text tool allows you to add words and phrases. It’s advisable to keep initial designs simple to familiarize yourself with the conversion process.
Converting Vector Objects to Embroidery Paths
Before Ink/Stitch can interpret your artwork for embroidery, vector objects need to be converted into stitchable paths. In Inkscape, select the object or group of objects you wish to convert. Then, navigate to ‘Path’ in the menu and select ‘Object to Path,’ or use the keyboard shortcut Ctrl+Alt+C. This action breaks down the vector shapes into a format that the embroidery extension can process.
Parametrizing Designs and Adjusting Stitch Settings
Once your objects are converted to paths, you can use the Ink/Stitch extension to define the embroidery parameters. Select the converted paths and access Ink/Stitch’s ‘Params’ feature. Here, you can adjust crucial settings such as stitch density, underlay, and trims. The integrated simulator provides a real-time preview of how these settings will affect the final stitched design, allowing for iterative adjustments. For instance, stitch density can be adjusted based on fabric type; a common range for woven fabrics is between 0.35mm and 0.45mm to ensure good coverage without excessive thread usage.
Previewing the Design and Exporting for Machine Use
The Ink/Stitch simulator offers a vital preview of your design’s appearance and stitch order. This visual representation helps identify potential issues before stitching. After satisfactory preview, the design must be exported in a format compatible with your embroidery machine. Common machine-readable formats include PES, DST, and EXP. Saving the design as an SVG file is also recommended, as this preserves the editable vector data for future modifications.
Exporting a PDF for Client Information and Project Planning
Ink/Stitch includes a feature to export a PDF document of your design. This PDF can be invaluable for client communication, providing a visual representation of the final product, or for personal project planning. It typically includes essential details such as thread color sequences, stitch count, design dimensions, and estimated thread usage, facilitating accurate material purchasing and project management. The embroidery craft industry continues to see growth, with home embroidery contributing significantly to this market.
Ink/Stitch: Pros and Cons
Paid Embroidery Software: Features and Benefits
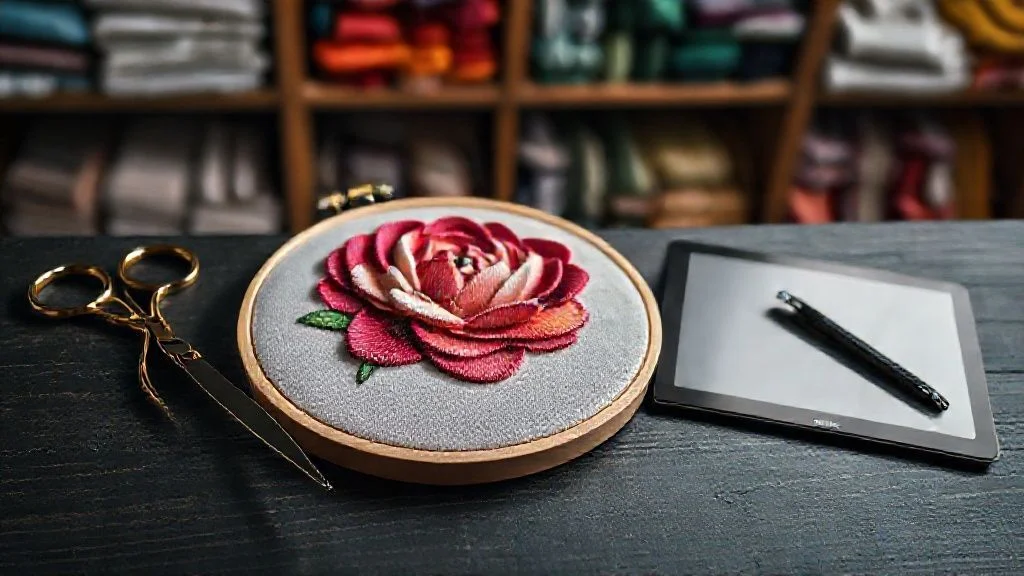
While free embroidery tools offer basic functionality, paid software solutions provide a significantly more robust and professional feature set. These programs are designed to streamline complex design processes, enhance creative control, and ensure high-quality output for both hobbyists and commercial operations. Investing in professional software can lead to increased efficiency, greater design versatility, and ultimately, a higher standard of finished embroidery projects.
The advantages of paid embroidery software extend to advanced capabilities that are often limited or absent in free alternatives. This includes sophisticated tools for digitizing, intricate stitch manipulation, and extensive font management, all contributing to a more polished and professional end product.
Advanced Auto-Digitization
Paid embroidery software excels in its auto-digitization capabilities, converting raster images (like JPGs or PNGs) into stitch files with a high degree of accuracy. Programs such as Hatch Embroidery and Wilcom Embroidery Studio offer sophisticated algorithms that analyze image details, color gradients, and shapes to generate optimal stitch types and densities. This process can significantly reduce manual digitizing time, allowing designers to focus on refinement rather than initial conversion.
Professional Lettering and Font Libraries
A key differentiator for paid software is the inclusion of extensive and professional lettering toolsets. These programs typically feature a wide array of pre-digitized fonts, including multi-language support and advanced kerning and spacing adjustments. Embrilliance Essentials, for instance, allows users to easily manipulate text, apply outlines, and convert standard TrueType fonts into stitchable embroidery designs, offering a level of customization not found in basic tools.
Enhanced Stitch Control and Customization
Paid embroidery software provides granular control over stitch parameters, enabling users to fine-tune every aspect of the design. This includes precise adjustments to stitch density, underlay, pull compensation, and stitch types (e.g., satin, fill, running stitches). For example, users might set stitch density between 0.35mm and 0.45mm for fill stitches on woven fabrics to achieve a smooth, even finish. Wilcom Embroidery Studio, in particular, is renowned for its comprehensive stitch editing tools, allowing for highly specialized results.
Seamless Integration with Other Design Software
Professional embroidery software often integrates smoothly with other popular graphic design applications, such as Adobe Photoshop or Illustrator. This compatibility allows designers to create or modify artwork in their preferred design programs and then import it into the embroidery software for digitization. This workflow is crucial for professionals who rely on a cohesive design ecosystem to maintain consistency and efficiency across projects.
Comprehensive Tutorials and Customer Support
A significant benefit of paid embroidery software is the availability of dedicated customer support and extensive learning resources. Companies like Hatch Embroidery and Wilcom provide detailed tutorials, online documentation, and responsive customer service channels. This support system is invaluable for troubleshooting issues, learning advanced techniques, and ensuring users can maximize the software’s potential, especially when encountering complex design challenges or technical specifications.
Scalability for Professional and Commercial Use
Paid embroidery software is built for scalability, accommodating the needs of both individual professionals and large commercial operations. Features such as project management tools, batch processing, and advanced file handling are standard in higher-tier packages. Software like Wilcom Embroidery Studio is an industry standard for commercial digitizing houses, supporting complex designs and high-volume production requirements, often stitching at speeds up to 1,000 stitches per minute (SPM) on compatible machines.
Feature Comparison: Paid Embroidery Software
Pricing and Accessibility
The cost of paid embroidery software varies considerably, reflecting the depth of features and target audience. Embrilliance Essentials can be acquired for approximately $149, making it an accessible entry point for many users. Hatch Embroidery offers tiered pricing based on feature sets, catering to different user needs, with starter packages typically in the mid-hundreds of dollars. Wilcom Embroidery Studio represents the high end, with professional suites costing several thousand dollars, reflecting its comprehensive toolset for commercial operations.
Many vendors offer free trial periods for their software, allowing potential buyers to test the functionalities before committing to a purchase. This practice is common across the industry and enables users to assess compatibility and workflow integration with their existing equipment and design processes.
Free vs. Paid Embroidery Software: Practical Choices 2025
Deciding between free and paid embroidery software involves a careful evaluation of immediate costs versus long-term benefits, especially as the embroidery landscape evolves in 2025. While the initial investment can range from zero to several thousand dollars, the choice significantly impacts efficiency, output quality, and business scalability.
Understanding this cost-benefit dynamic is crucial for both hobbyists and commercial operations. This section breaks down the financial and operational considerations to help determine the most practical software solution for your specific needs.
Initial Cost vs. Long-Term Value
The most apparent difference lies in the initial outlay. Free software, such as Ink/Stitch, presents a zero-dollar entry point, making it an accessible option for individuals starting with embroidery or undertaking simple personal projects. This lack of upfront cost is a significant advantage for budget-conscious users, allowing them to learn fundamental digitizing and design principles without financial risk.
However, paid software solutions often represent a more strategic investment for those seeking professional-grade results and greater efficiency. Programs like Hatch Embroidery, with basic versions starting around $139, and more comprehensive suites like Wilcom Embroidery Studio, which can cost several thousand dollars, offer advanced features that streamline workflows and enhance design capabilities. The long-term value of these paid options lies in their ability to save time, reduce errors, and produce superior quality embroidery, which can translate into greater profitability for commercial ventures.
Sufficiency of Free Software for Hobbyists and Basic Projects
For hobbyists, crafters, and those working on straightforward projects, free embroidery software often provides sufficient functionality. Tools like Ink/Stitch can handle basic design creation, conversion to embroidery formats, and editing of existing designs. These programs are invaluable for learning the basics of stitch types, density, and placement without the pressure of a financial commitment.
Users can create monograms, simple logos, and appliqué designs effectively with free software. The learning curve for these tools is generally manageable, and the availability of online communities and tutorials further supports users in mastering their capabilities for personal use. This makes them an ideal starting point for anyone exploring the craft.
Return on Investment (ROI) for Commercial Ventures
For businesses involved in custom embroidery, apparel decoration, or textile manufacturing, the ROI of paid software is a critical consideration. While the initial cost of premium software can be substantial, it is often justified by enhanced features such as advanced auto-digitization, professional lettering tools, and sophisticated stitch editing capabilities. These features can drastically reduce the time required for digitizing complex designs, which is a labor-intensive process.
Furthermore, paid software frequently includes robust quality control features and design previews that minimize errors during production. Reducing the number of mistakes, such as incorrect stitch types or poorly digitized areas, directly saves on material costs and avoids costly re-work. The efficiency gains and improved output quality offered by professional software often lead to increased order volume and customer satisfaction, making it a sound financial investment for commercial success.
The Cost of Upgrading and Total Cost of Ownership
Transitioning from free to paid embroidery software represents an upgrade cost that must be factored into the decision-making process. This cost is not merely the purchase price of the software but also includes the potential expense of training and the time invested in learning new, more complex interfaces and functionalities. The total cost of ownership (TCO) extends beyond the initial purchase price to encompass ongoing subscriptions, updates, potential hardware requirements, and the learning curve associated with mastering advanced features.
While free software has a TCO of $0 in terms of licensing, the hidden costs can include increased time spent on manual adjustments, potential design errors leading to material waste, and limitations on complex projects that may result in lost business opportunities. Paid software, despite its higher upfront cost, can offer a lower TCO over time due to its efficiency, error reduction, and ability to handle a wider range of professional tasks. Analyzing TCO provides a more accurate financial picture than simply comparing initial purchase prices.
Cost-Benefit Breakdown: Free vs. Paid Embroidery Software
A direct comparison highlights the trade-offs between free and paid embroidery software solutions. Free options excel in accessibility and initial cost, making them perfect for beginners and hobbyists. Paid software, conversely, offers advanced capabilities and efficiency gains that are essential for professional production and commercial applications.
The decision hinges on project scope and business objectives. For those looking to explore embroidery as a hobby or complete simple personal items, free software is a practical and cost-effective choice. However, for businesses aiming for high-volume production, intricate designs, and professional market competitiveness, investing in paid software is often a necessity to achieve desired outcomes and ensure profitability.
Free vs. Paid Embroidery Software: Practical Choices 2025
Navigating the world of embroidery software can present challenges, whether you’re using free or paid options. Understanding common issues and their solutions can save significant time and frustration. This section focuses on troubleshooting frequent problems to help you achieve optimal results with your embroidery projects.
From software installation hiccups to achieving high-quality stitches, addressing these technical hurdles ensures a smoother creative process. We’ll cover specific issues related to popular free tools like Ink/Stitch and provide general advice for paid software users.
Troubleshooting Ink/Stitch Installation and Visibility
A common frustration with Ink/Stitch is its disappearance from the Inkscape extensions menu or appearing grayed out. This often stems from conflicts with your computer’s antivirus software, which may flag installation files as suspicious. To resolve this, add the Ink/Stitch installation folder to your antivirus’s exception list and then perform a clean reinstallation of both Inkscape and Ink/Stitch.
Python path errors can also disrupt Ink/Stitch functionality. These errors typically indicate that Inkscape cannot locate the necessary Python components. Reinstalling Inkscape, ensuring you select the option to install Python during the setup if prompted, often corrects these path issues.
Resolving Embroidery-Specific Errors in Ink/Stitch
Ink/Stitch can generate errors such as ‘no embroiderable paths found’ or problems with ‘satin column’ creation. These errors usually point to issues within your design’s vector paths. They can occur if shapes are invalid, elements are too small to be stitched effectively (generally below 1.5mm for fine details), or if satin column rungs are not correctly placed or spaced.
To diagnose and fix these design issues, Ink/Stitch offers helpful tools. The ‘Troubleshoot Objects’ function can identify problematic vector elements, while the ‘Cleanup Document’ tool can simplify paths and remove extraneous points. Always ensure your vector shapes are closed and appropriately scaled before attempting to convert them to embroidery formats.
General Troubleshooting for Paid Embroidery Software
For users of paid embroidery software, a proactive approach to troubleshooting is often most effective. Regularly checking for software updates is crucial, as developers frequently release patches to fix bugs and improve performance. Ensure your system meets the software’s minimum technical requirements, as outdated hardware can lead to sluggishness or errors.
When encountering persistent issues, consulting the software vendor’s official support resources is the next logical step. This often includes comprehensive knowledge bases, user forums, and direct customer support channels. Many paid software packages also offer extensive tutorial libraries that can help clarify intended functionality and resolve user errors.
Understanding Stitch Quality Issues
Unsatisfactory stitch quality can arise from a combination of software settings, machine calibration, and material choices. If your software is generating designs that result in puckering, skipped stitches, or thread breaks, review the stitch density settings. For woven fabrics, a stitch density between 0.35mm and 0.45mm is often a good starting point, while knits may require a slightly lower density to prevent excessive stretching.
Additionally, consider the type of stabilizer used. For medium-weight cottons, a tear-away stabilizer of at least 2.0 oz/yd² (approximately 68 gsm) can provide adequate support. For stretchy materials like t-shirts, a water-soluble stabilizer might be necessary for surface designs, or a cut-away stabilizer to provide underlying stability. Always consult your machine manufacturer’s recommendations for optimal needle types and thread tensions, which can vary significantly.
Free vs. Paid Embroidery Software: Practical Choices 2025
Transitioning from free embroidery tools to paid software is a strategic decision that many embroiderers face as their skills and project ambitions grow. While free options like Ink/Stitch offer a valuable entry point, they often have limitations when dealing with complex designs or commercial applications. Recognizing when these limitations begin to impact your workflow or the quality of your output is key to determining the right time to invest in more robust solutions.
This section will guide you through the indicators that suggest an upgrade is beneficial, focusing on project complexity, the demand for advanced features, and the pursuit of professional-grade results. Evaluating the return on investment (ROI) of paid software is crucial for business growth and achieving scalability in your embroidery endeavors.
Recognizing the Limits of Free Software
Free embroidery software often provides fundamental design and editing capabilities suitable for simple projects and personal use. However, as designs become more intricate, featuring finer details, gradients, or complex stitch fills, free tools can struggle to produce optimal results. For instance, advanced auto-digitization, which converts images into stitch files, is typically more sophisticated and accurate in paid programs, offering finer control over stitch types and densities. Free software may also lack a comprehensive library of professional fonts or specialized stitch effects, requiring significant manual workarounds for desired aesthetics.
The time invested in overcoming these limitations in free software can become a significant drain on productivity. If you find yourself spending excessive hours on manual adjustments, troubleshooting compatibility issues, or compromising on design elements due to software constraints, it’s a strong signal that a paid solution could offer a more efficient and effective workflow. This is particularly true for intricate designs where precise stitch placement and density are critical for a clean finish.
Assessing Project Scale and Commercial Viability
For hobbyists, the decision to upgrade might stem from a desire for higher quality finishes or a more streamlined design process. However, for those looking to undertake larger projects, produce items for sale, or offer professional embroidery services, the limitations of free software become more apparent. Commercial embroidery demands consistency, efficiency, and the ability to handle a wide range of fabric types and design complexities.
Paid software often includes features essential for commercial viability, such as advanced object manipulation, realistic design preview modes, and the ability to export in a wider array of machine formats. The market for custom embroidery is competitive, and professional output, which paid software facilitates, can be a differentiating factor. If your projects are moving beyond simple monograms or small logos and into apparel customization or corporate branding, investing in professional software is a logical step towards scalability and client satisfaction.
The Need for Advanced Features
As your embroidery ambitions expand, so does the need for advanced features. Paid embroidery software typically excels in areas such as auto-digitization, offering more control over stitch direction, density, and underlay, which are crucial for different fabric types. For example, professional software may allow adjustments to stitch density ranging from 0.30mm to 0.60mm for various materials, ensuring optimal stitch formation and preventing fabric distortion. Professional lettering tools also provide greater flexibility in editing, spacing, and creating custom fonts, far surpassing the basic text functions in free alternatives.
Furthermore, advanced features like object-based editing, realistic 3D stitch simulation, and specialized stitch effects (e.g., fills, gradients, or textures) are commonly found in paid packages. These tools not only enhance design possibilities but also reduce the time spent on manual adjustments. For instance, a feature that automatically calculates stitch density based on fabric type and stitch length can save considerable time and improve final output quality.
When the Learning Curve Becomes Prohibitive
While free software can be a great learning tool, the extensive manual effort and workarounds required for complex tasks can lead to a steep and time-consuming learning curve. If you find yourself constantly searching for tutorials to achieve basic functionalities or spending more time learning to overcome software limitations than actually creating designs, it may be time to consider paid options. Professional embroidery software is often designed with user-friendly interfaces and intuitive workflows, supported by dedicated customer service and comprehensive training resources.
This investment in paid software can free up valuable time, allowing you to focus on creative aspects and business development rather than wrestling with technical hurdles. The efficiency gained from a more streamlined interface and advanced tools can significantly boost productivity, especially when handling multiple orders or complex design iterations. For example, a paid software might offer a more efficient way to manage large design files or complex color sequences, improving overall workflow speed.
Evaluating the ROI of Upgrading
Upgrading from free to paid embroidery software represents an investment, and evaluating its potential return is essential, particularly for small businesses or those looking to professionalize their embroidery services. While initial costs for professional software can range from several hundred to thousands of dollars, the long-term benefits in terms of increased efficiency, improved quality, and expanded design capabilities can yield a significant ROI. For instance, if a paid software allows you to complete projects 20% faster, it directly translates to increased capacity and potential revenue.
Consider the cost of your time: if the hours saved by using more efficient, feature-rich software are factored in, the perceived cost of paid software often diminishes. Furthermore, the enhanced quality and professional output enabled by advanced features can lead to greater customer satisfaction and repeat business. For example, software that allows for precise stitch control, such as maintaining stitch densities between 0.35mm and 0.45mm for certain appliques, can prevent common issues like puckering or thread breaks, thereby reducing material waste and rework.
Choosing the Right Paid Software
When selecting paid embroidery software, it is crucial to align your choice with your specific needs, project types, and budget. Popular professional options include Hatch Embroidery and Wilcom Embroidery Studio, each offering different tiers of features and pricing structures. Hatch Embroidery, for example, provides different versions, such as Hatch 3, catering to hobbyists and professionals with features scaling from basic digitizing to advanced design tools. Wilcom is renowned for its comprehensive suite, often considered an industry standard for high-end professional digitizing and production.
When comparing options, consider factors like the availability of auto-digitization quality, the range of stitch types and effects, lettering capabilities, and the software’s compatibility with your embroidery machine formats. It’s also beneficial to look for software that offers ongoing support, updates, and a community forum for assistance. A feature-by-feature comparison, considering your most frequent or complex design tasks, will help you identify the software that offers the best value and functionality for your specific embroidery workflow.
Conclusion
As we navigate the evolving landscape of embroidery in 2025, the choice between free and paid software is more nuanced than ever. Free tools, such as Ink/Stitch, provide an accessible and powerful starting point for hobbyists and those exploring the craft, offering essential features for learning and basic design creation. However, for those aiming for professional polish, complex projects, or commercial ventures, the advanced capabilities, support, and efficiency offered by paid software remain indispensable.
Ultimately, your decision should be guided by a clear understanding of your unique embroidery journey. Consider your current projects, your future aspirations, and your budget. By thoughtfully evaluating these factors, you can confidently determine whether to leverage the growing array of free embroidery tools or invest in paid software to unlock enhanced efficiency and achieve truly professional output. Don’t let indecision hold back your creativity; take the step that best aligns with your embroidery goals today!
Evaluate your current embroidery projects and future goals to determine whether to leverage free options or invest in paid software for enhanced efficiency and professional output. The right tool is waiting to elevate your creations.