How to Use a Seam Ripper Safely for Machine Embroidery Repairs
This post contains affiliate links. As an Amazon Associate, Latest Embroidery earns from qualifying
purchases, at no extra cost to you. Learn more.
Have you ever found yourself frustrated after accidentally ripping a seam or snagging delicate embroidery threads? You’re not alone. Many crafters and hobbyists face these mishaps, but luckily, a simple tool like a seam ripper can come to the rescue. Imagine salvaging a nearly perfect embroidered design without damaging the fabric, that’s the power of knowing how to use this handy tool properly. But safety and precision are key; misusing a seam ripper can lead to injuries or ruined projects. In this essential guide, you’ll learn how to select the right seam ripper, use it safely, and master techniques that make embroidery repairs less daunting. Whether you’re correcting a mistake or refreshing old designs, understanding these tips will boost your confidence and keep your fingers safe. Ready to become a seam ripper pro? Keep reading for practical advice to elevate your embroidery game!
What Embroiderers Need to Know About Seam Rippers
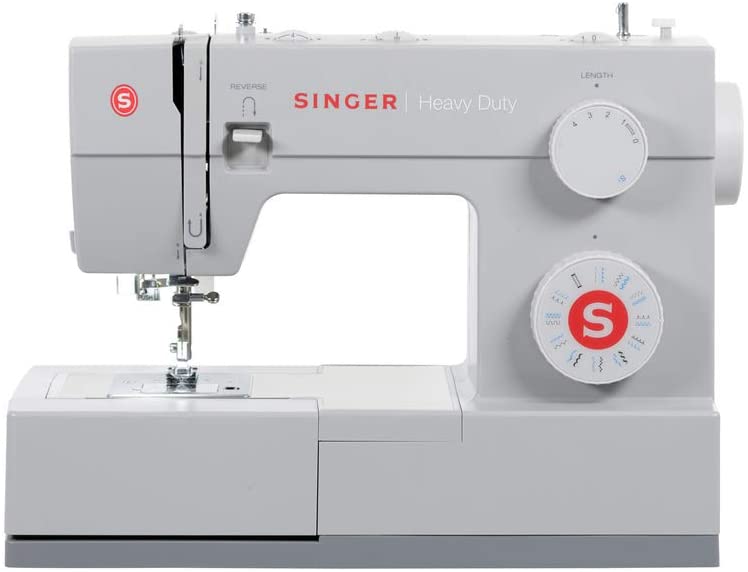
Short on time? If you only take one thing from this guide: Brother SE700 — the machine we point most beginners to — touchscreen, wireless transfer, and it sews as well as embroiders.
Choosing the right seam ripper is crucial for effective and safe repair work in machine embroidery. Recent research highlights the importance of features like ergonomic design, precision blades, and safety mechanisms to enhance usability and safety. Understanding these features can help embroiderers select tools that improve workflow and reduce the risk of fabric or thread damage.
Key Features of Effective Seam Rippers for Embroidery
Studies indicate that the most effective seam rippers have micro-serrated blades, which improve precision without tugging or damaging delicate embroidery threads. Brands like Prym, Dritz, and Edgestitch consistently receive positive reviews for their specialized tools. Prym’s Seam Ripper, priced around $5, features a micro-serrated blade paired with an ergonomic handle, making it ideal for extended use. Dritz’s version, costing approximately $4, includes a safety guard that prevents accidental injuries. Meanwhile, Edgestitch offers an ergonomic ripper at around $12, designed specifically for detailed repairs with a fine tip for precision work.
Safety and Ergonomics: Enhancing User Experience
Safety features such as blade guards and retractable blades are vital in preventing accidents, especially during frequent seam ripping. Tools with ergonomic handles help reduce hand fatigue, a common issue during prolonged embroidery repairs. Recent innovations focus on soft, contoured grips that offer better control and comfort, making the process less strenuous. Investing around $10 in a high-quality seam ripper with ergonomic features provides significant benefits, including enhanced safety and reduced strain, ultimately leading to more efficient workflow.
Step-by-Step Guide to Safely Ripping Seams and Fixing Embroidery
Using a seam ripper correctly is essential for maintaining the integrity of your fabric and embroidery work. Whether you’re correcting a mistake or removing stitches for a redesign, understanding the proper technique ensures a clean, damage-free rip. This guide provides a detailed, safe process to help you improve your embroidery repairs with confidence.
Proper preparation and careful handling are key to successful seam ripping. Applying these techniques will help you avoid fabric snags, tears, or unwanted fraying, making your repair process efficient and safe for your materials.
Prepare Your Workspace
Begin by securing your fabric on a flat, well-lit surface. Good lighting is vital to clearly see the stitches you intend to remove, reducing the risk of damaging the fabric. Use pins or weights to keep the fabric stable, especially if it’s lightweight or stretchy. Keep your tools organized and within reach, including your seam ripper, scissors, and tweezers.
Selecting the Right Seam Ripper
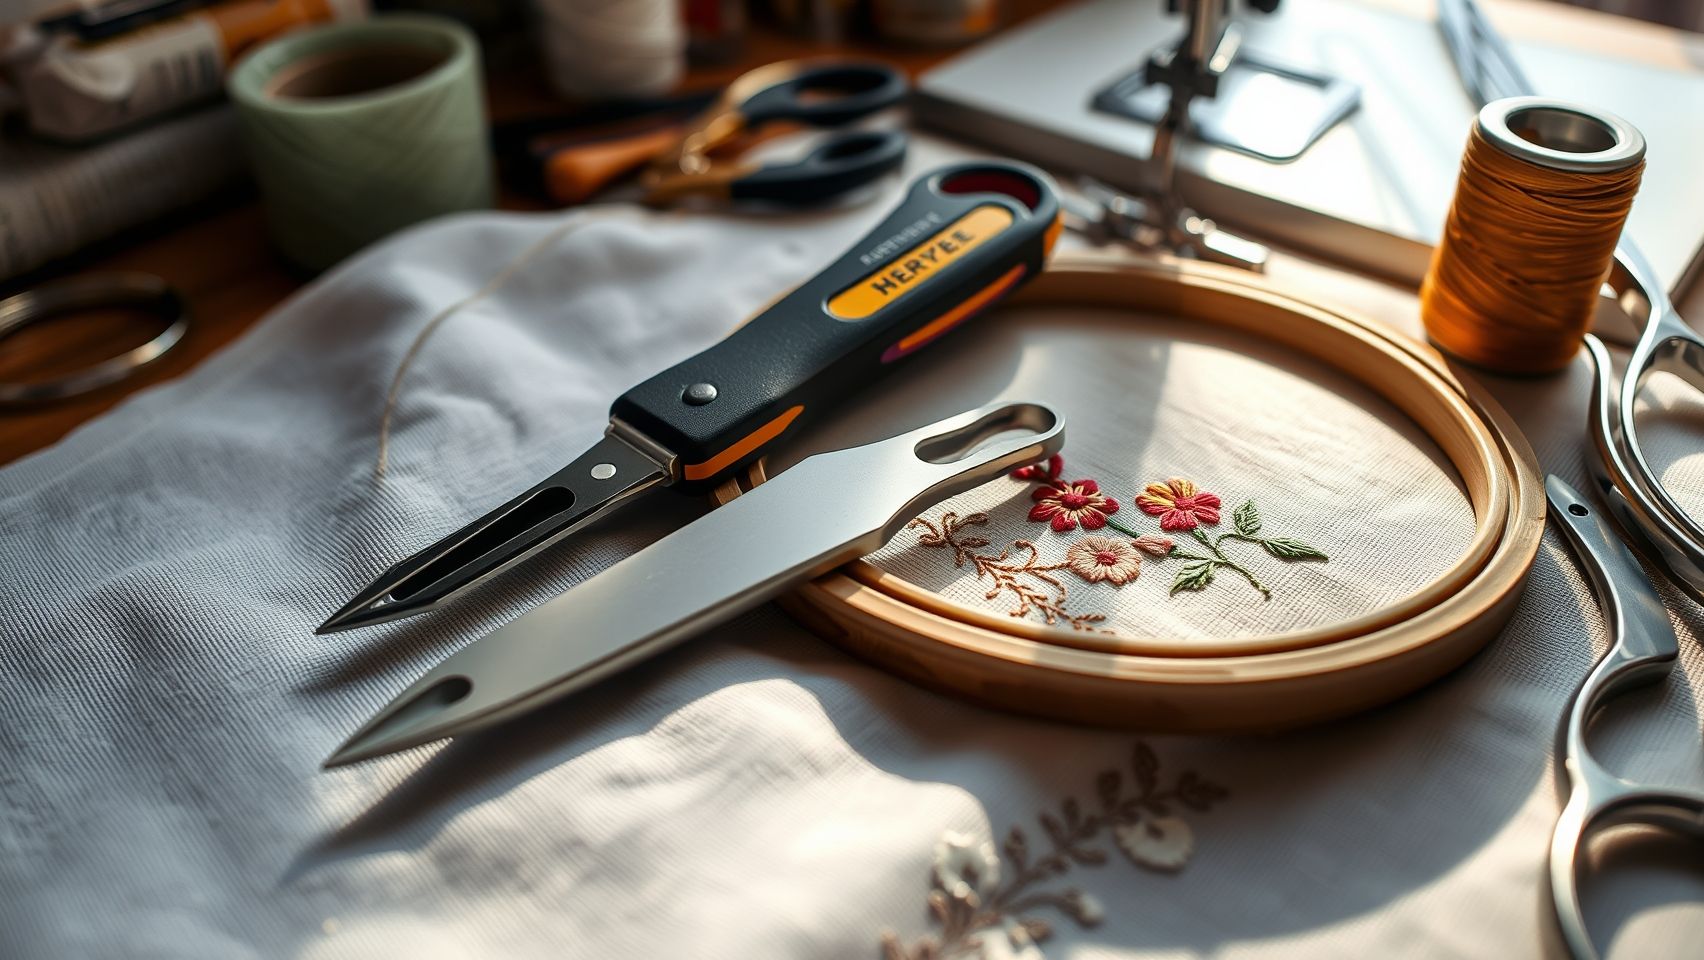
Choose a seam ripper with a fine, sharp blade and an ergonomic handle for comfort during extended use. Modern seam rippers often feature a pointed tip for precision and a protected blade to minimize accidental cuts. Investing in a quality ripper reduces the effort needed and improves safety, especially for intricate embroidery work.
Performing the Seam Rip
Start at a corner or where threads are already loose; this makes the process easier and safer. Gently insert the ripper blade beneath the stitches, taking care not to press too hard. Use minimal pressure and work slowly along the seam, lifting stitches one at a time to prevent fabric tears. If you encounter stubborn threads, gently wiggle the ripper or use tweezers for delicate removal.
Finishing and Cleaning Up
After removing the stitches, smooth the fabric edges with small scissors or a soft brush to prevent fraying. Press the fabric if necessary to restore its flatness. Finally, clean away loose threads using a lint roller or small brush. Practice on scrap fabric first to build your confidence with the tool and technique, ensuring your actual project remains undamaged during repairs.
Tools and Techniques to Improve Seam Ripping Accuracy
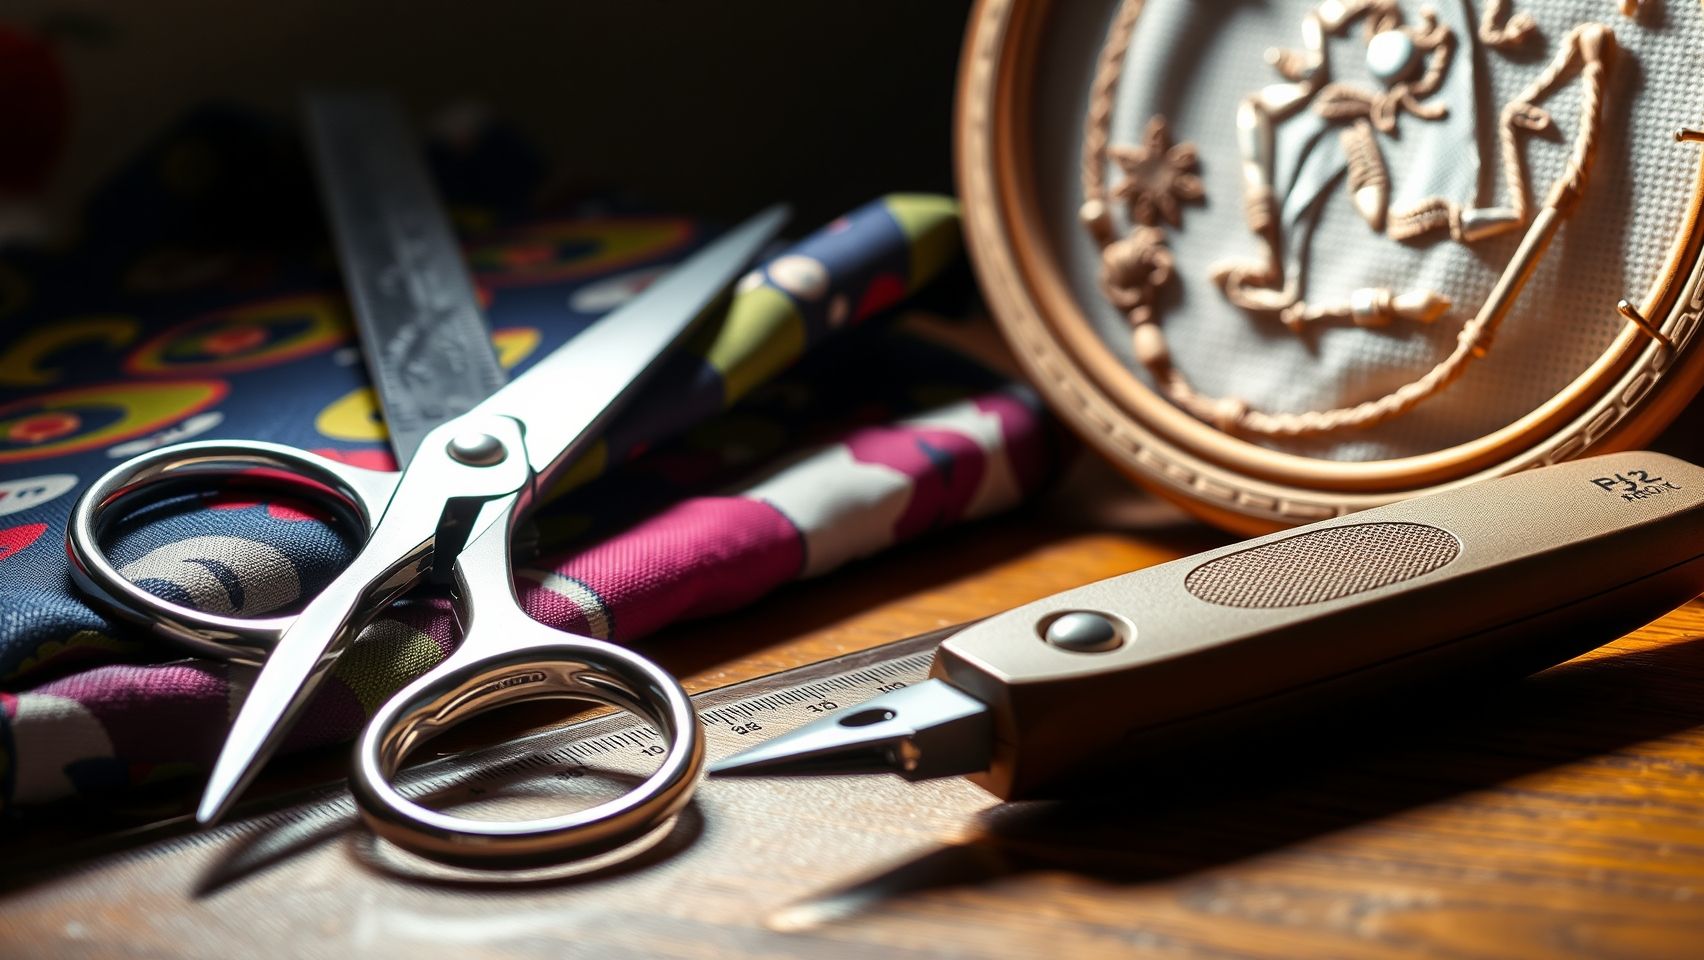
Removing seams from machine embroidery projects requires precision and care to preserve the fabric’s integrity and ensure a professional finish. Using the right tools in combination with proper techniques can significantly enhance the safety and accuracy of seam ripping. Employing specialized tools designed for detailed work, along with vision aids and protective measures, helps achieve cleaner results with minimal fabric damage.
Choosing the Right Tools for Precision
Fine-point seam rippers with curved blades are essential for controlled, detailed seam removal. These tools allow for better maneuverability around intricate embroidery stitches, minimizing the risk of tearing fabric. Replacing dull blades promptly is crucial, a sharp blade makes cleaner cuts and reduces the chance of accidental ripping. Additionally, embroidery scissors are ideal for trimming loose threads post-ripping, ensuring a tidy finish.
Enhancing Visibility and Control
Clearer visibility is vital when working on detailed embroidery. Using magnifying glasses or small LED lights illuminates stitches, making them easier to see and rip accurately. This prevents over-ripping or damaging the fabric. Applying masking tape or painter’s tape along seam edges before ripping acts as a protective barrier, guiding the rip and safeguarding the underlying fabric from accidental tears.
Optimal Techniques for Safe Seam Ripping
Practicing gentle, controlled movements is the best technique to prevent fabric damage. Carefully inserting the seam ripper at a slight angle and peeling away stitches slowly ensures precision without tearing. When working with delicate fabric or dense embroidery, taking your time reduces errors. Regularly replacing dull blades and working with proper lighting ensures a safer, cleaner rip every time.
Comparing Seam Ripper Options for Embroidery Repair
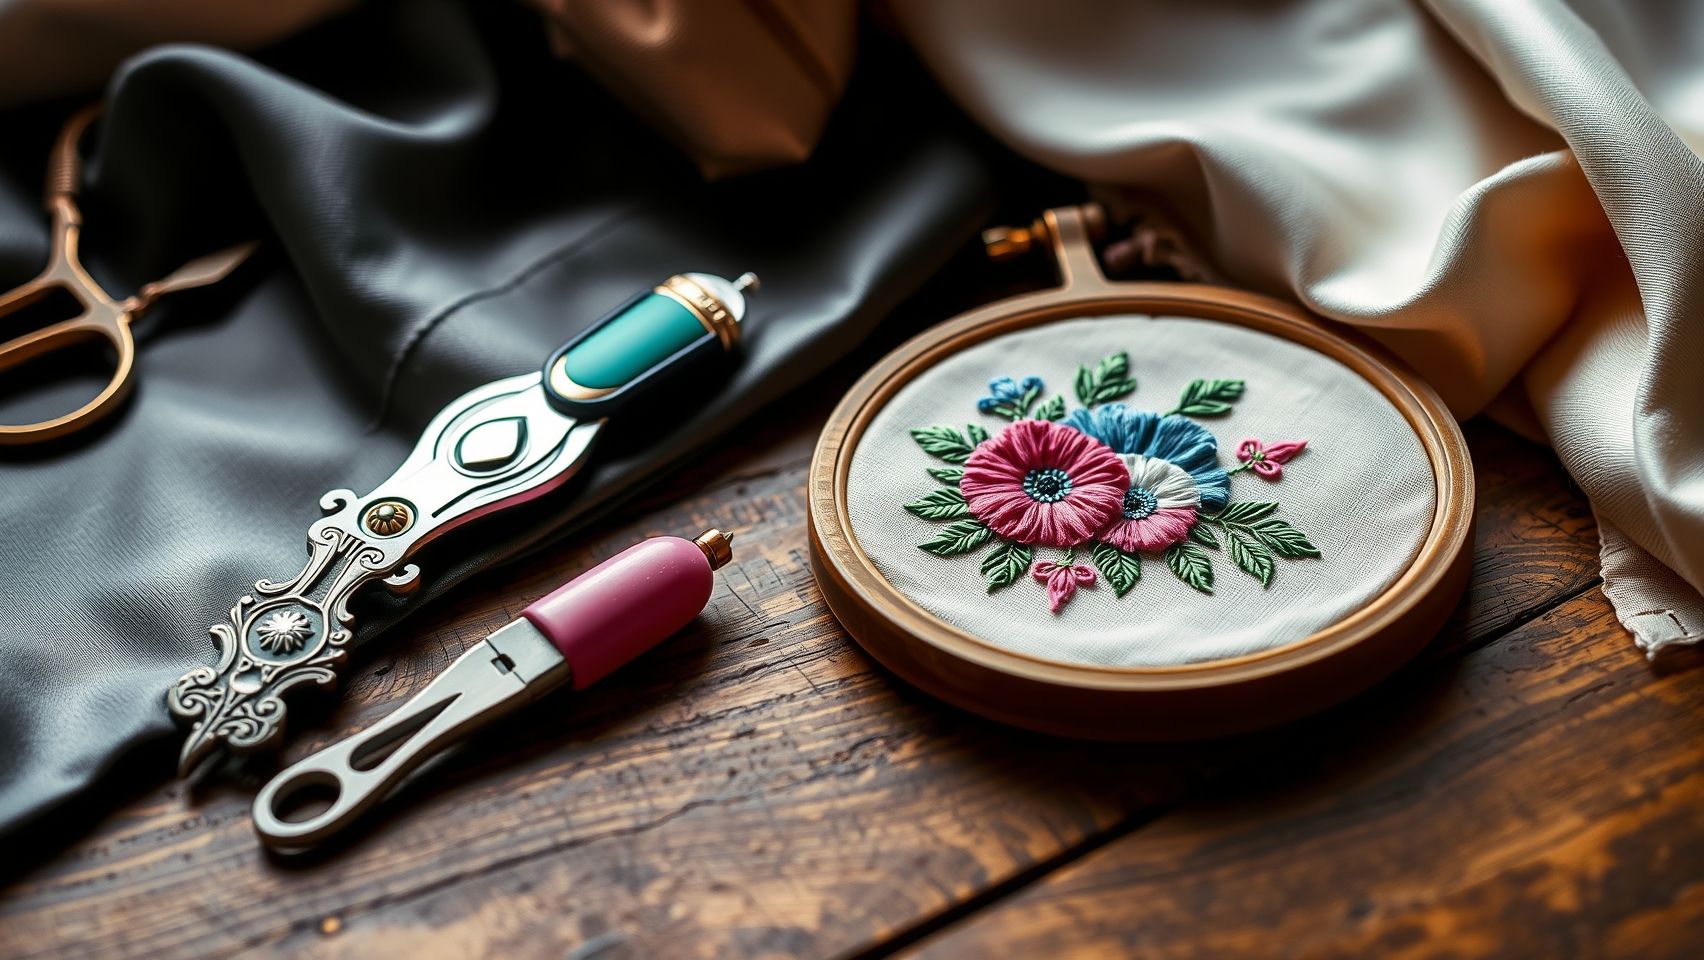
Choosing the right seam ripper is crucial for efficient and safe embroidery repairs. With various brands and models available, understanding their features, pros, and cons helps pick a tool tailored to your needs. The market in 2024 reflects innovations aimed at enhancing safety, comfort, and precision, making it important to evaluate options thoroughly.
Brand Comparison: Prym vs Dritz vs Edgestitch
In 2024, Prym, Dritz, and Edgestitch stand out as popular choices, each offering distinctive features. Prym seam rippers are known for durability and affordability, with most models costing around $5 and featuring standard blades and safety guards. Dritz offers similar price points starting at $4, with some models boasting enhanced safety features like improved guards.
Edgestitch, priced higher at approximately $12, emphasizes ergonomic design, with a contoured handle and micro-serrated blades for enhanced precision, especially suitable for intricate embroidery tasks. User reviews commend Prym for its robustness, Dritz for its balanced features, and Edgestitch for comfort, making it a versatile consideration depending on priorities.
Feature Comparison
Cost-Benefit Analysis
Investing in a higher-priced model like Edgestitch’s ergonomic ripper offers superior comfort and precision, which can reduce fatigue during prolonged use and minimize mistakes, especially on delicate embroidery fabrics. Prym and Dritz models, costing around $4-$5, deliver excellent durability and safety features at a budget-friendly price, ideal for casual or occasional repairs.
For professional or frequent embroiderers, the cost-benefit favors complementary features like ergonomic handles and micro-serrated blades, ensuring safety, speed, and fabric protection. While initial investment is higher, the long-term benefits in safety and efficiency often justify the expense.
Performance Comparison
When evaluating ease of use, Prym and Dritz excel with straightforward designs suitable for quick repairs. Edgestitch’s ergonomic handle offers enhanced comfort during extended use, making precise unpicking easier and faster. Overall, each tool performs well, but selecting the right depends on your volume and need for comfort versus cost.
Practical Tips to Prevent Accidents and Damage While Ripping Seams
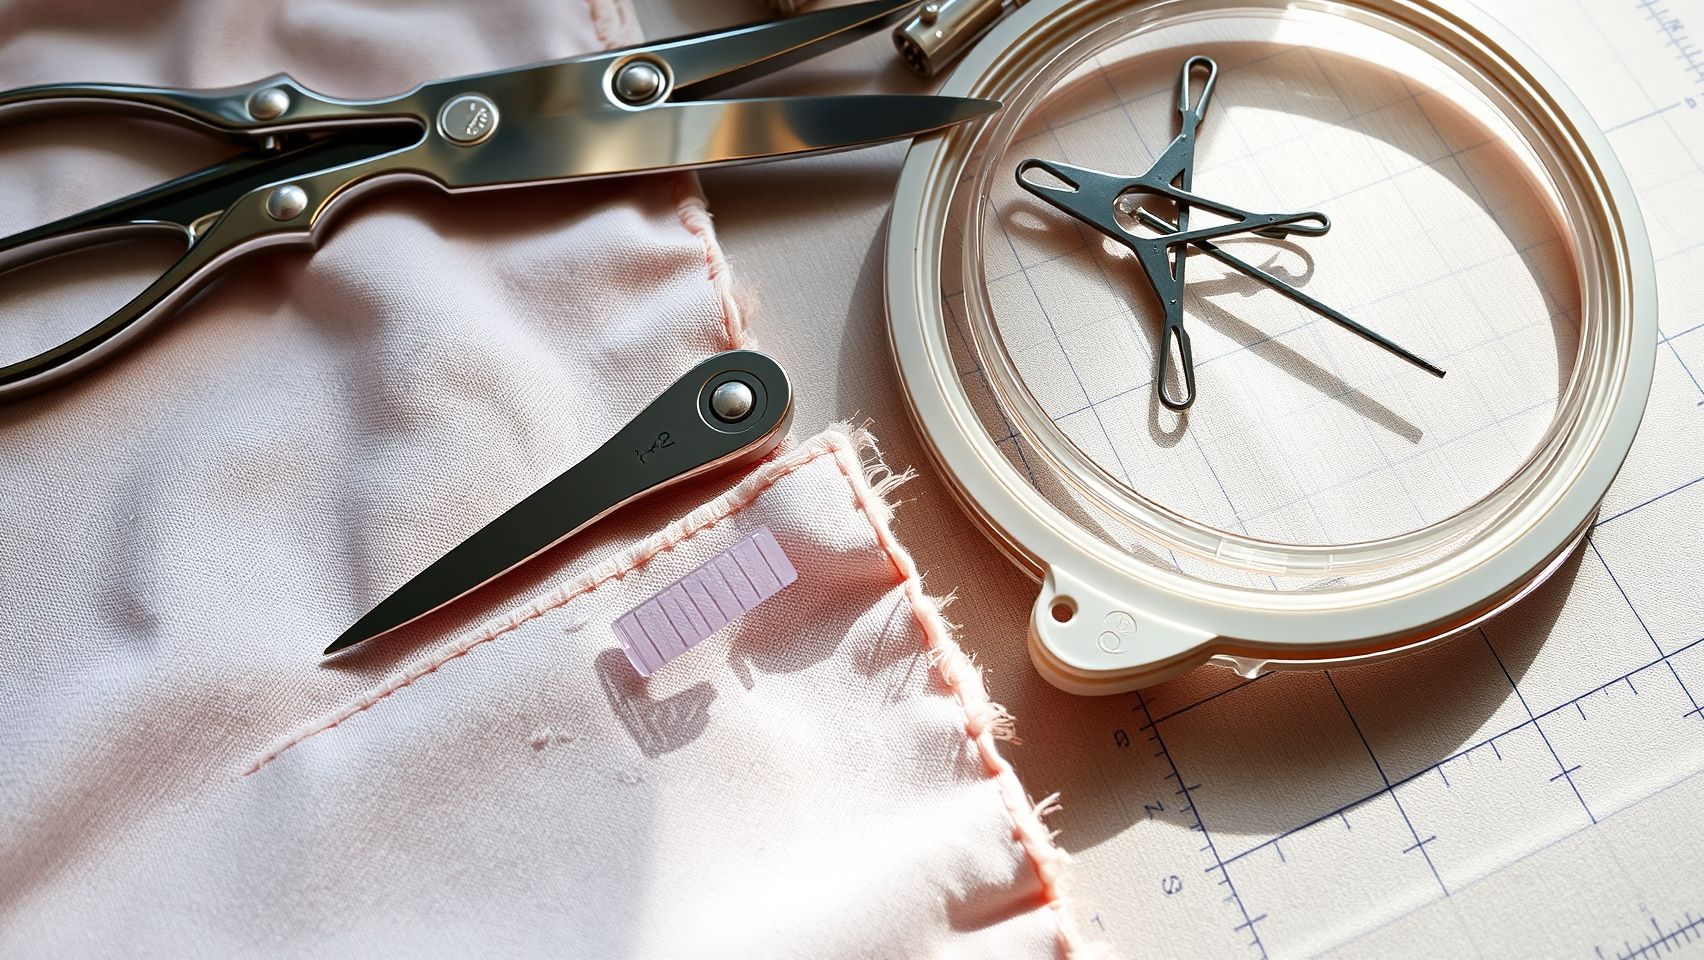
Using a seam ripper in machine embroidery repairs requires careful technique to avoid fabric tears and injuries. Implementing safety measures not only protects your workspace but also ensures clean, professional finishes on your projects. By following these practical guidelines, you can minimize mishaps and prolong the lifespan of your tools and fabrics.
Work on a Stable, Flat Surface
Always perform seam ripping on a flat, padded surface to stabilize the fabric. This reduces the risk of slips that could lead to accidental tears or injuries. A foam pad or folded towel underneath offers both support and cushioning, making control over the seam ripper much easier.
Utilize Safety Features and Proper Tools
Choose a seam ripper with a safety guard or retractable blade to prevent accidental cuts. These features act as barriers between your fingers and the sharp edge, especially when working in tight areas. Regularly inspecting your tools for dull blades is also crucial, as dull blades require excessive force that may damage fabric or cause slips.
Practice Slow, Controlled Movements
Work slowly, applying light pressure to let the seam ripper do the work. Rushing increases the chance of ripping the fabric or slipping. Keep your fingers clear of the blade path, and consider using a finger guard or a thimble for added protection. Periodically trimming loose threads improves visibility and control, aiding safer seam removal.
Optimize Lighting and Workspace Organization
Ensure your workspace is well-lit to clearly see each stitch and seam line. Proper lighting helps prevent slips and reduces eye strain. Keeping tools organized in a dedicated, clutter-free area decreases accidental slips and ensures quick access to the right tools, promoting safer use during delicate repairs.
Following these safety techniques creates a safer environment for delicate embroidery work, reduces fabric tears, and extends the life of your tools. Combining careful handling with well-designed equipment optimizes your seam ripping process, making repairs quicker and safer.
Conclusion
Mastering the use of a seam ripper is an invaluable skill for achieving precise and professional embroidery repairs. Throughout this guide, we’ve emphasized the importance of choosing a high-quality, ergonomic tool to reduce hand fatigue and improve control, which can make all the difference in delicate repairs. Safety should always be a priority, by practicing proper techniques and handling your seam ripper with care, you can prevent injuries and ensure your projects stay flawless.
Remember, consistent practice will boost your confidence and refine your skill set, enabling you to approach each repair with ease and precision. Whether you’re fixing small mistakes or revitalizing entire designs, these techniques empower you to achieve the best results without stress or frustration. So, don’t wait, start by selecting a high-quality, ergonomic seam ripper today. Practice the step-by-step removal process, prioritize safety, and watch your embroidery repair skills elevate to new heights.
Embrace this hands-on approach and enjoy the rewarding experience of maintaining and enhancing your embroidery work with confidence!