Guide to Dissolving Water Soluble Stabilizer in Embroidery Projects
This post contains affiliate links. As an Amazon Associate, Latest Embroidery earns from qualifying
purchases, at no extra cost to you. Learn more.
Struggling with stabilizer residue ruining your embroidery projects? You’re not alone. Many embroiderers face the challenge of removing water-soluble stabilizers without leaving behind traces or damaging delicate fabrics. Effective dissolving techniques can make all the difference, ensuring your finished piece looks clean and professional. In this comprehensive guide, you’ll discover clear, step-by-step methods to dissolve water-soluble stabilizers using practical water and rinsing tips. We’ll explore eco-friendly and fabric-safe approaches that won’t compromise your design or your environment. Whether you’re working on intricate lace or simple appliqué, mastering these techniques will transform your embroidery experience. Expect to learn how to set your machine for optimal results, choose the right tools, and achieve a pristine finish every time. Ready to eliminate stabilizer residue effortlessly? Keep reading, your flawless embroidery awaits.
Step-by-Step Guide to Dissolving Water Soluble Stabilizer in Your Embroidery Projects
Short on time? If you only take one thing from this guide: Cutaway + tearaway variety pack — covers the large majority of projects without committing to full rolls.
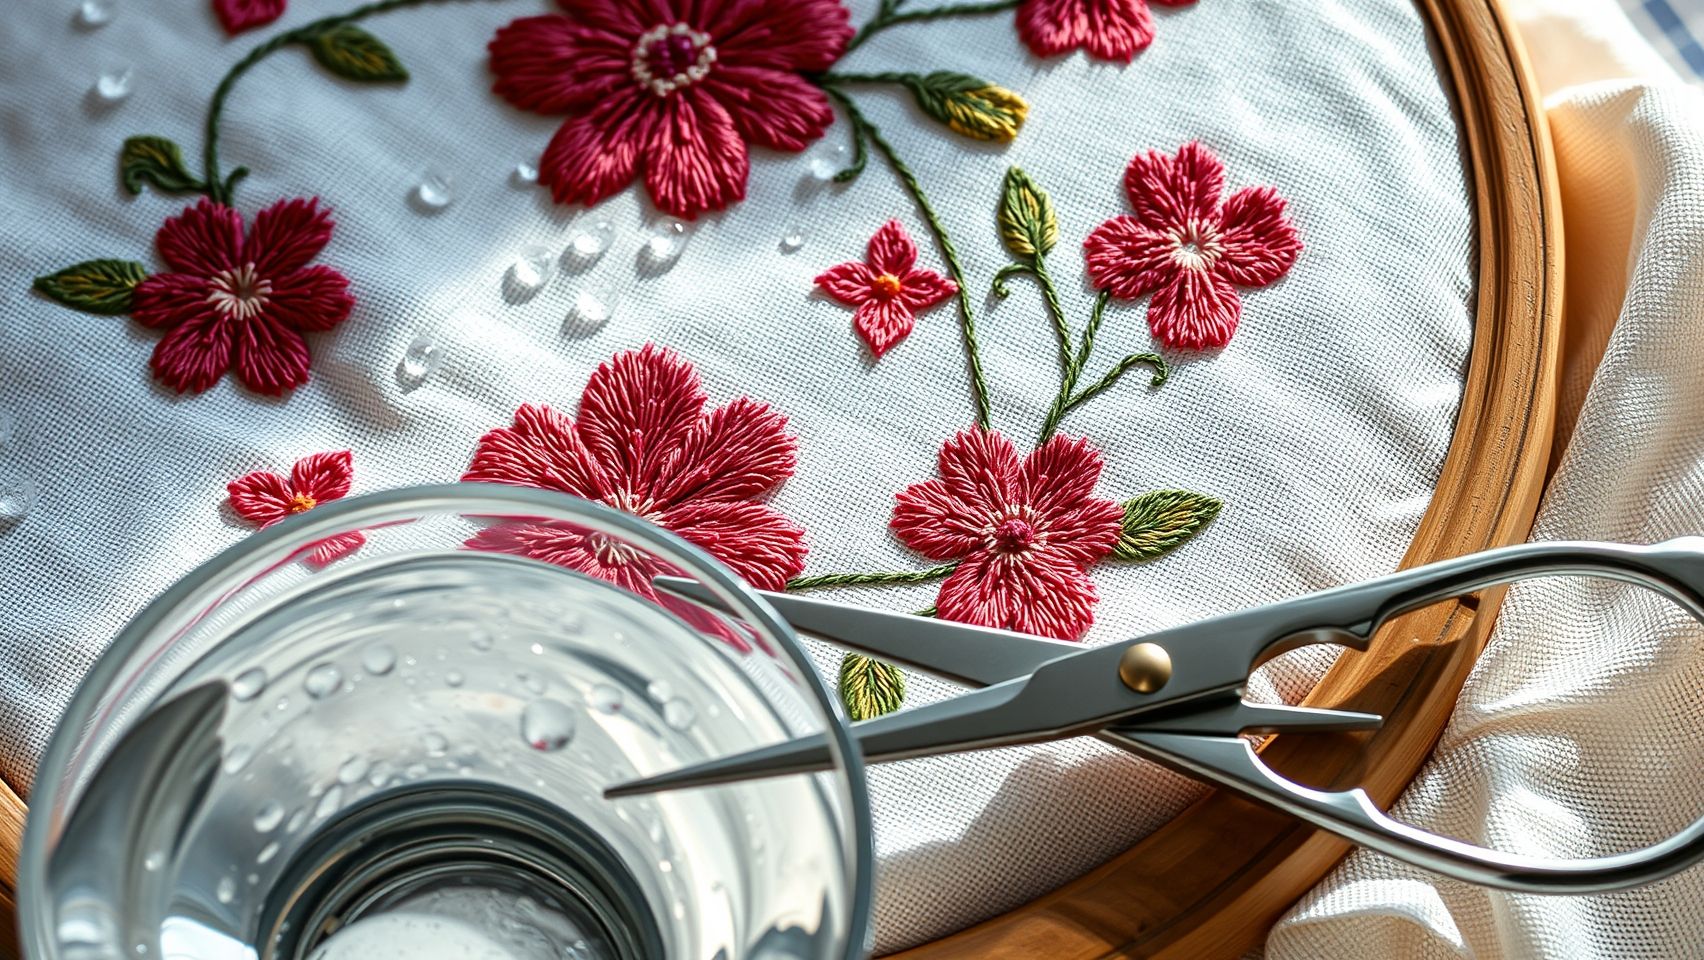
Water soluble stabilizer (WSS) is an essential component in machine embroidery, providing support for intricate designs and preventing puckering. Proper dissolving of the stabilizer ensures a clean, professional-looking finish, preventing residue that can affect the final appearance. This guide offers detailed steps, tools needed, and troubleshooting tips to help you achieve complete stabilizer removal with ease.
Preparing the Water and Initial Handling
Begin by filling a basin or sink with approximately 1-2 inches of lukewarm water. Avoid hot water unless your fabric specifications indicate it is heat-resistant, as excessive heat can damage delicate fabrics or cause the stabilizer to set prematurely. Carefully peel off any excess stabilizer that is partially set, taking care to avoid pulling or stretching the embroidered fabric, which could distort your design.
Dissolving the Stabilizer
Submerge the embroidered piece into the prepared water, ensuring full coverage. Gently swirl the fabric to help the stabilizer dissolve evenly. Agitating the fabric lightly during this process is crucial, typically, swirling for 3-5 minutes suffices for most stabilizers. For areas with stubborn residues, use a soft brush or sponge to gently scrub, paying attention to textured or heavily stabilized sections.
Once the stabilizer appears to have dissolved, rinse the fabric thoroughly until the water runs clear. Repeat this rinsing in clean water three times to ensure all stabilizer traces are removed. If residues remain stubborn, soak the piece for an additional 5-10 minutes, but avoid aggressive agitation which might distort or stretch the fabric.
Drying and Final Checks
After removing the stabilizer, lay the fabric flat on a clean towel or hang it for air drying. Drying flat helps maintain the embroidery’s shape and prevents distortion. It is essential to inspect your work post-drying for any remaining residues; if found, repeat the soaking process. Perfect dissolving results in a clean, smooth finish without any stiff or sticky areas, ensuring your embroidered project looks professional and polished.
Essential Tools and Equipment for Dissolving Stabilizer Effectively
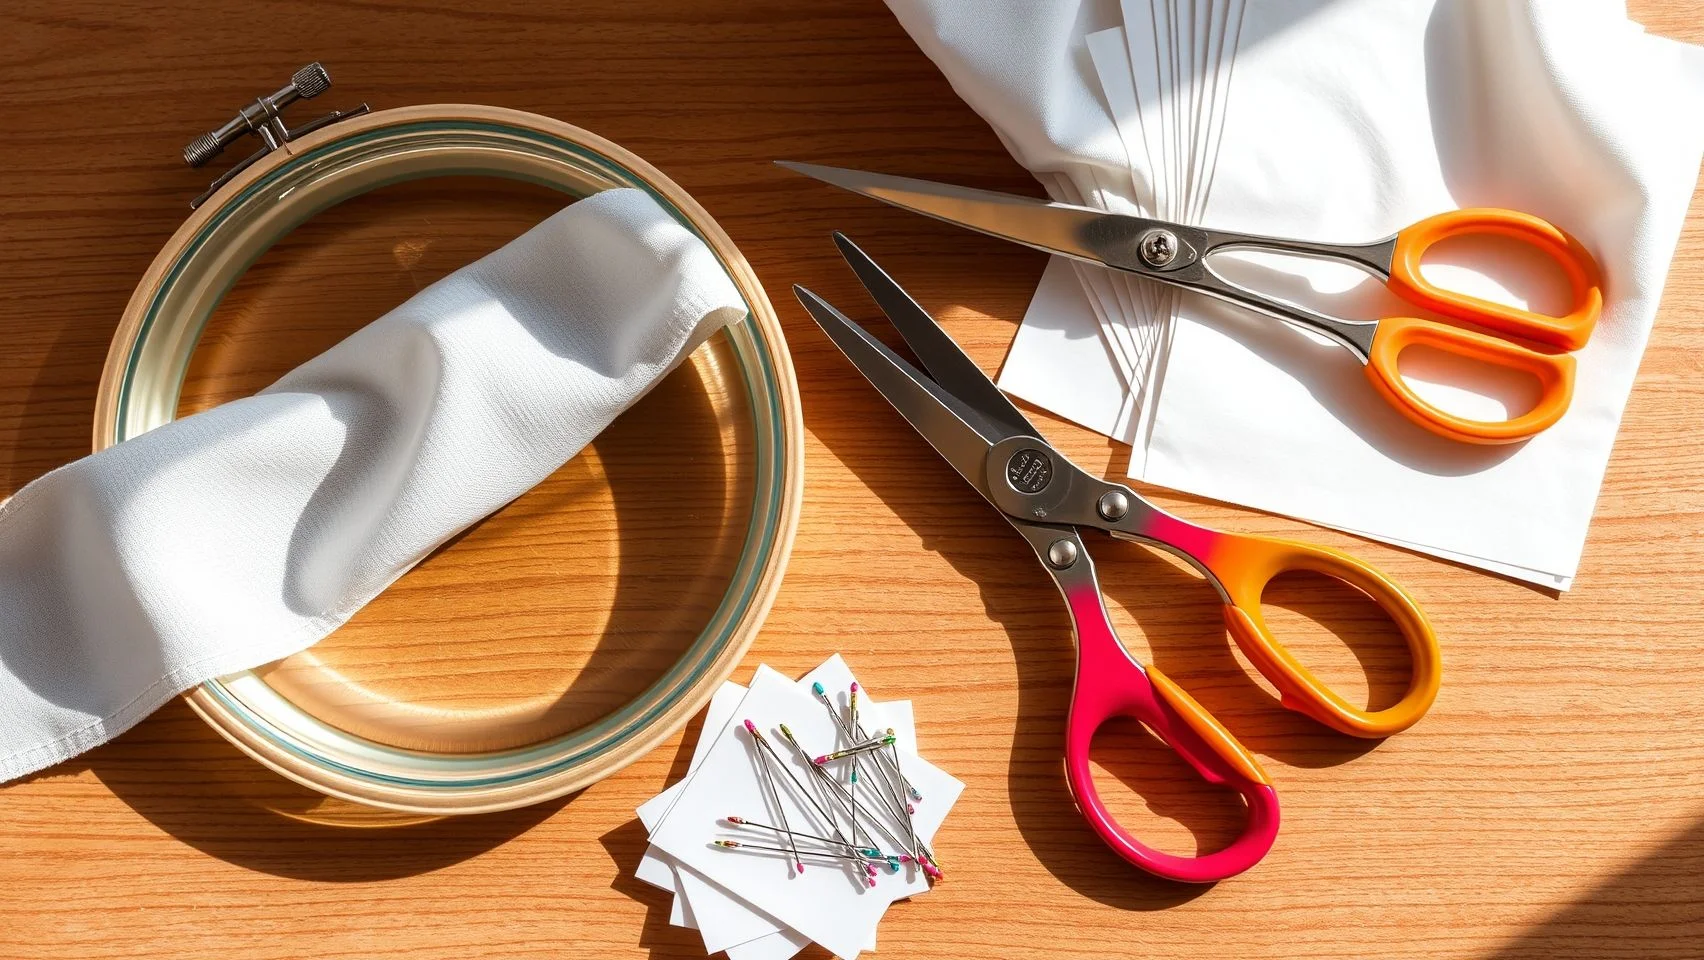
Successfully removing water soluble stabilizer is a critical step in achieving professional-looking embroidery projects. The right tools and equipment can significantly streamline the process, making it easier to rinse away residue without damaging delicate fabrics. Preparing an optimal setup ensures complete dissolution and a clean finish, saving time and reducing frustration.
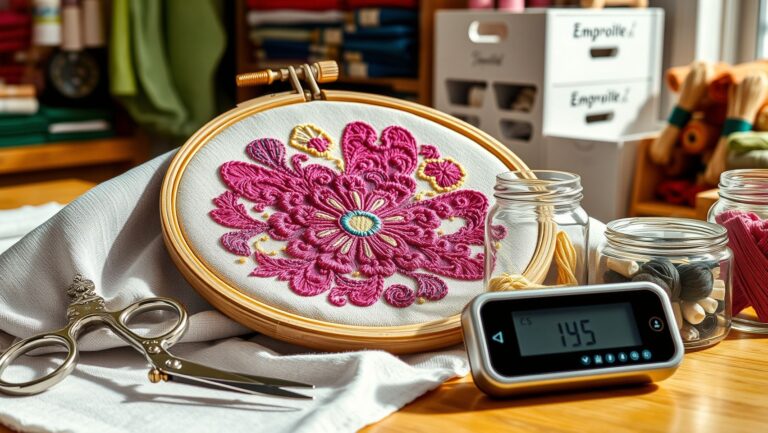
Key tools include a basin or sink with temperature control, which helps maintain lukewarm water ideal for dissolving stabilizer effectively. Soft brushes, sponges, and microfiber cloths are essential for gentle residue removal, preventing fabric damage. Additionally, using a water temperature thermometer ensures water remains at the optimal temperature, typically around 30-40°C, for efficient dissolving. Embroidery hoops or frames compatible with delicate fabrics, such as magnetic hoops like MaggieFrame, not only reduce setup time by approximately 25% but also help maintain consistent tension, preventing fabric distortion during removal.
Optional accessories like spray bottles facilitate targeted rinsing, especially in intricate areas, while soft brushes allow for detailed cleaning without harming the embroidery. Quality brands such as Vilene Aqua-X, costing around $15-20 for a 50-yard roll, are popular for their reliable dissolution and affordability for multiple projects. By equipping yourself with these tools, you streamline the stabilizer removal process, ensuring professional-grade results with less effort and fuss.
Recommended Equipment for Optimal Dissolution
- Basins or sinks with temperature control: Maintain lukewarm water for effective dissolving.
- Soft brushes, sponges, and microfiber cloths: Gently remove residual stabilizer without damaging fabrics.
- Digital water temperature thermometer: Keep water at around 30-40°C for best results.
- Embroidery hoop or magnetic frame: Reduce setup time and tension issues, especially with delicate fabrics.
- Spray bottles (optional): Rinse intricate areas thoroughly.
- High-quality water-soluble stabilizer brands: Vilene Aqua-X and Solufix are top choices for complete dissolution and hassle-free removal.
Comparing Water Soluble Stabilizer Options and How to Choose the Right One
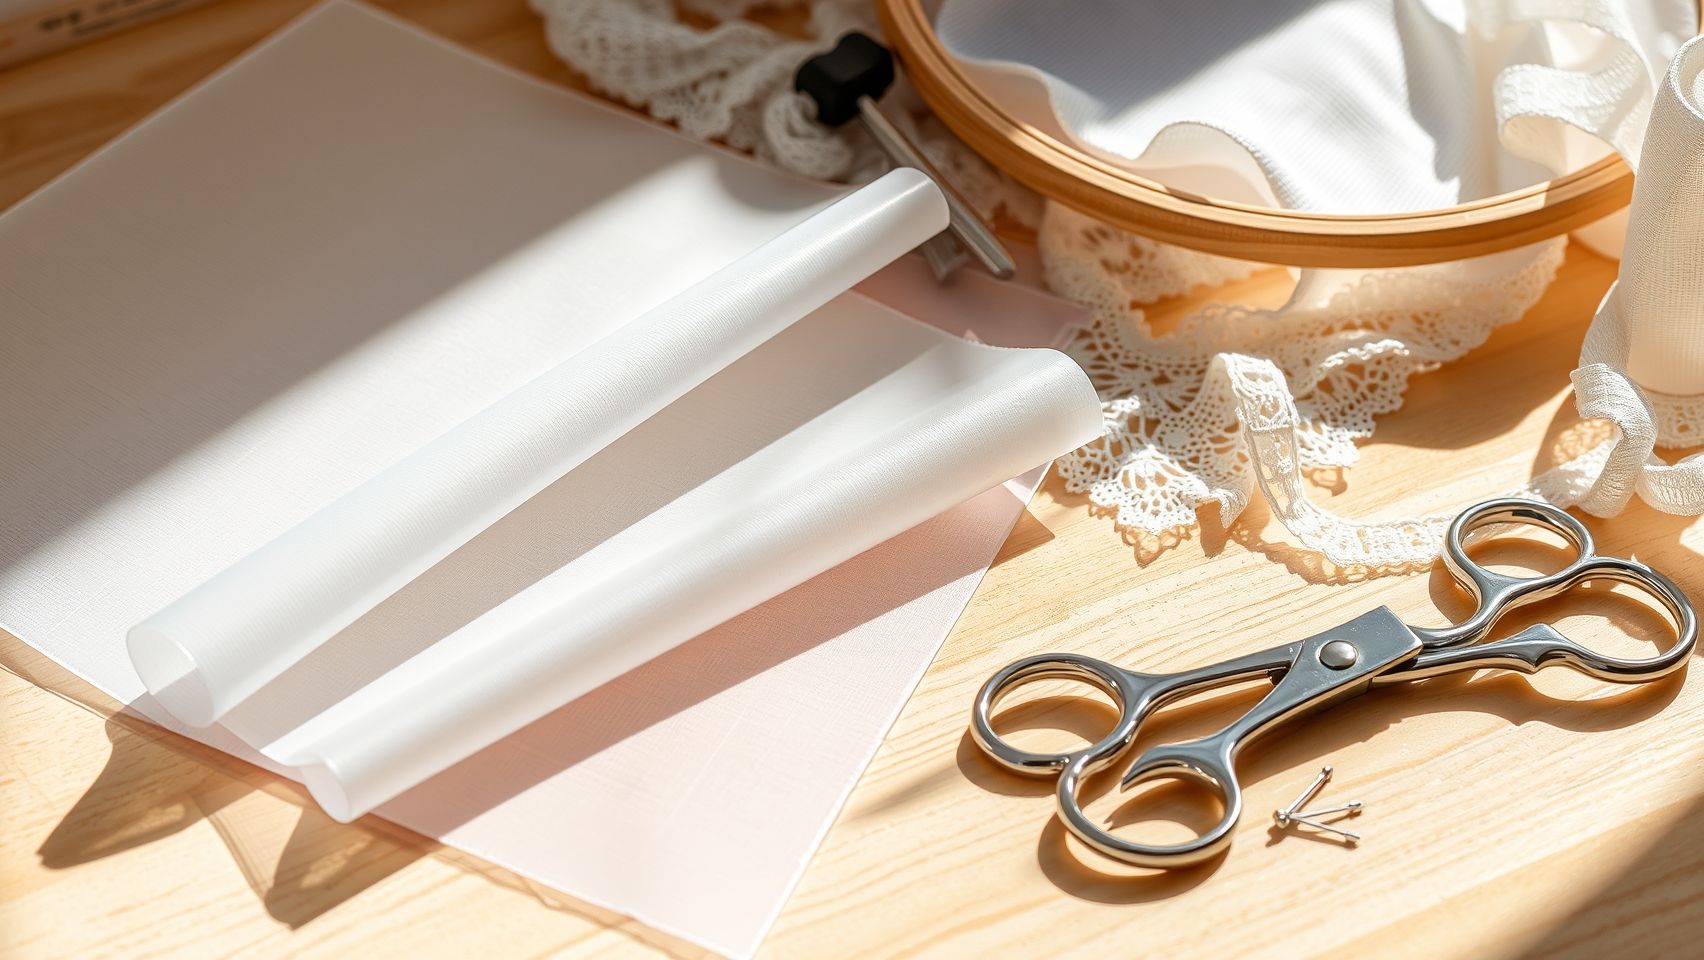
Choosing the appropriate water soluble stabilizer for embroidery projects depends on various factors including fabric sensitivity, design complexity, environmental considerations, and budget. The market offers a range of options, each with distinct features tailored to different project needs. Understanding these options can help embroiderers make informed decisions that enhance both the quality and sustainability of their work.
In this section, we’ll compare popular stabilizers like Vilene Aqua-X, Solufix, and eco-friendly alternatives, analyzing their pros, cons, and suitable applications. This will help you identify the best stabilizer based on specific project requirements, whether working with delicate fabrics or aiming for environmentally friendly practices.
Vilene Aqua-X
Vilene Aqua-X is known for its biodegradability and quick dissolving properties, making it a popular choice for sensitive fabrics. It dissolves fully within 5 minutes when immersed in lukewarm water, ensuring minimal residue. Costing around $15 for 50 yards, it is priced at approximately $0.30 per yard, offering good value for large projects. Its rapid dissolution and eco-friendly profile make it ideal for projects prioritizing sustainability and gentle removal.
However, its thin profile means it may not provide the stability needed for heavy or dense stitching, limiting its use in complex, multi-layer designs.
Solufix
Solufix is a thicker, more robust stabilizer designed for larger or densely stitched embroidery. It maintains stability during stitching and dissolves within 8 minutes in water. Priced around $12 for 50 yards, it equates to approximately $0.25 per yard, slightly cheaper than Vilene Aqua-X. Its higher thickness makes it suitable for heavy stitching and complex designs, although it takes marginally longer to dissolve and remove completely.
This stabilizer is beneficial for projects where stability is prioritized over ultra-fast removal, especially in commercial or high-volume settings.
Eco-Friendly Stabilizers (Heather Bailey’s option)
Eco-friendly stabilizers like Heather Bailey’s are made from natural fibers, focusing on sustainability without compromising biodegradability. Costing around $20-25 for 50 yards, these options are slightly more expensive but align with environmentally conscious practices. They dissolve organically in water, usually within 10 minutes at room temperature, with no chemicals involved, making them ideal for organic or heirloom textiles.
Their natural composition adds a layer of complexity in sourcing and may incur a higher initial investment, but they significantly reduce ecological impact and chemical exposure.
Cost Comparison and Performance Metrics
The following table provides a quick overview of the cost, key features, and ideal applications for each stabilizer:
In making a selection, consider the specific needs of your project. For delicate fabrics and quick removal, Vilene Aqua-X provides an optimal solution. For larger or densely stitched designs, Solufix offers enhanced stability. If sustainability is your priority, eco-friendly stabilizers provide an organic alternative, albeit at a slightly higher cost. Ultimately, balancing cost, environmental impact, and project requirements will guide you to the best choice for water soluble stabilizer in embroidery.
Troubleshooting Common Issues When Dissolving Stabilizer
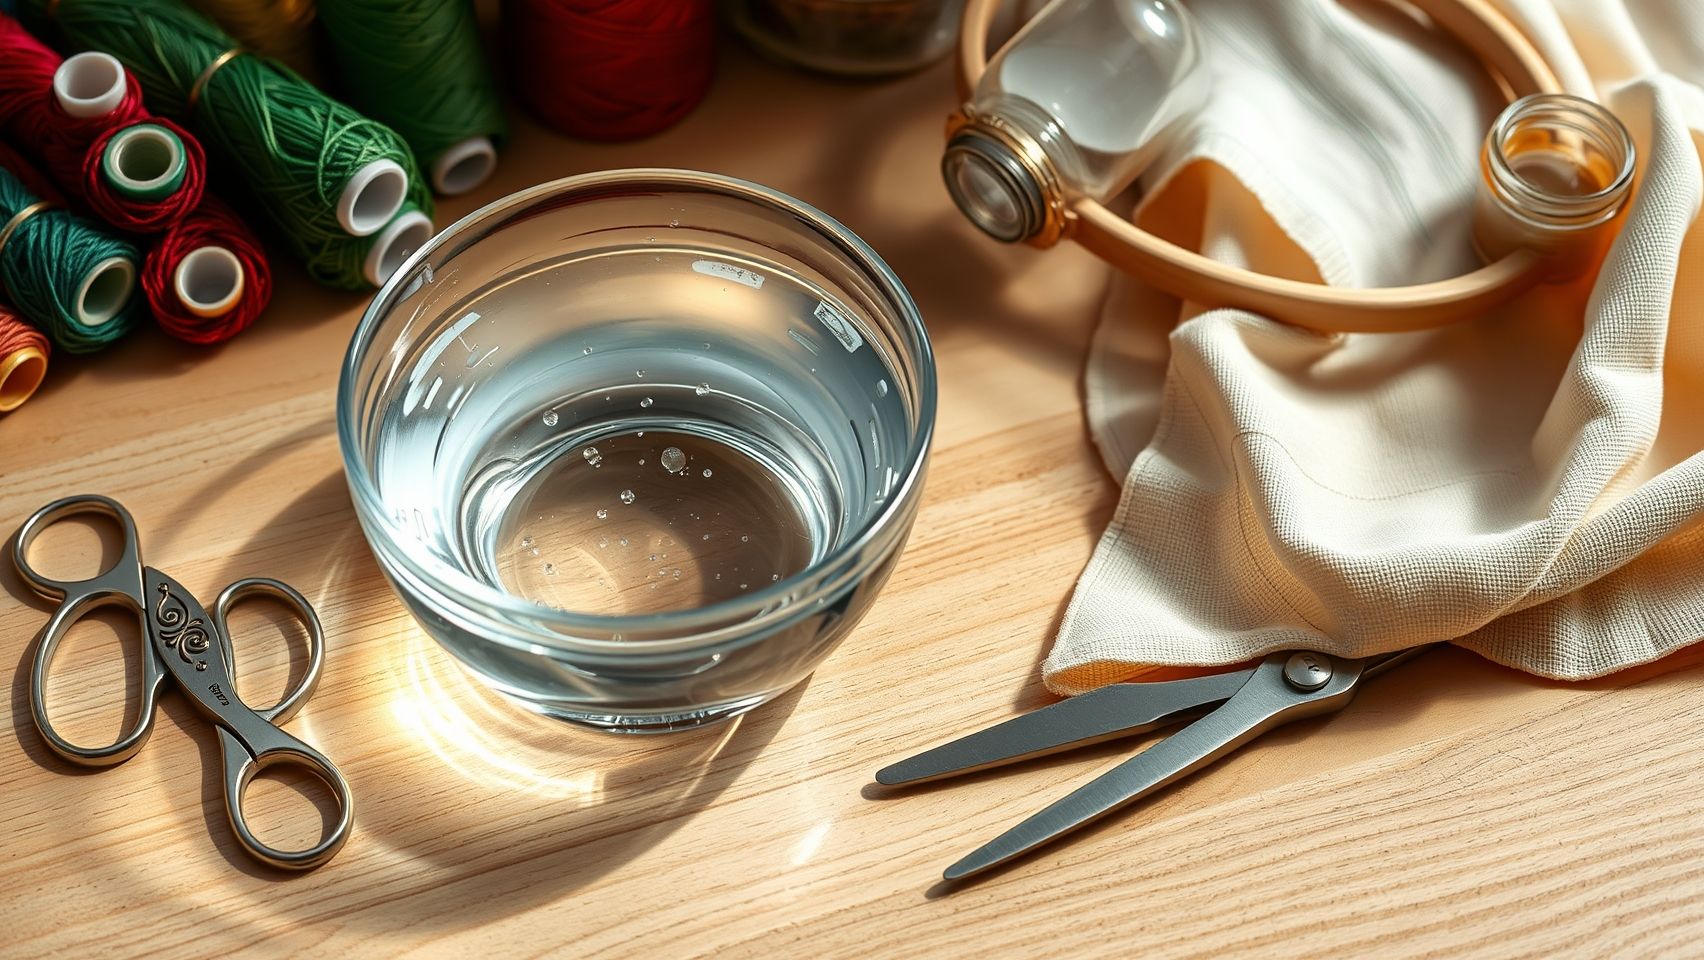
Proper removal of water soluble stabilizer is crucial for a flawless embroidery finish. However, common issues such as residue, incomplete dissolution, or fabric discoloration can arise, affecting the final appearance. Understanding these problems and implementing quick solutions ensures seamless removal and optimal results.
Residue Remaining After Rinsing
If stubborn stabilizer residue persists after rinsing, use a soft toothbrush or sponge to gently scrub the area. This helps dislodge any clingy pieces without damaging delicate fabrics like silk or linen. Repeat rinsing if necessary, always with lukewarm water, to facilitate complete removal.
Stabilizer Not Dissolving Completely
Most dissolution issues stem from water temperature. Ensure the water is lukewarm, around 86°F (30°C); water that is too cold or hot can hinder proper dissolving. Extending the soaking time and gently agitating the fabric can also promote full dissolution.
Fabric Discoloration or Bleeding
Should color bleeding or fabric discoloration occur, rinse immediately in cold water to minimize damage. Avoid hot water or vigorous agitation during rinsing, which can exacerbate bleeding. Prompt cold rinses help preserve fabric integrity and colorfastness.
Difficulty Removing Stabilizer from Delicate Fabrics
When working with delicate materials like silk, use gentle manual agitation and minimal scrubbing to prevent fabric distortion. Avoid harsh tugging; instead, softly massage or dab the stabilizer area to encourage removal without stretching or damaging the fabric.
Stabilizer Clumping or Uneven Dissolution
Pre-flake stabilizer or peel away any excess before soaking to ensure even dissolution. Clumping can be minimized by gently breaking apart stabilizer pieces prior to submerging the fabric, resulting in a smoother removal process.
Fabric Distortion Caused by Stabilizer
To prevent distortion, always use a stabilized frame or hoop, and avoid overstretching fabric during rinsing. Gentle handling maintains fabric shape and prevents warping, especially with materials prone to stretching.
Conclusion
Mastering the art of dissolving water soluble stabilizer is essential for achieving clean, professional embroidery finishes that enhance your fabric projects. As we’ve explored, choosing the right stabilizer, using proper tools, and maintaining the correct water temperature are crucial steps in the process. Following proper soaking and rinsing techniques ensures your designs remain crisp and free of residue, while troubleshooting common issues can save you time and frustration.
Don’t hesitate to experiment with different stabilizers and techniques to discover what works best for your projects. Each embroidery experience offers an opportunity to refine your skills and improve your results. So, why wait? Try out new stabilizers and rinsing methods today, share your successes and lessons learned on your favorite embroidery forums or social media groups, and inspire others with your craftsmanship!
Remember, confidence in your stabilizer dissolving techniques leads to beautifully finished projects that preserve fabric integrity and elevate your embroidery artistry. Happy stitching!
Free: 12 Essential Hand Embroidery Stitches
A printable illustrated cheat sheet of the 12 core stitches every embroiderer should know. Instant PDF.
No spam. One-click unsubscribe.