This post contains affiliate links. As an Amazon Associate, Latest Embroidery earns from qualifying
purchases, at no extra cost to you. Learn more.
Are your embroidery projects losing perfection due to machine inaccuracies? Consistent quality in embroidery relies heavily on proper calibration, especially as machines age or undergo frequent use. Without regular adjustments, issues like thread breakage, uneven stitching, or pattern misalignment become common, costing you time, materials, and frustration. According to industry insights, calibration isn’t just a one-time task; it’s a vital yearly ritual to keep your equipment operating at peak performance. This comprehensive guide offers easy-to-follow, actionable steps to ensure your embroidery machine remains precise and reliable. By dedicating a little time annually, you’ll save extensive troubleshooting later, and produce professional results consistently. Ready to learn how to master your machine’s maintenance? Let’s get started.
Staying current with embroidery machine calibration procedures is essential for maintaining high accuracy, especially for small businesses and professional operators. Recent industry data indicates that most modern embroidery machines, such as Brother, Bernina, and Janome, benefit significantly from annual calibration to ensure optimal performance. As the industry shifts towards digital integration, approximately 65% of small businesses now rely on machines equipped with large touchscreens and wireless controls, making regular calibration crucial for smooth operation.
The increased use of textured, metallic, and glow-in-the-dark threads has heightened the importance of precise calibration to prevent stitching errors and stitch distortion. Digital tools like digitizing software (e.g., Hatch, Wilcom) actively assist in identifying calibration needs through pattern analysis, streamlining maintenance routines. Industry trends also highlight a move towards eco-conscious materials and advanced textured techniques, which demand careful calibration adjustments to achieve desired aesthetic results. Proper documentation and adherence to recommended service intervals are vital for prolonging machine lifespan and guaranteeing high-quality projects.
Current Data on Machine Performance and Digital Integration
Performance analysis of 13 evaluated machines shows consistent accuracy when proper calibration protocols are followed. The adoption of AI-driven design platforms emphasizes the need for routine annual checks, especially given the increasing complexity of embroidery designs. As technological advancements continue, industry insiders recommend integrating calibration with digital monitoring systems for predictive maintenance, reducing downtime, and ensuring stitch consistency.
Embroidery Machine/Tool/Software
Most modern embroidery machines benefit from annual calibration routines to ensure accuracy and performance.
The rise of digital and AI-driven platforms like Hatch and Wilcom helps identify calibration needs, supporting predictive maintenance strategies.
Increased textured and metallic thread usage necessitates more precise calibration to prevent stitch distortion and tangling
Procedures for Adjusting Embroidery Machine Calibration
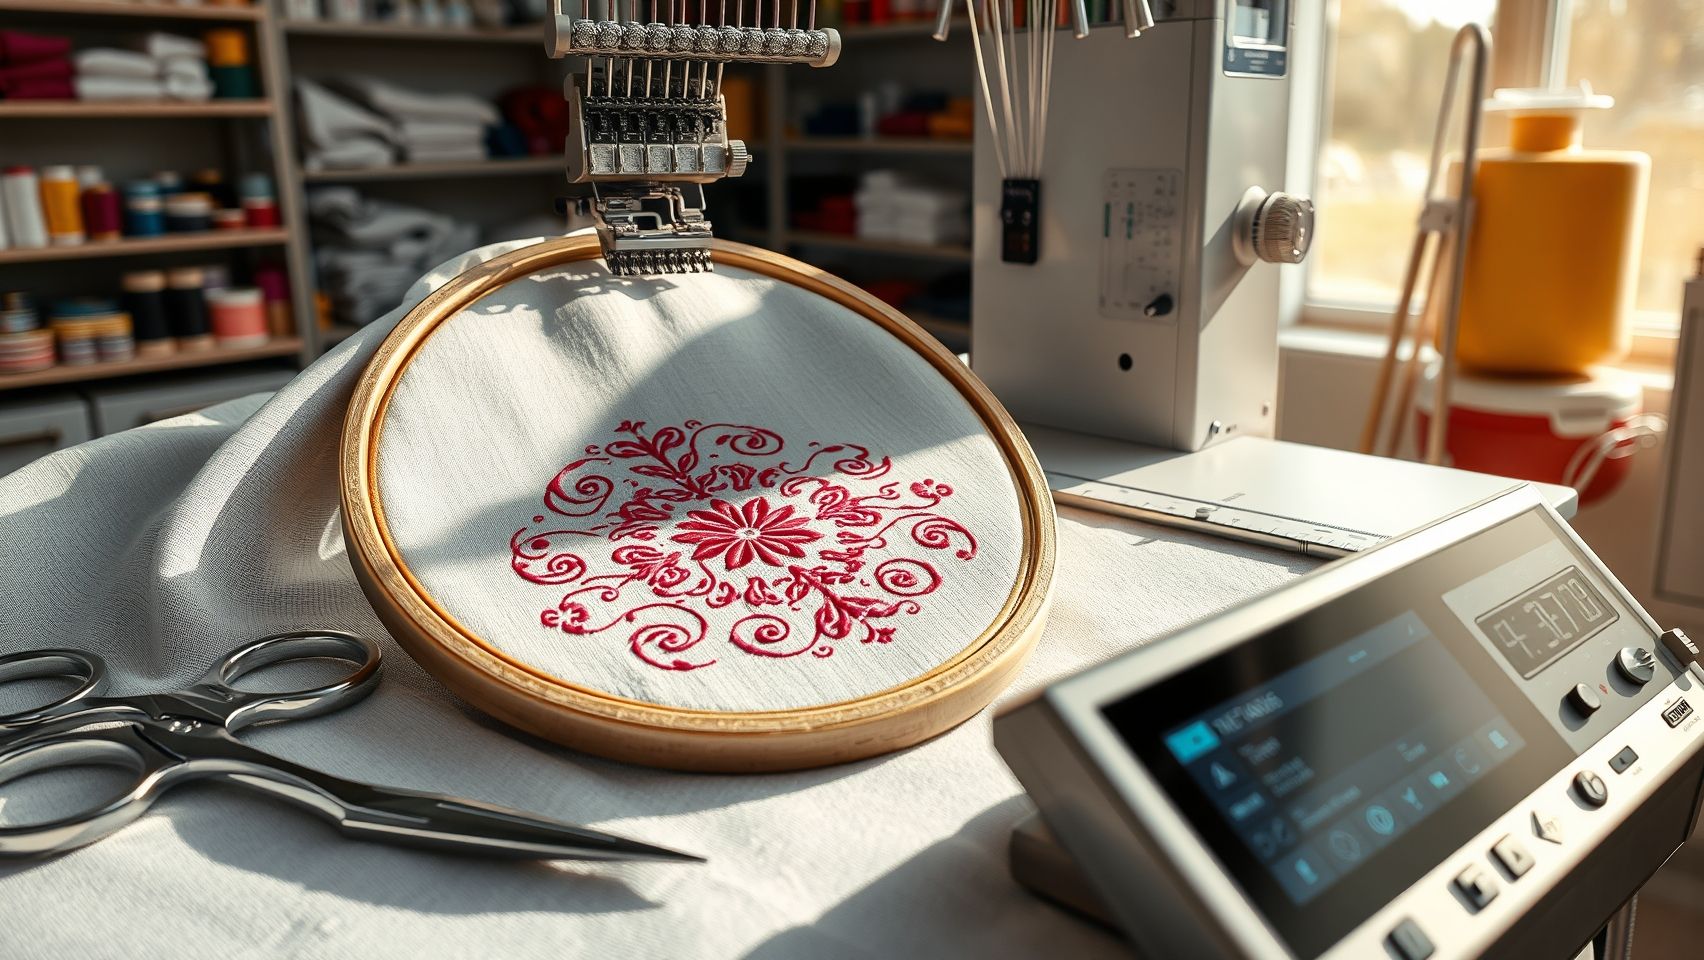
Annual calibration of embroidery machines is essential to ensure precision, stitch quality, and consistent results over time. Proper calibration procedures involve a detailed process of adjusting hoop alignment, tension settings, and stitch calibration. These steps vary slightly depending on the machine brand and model, making it vital to understand the specific adjustments required for your equipment.
Executing these calibration steps correctly can significantly extend the lifespan of your machine, improve embroidery quality, and reduce thread waste. This guide provides a comprehensive overview of the adjustment techniques tailored for popular models such as Janome Memory Craft and Brother SE1500, which both utilize software-based calibration options.
Accessing Calibration Menus
First, access the machine’s calibration menu via dedicated software or onboard controls. For example, Brother Innov-is models like the SE1500 offer software calibration through their embedded interface. Similarly, Janome Memory Craft machines provide software options for precise calibration adjustments. These interfaces typically include options for hoop alignment, stitch calibration, and tension settings. When using onboard controls, navigate to the settings or maintenance menu to initiate calibration processes.
Adjusting Hoop Alignment
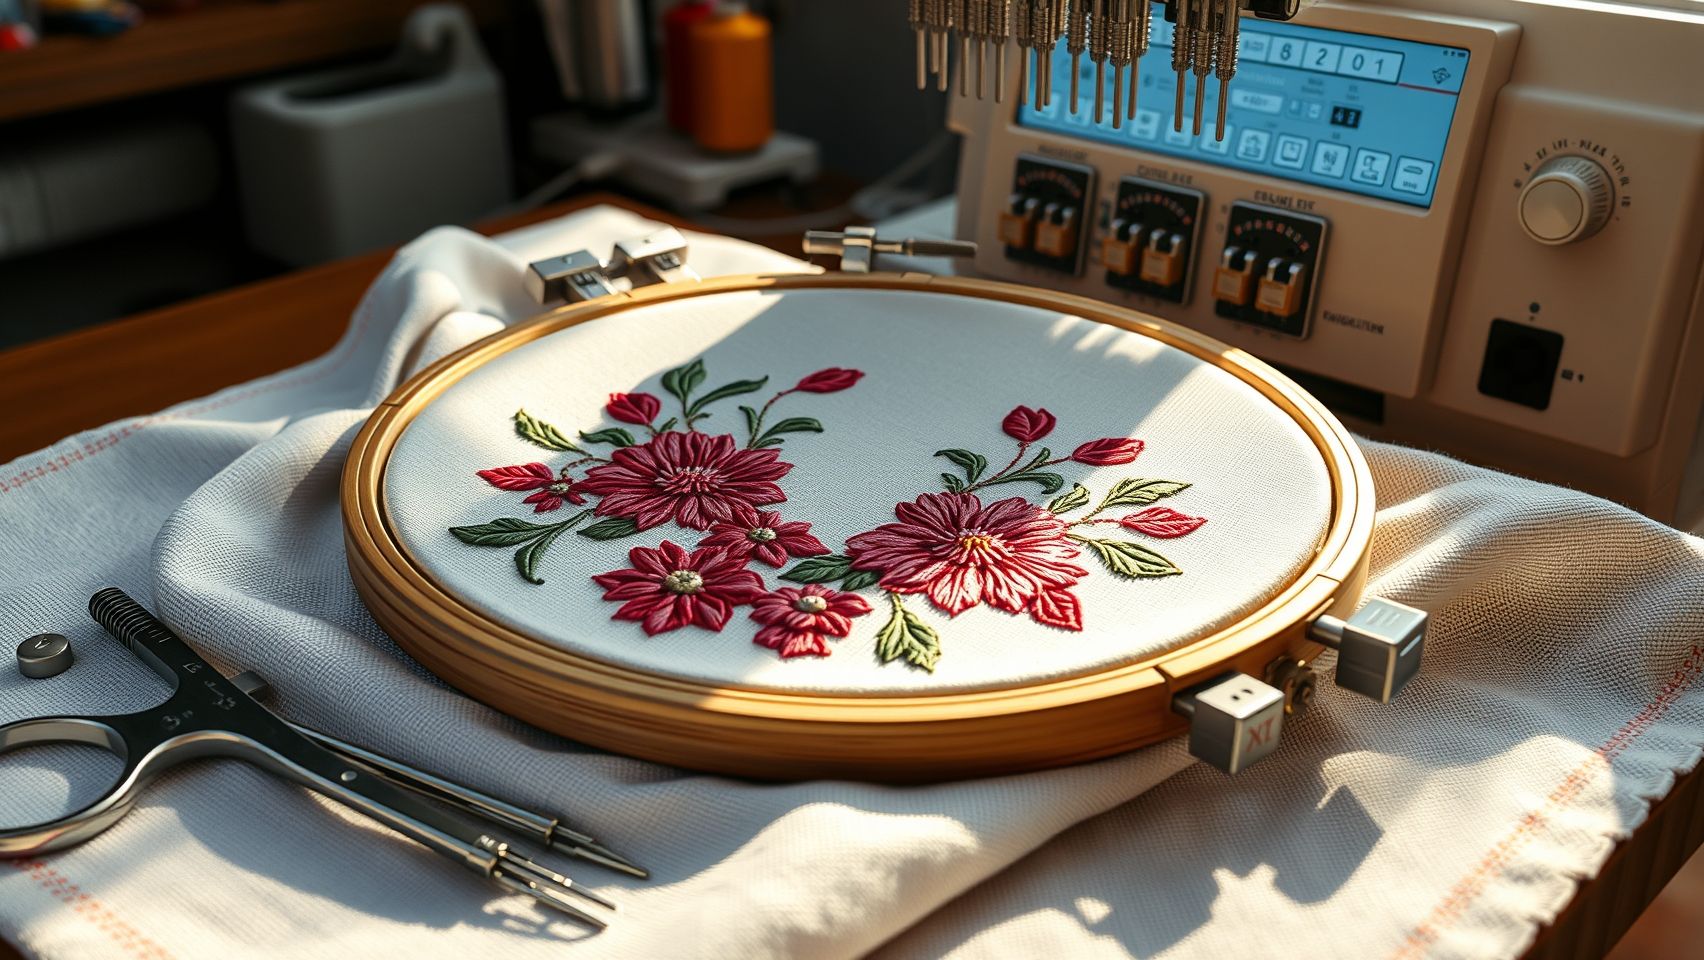
Proper hoop alignment is crucial for accurate stitching. Reposition or re-center the hoop clamp to correct misalignments. Use test stitches to verify symmetry and alignment before proceeding. For a precise check, embroider a test pattern that reveals any skewed or uneven stitches, then make incremental adjustments to reposition the hoop or its clamp. Many modern machines feature alignment prompts within their software that help guide these adjustments.
Tension Settings Calibration
Calibrate tension using textured threads on test patterns, focusing on achieving even stitch density throughout the fabric. Tighten or loosen tension dials as needed, alternating between adjustments and test stitches to evaluate outcomes. For switching thread types, tension adjustments are especially critical, as different threads require distinct tension settings for optimal results. Document tension specifications for future reference, especially when changing brands or types of threads.
Stitch Calibration and Fine-Tuning
Use the machine’s needle and bobbin adjustments to correct stitch formation discrepancies. This involves fine-tuning stitch length, width, and the timing of the needle and bobbin mechanisms. After making adjustments, perform a final test run on a sample fabric, measuring the accuracy and uniformity of the stitches relative to baseline benchmarks. Repeat as necessary until optimal stitch quality is achieved.
Final Testing and Documentation
Finish with a comprehensive test embroidery, thoroughly inspecting for symmetry, stitch consistency, and overall quality. Record all calibration changes with timestamps and detailed notes, including specific adjustments made to tension, hoop positioning, and stitch settings. Proper documentation supports repeatability in future calibrations and ensures consistent embroidery quality across yearly maintenance cycles.
Maintaining Records and Performance Standards for Certification
Consistent documentation and benchmarking are essential components of annual embroidery machine calibration. Proper record-keeping not only ensures traceability for quality standards but also simplifies audits and certification processes. Establishing clear performance benchmarks helps in maintaining high embroidery quality while identifying potential issues early, preventing costly downtime.
Implementing a structured approach to recording calibration activities and setting performance standards supports sustained operational excellence. This section guides you through creating comprehensive records, defining performance benchmarks based on factory specifications, and scheduling routine checks to adhere to industry standards.
Creating and Managing Calibration Records
Develop a detailed calibration log that includes essential data fields such as date, machine ID, specific calibration procedures performed, deviations observed, and adjustments made. Utilize digital record-keeping tools like Excel sheets or specialized maintenance software to streamline tracking and ensure easy access during audits. Digital records enable quick reference and facilitate trend analysis over time.
Establishing Performance Benchmarks
Set performance benchmarks grounded in the original factory specifications and validated through test pattern results. Consider factors such as tension accuracy, stitch consistency, and software calibration settings. Regularly compare ongoing results against these benchmarks to identify deviations early and maintain output quality at certification standards.
Scheduling Routine Checks and Staff Training
Schedule calibration and maintenance activities every 6 to 12 months, or sooner if issues arise during project runs. Use standardized checklists to verify critical components including tension, machine alignment, and software updates. Train staff thoroughly on documenting calibration activities and maintenance efforts to foster consistency and accountability. Proper staff training ensures accurate record-keeping and sustained compliance with industry standards.
Many small businesses utilize Excel sheets or specialized software to track calibration data, aligning with many industry standards that recommend bi-annual checks for high-volume embroidery operations. Consistent adherence to scheduled maintenance not only prolongs equipment lifespan but also upholds the highest quality standards for embroidered products.
Tools, Equipment, and Software for Effective Calibration
🛠️ Parts & Supplies That Fix This
Embroidery Machine Needles (75/11) A blunt needle causes more skipped stitches, thread breaks and puckering than any other single fault. Needles are consumable, change them often.
As an Amazon Associate, Latest Embroidery earns from qualifying purchases, at no extra cost to you.
Maintaining the accuracy of embroidery machines through annual calibration is essential for achieving high-quality results and prolonging equipment lifespan. A combination of precise tools, compatible machinery, and sophisticated software ensures that calibration procedures are both efficient and accurate. This section outlines the key hardware and digital solutions that form the backbone of effective embroidery machine calibration.
Essential Calibration Tools and Hardware
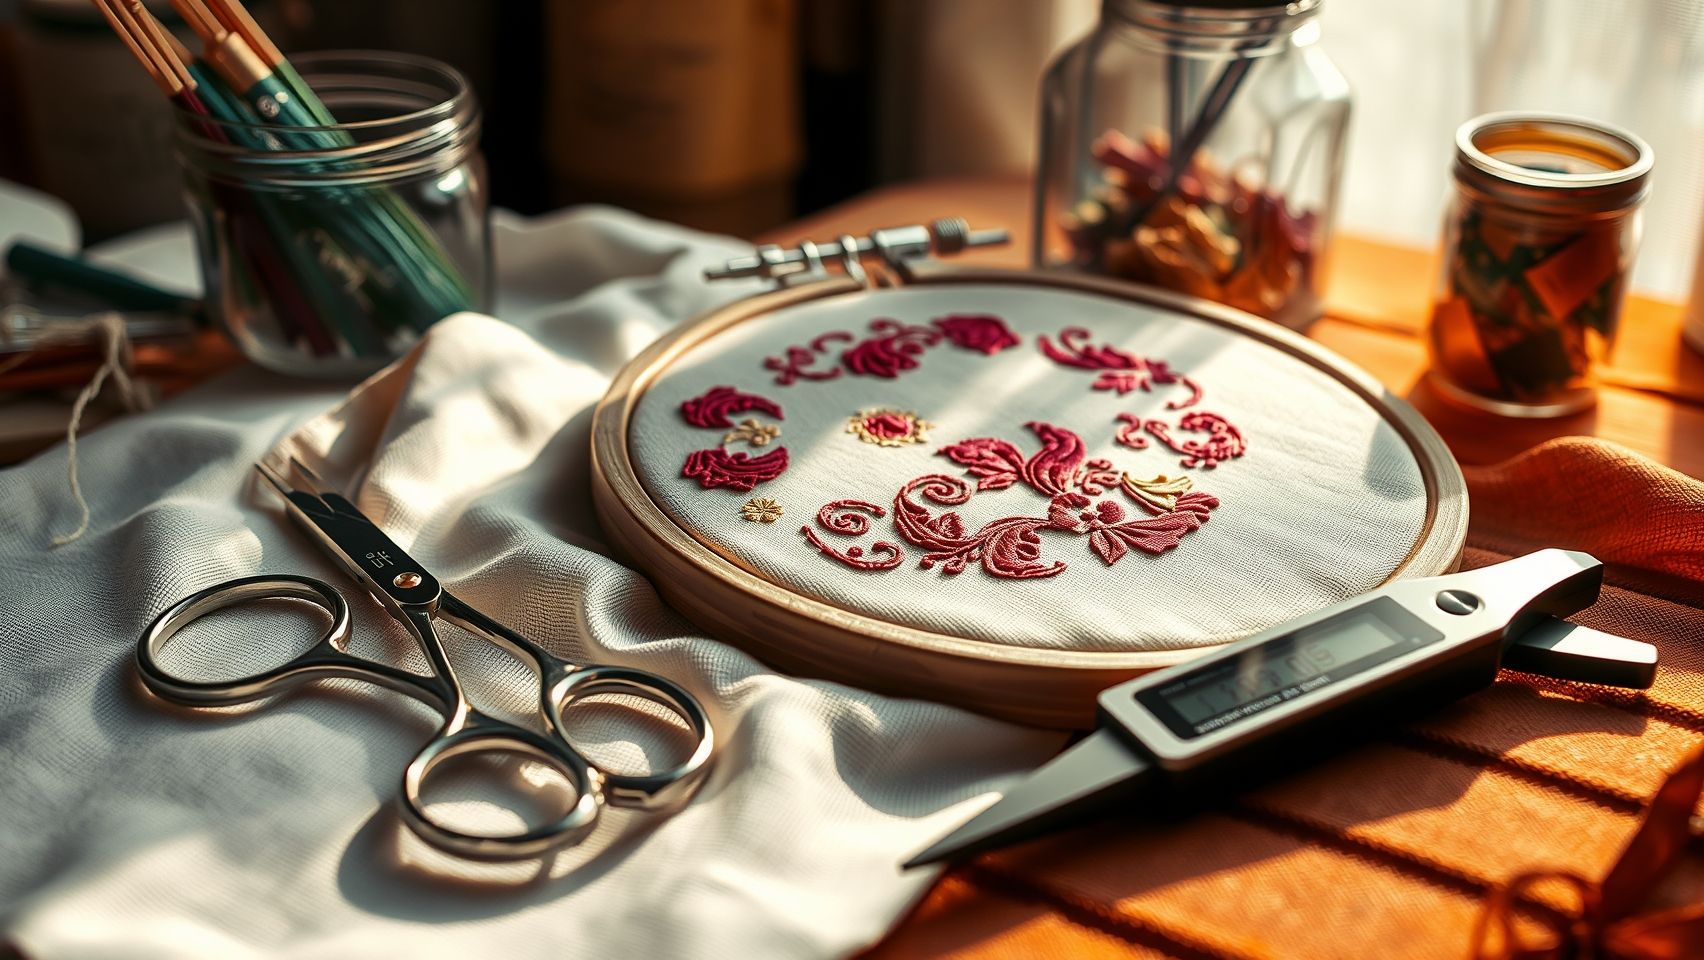
High-precision digital calipers, such as those from Mitutoyo or Starrett, are critical for measuring stitch placement with micron-level accuracy. These calipers allow technicians to verify the exact positioning of stitches and ensure alignment within tight tolerances. Calibration hoops in various sizes, notably 6-inch and 8-inch models, are compatible with popular machines like Bernina, Brother, and Janome. These hoops facilitate consistent tension and fabric positioning, which is crucial for uniform stitch quality. Additionally, calibration templates with predefined stitch patterns and alignment guides serve as reference standards during routine maintenance, providing benchmarks for stitch integrity.
Advanced Software Solutions
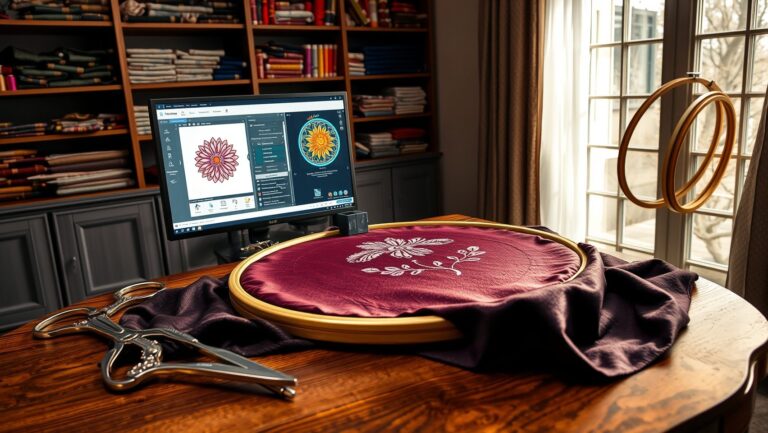
Digital embroidery software such as Wilcom Embroidery Studio, Hatch Software, or Bernina ArtLink enables detailed calibration diagnostics and real-time feedback. Wilcom’s advanced algorithms automatically detect stitch misalignments, significantly reducing manual adjustments. These programs allow operators to visualize stitch registration and make precise corrections remotely, streamlining the calibration process. Modern embroidery machines like the Brother Stellaire and Bernina 880 incorporate automated tension and alignment adjustment features, which further simplify annual calibration routines. These intelligent systems dynamically detect tension inconsistencies and automatically recalibrate tension settings, saving time and minimizing human error. In combination, hardware precision and software diagnostics provide a comprehensive approach to maintaining embroidery machine accuracy, ultimately enhancing productivity and stitch quality.
Conclusion
Regular and documented annual calibration of your embroidery machine is essential to ensure accuracy, efficiency, and longevity. By following the detailed verification and adjustment steps outlined in this guide, you can significantly reduce errors, enhance the quality of your projects, and extend the lifespan of your equipment. Embracing these maintenance practices not only saves time and costs in the long run but also keeps your operations running smoothly and reliably.
Start your annual calibration routine today using the step-by-step guides and tools provided. Keep detailed logs of each calibration to facilitate troubleshooting and maintain consistent performance over time. Don’t wait for issues to arise, taking proactive steps now can prevent costly repairs and production delays in the future.
Invest in your equipment’s health, improve your craftsmanship, and stay ahead in the industry. Take action now and make calibration an integral part of your embroidery practice. Your future self, and your clients, will thank you for it.
Our Research Method How We Research Every machine, thread, and accessory we cover is researched in depth, not reprinted from a spec sheet. Here is what goes into a Latest Embroidery review: Specs, cross-checked. We verify manufacturer specifications against multiple retailers and official manuals, so the numbers you read are accurate and current. What owners…
Quick answer: Balanced embroidery tension shows mostly top thread on the front and roughly one-third top / two-thirds bobbin thread on the back. If bobbin thread shows on top, loosen the top tension (lower number); if loops form underneath, tighten it. Re-thread the top and bobbin first, most “tension” problems are actually threading errors. Are…
Our Research Method How We Research Every machine, thread, and accessory we cover is researched in depth, not reprinted from a spec sheet. Here is what goes into a Latest Embroidery review: Specs, cross-checked. We verify manufacturer specifications against multiple retailers and official manuals, so the numbers you read are accurate and current. What owners…
Quick answer: Resize an embroidery design in embroidery software that recalculates stitches, not an image editor. If you can only scale the file, stay within about ±20% to keep density safe; beyond that, re-digitize or use software that adjusts stitch count and density so the design stays smooth and gap-free. Are you struggling to resize…
Our Research Method How We Research Every machine, thread, and accessory we cover is researched in depth, not reprinted from a spec sheet. Here is what goes into a Latest Embroidery review: Specs, cross-checked. We verify manufacturer specifications against multiple retailers and official manuals, so the numbers you read are accurate and current. What owners…
Are you worried about losing your valuable embroidery patterns and designs? It’s a common fear among hobbyists and professionals alike. Whether it’s due to hardware failures, accidental deletions, or cyber threats, data loss can be devastating and costly. But the good news is that there are practical, straightforward ways to protect your digital assets. From…