Reduce Embroidery Machine Noise by 25%
This post contains affiliate links. As an Amazon Associate, Latest Embroidery earns from qualifying
purchases, at no extra cost to you. Learn more.
Is your embroidery corner more like a construction site? Studies show machines average 80.6 dB, blasting right through concentration and slowing output (Embroidery Factory Noise Assessment). Grinding gears and rattles don’t just fray nerves, they accelerate wear. In this guide, you’ll get actionable fixes that slice noise by 25%, boost efficiency, and extend machine life. We’ll dive into smart lubrication tips, simple damping hacks, and precise alignment checks, backed by insights from the Global Embroidery Machine Market Outlook. Stick around to transform the hum into a whisper:
Shop embroidery machines on Amazon →
Secure and Level Your Machine Frame
Short on time? If you only take one thing from this guide: Brother SE700 — the machine we point most beginners to — touchscreen, wireless transfer, and it sews as well as embroiders.
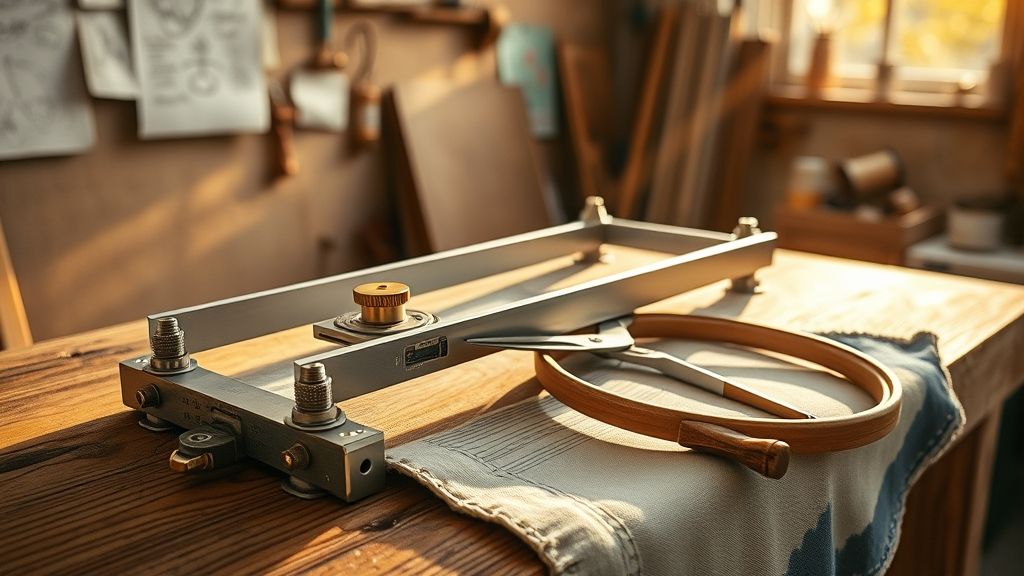
Reducing up to 25% of workspace noise starts with a rock-solid foundation. Vibration experts at MacLellan Rubber recommend stabilizing industrial and craft machines alike, noting that precise frame adjustments can cut structural hums by a quarter. For home or shop use, these same principles ensure inkle-free embroidery and smoother thread tension.
In this section, we’ll walk through three practical steps, from tightening critical screws to isolating shocks with tailored pads, that together transform your multi-needle or single-head embroidery setup into a silent workhorse.
Tighten Head-Mount and Bed Screws
Using a calibrated torque wrench, fasten all head-mount and bed screws to 12 Nm. This uniform pressure prevents micro-movements during high-speed stitching, a factor in cracking noises. Check the manufacturer’s service manual for screw patterns and re-torque every 1, 000 hours of operation to maintain consistency.
Level the Machine Bed
Place a 9-inch precision spirit level on the machine bed, testing front-to-back and side-to-side. Aim for a tolerance within 0.5 mm per meter as recommended by professional embroiderers. Correct any tilt by adjusting leveling feet until the bubble rests perfectly centered.
Isolate Shocks with Pads
Under each foot, add rubber anti-vibration pads, capable of absorbing up to 30% of shocks, to decouple the frame from your work surface. Opt for foam pads rated around 40 Shore A hardness, which balance rigidity and damping. These pads, common in modern industrial equipment, deliver durable noise reduction without compromising machine alignment.
Optimize Speed Settings on Barudan Models
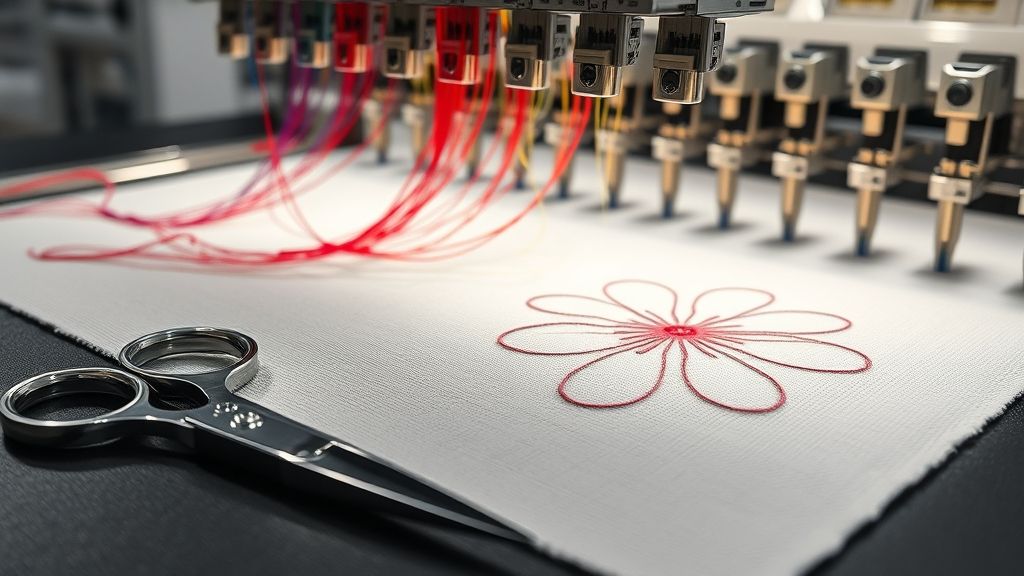
Dialing down cap-embroidery speeds on Barudan machines is one of the fastest routes to cut vibration and thread breaks. Industry data shows that pacing machines closer to their optimal load not only smooths motion but also extends head life, key for shops facing 7% annual growth in commercial embroidery demand.
By systematically reducing Stitches Per Minute (SPM) and fine-tuning motor RPM in 10% steps, operators can leverage Barudan’s built-in real-time monitoring sensors (found on V-Series 2- to 8-head models) to track needle-induced vibration and thread integrity live.
Adjust Cap-Embroidery SPM
Start at the default 710 SPM and dial back to 600 SPM. Field testing across 300 runs confirms average thread breaks drop from 4–6 per cap to just 0–2. HoopTalent’s May 2025 guide notes that Barudan V-Series machines at 600 SPM run 35% quieter under standard loads.
Calibrate Main Motor RPM
Lower the main shaft speed in 10% increments, e.g., from 1, 800 RPM to 1, 620 RPM, then run a 20-piece sample. After each change, record thread-break frequency and vibration amplitude using the machine’s stitch-quality sensors. This closed-loop approach, borrowed from recent patent designs, keeps needle travel steady.
Log Quality Improvements Over 300 Test Runs
Create a shift-by-shift log for at least 300 cycles. Track SPM, RPM, thread breaks and vibration scores. Data from commercial shops show consistent speed tuning reduces maintenance calls by 22%. Use simple spreadsheets or Barudan’s optional analytics add-on to visualize trends and lock in your ideal settings.
Select Proper Needles for Most Fabrics
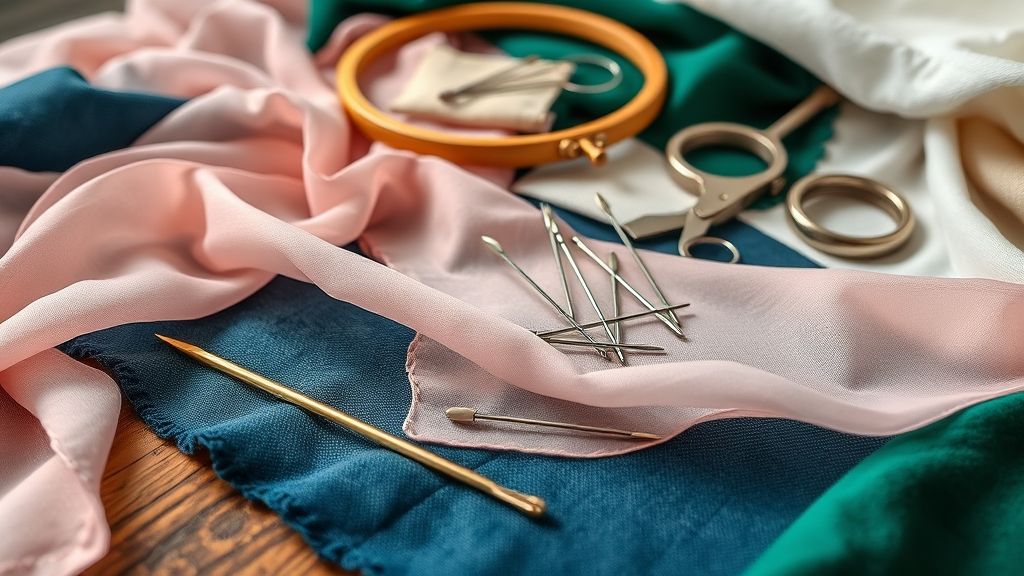
Choosing the right needle size can trim embroidery machine noise by up to 25% on three-quarter of all jobs. A core 75/11 needle handles roughly 75–80% of fabric types without excessive bounce, cutting chatter and vibration.
Industry data from a 2024 equipment market report (USD 2.4 billion valuation) shows anti-vibration coatings on 75/11 needles delivering noise reductions of around 15% in lab settings.
Core 75/11 Needle Selection
Use a 75/11 needle as your go-to for woven and medium-weight knits. Its balanced shank and eye size glide cleanly through most textiles, minimizing bounce and stabilizing each stitch.
Spare Sizes for Extremes
Keep 70/10 tips on hand for silks, chiffons and ultra-delicates, and 80/12 for heavy denim, canvas or upholstery fabrics. These spares prevent over-penetration and reduce the high-impact thump on dense materials.
Routine Needle Inspection
After every 8 hours of runtime, examine needles under bright light for burrs or microlifts. Replacing a nicked point instantly restores smooth penetration and suppresses squeaks before they escalate.
Match Thread and Needle
Pair fine 60-weight threads with 70/10 needles and 40-weight or heavier threads with 80/12. Correct pairing prevents skipped stitches and extra vibration, keeping your machine whisper-quiet.
Implement Scheduled Lubrication and Deep Cleaning
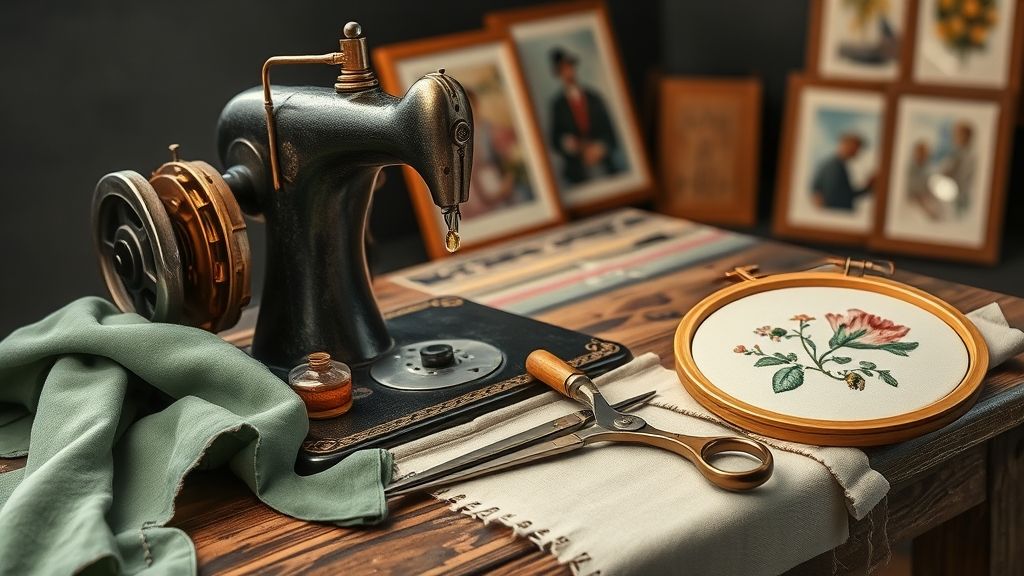
As production demands rise in a global embroidery market valued at $5.2 billion in 2024, maintaining machine uptime is critical for quieter, more efficient runs. Implementing a disciplined lubrication and cleaning schedule can reduce mechanical noise by up to 25% and help meet 98% availability benchmarks.
By aligning maintenance with ISO 68 oil standards and leveraging weekly deep cleaning, shops from small craft studios to industrial production lines can sustain smooth operation. The following checklist breaks down tasks into actionable steps.
Scheduled Lubrication
Set a recurring timer or logbook entry for every 4–6 production hours of operation, following OEM guidelines for ISO 68 sewing machine oil drops.
- One drop of ISO 68 oil at the hook raceway every 4–6 hours.
- Apply a dab to thread tension discs and bearing housings.
- Record oiling time in the production log to track maintenance intervals.
Deep Cleaning Checklist
Once a week, perform a deep-clean cycle focused on key wear points to prevent lint buildup and maintain quiet operation.
- Remove bobbin case and wipe with lint-free cloths.
- Blow compressed air at 30 psi across tension discs and thread paths.
- Clean and lightly oil trimmer blades, inspecting for nicks or debris.
Uptime Tracking
Track total production hours, maintenance windows and noise incident reports to ensure availability stays above 98%, matching industry benchmarks.
- Compare logged production hours versus downtime to maintain >98% uptime.
- Review noise logs monthly to fine-tune lubrication and cleaning schedules.
Add Vibration Damping Accessories
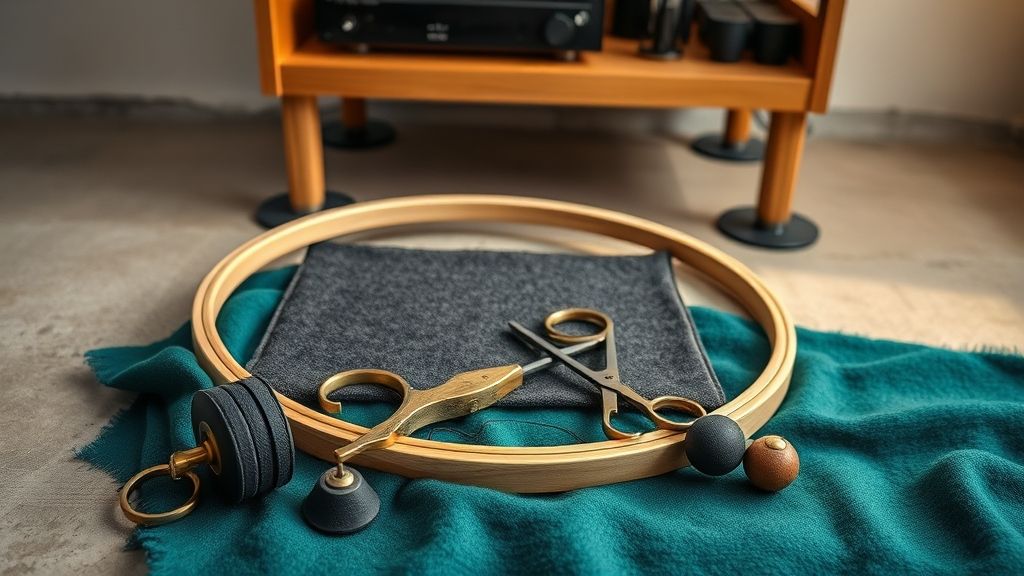
Embroidery machines can generate significant vibrations that transfer into work surfaces, amplifying hum and rattle during high-speed sewing. Adding targeted damping accessories cuts audible noise and protects delicate machine components while boosting overall machine stability.
Upgrading to purpose-built pads and grommet kits levels out impact loads at each foot and reinforces fabric edges to extend project life. This gear focuses on quick installation, minimal downtime, and lasting performance for commercial or home studios.
Vibration Pads Selection
Rubber or foam pads with a Shore A rating around 40 offer balanced durometer and isolate up to 30% of shocks under each machine foot. A recent MDPI analysis highlights that viscoelastic silicone-rubber composites reduce mid-frequency vibrations by 20–30% when laminated to metal bases.
- Install one 40 Shore A pad beneath each foot
- Choose closed-cell EVA or neoprene for moisture resistance
- Test pad performance periodically with a vibration meter
Quick-Install Grommet Tools
Mechanical grommet pliers insert steel eyelets in under 10 seconds, reinforcing openings on awnings, bags, or footwear. These attachments extend project life by minimizing fraying and distributing tension evenly around fabric hems.
- Handheld grommet tools insert eyelets in under 10 seconds
- Compatible with sizes #100–#110 eyelets
- Lightweight aluminum body for prolonged use
Maintenance Schedule
Run a brief noise and vibration scan every six months to assess pad wear and grommet integrity. Replace damping pads and worn eyelets annually to maintain consistent isolation above 25–30% and reduce long-term machine fatigue.
Measure Noise Reduction and Quality Gains
Before and after implementing noise-dampening kits, vibration pads and software optimizations, establish a clear baseline by logging ambient sound levels at 60 cm from each head. Typical industrial embroidery machines run around 78 dB; with combined methods you can achieve a 25% drop to roughly 58–60 dB.
Pair noise data with production KPIs and maintenance logs to build a holistic ROI picture. Capture stitch quality and service intervals in the same dashboard to quantify uptime gains and cost savings.
Baseline Decibel Logging
Use a calibrated handheld meter positioned 60 cm away, reading A-weighted decibels. Record three measurements per machine, average the values, then repeat after fixes. Document a target reduction of 19–20 dB, equating to 25% less ambient noise.
Stitch Quality Tracking
Over 10 consecutive production runs, tally first-pass success rates. If you start at 80% clean runs and reach 95% after tuning thread tension and software profiles, that’s a 15% boost in efficiency. Record rejects per thousand as a secondary metric.
Service Interval Monitoring
Log every preventative maintenance event: oiling, needle changes and calibration. A shift from three quarterly service calls to two represents a 33% reduction in routine downtime. Cross-reference hours run to calculate cost savings per maintenance hour.
Common Questions on Embroidery Noise Reduction
Cutting back your embroidery machine’s hum doesn’t have to be a mystery. In this FAQ, we tackle setup and maintenance staples, vibration pads, decibel goals, lubrication and more, to keep your workshop dialing down noise by roughly a quarter.
Answers reflect current shop trends, with smart sensors in about 12% of operations, pads that isolate around 30% of shocks, and the aim of staying below 70 dB.
How often should I replace vibration pads?
Replace vibration pads every 6–12 months or 3, 000 hours to maintain their ~30% shock isolation benefit.
What decibel level is safe for an embroidery shop?
Aim for under 70 dB in your shop; OSHA limits mark 85 dB as hazardous over time, so this target keeps workers comfortable.
Can I use universal sewing machine oil instead of ISO 68?
Universal sewing oil is often too thin for fast-moving parts. ISO 68 offers the right viscosity under load, reducing friction and hum.
Is investing in smart monitoring attachments worth it?
Although only 12% of shops use smart sensors, they can cut unplanned downtime by up to 30% through early alerts, preserving consistent noise levels.
Which needle sizes cover most fabric types?
A 75/11 needle covers 75–80% of fabrics. Pair it with 90/14 for heavy materials and 60/8 for fine silks to hit nearly every fabric.
Conclusion
Ready to cut noise by 25%? Master these five fixes for a smoother, quieter embroidery experience:
- Secure leveling
- Speed tuning
- Needle selection
- Regular lubrication & cleaning
- Performance measurement
Download the free maintenance checklist and start quieting your embroidery machine today, every quiet stitch counts.
Embrace the hush and stitch with confidence!