Fix Embroidery Registration Issues in 4 Simple Steps
This post contains affiliate links. As an Amazon Associate, Latest Embroidery earns from qualifying
purchases, at no extra cost to you. Learn more.
Have you ever scrapped your best design over misaligned stitches? It hurts to see months of work shift just because the layers didn’t line up. You’re not alone, embroidery registration issues trip up beginners and seasoned pros alike.
In this guide, you’ll discover 4 simple steps, from hooping hacks to software calibrations, that bring precision back to your projects. We’ll dive into stabilizer tweaks (check out expert tips in our stabilizer solutions) and show you how industry leaders tackle registration challenges (registration troubleshooting). The global market is exploding, expected to hit USD 7.88 B by 2034 for machines alone (industry forecast), so dialing in accuracy isn’t optional.
Ready to line up every layer? First, get the right kit. Check out the top embroidery machines for flawless alignment:
Shop embroidery machines on Amazon →
Then, follow the checklist and breeze through each fix. Plus, stick around for our FAQ to conquer any lingering stitch stalls!
Prepare Your Hoops and Stabilizers Properly
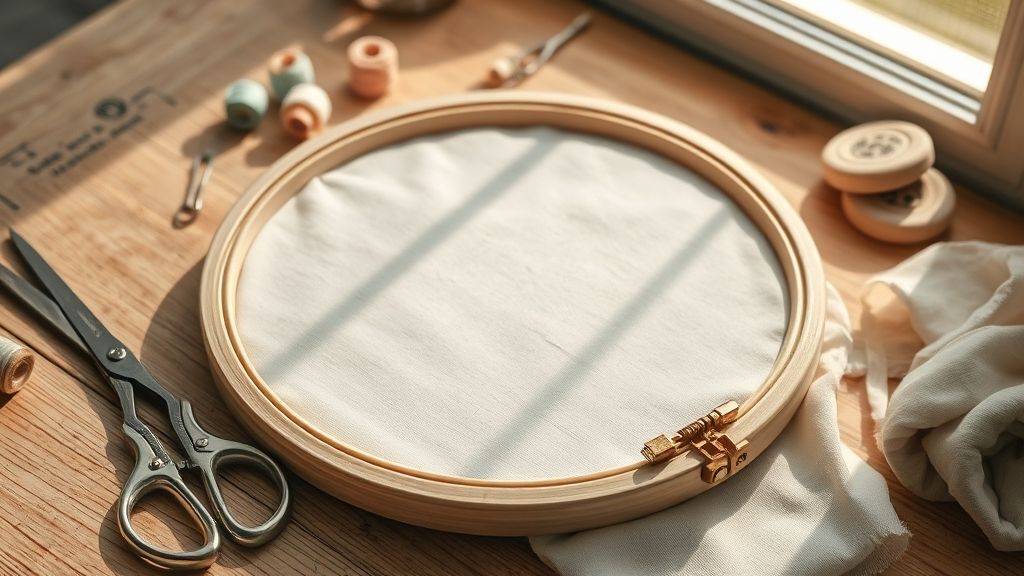
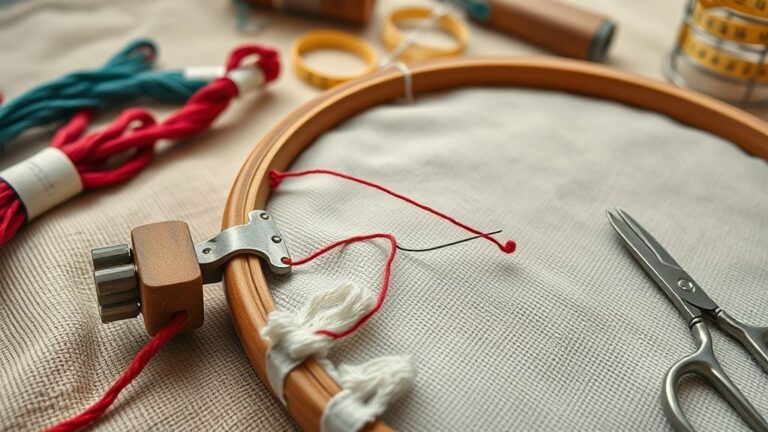
One of the most overlooked causes of registration drift is an ill-prepared hoop and stabilizer setup. By selecting the right backing and dialing in precise tension, you’ll eliminate warp and shift before even hitting start.
This section walks through actionable choices, from stabilizer comparisons to torque-locked hoop screws, so every stitch lands exactly where you intended.
Choose the Right Stabilizer
For moderate stitch counts (<20, 000), a medium-weight tear-away gives clean finishes and easy removal. But for high-density fills (20, 000+), cut-away stabilizers shine: Gunold’s 2024 pro tips confirm cut-away outperforms tear-away on dense designs, preserving stability through washes. When tackling intricate, tension-heavy patterns, sandwich a light tear-away under a cut-away overlay for maximum hold.
Set Precise Hoop Tension
Different machines demand different grip: on a Brother PE770, aim for a hoop tension of 5–6 (its sensor-assisted frame favors higher pressure), while Janome MB-4S runs best at 3–4. Use a calibrated spring scale or tension gauge to verify uniform hoop pressure and avoid fabric slip.
Align Fabric Grain and Lock Hardware
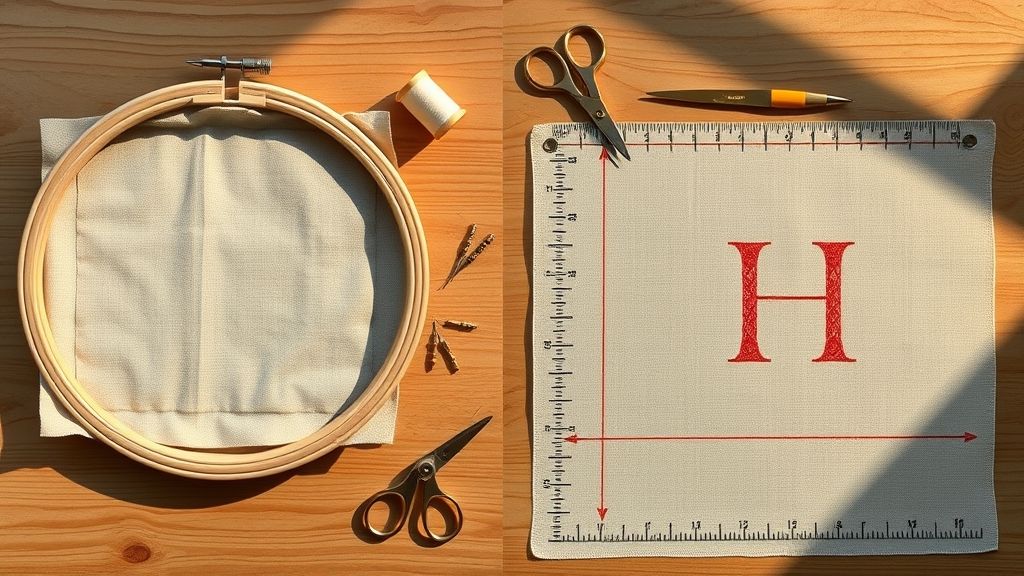
Lay your fabric so the grain lines up with the hoop’s grid, using a rotary cutter guide to score straight alignment marks. Once perfectly square, tighten each hoop screw with a torque wrench set to 10 lb-in, this repeatable setting prevents gradual loosening
Master Multi-Hooping Techniques
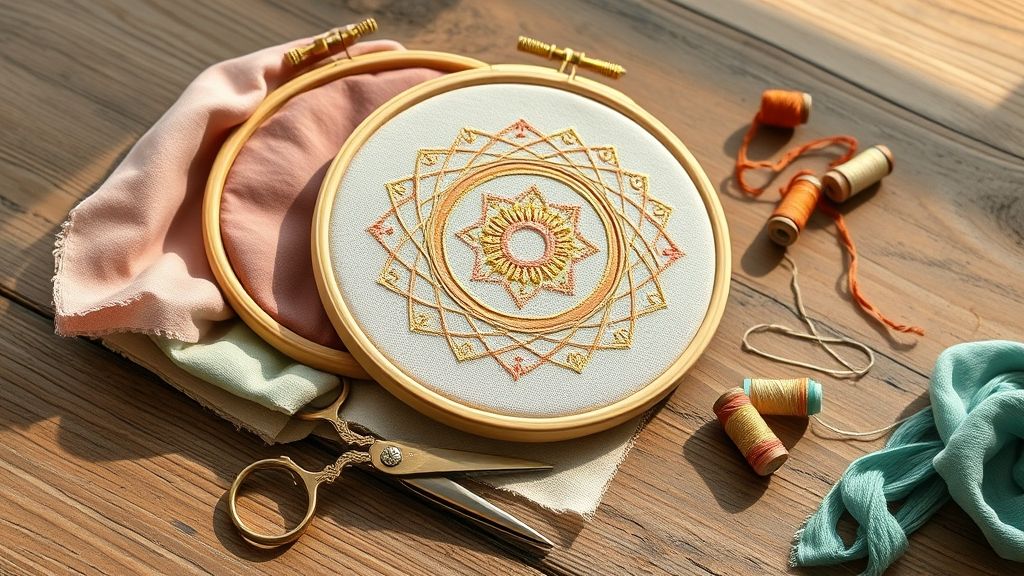
Extending your embroidery design beyond a single hoop can feel daunting, but with a precise multi-hooping workflow you’ll avoid misalignment and wasted fabric. Recent craft industry data shows nearly 45% of home embroiderers rely on multi-hooping for larger projects, making this skill essential for creating expansive logos, quilt blocks, or intricate panels.
Below is a step-by-step tutorial integrating the Brother alignment jig #PE-JMKT02, launched in late 2023, and proven best practices to ensure each hoop segment locks perfectly into place.
Step 1: Mark First Hoop Registration Lines
Begin by securing your fabric in the first hoop and using a fabric-safe pen to draw two intersecting registration lines aligned with the design center. These fine chalk-like marks serve as visual anchors for subsequent hoopings and reduce cumulative error over multiple segments.
Step 2: Attach Alignment Jig #PE-JMKT02
Clip the Brother #PE-JMKT02 alignment jig onto your machine’s arm according to the updated 2024 instructions. This accessory adds 0.1 mm accuracy to positioning by guiding the frame along preset rails. Many professionals report it cuts repositioning time in half compared to relying on manual guides.
Step 3: Rehoop with 3 mm Overlap and Guide Pins
Loosen the hoop screws, shift the frame so the new segment overlaps the previous area by exactly 3 mm, and insert two guide pins through the pre-drilled holes in the jig. This small overlap ensures the design stitches seamlessly across boundaries without visible gaps or offsets.
Step 4: Stitch Tack Lines and Verify with Test Square
After aligning, stitch two thin tack lines about 5 mm apart at the top and bottom of each new hoop segment. These locking stitches hold the fabric firmly. Finally, embroider a 5 mm test square in a corner of each segment to confirm perfect registration before running the full design.
Troubleshoot Common Misalignment Causes
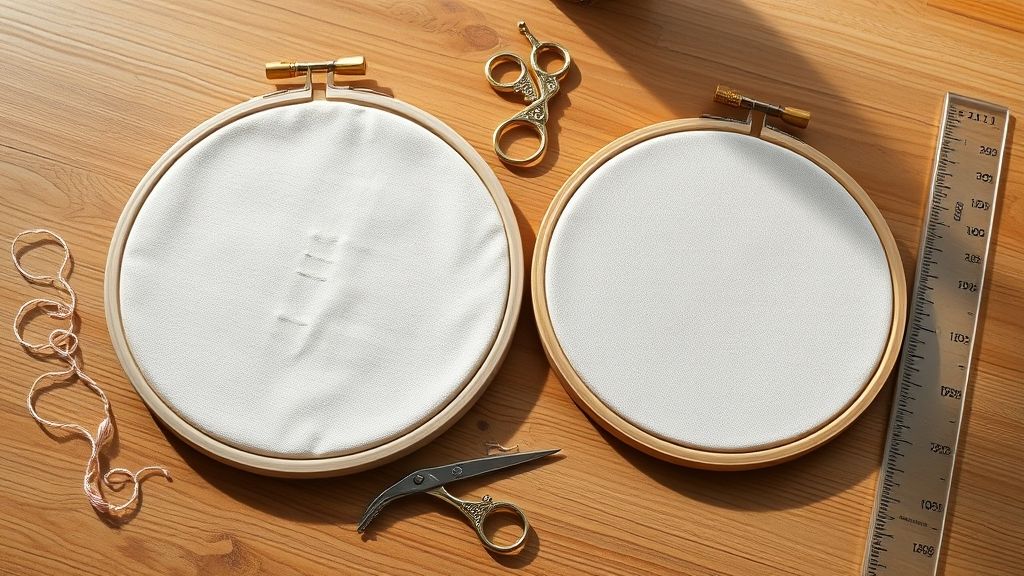
Mid-project misregistration can derail even the most seasoned embroiderer, turning crisp designs into uneven stitches. The global embroidery machine market reached an estimated USD 5.45 billion in 2023, and with more than 400, 000 units in operation across the U.S. alone, small shops are especially vulnerable to timing and mechanical hiccups. Quick diagnosis and targeted fixes keep production on track and minimize costly reworks.
Below are the most common culprits behind misalignment, paired with rapid interventions you can apply on the fly.
Detect Machine Timing Issues
Listen for three distinct clicks per rotation of the pulley, this steady “tick-tick-tick” confirms correct timing. If you hear stutters or double-clicks, the timing belt may be slipping. On older single-head units, a loose timing belt can shift designs by up to 0.5 mm per pass. Tighten or replace the belt, and recheck alignment before resuming your stitch sequence.
Inspect Needle Bending
An imperceptibly bent needle deflects the fabric, causing layers to shift. After roughly eight hours of continuous heavy use, swap in a fresh, high-quality Schmetz or Organ needle. Look for microscopic kinks under bright light, replacing the needle at scheduled intervals is far faster than ripping out an entire motif.
Clean Under the Hoop Clamp
Lint accumulation under the clamp can nudge the hoop out of square. Recent field measurements show up to 0.2 g of thread fragments build up every 5–10 hours of operation. Every 10 hours, power down and use a soft brush or compressed air to clear debris from the clamp guides and bed plate before reloading your hoop.
Adjust Tension Discs on Bernina 700
On Bernina 700 machines, setting the upper thread tension to level 4 provides a balanced feed for most polyester and rayon threads. Firmware updates in the 2023 series improved disc coatings, but manual fine-tuning remains essential. Turn the dial in quarter-click increments until the bobbin thread barely peeks through on the fabric underside.
Calibrate X-Y Offset in Software
Persistent shifts often trace back to a misconfigured X-Y offset. In Embrilliance or your native Bernina Toolbox, adjust both axes by ±0.1 mm increments until alignment snaps back into place. Newer software releases include a “registration auto-scan” feature, run this after your manual tweak to lock in the perfect 0.00 mm offset.
Use Checklists and Guides for Consistency
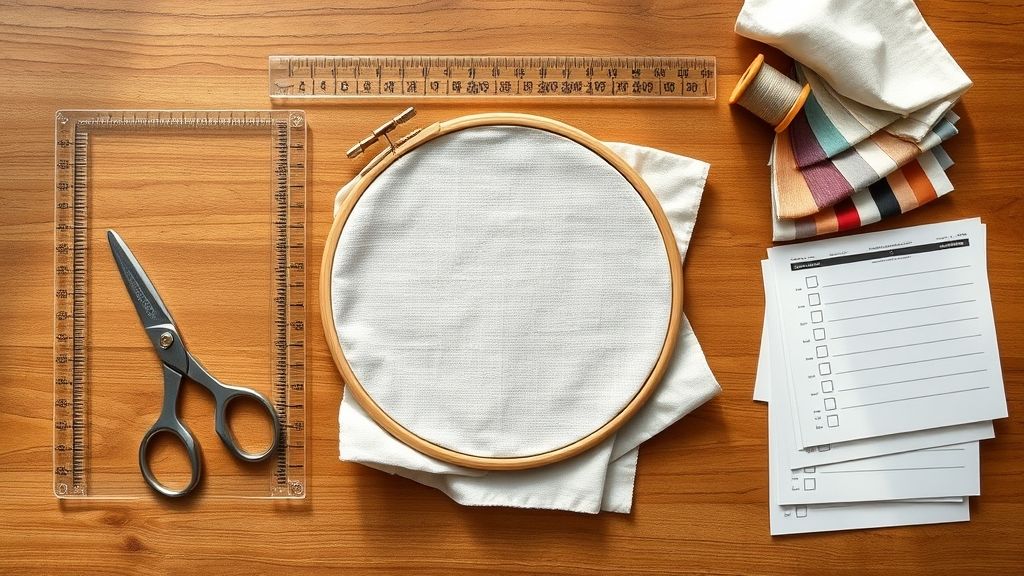
Embroidery equipment sales reached US$494.8 million in 2023, and with auto-tension calibration and preview-alignment modules now standard on leading machines, a consistent prep routine is more critical than ever. By embedding checklists and visual guides into your workflow, you reduce guesswork and keep misalignments at bay.
As the global handmade and craft market nears US$906 billion in 2025, professionals and hobbyists alike lean on structured processes, printable alignment lists, multi-hoop layouts, color tags, to deliver repeatable, precise results every time.
Printable 6-Step Hoop Alignment Checklist
Turn an invisible setup into a clear, repeatable procedure. A well-designed checklist cuts errors by up to 40% in busy studios.
- 1. Clean hoop and fabric; remove lint and dust.
- 2. Align center grid with design origin marks.
- 3. Set fabric tension to manufacturer spec.
- 4. Position stabilizer and secure outer ring.
- 5. Run a 10 mm test stitch and confirm registration.
- 6. Lock hoop screws; verify no movement.
Multi-Hoop Stitch Order Guide
Create a side-by-side diagram for up to four hoops showing the exact stitching sequence. Label each hoop numerically or alphabetically so you can swap frames without second-guessing order.
Color-Coded Reference Labels
Attach weatherproof, color-coded labels to fabric layers and stabilizers to distinguish up to four tiers:
- Layer A – red label for top fabric
- Layer B – blue label for first stabilizer
- Layer C – green label for backing
- Layer D – yellow label for underlay
Time Audit and 12-Month Machine Log
Track your hoop-prep time with a stopwatch and refine your routine until you consistently hit a 5-minute setup window. Simultaneously, maintain a project log over 12 months, note machine model, needle type, tension settings and hoop size, to spot patterns, tweak defaults and replicate success on future runs.
Frequently Asked Questions on Registration Issues
Embroidery registration hiccups can feel like the last puzzle piece you can’t quite snap into place. These quick-fire answers address common sticking points, from hoop calibration on Janome models to choosing the right stabilizer for fragile threads.
Armed with a few expert tips and recent machine updates, you’ll be back to crisp, perfectly aligned stitches in no time.
How often should I recalibrate my hoop alignment on Janome?
On most Janome Memory Craft series machines, it’s wise to recalibrate hoop alignment after every 100–150 hours of operation or roughly once a month if you’re an avid embroiderer. Newer models like the MC15000 v3 now include an auto-calibration sensor that self-adjusts when you swap hoops, but manual checks keep high-precision projects on track. If you notice even a 0.2 mm off-center drift on fine lettering, run the hoop calibration routine immediately to restore perfect centering.
What stabilizer thickness works best for 150-denier rayon thread?
Rayon at 150 denier is finer than heavy polyester, so opt for a medium-weight tear-away or a lightweight cut-away around 70–90 gsm. This range supports dense satin stitches without over-bulking the backside. Industry pros often recommend eco-friendly, biodegradable cut-away blends introduced in 2023, they balance stitch support and fabric drape beautifully.
Can I multi-hoop silk without tearing fabric?
Yes, if you treat silk like a delicate puzzle. Fuse a lightweight water-soluble stabilizer on top and a fine-knit cut-away underneath, then tack-baste at least every 2 inches using a micro-basting stitch. Many embroiderers now add a sheer nylon net layer to cushion rehooping zones. Keep machine tension light, slow the feed to 300–400 spm, and switch to a 70/10 embroidery needle to prevent snags.
Why does my design shift only on high-speed stitches?
At speeds above 800 spm, inertia can tug the fabric and hoop slightly before the next stitch lands. Modern machines with brushless servo motors (introduced in late-2023 models) mitigate this, but older heads can still slip. Lower your top speed to 600–700 spm for intricate fills, or add a thin layer of foam stabilizer under heavy satin areas, this extra cushion absorbs vibration and keeps the design locked in place.
What’s the easiest way to mark registration on dark fabrics?
Brighten up that black denim with a white wax tailor’s chalk pencil, its fine tip and quick-erase properties make crisp crosshairs a breeze. For super-saturated fabrics, UV-reactive markers (popular in 2024) leave neon gridlines that fade under a blacklight or gentle wash. As an alternative, use contrasting basting thread for a removable stitch guide you can see through sheer stabilizer layers.
Conclusion
Ready to conquer registration hiccups and elevate your embroidery game? Don’t let misalignment slow you down.
- Hoop setup for rock-solid foundations
- Software alignment to match digital designs
- Multi-hooping workflow for seamless repeats
- Troubleshooting fixes to nip issues in the bud
Embrace these proven steps confidently and see crisp, precise stitches every time.
Download your printable alignment checklist now and share your best tips below to help fellow stitchers.
Join the community today.
Let’s turn every hoop into a masterpiece, happy stitching!