Is Embroidery Without a Hoop Even Possible?
This post contains affiliate links. As an Amazon Associate, Latest Embroidery earns from qualifying
purchases, at no extra cost to you. Learn more.
Embroidery conjures images of intricately patterned fabrics stretched taut within a wooden or plastic hoop. It’s practically synonymous with the craft! But what if I told you there’s a whole world of embroidery that exists *outside* the confines of that familiar circle? Hoopless embroidery, also known as free-motion embroidery or needle painting, offers a liberating approach, freeing you from the restrictions of a fixed frame and allowing for unparalleled creative freedom. It’s becoming increasingly popular, particularly for those seeking a more organic, painterly style or working with unconventional materials.
This isn’t your grandmother’s embroidery, though she’d probably be fascinated! Hoopless embroidery is about embracing the texture and fluidity of the fabric, working directly with the material to create unique designs. It offers greater control over stitch placement, allowing for subtle shading and intricate detail that can be difficult to achieve with a traditional hoop. In this blog post, we’ll explore the techniques, materials, and creative possibilities that make hoopless embroidery such an exciting and versatile art form. We’ll delve into fabric stabilization, thread selection, machine settings, and design considerations, equipping you with the knowledge to embark on your own hoopless embroidery adventures. Get ready to ditch the hoop and unleash your creativity!
Understanding Fabric Stabilization for Hoopless Embroidery
One of the biggest challenges, and most crucial aspects, of hoopless embroidery is managing fabric stability. Without the tension provided by a hoop, the fabric is prone to shifting, puckering, and distortion. This is where stabilizers become your best friend. Stabilizers provide a temporary or permanent backing that supports the fabric during stitching, preventing these unwanted effects. The choice of stabilizer depends on the type of fabric you’re using and the density of the stitching you plan to create.
For lightweight fabrics like cotton voile or silk, a lightweight tear-away stabilizer is often sufficient. These stabilizers can be easily torn away after stitching, leaving behind a clean finish. Heavier fabrics, such as denim or canvas, may require a cut-away stabilizer, which is designed to be trimmed close to the stitching after completion. Water-soluble stabilizers are another option, particularly useful for delicate fabrics or projects where you want to completely remove the stabilizer. “When selecting a stabilizer, consider the weight of your fabric and the complexity of your design, ” advises embroidery expert Nancy Zieman. “A heavier fabric and a denser design will require a more robust stabilizer.” Experimentation is key to finding the right stabilizer for your specific project. Always test your stabilizer on a scrap of fabric before committing to the final piece.
It’s worth noting that using multiple layers of stabilizer can provide added support, especially for intricate designs. Fusible stabilizers, which are ironed onto the back of the fabric, offer additional stability and prevent the fabric from stretching during the stitching process. Ultimately, successful hoopless embroidery hinges on a well-stabilized foundation. Without it, you’re essentially fighting a losing battle against fabric distortion. Don’t skimp on this crucial step! The right stabilizer can make all the difference between a beautiful finished piece and a frustrating mess.
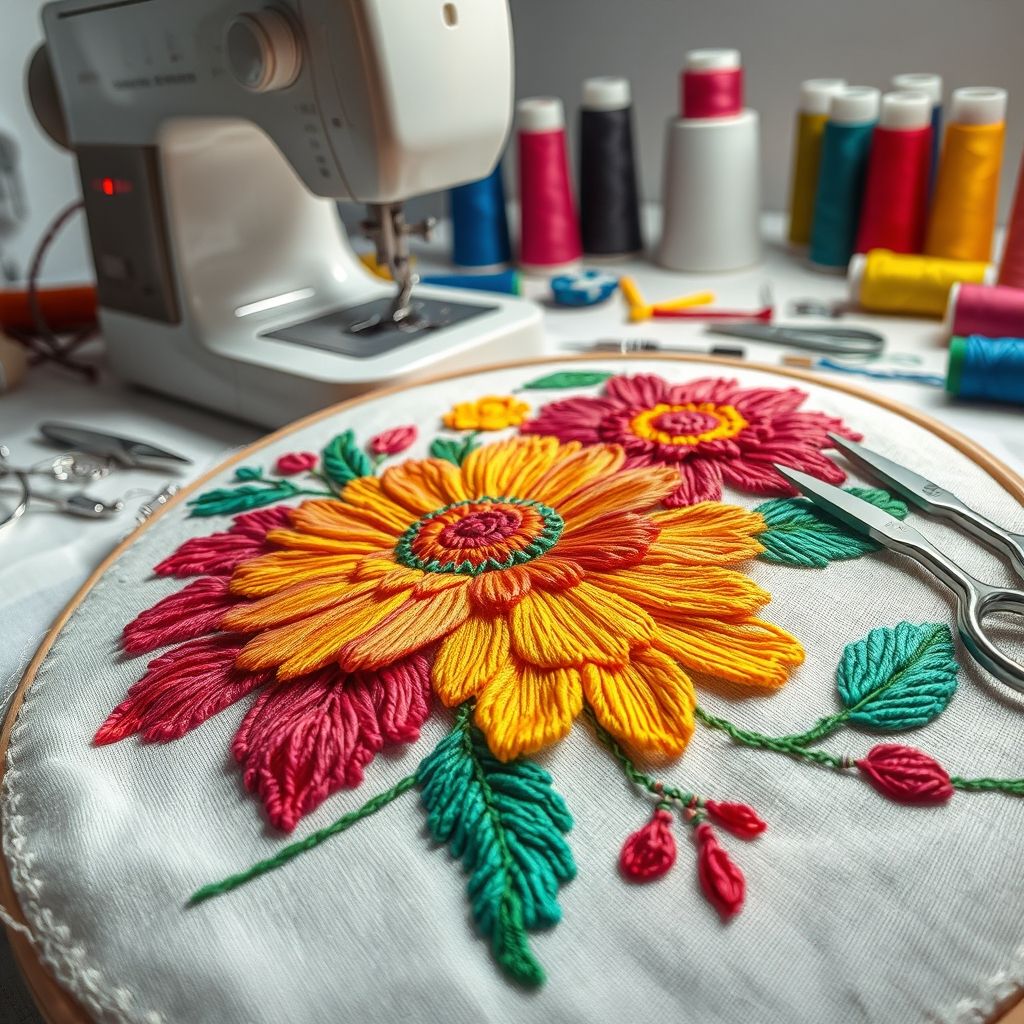
Selecting the Right Threads for Free-Motion Embroidery
Just as fabric stabilization is crucial, so is thread selection. The right thread can enhance the texture, color, and overall impact of your hoopless embroidery design. Consider the weight, fiber content, and color of your thread, and how it will interact with your chosen fabric. Cotton embroidery floss is a classic choice, offering a wide range of colors and a soft, matte finish. Rayon threads provide a beautiful sheen and are ideal for creating vibrant, eye-catching designs. Polyester threads are known for their strength and durability, making them a good option for projects that will be frequently washed or handled.
Experiment with different thread weights to create varying textures and effects. Thicker threads will produce bolder, more pronounced stitches, while finer threads are perfect for delicate detail work. Don’t be afraid to mix and match different thread types within the same project to add dimension and visual interest. Metallic threads can add a touch of sparkle and glamour, but they can also be more challenging to work with. Use a needle specifically designed for metallic threads to prevent breakage and fraying. “Thread is the paint of the embroiderer, ” says Trish Burr, a renowned needle painter. “Choosing the right thread is like choosing the right pigment for a painting.”
Consider the color palette of your design and how different thread colors will interact with each other. Use a color wheel to help you choose harmonious color combinations or contrasting colors for a more dramatic effect. Before committing to a particular thread, test it on a scrap of fabric to see how it looks and feels. Pay attention to how the thread behaves during stitching, does it fray easily? Does it create excessive lint? Adjust your machine settings accordingly. Ultimately, the best thread for your hoopless embroidery project is the one that allows you to achieve your desired aesthetic while also being easy and enjoyable to work with. Speaking of the tools we use, it’s important to have high-quality materials to help you achieve the perfect result:
Shop embroidery thread on Amazon →
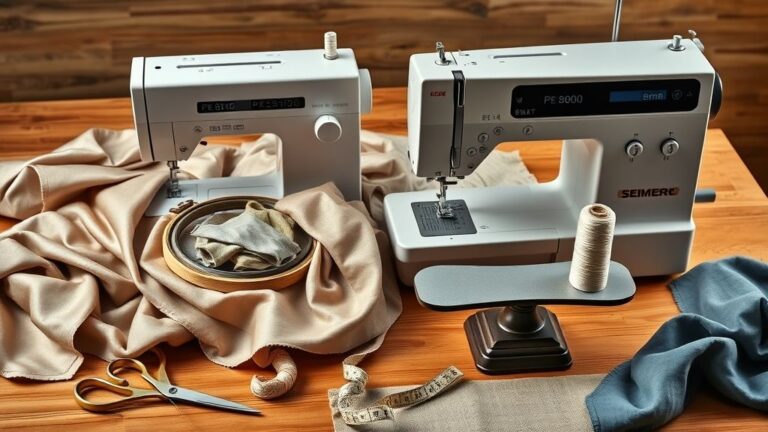
Mastering Machine Settings for Hoopless Success
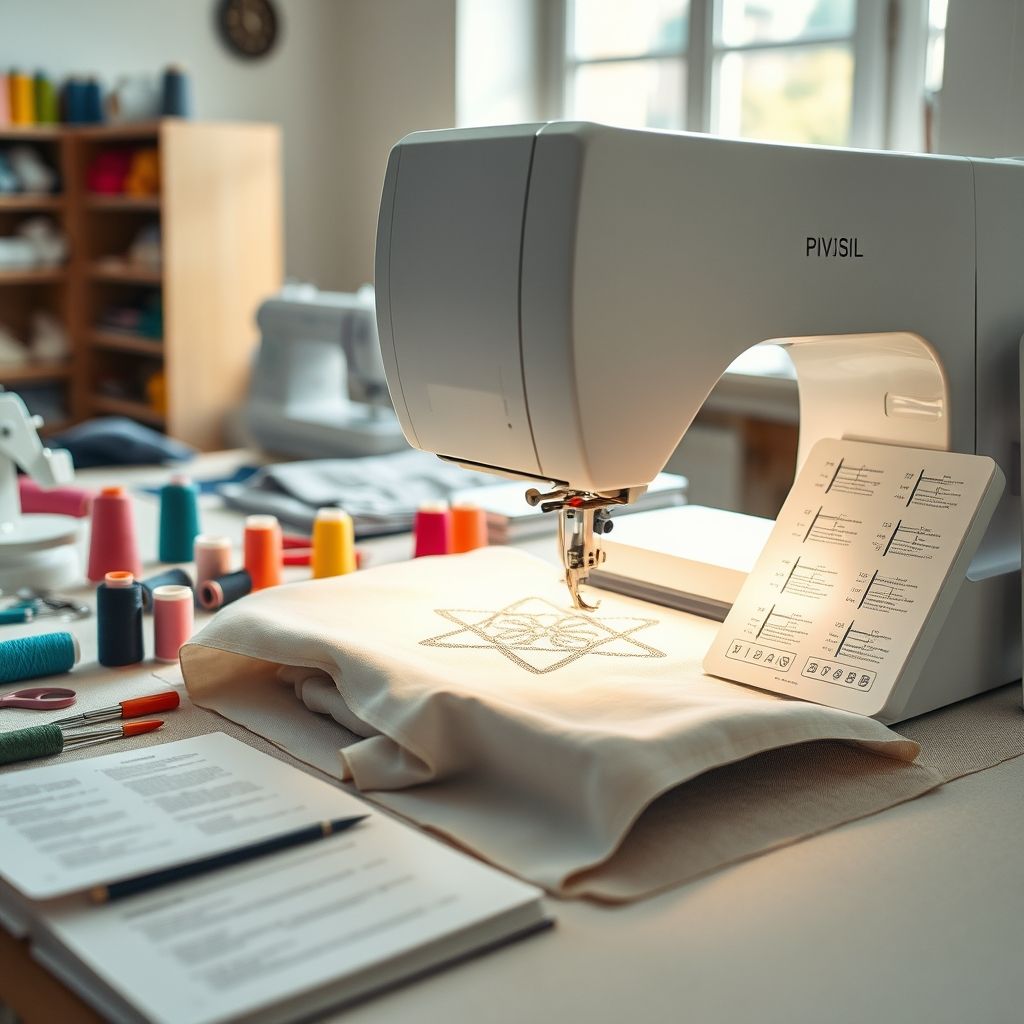
Once you’ve chosen your fabric and thread, the next step is to adjust your sewing machine settings for optimal hoopless embroidery. The most important setting is the feed dogs, which should be lowered or covered to allow you to move the fabric freely under the needle. Most sewing machines have a drop feed lever or a plate that can be attached to cover the feed dogs. Without disabling the feed dogs, you’ll find it impossible to control the direction and length of your stitches. Experiment with different stitch lengths and widths to achieve the desired effect. A shorter stitch length will create a denser, more filled-in look, while a longer stitch length will produce a more open, textured effect.
Adjusting the thread tension is also crucial. The ideal tension will vary depending on the type of fabric and thread you’re using, but generally, you’ll want to aim for a balanced tension where the top and bobbin threads meet in the middle of the fabric. If the top thread is too tight, it will pull the fabric upwards, causing puckering. If the bobbin thread is too tight, it will pull the fabric downwards, creating loops on the top surface. Test your tension on a scrap of fabric and adjust it as needed until you achieve a smooth, even stitch. Some machines have automatic tension settings which can be a good starting point, but manual adjustment is often necessary for hoopless embroidery. Additionally, the presser foot plays a vital role. A darning foot or free-motion embroidery foot is specifically designed for this technique, providing a clear view of the stitching area and allowing the fabric to move freely. “The right presser foot is essential for free-motion embroidery, ” advises sewing machine expert, Joan Powell. “It provides stability and prevents the fabric from jumping.”
Finally, consider the speed of your machine. Starting at a slower speed will give you more control over your stitches, especially when working on intricate details. As you become more comfortable with the technique, you can gradually increase the speed. Remember, practice makes perfect. The more you experiment with different machine settings, the better you’ll become at achieving the desired results.
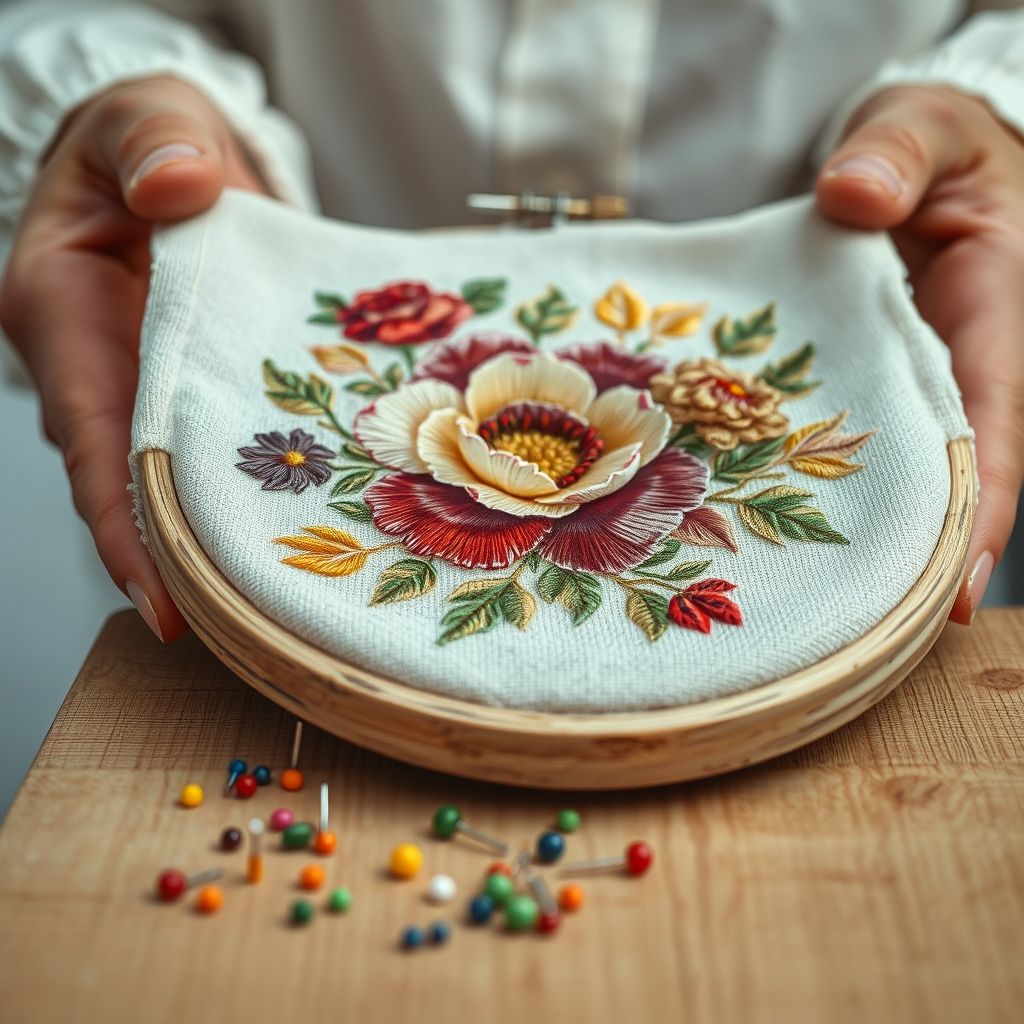
Essential Techniques: Stitching and Directional Control

With the machine prepped, it’s time to dive into stitching techniques! Hoopless embroidery relies heavily on your ability to control the movement of the fabric under the needle. Unlike traditional embroidery where the hoop keeps the fabric taut and guides the stitches, in hoopless embroidery, *you* are the guide. Practice moving the fabric smoothly and evenly, maintaining a consistent speed and direction. Avoid sudden starts and stops, which can create jerky, uneven stitches.
Start with simple shapes and lines to get a feel for the movement. Try tracing a basic design onto your fabric and following the lines with your stitches. Experiment with different stitch directions to create shading and dimension. Stitching in different directions can create the illusion of light and shadow, adding depth to your design. For example, stitching vertically can make an object appear taller, while stitching horizontally can make it appear wider. Consider the overall composition of your design and how different stitch directions will contribute to the final effect. A popular technique is “thread painting, ” where you use overlapping stitches of different colors to blend and create realistic shading, mimicking the look of paint strokes. This requires careful control of stitch length and direction to achieve smooth transitions between colors. “Directional stitching is the key to creating realistic shading and dimension in needle painting, ” explains master embroiderer, Hazel Blomkamp. “Pay attention to the direction of the light source and stitch accordingly.”
Another essential technique is “travel stitching, ” which involves stitching a continuous line along the edges of your design to create a defined border. This helps to prevent the fabric from fraying and adds a professional finish. Practice these basic techniques until they become second nature. The more comfortable you are with controlling the fabric and directing your stitches, the more creative and expressive you can be with your hoopless embroidery.
Design Considerations for Hoopless Projects
While hoopless embroidery offers incredible freedom, it also requires careful consideration when planning your designs. Think about the overall shape, size, and complexity of your design, and how it will translate to a hoopless format. Simple, geometric designs with clear outlines are often easier to execute than intricate, detailed designs with lots of curves and fine lines. However, don’t let that limit you! With practice, even complex designs can be successfully rendered using hoopless techniques. Before you even start stitching, take the time to sketch out your design on paper. This will help you visualize the overall composition and plan your stitching strategy. Consider the placement of different elements and how they will interact with each other. Think about the color palette and how different thread colors will contribute to the overall effect.
When transferring your design to fabric, use a method that won’t damage or distort the fabric. A water-soluble pen or a heat-erasable pen are good options. Avoid using permanent markers, as they can bleed through the fabric. Another option is to use a light box to trace your design onto the fabric. Pay attention to the scale of your design and how it will fit within the available space. A design that is too large or too small can look awkward and unbalanced. Consider the background fabric and how it will complement your design. A plain background will allow your embroidery to stand out, while a patterned background can add visual interest.
Ultimately, the best way to develop your design skills is to experiment and learn from your mistakes. Don’t be afraid to try new things and push the boundaries of your creativity. Hoopless embroidery is a forgiving art form, and even imperfections can add character and charm to your finished piece. “Design is not just what it looks like and feels like. Design is how it works, ” said Steve Jobs. Keep that in mind as you work through the design process for your embroidery, and remember that every project is a chance to learn and grow as an artist.
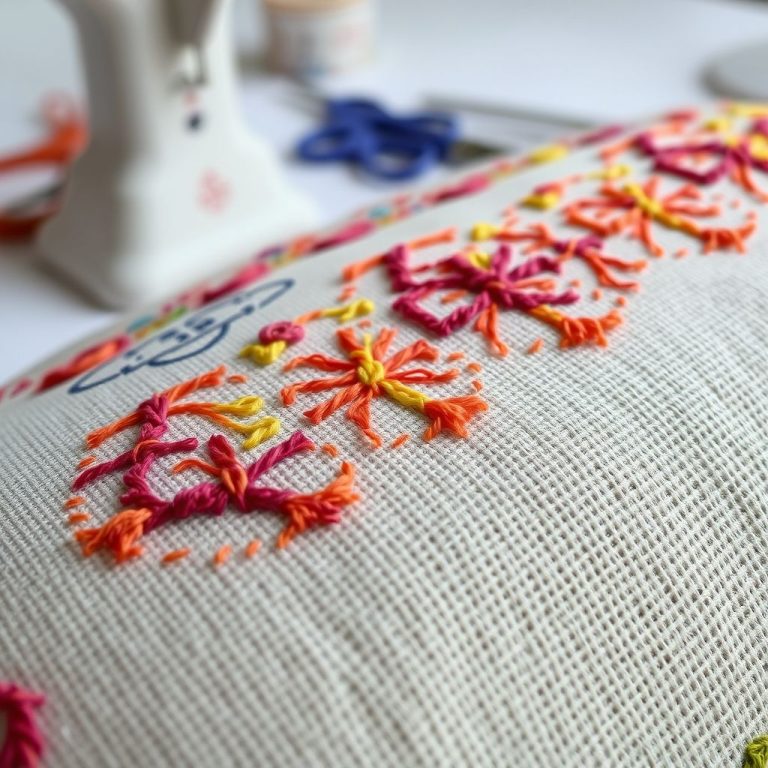
Adding Texture and Dimension to Your Work
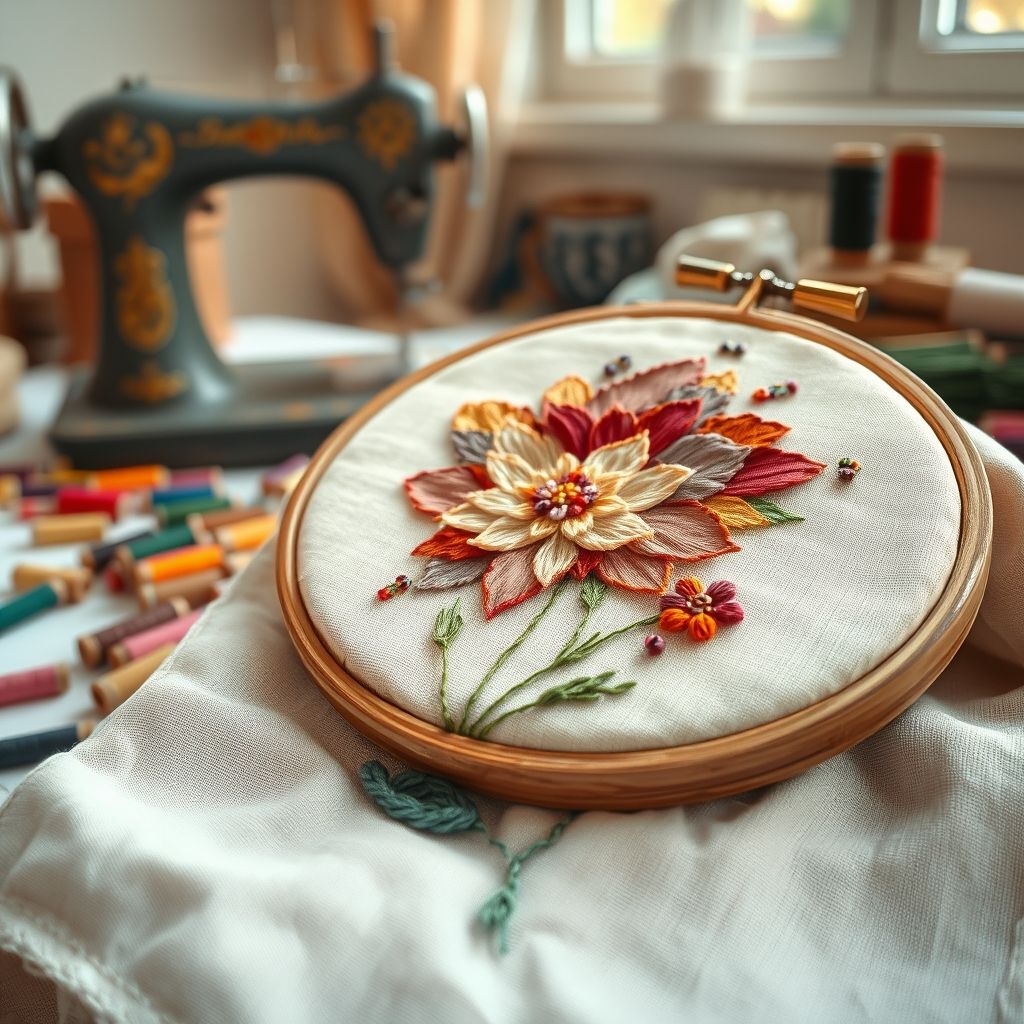
One of the most exciting aspects of hoopless embroidery is the ability to add texture and dimension to your designs. Because you aren’t limited by the constraints of a hoop, you have the freedom to create raised elements, layered effects, and other textural embellishments that are difficult to achieve with traditional embroidery. Experiment with different stitch types and densities to create varying levels of texture. A dense satin stitch can create a smooth, raised surface, while a looser running stitch can add a subtle, textured effect.
Use padding to create dimensional elements. Layering small pieces of batting or felt underneath your embroidery can raise certain areas and add depth to your design. Consider incorporating unconventional materials into your embroidery, such as beads, sequins, or fabric scraps. These embellishments can add visual interest and tactile appeal. Experiment with different thread weights and textures to create contrasting elements. A thick, fuzzy thread can be used to create a raised, textured surface, while a fine, smooth thread can be used for delicate detail work. “Texture is the soul of embroidery, ” says textile artist, Alice Kettle. “It’s what brings the design to life and engages the viewer.”
Explore the technique of trapunto, where you stuff areas of your embroidery with cotton or wool to create a raised, quilted effect. This technique is particularly effective for creating three-dimensional flowers, leaves, or other organic shapes. Don’t be afraid to experiment with different techniques and materials until you find a style that resonates with you. Hoopless embroidery is all about pushing the boundaries and exploring new possibilities. By embracing texture and dimension, you can transform your embroidery from a flat, two-dimensional surface into a rich, tactile work of art.
Beyond the Basics: Exploring Advanced Techniques
Once you’ve mastered the fundamentals of hoopless embroidery, you can start exploring more advanced techniques to elevate your work to the next level. One such technique is free-motion quilting, which involves using free-motion embroidery techniques to create intricate quilt patterns. This requires a high degree of skill and control, but the results can be stunning. Another advanced technique is thread sketching, where you use free-motion embroidery to create detailed drawings and illustrations using only thread. This technique is often used to create portraits, landscapes, and other realistic images.
Consider exploring the use of soluble stabilizers to create freestanding lace or other delicate, three-dimensional embroidery projects. Soluble stabilizers dissolve completely in water, leaving behind only the thread. This technique is ideal for creating intricate designs with open spaces and delicate details. Experiment with incorporating different types of fabrics into your embroidery, such as lace, tulle, or velvet. These fabrics can add texture, dimension, and visual interest to your designs. Don’t be afraid to combine different embroidery techniques, such as traditional embroidery, needle painting, and free-motion embroidery, to create unique and innovative works of art. “The only limit to your embroidery is your imagination, ” says embroidery artist, Meredith Woolnough. “There are no rules, only possibilities.”
Look to other art forms for inspiration, such as painting, drawing, and sculpture. Try to incorporate elements of these art forms into your embroidery to create a unique and personal style. Attend workshops and classes to learn new techniques and connect with other embroidery enthusiasts. The more you learn and practice, the more confident and skilled you’ll become as a hoopless embroidery artist. You can find all kinds of materials to help you on your creative journey:
Shop embroidery fabric on Amazon →
Final Thoughts: Embrace the Freedom of Hoopless Embroidery
Hoopless embroidery offers a unique and liberating approach to the art of stitching, allowing you to break free from the constraints of a traditional hoop and explore new creative possibilities. By mastering the essential techniques of fabric stabilization, thread selection, machine settings, and directional control, you can create stunning, textural works of art that showcase your individual style and vision. The freedom to move the fabric as you please opens up a whole new world of creativity compared to traditional methods.
Remember, the key to success in hoopless embroidery is practice and experimentation. Don’t be afraid to make mistakes – they are an essential part of the learning process. Embrace the imperfections and allow them to inform your creative decisions. As you become more comfortable with the technique, you’ll discover new ways to add texture, dimension, and visual interest to your designs. Hoopless embroidery is not just a craft, it’s an art form. It’s a way to express yourself, to connect with your creativity, and to create something beautiful and unique. So, ditch the hoop, unleash your imagination, and embark on a hoopless embroidery adventure!
Ultimately, the most important thing is to have fun and enjoy the process. Whether you’re creating intricate needle paintings, bold free-motion quilts, or delicate freestanding lace, hoopless embroidery offers a rewarding and fulfilling creative outlet. The ability to directly manipulate the fabric and thread provides a tactile connection to your work, allowing you to imbue each piece with your own personal touch. The possibilities are endless, and the journey is just beginning. So, what are you waiting for? Pick up a needle and thread, and start stitching!