Brilliant Illumination Perfecting Embroidery Lighting Solutions
This post contains affiliate links. As an Amazon Associate, Latest Embroidery earns from qualifying
purchases, at no extra cost to you. Learn more.
Embroidery is an art form that thrives on precision, detail, and a keen eye. But even the most skilled embroiderers can be hindered by poor lighting. Imagine painstakingly stitching intricate designs, only to realize under better light that your colors are slightly off or your stitches aren’t as neat as you thought. Adequate lighting isn’t just a comfort; it’s a necessity for achieving professional-quality results. It can prevent eye strain, improve accuracy, and enhance the overall embroidery experience. Poor lighting can lead to mistakes, fatigue, and ultimately, a final product that doesn’t live up to its potential. That’s why finding the perfect lighting solution is paramount for every embroidery enthusiast, from beginner to expert. This blog post will illuminate the best lighting strategies for detailed embroidery work.
We’ll delve into different types of lighting, from natural light to LED lamps, exploring their pros and cons. We’ll discuss how color temperature and brightness affect your work and how to choose the right type of lamp for your specific needs and workspace. We’ll also cover practical tips on positioning your light source, preventing glare, and optimizing your overall lighting setup to create a comfortable and productive embroidery environment. Finally, we’ll address specialized lighting solutions, such as magnifying lamps, that can provide even greater precision for intricate projects.
Understanding the Importance of Color Temperature and CRI
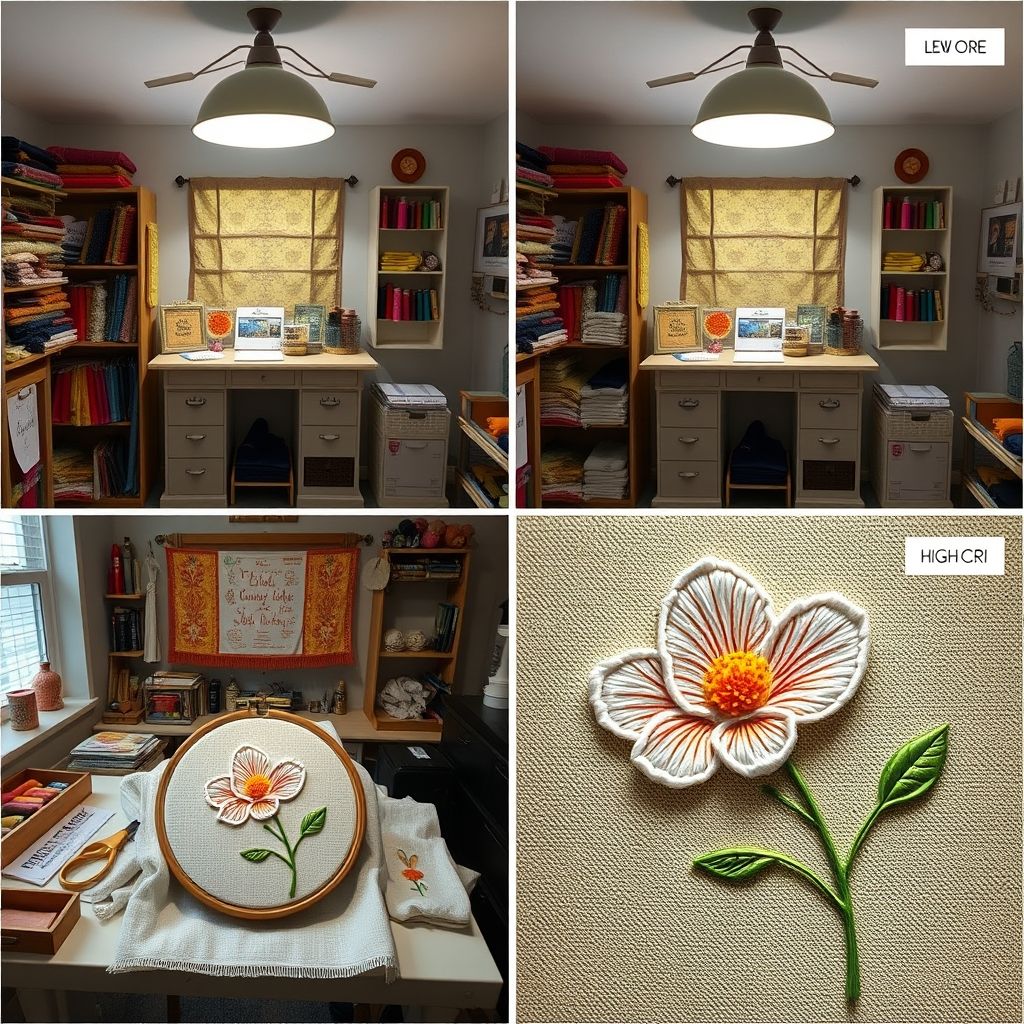
Color temperature, measured in Kelvin (K), describes the warmth or coolness of a light source. Lower Kelvin values (around 2700-3000K) produce warm, yellow light, while higher values (5000-6500K) create a cool, blue-toned light. For embroidery, a neutral white light (around 4000-5000K) is generally recommended because it provides accurate color representation without being overly harsh or overly warm. As stated in “Illuminate Your Stitches: Perfect Embroidery Lighting,” understanding color temperature is key to accurate color matching. Choosing the wrong temperature can distort the perceived colors of your threads and fabrics, leading to mistakes and unsatisfactory results.
The Color Rendering Index (CRI) is another crucial factor to consider. CRI measures how accurately a light source renders the colors of an object compared to natural sunlight. A CRI of 100 represents perfect color rendering, while lower values indicate that colors may appear distorted. For detailed embroidery work, aim for a light source with a CRI of 90 or higher. This will ensure that you see the true colors of your materials, allowing you to make informed decisions and achieve consistent results. “The higher the CRI, the truer the colors appear, resulting in accurate color matching,” explains fabric artist Jane Smith in her book, *Embroidery Essentials*. Consider the impact of different lights on your materials.
Using a light with a low CRI can make it difficult to distinguish between similar shades or to accurately match colors, which can be especially problematic when working on complex or multi-colored embroidery designs. Investing in a high-quality light source with a good CRI rating is an investment in the quality and accuracy of your work.
The Power of Natural Light for Embroidery

Natural light is often considered the ideal light source for any visual art, including embroidery. It offers the most accurate color rendering and is generally easier on the eyes than artificial light. However, relying solely on natural light can be challenging due to its variability and limited availability. The intensity and color temperature of sunlight change throughout the day and are affected by weather conditions and the time of year. “Ideally, embroiderers should position their work area near a large window facing north or east to get consistent, diffused natural light throughout the day,” suggests seasoned embroiderer, Emily Carter.
To maximize the benefits of natural light, set up your workspace near a window that provides ample daylight. Avoid direct sunlight, which can be too harsh and create unwanted shadows. Instead, aim for indirect or diffused light, which will provide a more even and consistent illumination. If direct sunlight is unavoidable, consider using sheer curtains or blinds to filter the light. Remember, consistency is key. Fluctuations in natural light throughout the day can affect your perception of color and detail. To compensate, you may need to supplement natural light with artificial light, especially during the evening or on cloudy days.
Even with the best window placement, relying solely on natural light isn’t always feasible. This is where understanding the nuances of artificial lighting comes in. The key is to emulate the qualities of natural light as closely as possible, ensuring a comfortable and effective working environment. Therefore, while natural light provides an excellent foundation, pairing it with quality artificial lighting can lead to an optimal stitching experience.
LED Lighting: A Modern Embroidery Essential
LED (Light Emitting Diode) lighting has become increasingly popular for embroidery due to its energy efficiency, long lifespan, and ability to produce bright, consistent light. Unlike traditional incandescent or fluorescent bulbs, LEDs don’t produce much heat, making them a comfortable choice for extended periods of work. LEDs are also available in a wide range of color temperatures and CRI ratings, allowing you to customize your lighting to suit your specific needs.
When choosing LED lighting for embroidery, look for bulbs or lamps with a CRI of 90 or higher and a color temperature between 4000K and 5000K. Adjustable brightness is also a valuable feature, allowing you to fine-tune the light intensity to match the ambient lighting conditions and the specific demands of your project. Some LED lamps also come with adjustable color temperature, giving you even greater control over the light quality. “LED lights are the future of embroidery lighting due to their energy efficiency, long lifespan, and customizable features,” says lighting expert, David Lee, in *The Art of Illumination*.
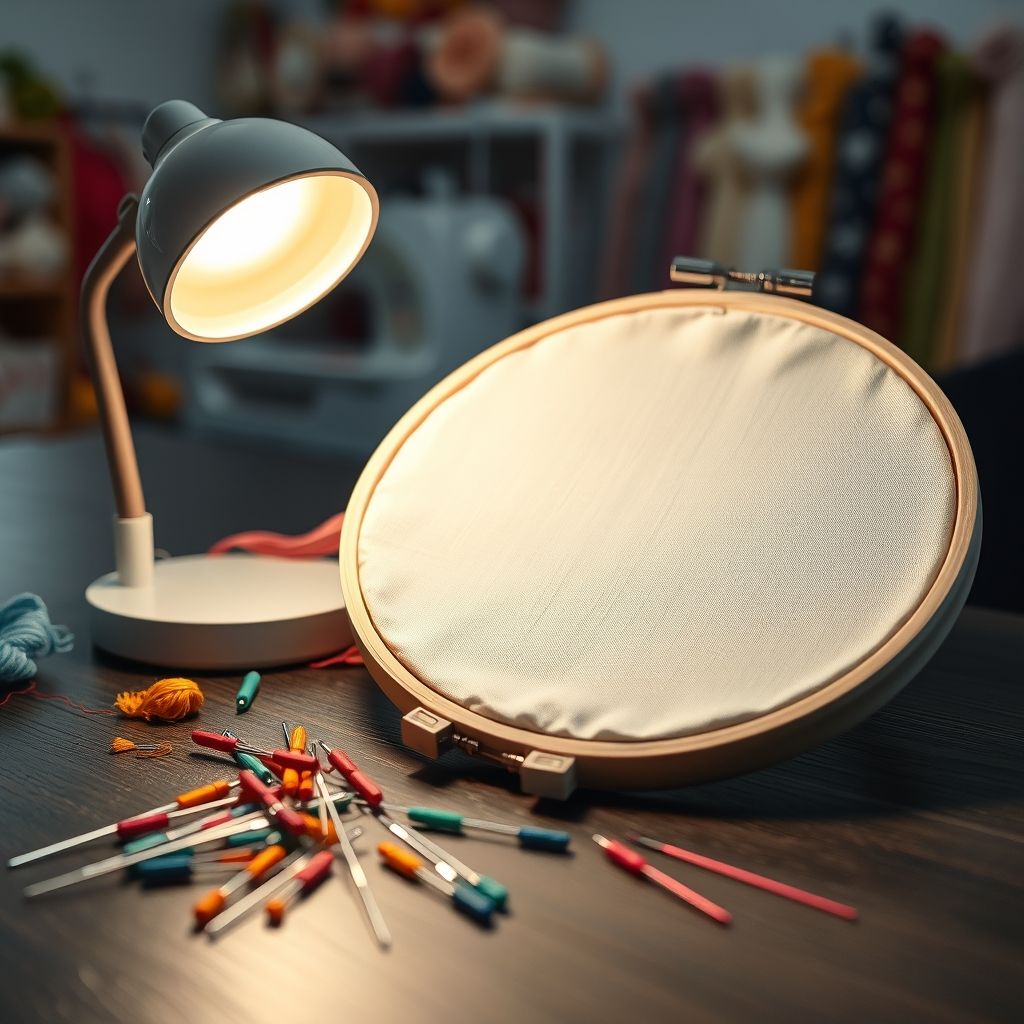
Another advantage of LED lighting is its directional nature. LEDs emit light in a specific direction, which can be useful for focusing light on a particular area of your work. This can be especially helpful when working on intricate details or using specialty stitches. Consider investing in an LED task lamp with an adjustable arm and head, allowing you to position the light exactly where you need it. Choosing the right LED lighting solution is crucial, so let’s see what other supplies will help us get the best stitches:
Shop embroidery thread on Amazon →
Positioning Your Light Source for Optimal Illumination
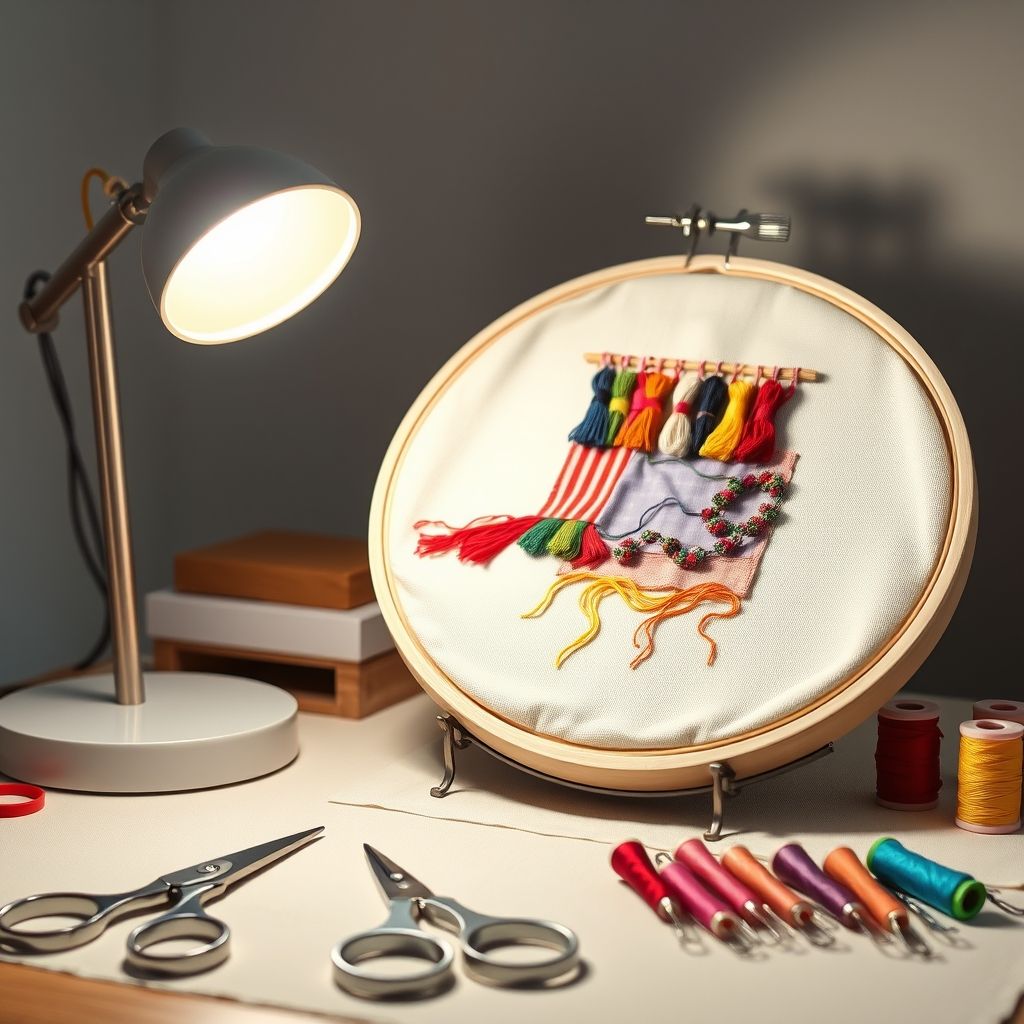
Properly positioning your light source is just as important as choosing the right type of light. The goal is to provide even, shadow-free illumination without causing glare or eye strain. The ideal position will depend on your dominant hand and the specific layout of your workspace. For right-handed embroiderers, positioning the light source to the left and slightly in front of you is generally recommended. This will minimize shadows cast by your hand as you work. Similarly, left-handed embroiderers should position the light source to the right and slightly in front of them.
Experiment with different angles and distances to find the position that works best for you. Avoid placing the light source directly in front of you, as this can create glare and eye strain. Instead, aim for a more oblique angle that provides ample illumination without being overly harsh. Adjustable lamps with flexible arms and heads are particularly useful for fine-tuning the light position. “The key to effective lighting is adaptability. Adjust your light’s positioning based on the project and time of day,” recommends Sarah Miller, author of *The Embroiderer’s Handbook*.
In addition to positioning your main light source, consider adding supplemental lighting to further reduce shadows and improve visibility. A small task lamp can be used to highlight specific areas of your work, such as intricate details or hard-to-reach corners. Ultimately, the best lighting setup is one that provides comfortable, consistent, and shadow-free illumination, allowing you to focus on your embroidery without straining your eyes.
Magnifying Lamps: Enhancing Precision for Intricate Designs
For embroiderers working on highly detailed or intricate designs, a magnifying lamp can be an invaluable tool. These lamps combine a magnifying lens with a built-in light source, allowing you to see your work with greater clarity and precision. Magnifying lamps come in a variety of styles, including tabletop models, floor-standing models, and clip-on models that can be attached to your embroidery hoop or frame. When choosing a magnifying lamp, consider the magnification power, the size of the lens, and the type of light source. A magnification power of 2x or 3x is usually sufficient for most embroidery work. Larger lenses provide a wider field of view, making it easier to see the entire design at once.
The light source should be bright, consistent, and adjustable, allowing you to customize the illumination to your specific needs. LED magnifying lamps are a popular choice due to their energy efficiency and long lifespan. “Magnifying lamps are a game-changer for intricate work. They reduce eye strain and significantly improve accuracy,” notes expert embroiderer, Lisa Chen. They can significantly reduce eye strain and improve the accuracy of your stitches, especially when working on fine details or complex patterns. Many models include a ring light, which surrounds the lens with an even, shadowless light. Explore different magnifications and lighting features to find the perfect magnifying lamp for your workspace.
Even if you don’t typically need magnification, having a magnifying lamp on hand can be useful for occasional tasks, such as threading needles or inspecting stitches. They are a valuable investment for any serious embroiderer looking to enhance their precision and reduce eye strain.
Preventing Glare and Reducing Eye Strain
Glare and eye strain are common problems for embroiderers, especially those who spend long hours working on detailed projects. Glare occurs when excessive light reflects off a surface, creating a bright, uncomfortable visual sensation. Eye strain, on the other hand, is a general term for discomfort or fatigue in the eyes, often caused by prolonged focus on close work or exposure to poor lighting conditions. To prevent glare, avoid using overly bright light sources and position your light source so that it doesn’t shine directly into your eyes. Matte surfaces are less likely to reflect light than glossy surfaces, so consider using a matte finish on your worktable and other nearby surfaces. Adjustable lamps allow you to direct the light exactly where you need it, minimizing the risk of glare.
To reduce eye strain, take frequent breaks to rest your eyes. Look away from your work every 20 minutes and focus on a distant object for at least 20 seconds. This “20-20-20 rule” can help to relax your eye muscles and prevent fatigue. Blinking frequently can also help to keep your eyes moist and prevent dryness. In addition to proper lighting, consider adjusting the brightness and contrast of your computer screen or other electronic devices to minimize eye strain. Consider adjusting the height and angle of your work surface to promote good posture and reduce neck and shoulder strain, which can also contribute to eye fatigue. “Regular breaks and ergonomic adjustments are crucial for preventing eye strain and maintaining long-term eye health,” emphasizes optometrist Dr. Michael Brown. Creating a comfortable workspace is paramount to staying focused.
Proper lighting, regular breaks, and ergonomic adjustments are all essential for preventing glare and reducing eye strain. By taking these simple steps, you can protect your vision and enjoy your embroidery hobby for years to come.
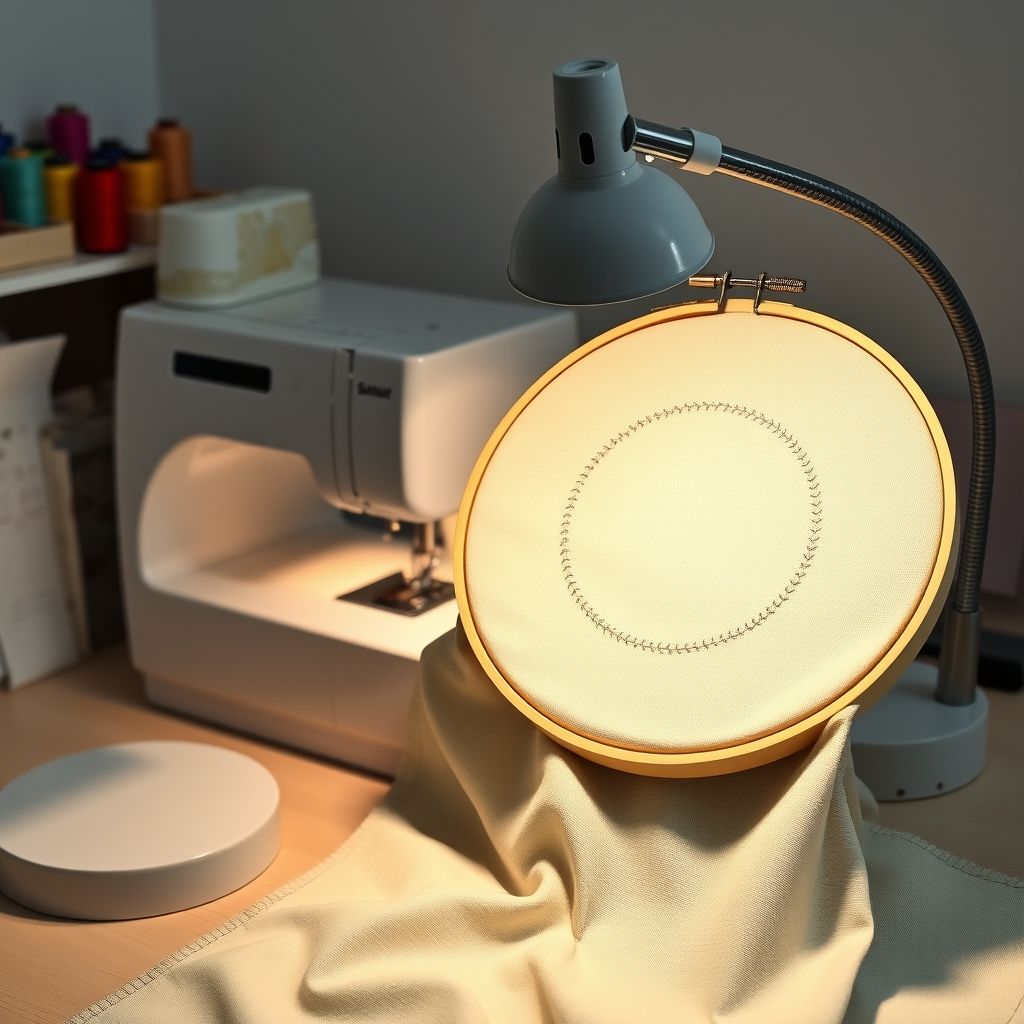
Creating a Comfortably Lit Embroidery Workspace
Ultimately, the goal of any lighting setup is to create a comfortable and productive workspace. A well-lit workspace not only improves your accuracy and reduces eye strain but also enhances your overall enjoyment of the embroidery process. Consider the overall ambiance of your workspace. Is it too dark, too bright, or just right? Adjust the lighting to create a warm and inviting atmosphere that encourages creativity and focus. Experiment with different types of lighting to find the combination that works best for you. A combination of ambient lighting, task lighting, and accent lighting can create a well-balanced and visually appealing space. “A well-lit workspace is a happy workspace. Invest in good lighting and you’ll be amazed at the difference it makes to your work and your well-being,” says crafting expert, Susan Taylor.
Pay attention to the details of your workspace. Are there any distracting shadows or reflections? Are your colors accurately represented? Make adjustments as needed to optimize the lighting for your specific needs. Don’t be afraid to experiment and try new things. Lighting is a personal preference, and what works for one person may not work for another. The most important thing is to find a lighting setup that is comfortable, functional, and conducive to your best work. Remember to regularly clean your light fixtures to maintain optimal brightness and efficiency. Dust and grime can accumulate over time, reducing the amount of light emitted. By paying attention to the details and making a few simple adjustments, you can create a workspace that is both beautiful and functional, allowing you to focus on your embroidery with confidence and joy.
Consider incorporating plants into your workspace to add a touch of nature and improve air quality. A well-designed and well-lit workspace can have a profound impact on your creativity, productivity, and overall well-being. By taking the time to optimize your lighting, you can create a space that inspires you to create your best work.
Conclusion: Illuminating Your Embroidery Journey
Choosing the best lighting solutions for detailed embroidery work is more than just picking a lamp; it’s about crafting an environment that fosters precision, reduces strain, and elevates your creative process. We’ve explored the importance of color temperature and CRI, highlighting how accurate color representation is crucial for achieving professional results. Natural light, with its balanced spectrum, remains the gold standard, but its variability necessitates supplementation with artificial alternatives. LED lighting emerges as a frontrunner, offering energy efficiency, longevity, and customizable features, making it a versatile choice for modern embroiderers. Furthermore, proper positioning of light sources minimizes shadows and glare, while magnifying lamps offer enhanced precision for intricate designs.
Preventing eye strain through strategic lighting choices and ergonomic practices ensures long-term comfort and visual health. Ultimately, a comfortably lit embroidery workspace is a sanctuary that inspires creativity and boosts productivity. Investing in quality lighting is an investment in your craft and your well-being. Remember to regularly assess your lighting setup and make adjustments as needed to optimize your workspace for your specific needs and preferences. By applying the principles and tips outlined in this guide, you can illuminate your embroidery journey and bring your creative visions to life with clarity and precision.
Embrace the power of light to transform your embroidery experience, allowing you to focus on the artistry and joy of creating beautiful, intricate designs. By carefully considering your lighting choices, you can unlock your full potential and elevate your embroidery skills to new heights.