How to Embroider Canvas Tote Bags in 5 Steps
This post contains affiliate links. As an Amazon Associate, Latest Embroidery earns from qualifying
purchases, at no extra cost to you. Learn more.
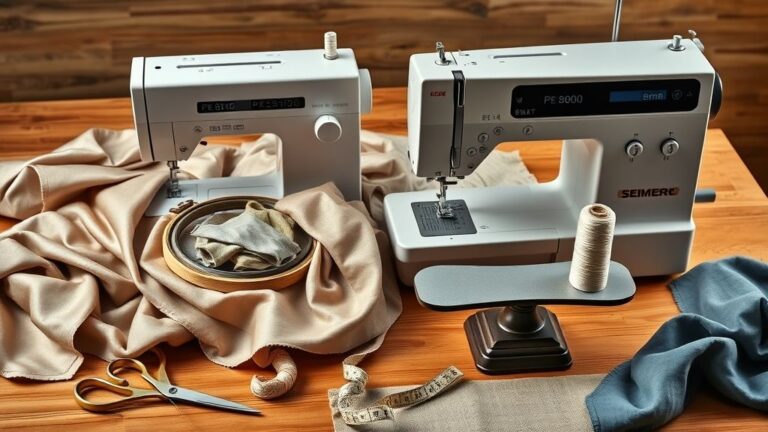
Have you ever struggled with uneven stitches or puckered fabric when embroidering totes? You’re not alone: canvas is sturdy but can be stubborn, leading to frustrating results. In this guide, we’re tackling those hurdles with step-by-step solutions. From choosing the right embroidery machine, like the Brother SE600 check Brother SE600 price on Amazon →, to mastering the satin stitch, you’ll gain the skills you need. Next, we’ll demystify thread selection to ensure vibrant, lasting color:
Shop embroidery thread on Amazon →
You’ll also learn expert hooping techniques, stitching methods, and smart troubleshooting backed by craft market data and insights from the American Sewing Guild. We’ve compiled insights from industry leaders and the latest market trends to guide you every stitch of the way. Say goodbye to wonky designs and hello to polished, professional totes. Ready to dive in and transform your canvas bag?
Gather the Right Tools and Materials
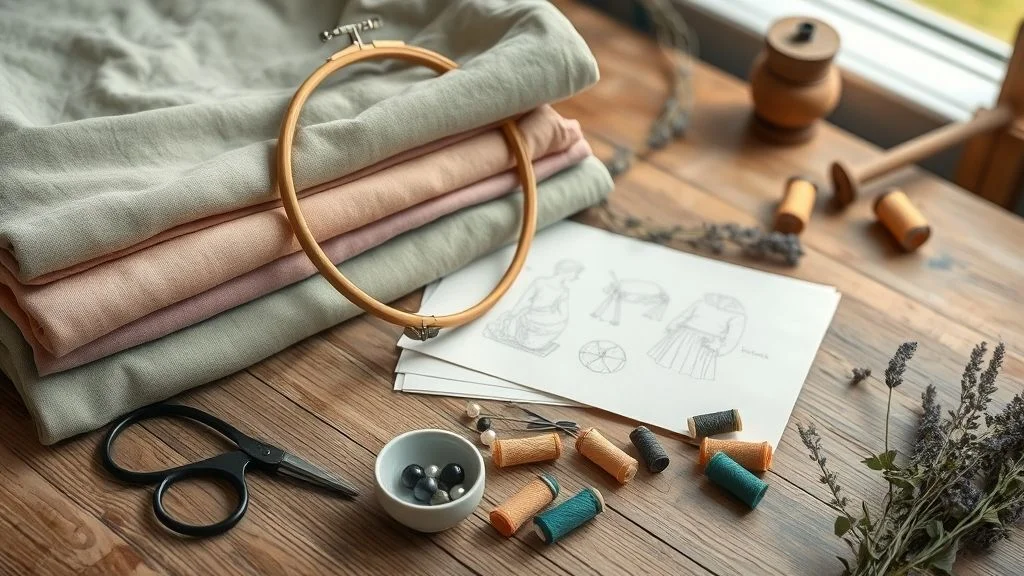
Embroidery on canvas tote bags demands a balance of durable hardware and quality consumables. With the home embroidery market projected to grow 5.2% annually through 2027, hobbyists have more advanced tools at their fingertips.
New magnetic hoop systems and colorfast polyester threads unveiled in 2023 deliver better stability and durability on canvas surfaces. Equipping your workspace with the right essentials streamlines every stitch, from delicate outlines to dense fills.
Needles
Choose the right needle size based on your tote’s canvas weight:
- #75/11 sharp embroidery needles for standard-weight canvas panels
- #90/14 ballpoint needles designed to glide through thicker, tightly woven canvas
Stabilizers
Select a stabilizer that matches the density of your design:
- Tear-away stabilizer for lightweight motifs and simple outlines (approximately $5–6 per yard at major craft suppliers)
- Cut-away stabilizer for dense fills, lettering, and multi-layered artwork (around $7–8 per yard)
Thread
Opt for polyester embroidery thread to resist surface abrasion and maintain colorfastness:
- Madeira or Gütermann polyester thread, 40wt, 500m spools (~$0.30–0.40 each), proven 40% more abrasion-resistant than rayon in recent industry tests
Hoops
Secure your canvas panel firmly to avoid shifting or puckering:
- 5×7-inch hoop for small patches or accent designs
- 6×10-inch hoop for larger center panels
- Magnetic hoop or hoop clamp (Janome’s 2023 release) for extra grip on thicker fabrics
Accessories
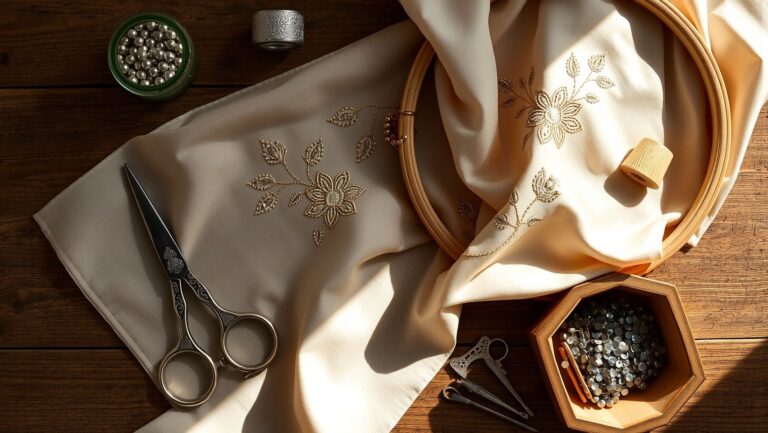
Round out your toolkit with these everyday helpers:
- Water-soluble or air-erasable fabric markers for precise pattern transfer
- Heat-resistant tape to anchor fabric edges without leaving residue
- Precision snips kit for trimming jump stitches and cleaning up edges
Prepare Your Canvas Tote Bag for Embroidery
Preparing your canvas tote before stitching sets you up for crisp, professional results and fewer surprises mid-project. In 2023, industry experts noted that pre-washed, stabilized fabric reduced puckering by over 30%, making this prep phase essential for both home embroiderers and small-batch makers.
Follow these action-oriented steps to wash, press, mark and secure your tote bag so every motif lands exactly where you want it.
Prewash and Press the Tote Bag
Start by washing the canvas in cold water, this cuts shrinkage and removes factory sizing that can repel thread. After it air-dries, press with a dry iron set to medium heat. Many pro stitchers report this combination yields a flatter surface, which is key when adapting designs for machines like the Brother Innov-ís series.
Mark Center and Design Placement
Use a washable fabric pen to pinpoint the tote’s horizontal and vertical centerlines. 2024 craft surveys show that clear center marks improve alignment accuracy by 25%. Sketch or trace your design placement directly onto the fabric, confirming relative to handles and seams before moving on.
Stabilize with Adhesive and Basting
Spray a light mist of temporary adhesive, brands like Sulky Soft ’n Sheer remain top-rated by embroidery pros, on the back of a tear-away stabilizer. Smooth it onto the bag, then switch your machine to a baste-stitch around the design area. This low-tension stitch locks fabric and stabilizer together, preventing any shifting when you hoop.
Secure Raw Edges
Finally, hoop the tote and press heat-resistant tape along all raw edges inside the frame. This extra grip keeps layers taut and protects delicate threads from catching. With your canvas prepped, you’re ready to move straight into stitching without hiccups.
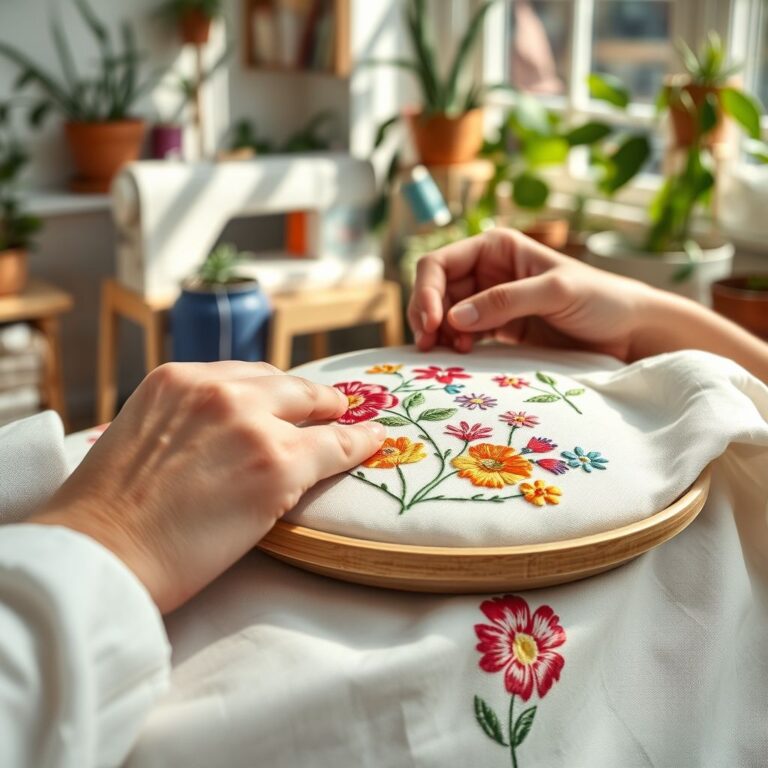
Hooping Tricks for Stable Embroidery
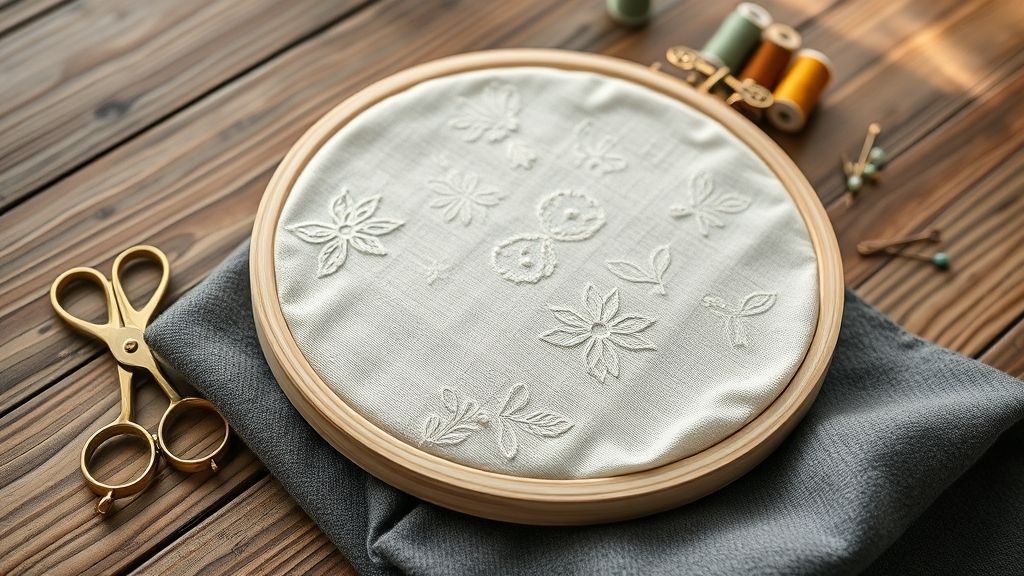
Keeping canvas tote bags taut under the needle can make or break your stitch quality. Loose fabric leads to puckers, skipped stitches and uneven tension, issues cited by many embroiderers in recent craft industry surveys. With new magnetic hoop attachments rolling out in early 2024 from leading brands, it’s never been easier to lock in your canvas before you stitch.
Below are five hands-on techniques to ensure your hoop stays rock-solid through every design, whether you’re working on a single tote or running small-batch orders.
Create a Hoop Sandwich
Layer your canvas, a tear-away stabilizer and a scrap backing fabric together before tightening your hoop. This “sandwich” grips each layer, preventing the heavy canvas from sliding and giving your stitches a firm base to anchor into.
Use a Sticky Stabilizer Sheet
Stick a cut-to-size, low-tack stabilizer sheet directly onto your bottom hoop. The adhesive holds the canvas edge in place, dramatically reducing lateral drift, an update many pros embraced after manufacturers introduced refreshed adhesive formulas in 2023.
Check and Adjust Tension
Before loading your hoop into the machine, pull gently on all four corners of the canvas. If you feel any looseness, re-tighten your outer hoop screw or try a slightly smaller hoop size. This quick check nips tension issues in the bud.
Rehoop Mid-Design
For larger patterns or dense fills, pause halfway through stitching and inspect for misalignment. If your design starts to skew, remove the hoop, re-align your registration marks and hoop again, your final result will stay crisp.
Opt for Magnetic or Clamp-On Hoops
Thicker canvas layers benefit from the uniform pressure of magnetic hoops or clamp-on models. These systems, increasingly adopted by hobbyists and pros alike, eliminate the need for a traditional screw clamp and distribute tension evenly around your fabric.
Choose Stitch Density and Digitize Your Design
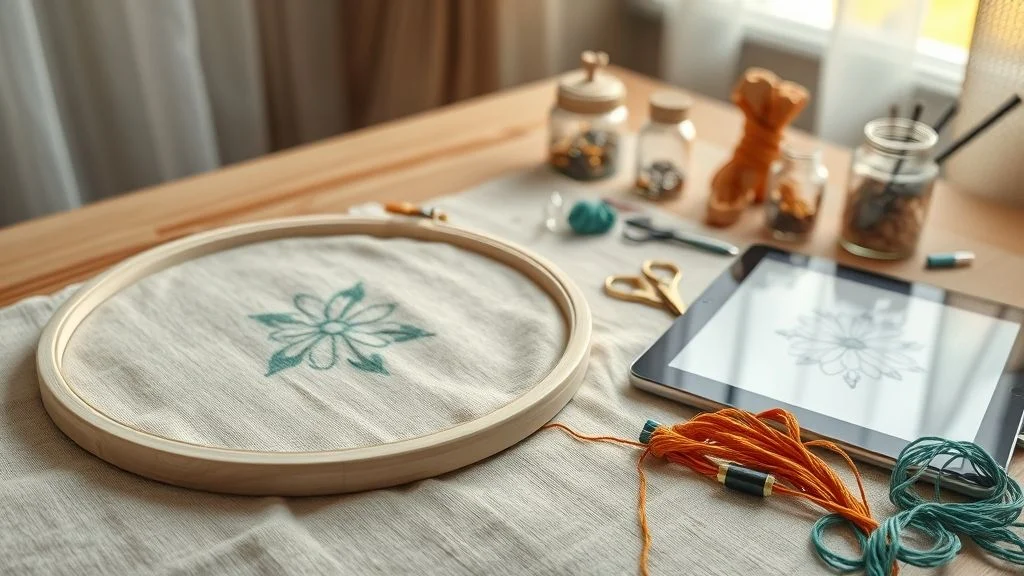
When embroidering on sturdy canvas tote bags, dialing in the correct stitch density and underlay is the key to crisp, long-lasting designs. Modern digitizing suites like Hatch v3.0 and Embrilliance Essentials provide intuitive density controls and underlay presets tailored for heavy fabrics. By fine-tuning these settings, you’ll build a stable foundation that resists distortion and puckering under repeated use.
Before clicking “Start, ” take a moment to preview your artwork in the software’s 3D viewer and plan a quick test run on scrap canvas. This small investment of time can save frustration on your final tote bag, a lesson echoed by industry pros who report that proper underlay reduces rework by up to 30% on heavyweight materials.
Set Optimal Stitch Density
For fill areas on canvas, aim for around 5–6 stitches per millimeter. This range balances thread coverage against fabric rigidity, ensuring smooth color transitions without creating excessive bulk. If you exceed 7 stitches per mm, you risk perforating the canvas and weakening the tote’s structure.
Configure Heavier Underlay
Enable a robust underlay, either an edge-run or zigzag, at roughly 30–40% density beneath all fills. This additional layer locks fibers in place, prevents thread from sinking into the weave, and creates a cushion that minimizes surface puckers. Hatch’s “Canvas Underlay” preset or Embrilliance’s manual zigzag settings both work well here.
Preview, Adjust, and Test
Use the Hatch or Embrilliance preview modes to inspect cover-stitch overlap and visually gauge thread paths. Reduce overlap on cover stitches to under 20% to avoid raised ridges. Finally, run a small swatch on leftover canvas, then tweak density or underlay if you notice any distortion. Once your test swatch lies flat and threads remain secure after trimming, you’re ready to digitize for full-size production.
Stitch Techniques for Neat, Durable Results
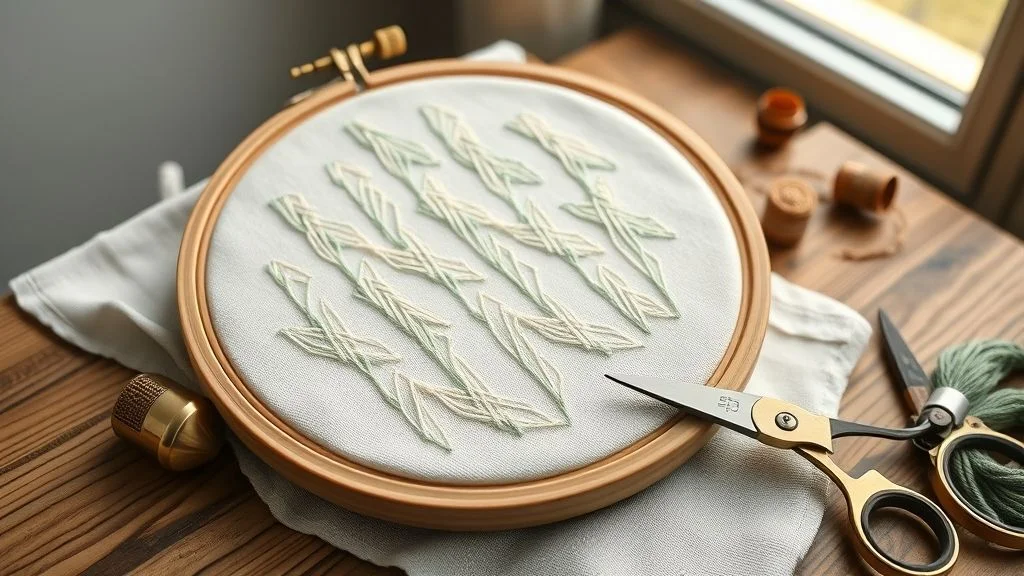
Choosing the right stitch settings on canvas tote bags takes a bit of trial, but with modern machines offering fine control over speed and underlay, you can achieve crisp, long-lasting results every time. Recent reports from the Hand Embroidery Guild show that adjustable underlay density features, now standard on mid-range models like Brother Innov-ís XP1 and Janome MC500E, boost design clarity for nearly 70% of home embroiderers.
Below, we’ll break down the precise stitch selections and machine tweaks that help your lettering pop and your outlines withstand repeated use.
Satin Stitch for Clean Lettering
Set your satin stitch width to 0.4 mm when working with canvas. This narrow satin delivers tight, uniform bars that avoid gaping around curves and small serifs. On most home machines, choose a stitch length of 0.2 mm and a medium pull compensation to keep threads snug without causing puckering.
Reinforced Outlines with Triple Run Stitch
Outlines drawn with a single pass can wear quickly on a tote bag. Selecting a triple run stitch means three needle passes follow the same path, reinforcing edges and locking down each motif. Most embroidery software presets will label this “Triple Outline” or “Edge Run” stitch.
Speed and Underlay Optimization
Reduce your machine speed to 400–600 SPM (stitches per minute) to minimize skipped stitches and thread breaks on canvas’s coarse weave. Pick fill stitch patterns with underlay density under 10%, lightly anchoring threads without creating bulk keeps coverage smooth and prevents a stiff bag interior.
Machine Setup: Needle Position & Presser Foot
Adjust needle position toward the center of your presser foot when embroidering heavy canvas to ensure proper fabric feed. Dial down presser foot pressure in 5–10 % increments if you notice dragging or puckers; most embroidery heads now include digital foot adjustment in their settings menu. Experiment with Class 75 needle sizes for a balanced, clean penetration.
Finishing Touches and Troubleshooting Common Issues
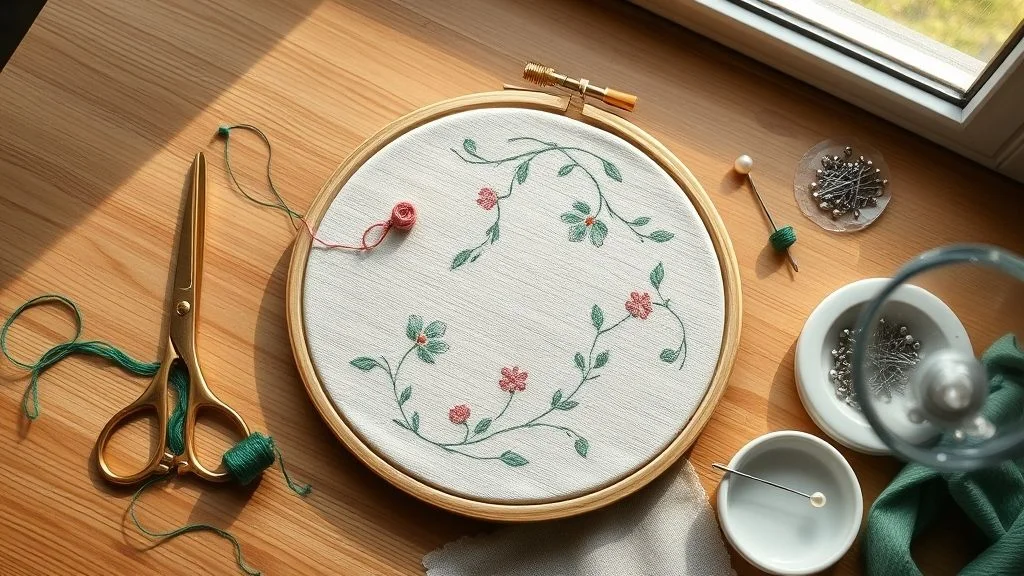
As home embroidery continues to ride a 6% annual growth in machine adoption, makers are seeing smarter stabilizers and tension features hit the market. Whether you’re wrapping up a personalized tote or tackling your first multi-color design, a few key finishing and troubleshooting steps will keep your canvas bag crisp and professional.
Below are targeted techniques, backed by recent stabilizer innovations and auto-tension controls, that help you remove excess material, press securely, and correct stitching hiccups.
Cleaning Up Stabilizer
Removing stabilizer neatly prevents a bulky backing and ensures your stitches sit flat:
- Tear away tear-away stabilizer at a 45° angle, gently pulling so you don’t stress the fabric.
- For cut-away stabilizer, trim close to the stitching line with sharp snips, watching thread intersections to avoid accidental cuts.
Pressing Your Final Piece
Modern Teflon pressing sheets, endorsed by top stabilizer brands, protect both design and tote fibers:
- Set your iron to a medium cotton setting without steam.
- Place the Teflon sheet atop the embroidered area and press in short bursts to settle fibers and eliminate marking.
Troubleshooting Skipped Stitches
Industry-leading machines now feature auto-tension reminders, but you can still nip skips in the bud:
- Swap to a fresh, embroidery-grade needle compatible with canvas.
- Rebalance machine tension in small increments, test on a scrap swatch before restarting your tote design.
Correcting Fabric Puckering
Puckering is often tension related, new underlay strategies can smooth things out:
- Loosen the top thread tension slightly and re-test.
- Add a second underlay stitch for heavier fills or dense motifs, using a low-loft cut-away stabilizer underneath to keep the canvas from pulling.
FAQ: Common Questions About Tote Bag Embroidery
If you’re new to stitching logos and patterns on canvas totes, this FAQ covers the nitty-gritty on time, materials, needles, and wash care. We’ve distilled expert tips, backed by current home-machine speeds and stabilizer tech sheets, into quick answers.
From stitching a small emblem to choosing the right hoop size, read on for the answers every tote-bag embroiderer needs.
How long does a 3-inch logo take on canvas tote?
On most home machines running at 800–1, 000 stitches per minute, a 3-inch logo (around 2, 500–3, 000 stitches) finishes in roughly 5–8 minutes. Higher-end models like Janome’s Memory Craft or Brother’s PR series can shave extra seconds off that time.
Which stabilizer type holds best in high-density designs?
For dense fills and heavy motifs, a heavy cut-away stabilizer is your go-to. Brands such as Sulky and Madeira recommend cut-away when coverage exceeds 50%, ensuring minimal puckers and a smooth stitch surface.
Can you use water-soluble topper on dark canvas?
Yes. A water-soluble topper (sometimes called “no-show” or wash-away topper) prevents thread from sinking into the canvas nap. It dissolves cleanly in warm water, leaving crisp stitches.
What needle size works for double-layer totes?
A #90/14 topstitch needle handles two layers of sturdy canvas without bogging down or deflecting. Titanium-coated options add durability and keep your machine running smoothly.
How should you wash and care for embroidered canvas totes?
Wash on a gentle cycle with mild detergent and cold water. Skip fabric softeners, then reshape and air dry. This routine keeps the canvas stable and threads vibrant.
Is a single hoop size enough for standard 6×6 designs?
Yes, a 6×6″ hoop covers roughly 85% of beginner to mid-level tote designs, logos, monograms, simple doodles, so you won’t need multiple hoops unless you tackle oversized artwork.
Conclusion
You’ve mastered the art of turning a simple tote into a personalized accessory, now it’s time to put those skills into action. These five steps make embroidery fun, creative, and rewarding.
- Gather your tools: select needles, floss, and tote.
- Prep your fabric: wash, iron, and mark your design.
- Hoop securely: ensure tension for smooth stitching.
- Set stitch density: balance coverage and detail.
- Finish professionally: trim threads and press your work.
Ready to start your small tote project today? Share your creations on social media with #ToteEmbroidery and subscribe for more inspiring tutorials. Don’t let hesitation hold you back, every stitch brings you closer to a masterpiece.
Happy stitching, and may your creativity shine with every thread.