How to Fix Uneven Embroidery Stitches
This post contains affiliate links. As an Amazon Associate, Latest Embroidery earns from qualifying
purchases, at no extra cost to you. Learn more.
Uneven stitches can ruin even a simple project, but the fix is within reach with a clear, step-by-step plan. When a design wobbles, you’re not failing, you’re gathering data. Most unevenness traces back to a few repeatable causes: fabric tension, hooping, needle choice, thread weight, and stitch length. Understand these levers and you can spot the real culprit fast and correct it with a small adjustment or two.
Always start with a test swatch on the same fabric to measure improvement before reworking a project. For reference on tension and stabilizers, see MaggieFrame’s tension guide and What Is Embroidery Stabilizer?
Shop embroidery thread on Amazon →
Pre-stitch preparation
Consistency is built before you touch fabric. Define baseline parameters you can repeat across motifs, expected stitch length, thread weight, and tension, and document them on a swatch.
- Choose a baseline stitch length per stitch type, shorter for fine shading, longer for smooth outlines.
- Match thread weight to fabric density, finer thread for lightweight fabrics, stronger thread/needle for heavy ones.
- Set tension on a test piece until stitches sit evenly on the surface with no looping.
- Plan direction changes with light pencil or air-dry marker guidelines to avoid abrupt shifts.
Hooping and stabilization: the foundation
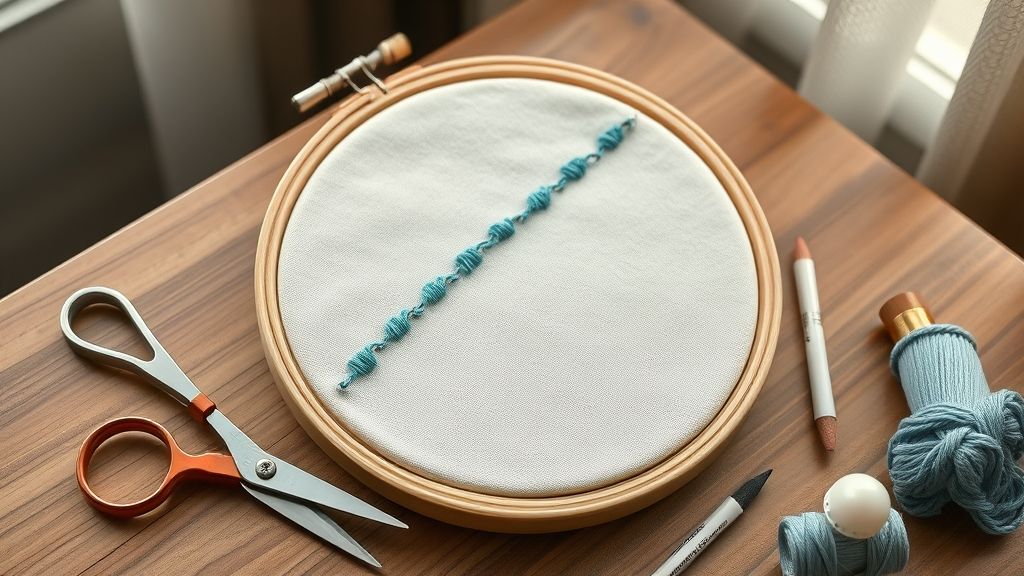
The hoop and stabilizer keep fabric from distorting under needle pressure. Choose the stabilizer to match fabric and design:
Position fabric so the design grid aligns with the hoop edges, stretch only enough to remove slack, then lock it in, over-tightening causes puckering. After mounting, confirm the hoop is clamped securely, trim excess fabric leaving a small margin, and re-check for drift. Use the same hoop and stabilizer setup for outlines and fills so tension stays uniform across the whole design.
Adjusting tension and selecting needles
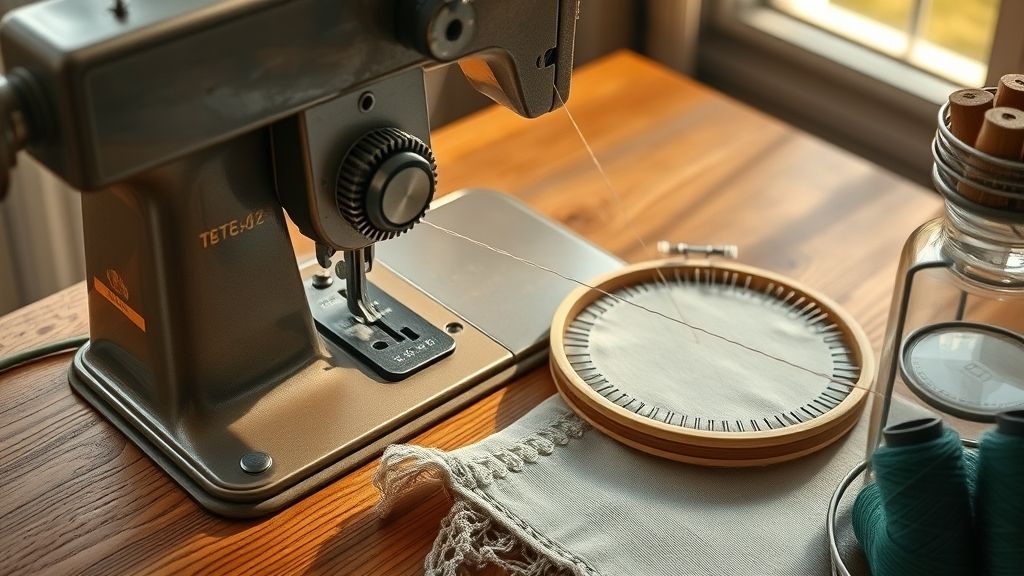
- Test on scrap. Sew a short sample with your chosen stitch and watch for loops, gaps, or stitches sitting high or sunken. A balanced stitch shows minimal loops underneath and no top puckering.
- Balance upper and bobbin tension. If you see top-thread loops on the underside, tighten the upper tension a measured amount; if you see bobbin-side loops, loosen the upper or increase bobbin tension. Aim for stitches that lie flat on both sides.
- Match needle size to fabric. See the table below, then re-thread the machine fully after any change, incorrect threading undermines even tension regardless of other settings.
- Re-test after every adjustment until stitches lie evenly edge to edge.
- Add a stabilizer for slippery fabrics (silks, chiffons) to maintain consistent density.
- Document settings, fabric, stabilizer, needle, upper/bobbin tension, stitch type, so you can reproduce them next time.
Use a ballpoint needle on jersey/knits to reduce snagging, and a sharp needle on rigid fabrics. Heavier thread with a larger needle adds stitch volume for bold outlines; finer thread with a smaller needle suits delicate shading.
Using stitches to even out areas
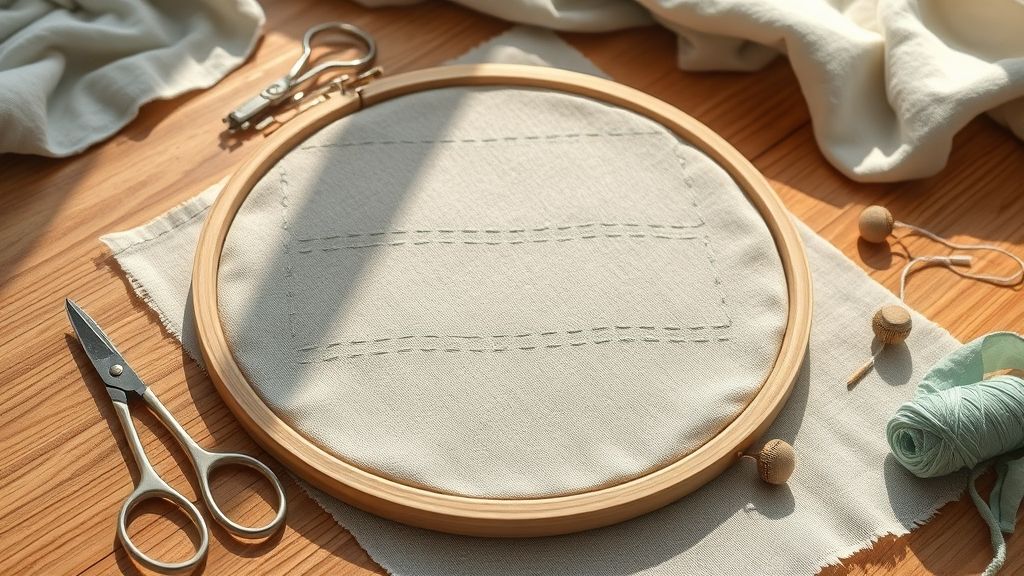
Uniform embroidery emerges from a deliberate sequence: outline, fill, then shade.
- Outline with Running Stitch for clean control, uniform length, even gaps, and alternating direction on curves to avoid streaks. Switch to Backstitch where you need a stronger boundary.
- Fill with Satin Stitch for smooth coverage on small areas, keep passes parallel and slightly overlapping with even tension to prevent waviness. Inset slightly from outlines to preserve crisp edges.
- Shade with Long and Short Stitch, long stitches in light areas, staggered shorter stitches blending into shadows; follow the design’s curves for coherent shading.
- Add texture with Bullion Stitch or Woven Rose at focal points only, reserve dimensional work for emphasis, not broad coverage.
Across the project, rotate stitch directions deliberately so light reflects evenly and density reads uniformly from a normal viewing distance. Practice the full sequence on a scrap panel before committing to the final piece.
Lettering and handwriting embroidery
Hand-lettered and handwriting-style embroidery has its own demands. The Quaker stitch is the go-to for crisp, slightly raised handwriting lines, treat it as a narrow stem with a split-stitch anchor at corners to tighten each turn, and keep tension and hand movement even. For bolder lettering run 2–3 passes; for finer lines revert to a single pass or switch to a whipped backstitch or whipped chain stitch to add contour without bulk. Aurifil 50wt thread is a popular choice for lettering because it reads as writing rather than dense fill. To build muscle memory for even tension and clean finishing, work a six-stitch sampler, Chain, Continental Knot, Blanket, Feather, Herringbone (closed), and Padded Satin, noting how many rows produce a clean line at your intended density.
Troubleshooting and quick fixes
Puckering
Match the stabilizer to the fabric (stable cut-away for wovens, heavier tear-away or dual layers for knits), add a second layer or water-soluble top for dense fills, and hoop taut but not stretched.
Gaps or skipped stitches
Re-thread from needle bar to take-up, reseat or replace the needle (ballpoint for knits, sharp for woven), switch to a fresh bobbin, then run a test stitch.
Uneven density
Adjust stitch length and density per area rather than globally, shorter stitches in tight zones, longer in open areas, and split fills into higher- and lower-density zones.
Thread fraying or breaking
Most designs use 40 wt thread; heavier 30 wt needs higher tension and a larger needle. Apply a light thread conditioner to reduce friction, keep the thread path clean, replace dull needles, and use a Teflon foot for metallics.
Edge misalignment
Re-hoop with alignment marks on fabric and hoop, tape edges lightly, and use a laser/top-stitch guide if available.
Color bleed and transitions
Choose threads with similar heat resistance, pre-plan the color order to keep density even, and add a small clean run or backstitch buffer between zones. Test multi-color transitions on scrap under your usual lighting.
Tools and setup checklist
Keep quality stabilizers (tear-away and cut-away), well-matched hoops (larger for expansive areas, smaller for tight corners), and a range of embroidery needles on hand. For thread, 40 wt suits crisp outlines and light fills, 30–35 wt adds substance for shading, and 12–20 wt builds volume for bullion knots and bold decorative work. Basic setup: mount fabric flat in the hoop, secure stabilizer, run a test stitch on scrap to verify tension/length/density, adjust, mark placement, then stitch. Keep a dedicated practice swatch and a log of settings for fast recall on future projects.
Frequently asked questions
Why are my stitches uneven and how do I fix it fast?
Usually inconsistent fabric feed, improper hooping, top/bobbin tension imbalance, or a wrong needle. Test on scrap, re-thread, reseat the needle, match stitch length to the weave, and secure the fabric well without over-tightening.
Do I need stabilizers for every project?
Not always, the more elastic or delicate the fabric, the more you need. Light wovens can use a tear-away; knits and dense fills need cut-away. Start light and add support only as needed.
What needle size for different fabrics?
60–70/10–12 for light fabrics, 75–80/11–12 for medium, 90–110/14–18 for heavy or dense fills. Always confirm on a scrap.
What thread for crisp handwriting/lettering?
Aurifil 50wt reads as writing rather than dense fill; step up a weight only after test stitching if you want bolder downstrokes.
How do I improve consistency over time?
Short, focused practice on one skill at a time, straight lines, curves, even fills, logged with fabric, stabilizer, needle, and tension. Pair practice with regular machine cleaning and threading.
Conclusion
Embroidery rewards steadiness as much as speed. Stabilize the fabric, dial in and test tension, match the needle to the job, choose stitches with intention, and practice on swatches before committing. Whether you’re filling motifs or stitching handwriting lines, small repeatable adjustments turn uneven threads into balanced, intentional-looking work. Grab a scrap, run the setup, and start a small practice piece this week.