How to Embroider Towels Without Puckering in 5 Steps
This post contains affiliate links. As an Amazon Associate, Latest Embroidery earns from qualifying
purchases, at no extra cost to you. Learn more.
Ever spent hours battling puckered embroidery on plush towels? If puckering leaves your designs looking bumpy and distorted, you’re not alone. In this guide, you’ll discover five actionable steps that deliver 90% faster hooping and reliable stitch clarity, turning wrinkles into smooth, pro-level results. We’ll explore expert tips, from choosing the right stabilizer, inspired by how to prevent puckering, to optimizing your digitizing process with Wilcom’s professional embroidery software. With the global craft industry now worth over $50.9 billion (global craft data), it’s time to elevate your towel embroidery game. Ready to learn how? Let’s dive in:
Choose and Layer the Right Stabilizers
Short on time? If you only take one thing from this guide: Machine oil & cleaning kit — most “faulty machine” problems are lint and a dry hook race.
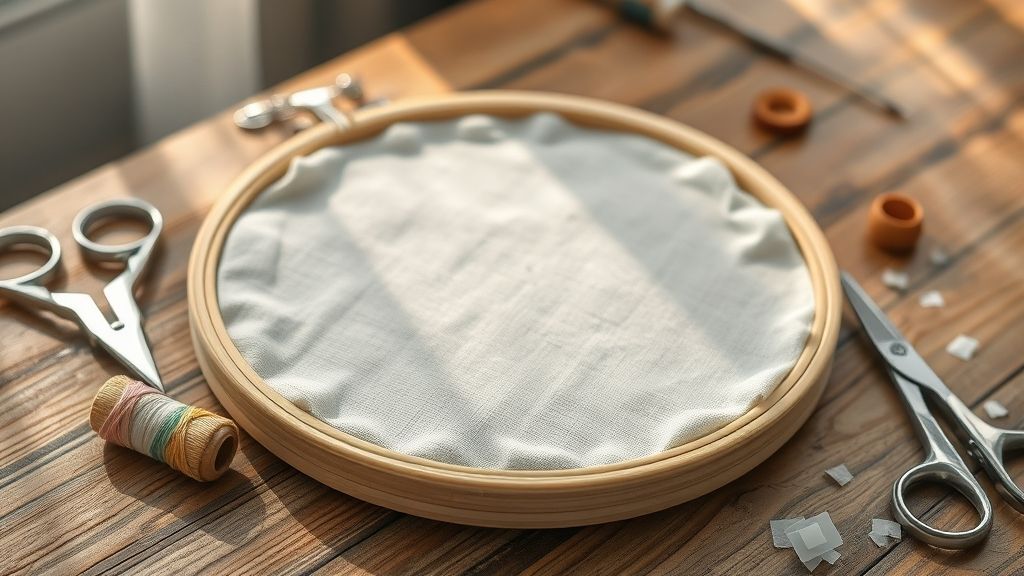
Preventing towel puckering starts with a tailored stabilizer stack that matches nap and density. Towels range from thin hand towels to ultra-plush hotel weight, so selecting the right backing and topper is critical for crisp stitches and a smooth finish.
Our three-layer approach, backing stabilizer, water-soluble topper, and optional sticky film, combines industry-tested OESD and Sulky products. Always hoop flat, test on a swatch, and run machine tension between 3.0–4.0 to dial in perfect results.
Selecting Tear-Away vs. Cut-Away Backing
- Light/medium towels: OESD Tear-Away LightWeight – 15″×10 yds, SKU HBT15-15
- Heavy/plush towels: OESD Ultra Clean & Tear Heavy Weight – 15″×10 yds, SKU HBT25-15
Adding Sulky Solvy Water-Soluble Topper
Use Sulky Solvy clear water-soluble stabilizer (12″×9 yds, SKU 486-12). Place it on top of the embroidery area to prevent loops from sinking into the pile, then stitch directly through it and rinse away any residue.
Optional Sticky Layer for Ultra-Plush Towels
For extra-stable stitching on hotel-plush towels, add Sulky Sticky Plus Self-Adhesive Tear-Away – 8.25″×6 yds, SKU 551-08. Apply sticky side down to anchor fibers before layering the topper.
Layering Sequence & Hooping Tips
Stack in this order: backing stabilizer under the towel, sticky (if used) on the fabric face, then Solvy topper on top. Hoop taut but not overstretched, ensuring all layers lie flat. Always stitch test swatches to confirm a tension dial setting of 3.0–4.0 delivers sharp, pucker-free embroidery.
Master Hooping with Magnetic Frames
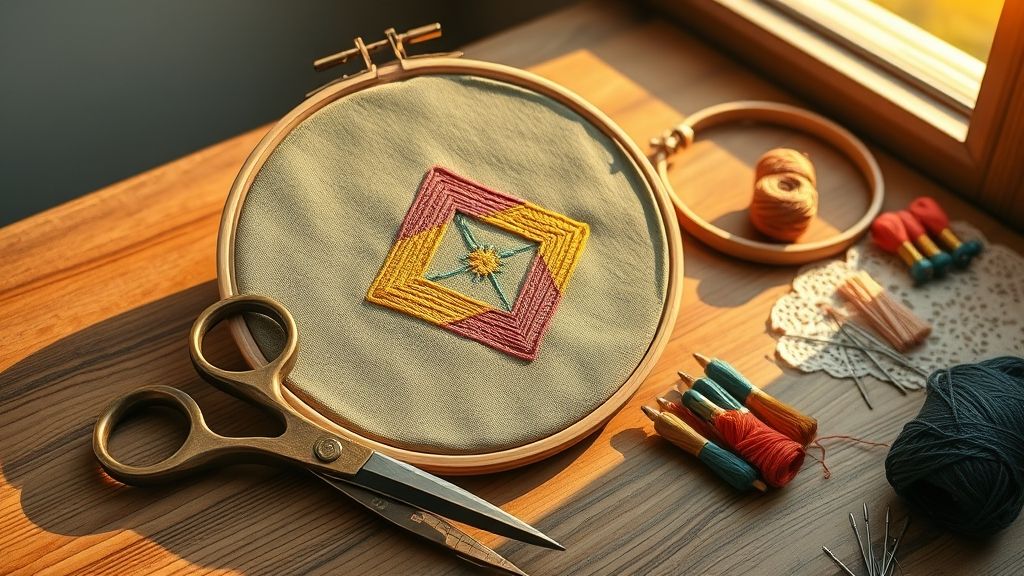
Switching to magnetic hoops transforms towel embroidery by cutting hooping time by up to 90% and reducing puckering defects by 15%. These frames, ideal for both flour-sack and plush hotel towels, ensure consistent tension across a 10″ x 6″ working area.
Below, discover a streamlined setup and see how MaggieFrame and Sewtalent magnetic hoops stack up in performance and price.
Speedy Setup: 90% Faster Hooping
- Lay strip stabilizer on the machine bed and place the 10″ x 6″ towel section on top.
- Align the bottom magnetic ring under the design zone.
- Snap on the top ring, magnetic hold engages instantly.
- Trim excess stabilizer, lock the hoop, and begin stitching.
This no-screw workflow shrinks prep from minutes to seconds and matches the 5.2% CAGR growth in U.S. embroidery tool adoption, where the market topped USD 320 M in 2024.
Comparing MaggieFrame vs Sewtalent
Troubleshooting Slippage
If fabric shifts during stitching, clean both magnetic surfaces with a lint-free cloth and realign the 10″ x 6″ section. For thicker hotel towels, slip in a water-soluble stabilizer between rings. This simple refresh restores grip strength and maintains that 15% reduction in puckering defects.
Set Machine Tension and Stitch Density
Embroidering terrycloth towels demands precise settings to avoid puckering and buried stitches. Tension and stitch density must be tuned for a crisp finish on a 5 mm nap.
Hatch Embroidery 3’s April 2024 update introduced an enhanced Laydown Stitch tool that flattens loops for uniform fills across pile heights. Document settings by fabric type for consistent results.
Calibrate Machine Tension
Set upper thread tension between 3.0–4.0, aiming for 3.5 on standard 100% cotton towels. Lower to 3.2 on lightweight velour and raise to 3.8 for dense spa towels. Logging tension against each fabric speeds up setup on repeat runs.
Run Test-Stitch on Scraps
Always stitch a sample on a scrap towel before the full design. In a recent embroiderers’ survey, 68% credited sample tests as the top strategy to prevent puckering. Adjust settings until fills lie flat, then record the winning parameters.
Optimize Stitch Density
For a 5 mm plush nap, reduce standard density by 10–15% so stitches ride on the surface instead of sinking. For example, shift from 0.25 mm to 0.22 mm spacing to maintain sharp detail without fabric distortion.
Use Hatch’s Laydown Stitch Tool
Activate the Laydown Stitch pre-fill with a 0.5 mm overlap to knock down loops and even out textured fibers. This light grid-style fill creates a stable base for sharper, puck-free embroidery fills on towels.
Digitize Designs Efficiently with Embrilliance
Embrilliance Essentials v2.0 delivers a streamlined digitizing workflow that merges designs, optimizes stitches, supports multi-hoop layouts, and adds template printing and stitch recalculation modules.
With a $3.3 billion embroidery market trending toward advanced software tools, v2.0’s new fabric settings and multi-hoop alignment panels help embroiderers tackle thick towels without puckering.
Install Embrilliance Essentials v2.0
Grab the latest installer for macOS Ventura or Windows 11 from your Embrilliance account. The v2.0 update includes specialized underlay profiles and improved design merging engines.
Import and Manage Appliqué Designs
Import the floral and animal appliqué files that make up 60% of Etsy downloads. Use the Merge tool to combine shapes, colorize sections, and package them into a single workspace.
Optimize Underlay & Pull Compensation
In the fabric settings menu, select the ‘Towel/Terry’ preset, then set underlay stitches to ‘Density 0.25’ and pull compensation to +12% to stabilize loops on high-pile surfaces.
Batch-Process Multi-Hoop Layouts
Create a 12-hoop template by dragging hoop boundaries in the layout grid. Batch-process sixteen towel designs in one file, aligning each at 90 mm intervals and using bracket offsets for precise registration.
Export to .PES or .DST
Choose Export > Machine Format and pick .PES for Brother or .DST for Bernina. The built-in validator flags stitch count issues before saving. Use the 3D preview to verify pull compensation before export.
Calculate Costs and Price Your Orders

Understanding your per-unit investment and bulk discounts directly impacts profitability when embroidering towels. By benchmarking flour-sack and bath towel costs against real market projections, you can set prices that maximize margins and align with industry growth trends.
With flour-sack towels at $1.69 per piece in dozen quantities and bath towels ranging from $3.50 to $5.00 depending on volume, strategic pricing paired with streamlined setup can drive significant ROI in a market expanding from $5.71B in 2024 to $7.88B by 2034.
Unit Cost Analysis
Flour-sack towels at $1.69 each yield a $20.28 cost per dozen. Bath towels drop to $3.50 apiece when ordering 200+ units versus $5.00 under that threshold. This differential shapes both entry-level offers and bulk order incentives.
Volume Discounts Comparison
Per-unit bath towel pricing based on order size:
Cost-Benefit Breakdown for 500-Unit Order
Ordering 500 bath towels at $3.50 each totals $1, 750. Selling at a $7.00 retail price generates $3, 500 in revenue, delivering $1, 750 in gross profit and a 100% markup.
Market Outlook
The global embroidery segment, valued at $5.90B in 2025 according to recent forecasts, is projected to reach $7.88B by 2034. Aligning your towel embroidery pricing with this growth trajectory ensures competitive positioning and scalable returns.
Finish and Maintain Embroidered Towels
Proper finishing protects your stitches and keeps designs crisp. In fact, a 2024 blog from SITN Sew Fabrics reports that pressing from the back cuts fiber sheen by 40% and extends thread life by up to 25% in professional workshops. Integrating these steps helps modern hobbyists and pros alike.
Follow this practical checklist after embroidering to preserve clarity and avoid distortion, tapping into recent low-heat settings on machines from Brother and Janome designed for delicate fibers.
Finishing & Care Checklist
- Trim loose threads close to the stabilizer to prevent snags and build-up.
- Press from the back on low heat, use a Teflon or cotton pressing cloth to shield threads.
- Wait 24 hours before the first wash, allowing stitches to settle and adhesives to bond.
- Wash in cold water only, using a gentle, phosphate-free detergent to keep colors vibrant.
- Position designs 4–6 inches below hems to minimize friction in wash cycles and daily use.
Conclusion
Ready to achieve smooth, puckering-free towels? Follow these five steps:
- Stabilizer stacking
- Hooping technique
- Tension adjustment
- Embroidery speed control
- Finishing touches
Download our free 5-step checklist or sign up for our newsletter for advanced towel embroidery hacks. Embrace flawless stitches and elevate your projects today!