Hardanger Embroidery for Beginners: 22-Count Fabric and 28 Essential Stitches
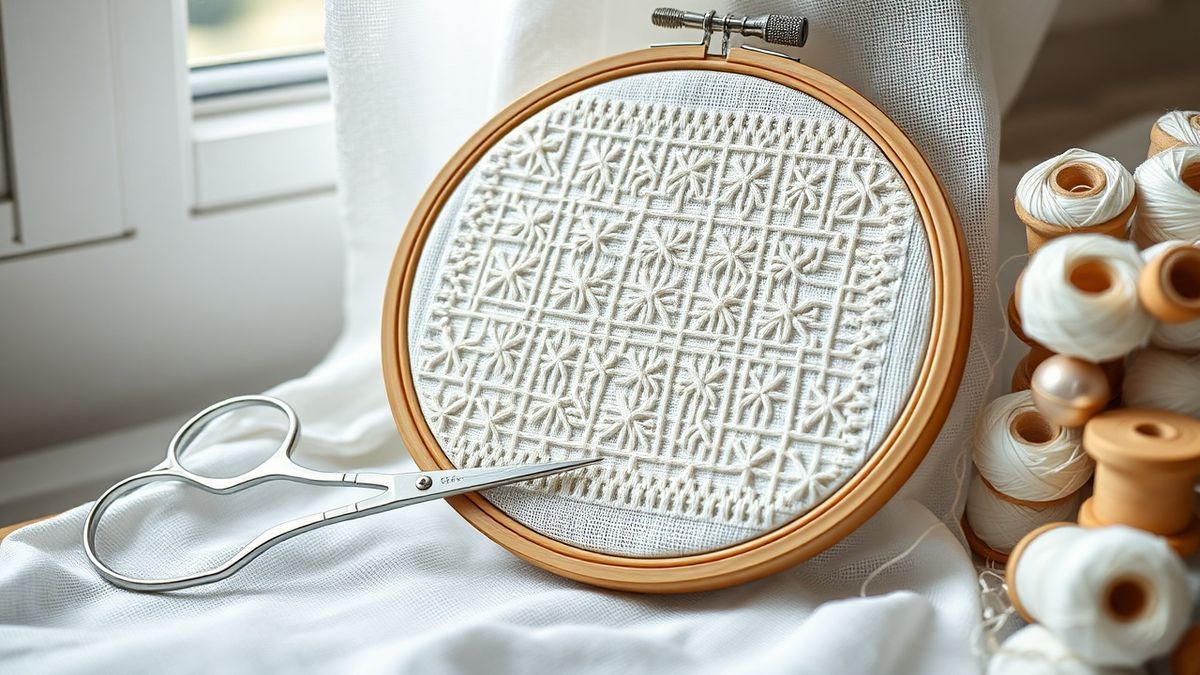
Does the sight of intricate cutwork make your hands tremble? You’re not alone, openwork embroidery intimidates even seasoned stitchers. But here’s the truth: Hardanger only looks impossible. This Norwegian counted whitework technique, with its geometric precision and delicate woven fillings, rewards methodical practice far more than natural talent.
Hardanger embroidery hails from Norway’s Hardangerfjord region, traditionally worked on evenweave linen with bold, rhythmic patterns. While purists still favor linen ground, modern beginners have a game-changing alternative: 22-count cotton Hardanger fabric. This tightly woven cotton delivers crisp stitch definition without the unforgiving tension of traditional materials, perfect for building confidence before advancing to heritage textiles.
This 2026 guide walks you through the complete beginner path, from choosing the right fabric count and thread weight, through the core sequence every Hardanger design follows, to the woven fillings that turn empty squares into lace. You’ll begin with solid, non-cutwork practice to establish rhythm and counting accuracy. From there we’ll move into single-cut motifs, then into the wrapped bars, dove’s eye, and picots that define finished Hardanger.
Every stitch builds on the last. Whether you dream of heirloom table linens or contemporary wall art, this structured path ensures you never feel lost in the fabric. Ready to discover why Hardanger has captivated Nordic stitchers for centuries? Your first thread awaits.
Selecting Even-Weave Fabric: 22-Count Basics
Start with the fabric: 22-count Hardanger fabric makes the thread pairs easy to see and matches the beginner instructions in this guide. Confirm color and piece size before ordering.
Hardanger embroidery demands absolute precision in foundation materials. Unlike free-form surface embroidery, this Norwegian counted technique relies on fabric where warp and weft threads maintain identical sizing and spacing. Even experienced stitchers falter when selecting appropriate ground fabric. Success begins with understanding the specific metric that governs Hardanger construction: the exacting 22-count specification that determines every subsequent stitch placement.
The 22-Count Specification
Hardanger fabric, commonly marketed as Oslo cloth, is defined by its 22-count structure, meaning 22 thread pairs per linear inch in both vertical and horizontal directions. This cotton even-weave is woven in pairs of threads, creating a rigid grid essential for the technique’s characteristic cutwork and drawn-thread patterns. When examining Zweigart Hardanger specifically, you’ll notice the fabric lacks the block-weave structure of Aida cloth; instead, it presents distinct thread pairs that separate cleanly for cutwork procedures. To verify quality, mark 20 threads with a pin and measure the span, consistency within millimeters confirms true even-weave status suitable for beginner projects requiring geometric accuracy.
Traditional Linen Versus Modern Oslo Cotton
Historical Norwegian Hardanger used white even-weave linen rather than the 22-count cotton Oslo fabric prevalent in contemporary needlework shops. This distinction matters for stitchers weighing authenticity against accessibility. Traditional linen offers unmatched longevity and crisp hand-feel but requires advanced tension control. Modern cotton Oslo fabric provides forgiving elasticity for beginners learning kloster block formation, though it lacks the historical provenance of its linen predecessor.
Measuring Dimensions for Starter Projects
For structured beginner coursework, precise cutting prevents thread-count errors during stitching. A foundational placemat or mat project typically calls for roughly 27 by 16 inches (69 by 41 centimeters), sufficient to accommodate practice kloster blocks, wrapped bars, and dove’s eye fillings while leaving adequate margins for framing. Always measure fabric by counting threads rather than relying solely on a tape measure, as commercial fabrics occasionally vary by several threads per inch. Cut only after verifying 22-count consistency across the entire piece to ensure uniform stitch tension throughout your work.
Evaluating Ariosa as an Alternative Even-Weave
When standard Hardanger cloth proves unavailable, Ariosa presents a viable alternative for this whitework technique. Available in both 19-count and 22-count varieties from manufacturers like Zweigart, this even-weave cotton offers a slightly softer hand than traditional Hardanger fabric while maintaining the uniform grid structure essential for counted thread work. The 22-count Ariosa matches Oslo fabric specifications closely, while the 19-count version produces slightly larger motifs suitable for decorative home goods rather than fine traditional pieces. Choose Ariosa 22-count when substituting for authentic Hardanger cloth in beginner tutorials requiring precise stitch alignment and consistent openwork results.
Hardanger Fabric & Thread Sizing Table
Matching fabric count to thread weight to needle size is the single most common stumbling block for new Hardanger stitchers. Get the pairing wrong and your kloster blocks either fail to cover the ground or crowd it into a pucker. Use the table below as your at-a-glance reference: perle (pearl) cotton #5 handles the satin-stitch kloster blocks, while the finer #8 or #12 wraps the bars and works the airy fillings. Blunt tapestry needles in sizes #22 to #24 slide between thread pairs without splitting them.
A quick rule of thumb: as the count goes up (threads get finer), step your perle cotton down a size or two so the satin stitches still cover the ground cleanly. On any count, the kloster-block thread is always one weight heavier than the filling thread, which keeps the framework crisp and the fillings light and lacy.
It’s worth a word on why the pairing matters so much in this particular technique. In ordinary cross-stitch, a thread that’s slightly too thin or thick is merely a cosmetic quirk. In Hardanger, the perle cotton has a structural job: the kloster blocks must completely bury the fabric beneath them, because those satin stitches are what hold the cut threads captive. If your perle #5 is too thin for the count, gaps of bare fabric peek through the blocks and the whole framework weakens at exactly the moment you’re about to cut. If it’s too thick, the stitches mound up and won’t lie flat, throwing off the count of the next block. The table above gives you pairings that are known to cover cleanly, when in doubt on an unfamiliar fabric, stitch a single test block first and check that no ground shows through before committing to the full design.
Essential Tools and Thread Selection
Hardanger embroidery requires specific materials that differ fundamentally from standard cross-stitch or surface embroidery supplies. Unlike divisible stranded cotton, this Norwegian technique demands non-divisible, high-twist threads capable of maintaining structure through cutwork and drawn-thread manipulation. Selecting the correct weight and fiber content prevents fraying during kloster block formation and ensures crisp satin stitch edges.
Perle Cotton Specifications
Perle cotton is the standard thread for Hardanger embroidery: a highly mercerized, twisted 100% cotton fiber that requires no separation before use. Unlike embroidery floss, you work with perle cotton directly from the skein, do not divide the strands. Standardized sizing lets you match thread to fabric count: Size 5 creates bold kloster blocks on 22-count fabric, while Size 8 and Size 12 offer finer options for needleweaving and delicate filling stitches. The twisted structure provides the durability needed when wrapping bars and executing needleweaving, resisting the fraying that plagues softer, loosely spun alternatives.
Needle Selection for Counted Work
Counted thread techniques require specific needle types that differ from standard sewing or crewel needles. Tapestry needles feature blunt tips that slide between fabric thread pairs without splitting fibers, essential for maintaining precise even-weave integrity. For Hardanger specifically, a size #22 carries the heavier perle #5 for kloster blocks comfortably, while a #24 is ideal for the perle #8 used in needleweaving and fillings. On finer 28-count grounds, a #26 helps thread the eye of dove’s eye fillings without distorting the surrounding threads. Keep two or three needles threaded so you can switch between block-building and filling without rethreading constantly.
Scissors, Hoop and Light
Two cutting tools earn their place on a Hardanger table: sharp, fine-tipped embroidery or cutwork scissors for severing fabric threads cleanly between kloster blocks, and a separate pair for trimming perle cotton. Dull blades crush rather than slice, leaving frayed ends that fight every filling stitch. A 6 to 7 inch hoop or a small slate frame keeps the even-weave drum-tight, which matters more in Hardanger than almost any other technique, slack fabric throws off your counting and lets cut edges sag. Add a daylight lamp and, for finer counts, a magnifier; eye strain is the quiet enemy of accurate counting.
Essential Hardanger Stitches, Step by Step
Hardanger has a reputation for complexity, but underneath the lace it follows one unbreakable sequence: build the framework, then cut, then fill. Master the six core stitches below in order and you have everything you need to read almost any traditional chart. Work through them on a scrap of 22-count fabric before committing to a real project, an hour of practice here saves a great deal of unpicking later.
1. Kloster Blocks (Worked First, Always)
Kloster blocks are the foundation and the safety net of every Hardanger design. A standard block is a group of five parallel satin stitches worked side by side over four fabric threads (or four thread pairs on 22-count Oslo cloth). To work one, bring the needle up at the base of the first thread group, carry it straight up over four threads, and go down, then repeat alongside, five stitches in a tidy row, each lying flat and fully covering the ground without puckering.
Here is the rule that makes Hardanger safe: blocks that border an area to be cut are turned at right angles to one another, so the cut threads are always held captive between two opposing blocks. Secure thread ends without knots, weave the tail under three or four completed blocks, turn back over the last stitch, and weave through again before trimming. Knots create bulk that shows through openwork, and a poorly anchored block will loosen the moment you cut nearby. Complete and secure every kloster block in the design before a single thread is cut.
2. Cutting Threads (The Point of No Return)
Cutting is irreversible, so it is the step beginners fear most, but with the framework finished it becomes almost mechanical. Cut threads only inside the rectangular areas fully bordered by kloster blocks, never along an open edge. The cut always happens at the base of the satin stitches, right where the block ends and the open square begins.
Slide your fine scissors under the four threads that run into a block, snug against the satin stitches, and snip them cleanly. Work both ends of each set so the loose threads can be withdrawn. Conventionally you cut all the threads running one direction first, then gently pull the freed threads out with a needle tip, leaving the perpendicular threads in place to be needlewoven. The result is a grid of bare fabric bars ready for wrapping or weaving, framed by the satin blocks that hold everything together. Count twice, cut once: snipping the wrong four threads is the one mistake that cannot be unpicked.
3. Needle-Weaving Bars
Once threads are withdrawn, you’re left with small bundles of remaining threads spanning the open squares, these become woven or wrapped bars. To needle-weave a bar, switch to your finer perle #8 (or #12 on fine counts) and a #24 needle. Bring the needle up beside the bar, then weave it over and under the two halves of the thread bundle in a figure-eight rhythm: over the left group, under, over the right group, under, drawing the thread firm after each pass so the strands pack down into a solid, ribbed little column. Keep the tension even; a well-woven bar looks like a tiny corded post bridging the opening. Needle-weaving is the workhorse filling that turns a cut grid into recognizable Hardanger lace.
4. Woven Bars (Wrapped Variation)
A simpler, faster cousin of needle-weaving is the wrapped bar. Instead of weaving in and out, you spiral the thread tightly around the whole bundle of remaining threads, wrap after wrap, until the bar is smoothly encased like a wound spool. Wrapped bars work beautifully on smaller openings and where you want a slimmer, cleaner line than a woven bar gives. Many designs mix the two, woven bars where strength and texture matter, wrapped bars for delicate borders. Whichever you choose, keep the wraps or weaves uniform so adjacent bars match in thickness and the overall grid reads as deliberate, not improvised.
5. Dove’s Eye
The dove’s eye is the most beloved Hardanger filling, a tiny four-looped star floating in the center of an open square. You work it while weaving the four bars that surround a hole, not afterward. As you reach the midpoint of weaving each bar, take the needle across to the adjacent bar’s midpoint and loop it around the working thread, then continue weaving. Repeated on all four sides, these little loops meet in the middle and pull into a delicate diamond or eye shape. The trick is consistent loop tension: too tight and the eye knots shut, too loose and it sags off-center. Practice the dove’s eye on a single four-bar square until that small star opens cleanly every time, it is the stitch that makes work unmistakably Hardanger.
6. Picots
Picots are the finishing flourish, tiny knotted bumps added to the sides of woven bars to give them a beaded, decorative edge. As you needle-weave a bar, pause partway along, wrap the working thread once around the needle (or around a single bar half) to throw a small knot that sits proud of the bar’s surface, then resume weaving. A picot worked on each side, opposite one another, gives the bar a symmetrical, lacy silhouette. Picots are optional and traditionally reserved for pieces where you want extra delicacy; add them once your bars and dove’s eyes are reliable, since they demand the steadiest tension of all the fillings.
That is the entire core repertoire. Blocks frame, cutting opens, bars rebuild, and dove’s eye and picots embellish. Every one of the celebrated “28 stitches” of traditional Hardanger is a variation or combination of these six fundamentals, master them and the chart library opens up.
A Sensible First-Project Order
If you want a concrete plan, work in this order and you’ll never paint yourself into a corner. First, stitch one isolated kloster block until the five satin stitches lie perfectly flat and cover the ground, repeat it a dozen times. Second, stitch a closed square of four blocks (two horizontal, two vertical, turned at right angles) so you can see how opposing blocks fence off a cutting area. Third, cut and withdraw the threads inside that single square and weave the four bars that remain. Fourth, work a dove’s eye into that same square. Only then add a picot or two. By the time you’ve done this once, you understand the entire technique in miniature, and a full charted design is simply the same loop repeated across the cloth. Resist the temptation to start with an ambitious doily; a four-block practice square teaches more, faster, and with far less heartbreak if a cut goes wrong.
Constructing Kloster Blocks: Deeper Technique
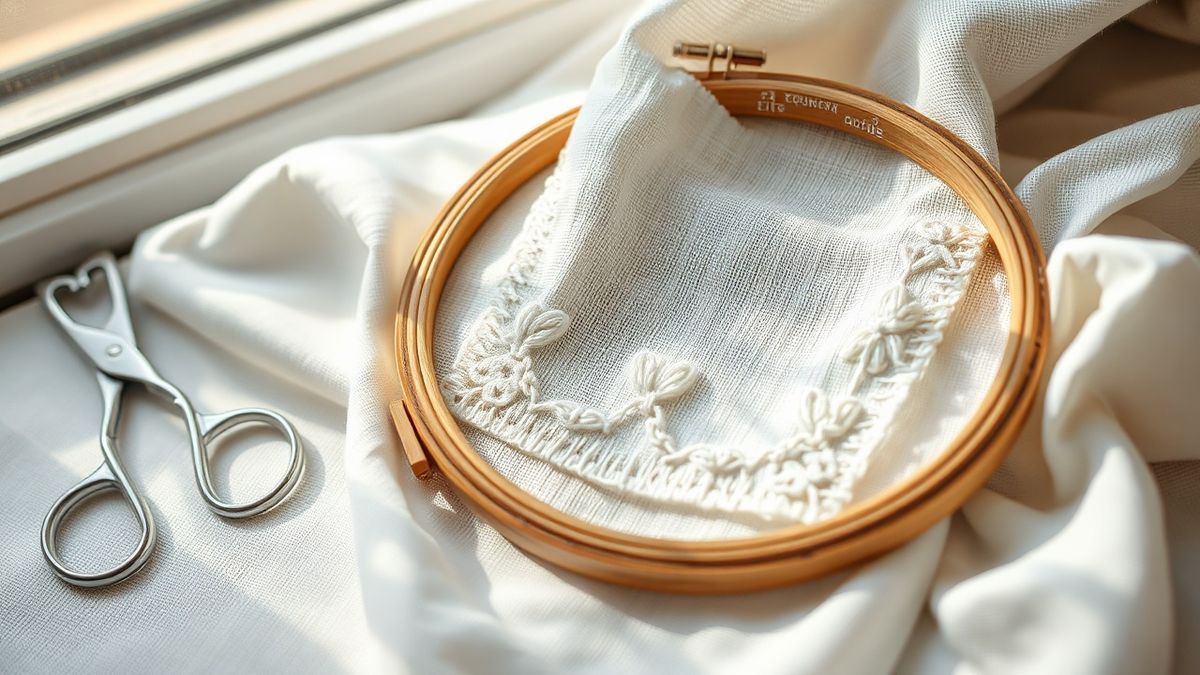
Because kloster blocks carry the structural load of the whole piece, they deserve more than a passing glance. Accuracy during this initial phase determines whether subsequent cutwork succeeds or collapses into frayed chaos. Each block functions as a bulwark against the structural instability that cutting introduces, making precise execution non-negotiable for heirloom-quality results.
The Five-Stitch Satin Block in Practice
Each kloster block comprises five parallel satin stitches worked over four fabric threads on 22-count Hardanger cloth. Begin by securing your perle cotton using the weave-under method, then work each stitch with consistent tension that fully covers the ground beneath without puckering. Traditional Norwegian Hardanger, known as Klostersaum, relies exclusively on these geometric satin formations to create the framework for openwork. Count carefully: one missed thread destroys the precision required for cutting, forcing removal and restitching that weakens the fabric. When working from charts, align each block precisely with the grid lines so adjacent blocks share boundary threads, creating continuous patterns without gaps.
Thread Securing Without Knots
Hardanger prohibits knots entirely, they create bulk that disturbs flat-laying stitches and risks showing through cutwork openings. Secure thread ends using the weave-under-turn-back technique: weave beneath three existing kloster blocks, reverse direction passing over the final stitch, then weave back through the previously woven path before trimming. This creates mechanical locking that withstands the tension of later needleweaving and remains secure even when neighboring fabric threads are cut and removed. Always complete the weaving sequence fully; truncated securing fails when threads are withdrawn, loosening blocks and ruining the piece.
Completion Before Cutting
Never cut fabric threads until every kloster block is completely stitched and all ends are secured. This sequence is absolute, partial completion risks fabric distortion that misaligns remaining blocks and creates uneven openings. Work systematically across the chart, completing full blocks before changing thread lengths so the satin sheen stays uniform. Once all blocks are established, the fabric is properly prepared for cutting, where the geometric precision of your framework guides the openwork. The completed blocks form a rigid lattice that defines exactly which threads may be removed and which must remain.
Blanket Stitch for Edges and Corners
Where a Hardanger piece will be cut to its outer shape, as in a finished doily or mat edge, blanket stitch becomes the technique that secures raw edges against fraying. This edge-wrapping method transforms vulnerable cut fabric into defined, structural boundaries. The precision of your blanket stitch determines whether outer sections keep crisp lines or collapse into distorted gaps.
The Three-Diagonal Corner Method
Corners present the greatest blanket-stitch challenge, requiring a specific sequence to create square, stable angles. At each corner, work three diagonal stitches all emerging from the same corner hole, radiating outward to establish the turn. This triple-diagonal foundation builds the density to support the corner. Immediately after the third diagonal, work a vertical stitch over the diagonal base to lock the corner threads. That vertical stitch becomes the pivot from which you continue along the next edge, preventing the stretching and gaps that plague corners worked with perpendicular stitches alone.
Tension Control on Cut Edges
Cut edges lack the support of woven threads, making them prone to distortion from overly tight stitches. Keep the fabric mounted in your hoop or frame to prevent pulling that elongates openings. Each blanket stitch should wrap snugly around the edge without compressing the weave. If stitches sag or gap, the tension is too loose and later work will not align. A slightly firmer tension is needed on cut edges than on kloster-block edges, since the absence of cross threads offers the wrapping thread less natural support.
Hardanger vs Other Whitework
Hardanger belongs to the broad family of whitework, white-on-white embroidery that relies on texture and openwork rather than color. New stitchers often confuse it with its cousins, so here is how it sits among them, and where to go next if a related technique catches your eye.
Hardanger vs Drawn Thread Work
The closest relative is drawn thread work, and the two share DNA: both withdraw threads from an even-weave ground to create open bands. The difference is what happens at the edges. In drawn thread work, you withdraw threads in long parallel lines and bundle the survivors with hemstitching, producing airy linear borders, think the hemstitched edge of a fine linen napkin. Hardanger goes further: it cuts threads (not just withdraws them) inside areas fenced off by satin kloster blocks, then rebuilds the empty squares with woven bars and fillings. Drawn thread is linear and subtractive; Hardanger is geometric, block-bounded, and rebuilt. If the rhythmic withdrawing of threads appeals to you, explore our guide to drawn thread work and elegant openwork designs.
Hardanger vs Cutwork (Broderie Anglaise & Richelieu)
General cutwork, including broderie anglaise and Richelieu, also removes fabric, but it is not counted. Cutwork shapes (eyelets, scalloped openings, bridged voids) are drawn freehand onto the cloth, outlined with buttonhole or satin stitch, and then the enclosed fabric is cut away. There is no thread-counting grid and no even-weave requirement. Hardanger’s defining trait is that it is counted and rectilinear: every cut follows the thread grid, every opening is square or built from squares. Cutwork can curve and flow; Hardanger marches in straight, mathematical lines.
Norwegian Whitework in Context
Within Norway itself, Hardanger sits alongside other regional whitework traditions, but it is the most internationally recognized, its bold geometric character travels well onto modern tablecloths, ornaments, and framed pieces. Across the broader European whitework canon you’ll also meet Hedebo (Danish), Schwalm (German), and Ayrshire (Scottish), each with its own balance of surface stitching and openwork. Hardanger’s particular gift is accessibility: the counted grid that makes it look daunting is exactly what makes it learnable, because every decision is a countable, repeatable number rather than a freehand judgment.
If you enjoy the dimensional, sculptural side of hand embroidery, you may also love stumpwork and its 3D techniques, or the painterly shading of needle-painting realistic thread art. And to understand how techniques like Hardanger were carried across centuries and borders, our look at embroidered stories from centuries past traces the threads of needlework history.
Cutwork and Filling Stitches in Sequence
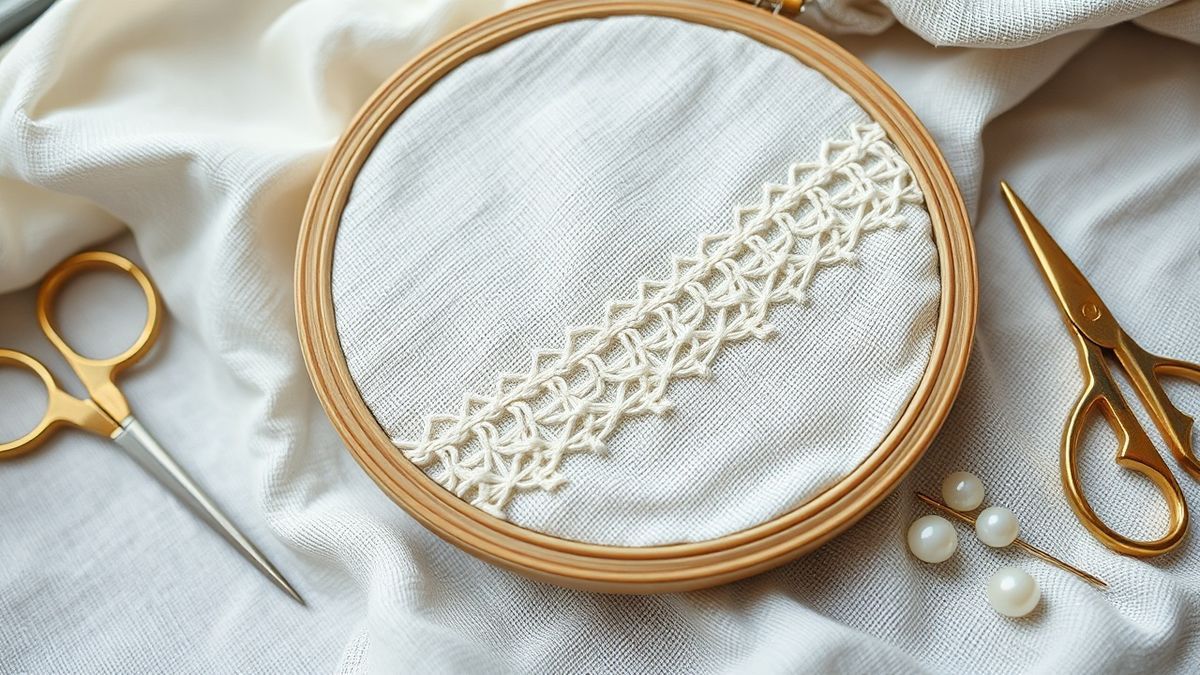
Hardanger combines three technical approaches in one piece: counted thread work for kloster blocks, drawn thread work for partial fabric manipulation, and cutwork for complete thread removal. Mastering the transition between them, particularly the safe execution of cutting, separates novice attempts from heirloom-quality finished pieces.
Safely Executing Cutwork
Use sharp embroidery scissors designed for precision cutting; dull blades crush threads rather than severing them, leaving frayed edges. Cut fabric threads only between established kloster block groupings, never within or adjacent to incomplete blocks. Identify the threads designated for removal by counting from the chart, typically the threads running one direction are cut and withdrawn first, then the perpendicular threads are left to be woven. Secure all kloster threads with the weave-under-turn-back method before approaching with scissors so structural integrity holds during cutting.
Choosing Fillings by Opening Size
Once threads are removed, the voids need fillings that prevent fraying while adding decoration. Smaller apertures suit simple wrapped or woven bars; larger openings support dove’s eye fillings and combinations worked sequentially within one void. Match the filling to the space, an oversized filling crowds a small hole, while a single wrapped bar looks lost in a large one. As your eye develops, you’ll start “reading” an opening and knowing instantly which filling it wants.
Advancing to Finer Fabric Counts
While beginners work on 22-count to establish foundational skills, advanced stitchers progress to finer weaves of 25, 28, or even 32 threads per inch for increased delicacy. These higher counts call for proportionally finer perle cotton, size 8 or 12 rather than size 5, and often a magnifier to cut precisely without nicking adjacent threads. The principles never change: kloster blocks establish boundaries, sharp scissors cut cleanly between blocks, and fillings secure and embellish the openwork. Finer counts simply pack more stitches per inch, yielding more intricate pattern resolution.
Build Your Hardanger Kit
Everything below is a practical beginner setup for 22-count Hardanger. Exact current listings are linked where we could verify the size; confirm color and quantity before ordering.
Disclosure: As an Amazon Associate, latestembroidery.com earns from qualifying purchases. The links above are affiliate links, at no extra cost to you.
Reading Charts and Pattern Execution
Hardanger relies entirely on grid-based charted patterns that translate geometric designs into precise stitch placement on even-weave fabric. Unlike surface embroidery, this technique demands fidelity to charted instructions where each grid mark corresponds to specific fabric thread positions. Understanding how to interpret these charts, where solid blocks indicate kloster blocks, open squares mark areas to be cut, and symbols denote fillings, determines whether your finished piece matches the designer’s intent.
Grid Interpretation for Stitch Placement
Hardanger charts work on a fixed ratio where each unit represents four fabric threads on 22-count even-weave. Patterns specify exact thread counts for each kloster block, typically blocks spanning four threads. When interpreting a chart, identify the center point first by folding both chart and fabric into quarters, this prevents the cumulative counting errors that compound when you start from an edge. Solid blocks indicate satin groupings; empty or shaded squares mark areas where fabric will be cut after blocks are complete. Mark key intersections with basting threads before committing to stitched outlines.
Accuracy in Pattern Transfer
Use a counted thread method rather than measuring: locate the fabric center by counting threads from the edges, then mark that intersection with a single basting stitch. From there, count outward to establish the boundaries of your stitched area, placing temporary stitches at chart landmarks every 20 threads to verify alignment. When a pattern has multiple cutwork sections, complete and secure all kloster blocks in one section before cutting, preventing distortion that misaligns adjacent sections. This systematic approach ensures the abstract grid translates flawlessly into the tactile geometry that defines professional Hardanger.
Troubleshooting Miscounts and Fabric Issues
Hardanger’s mathematical precision leaves minimal margin for error, yet mistakes happen even among experienced practitioners. The irreversible nature of cutwork amplifies anxiety around miscounting. Understanding systematic recovery transforms potential disasters into manageable corrections.
Correcting Miscounted Kloster Blocks
If you miscount a kloster block, remove and reposition the stitches before proceeding to cutting, never compensate by adjusting later blocks, as that compounds distortion. Carefully snip the perle cotton and extract it without pulling, which risks distorting the grid. Use a tapestry needle to realign any shifted threads before restitching. Count threads twice before cutting, since the cutwork phase is irreversible. Establish reference points by completing and verifying block intersections at pattern landmarks, then fill intermediate sections from those fixed points rather than counting continuously from an edge.
Addressing Fabric Fraying
The weave-under securing method prevents stitches from loosening when adjacent threads are cut. If fraying appears in openwork before fillings are added, stabilize immediately with a single strand of matching thread in running stitch along the compromised edge. Prevent future fraying by cutting perpendicular to fabric threads rather than at an angle, which creates weak points. When threads resist cutting cleanly, replace your scissors, dull blades crush rather than sever.
Repairing Accidental Cuts
When scissors slip and cut wrong threads, recovery is possible if addressed immediately. Select matching threads pulled from selvedge edges or hidden areas and weave them through the cut path with a fine needle, reconstructing the missing grid horizontally and vertically and securing the ends within adjacent kloster blocks. For cuts that reach into block boundaries, reinforce with additional satin stitches over the repair before proceeding. Note the repair location so you avoid re-cutting it later, and where possible, adjust filling placement to mask the reinforced area.
Frequently Asked Questions
What count fabric is best for Hardanger?
For beginners, 22-count Hardanger fabric (often sold as Oslo cloth) is the traditional and easiest choice. It’s woven in pairs of threads, so the grid is bold and simple to count, and the relatively coarse weave is forgiving when you make your first cuts. Once you’re comfortable, you can step up to 25- or 28-count evenweave for finer, more delicate work, but start at 22-count to learn the sequence without straining your eyes.
What thread do you use for Hardanger?
Use perle (pearl) cotton, a twisted, non-divisible thread you work straight from the skein. On 22-count fabric, perle #5 is standard for the kloster blocks and satin stitches, and perle #8 (sometimes #12) for the finer needleweaving, bars, and fillings. The kloster thread is always one weight heavier than the filling thread, which keeps the framework crisp and the fillings light and lacy.
Is Hardanger hard for beginners?
It looks harder than it is. The secret is the sequence: always work all your kloster blocks first, and never cut a thread until the framework is complete and secured. The blocks fence off exactly which threads are safe to remove, so once they’re in place, cutting becomes almost mechanical. Beginners who respect that order, and count twice before cutting, rarely have trouble. Practice the kloster block and a single dove’s eye on scrap fabric before your first real project.
What is the difference between Hardanger and drawn thread work?
Both remove threads from an even-weave ground, but drawn thread work only withdraws threads in long linear bands and bundles the survivors with hemstitching, creating airy borders. Hardanger goes further, it cuts threads inside square areas fenced off by satin kloster blocks, then rebuilds the empty squares with woven bars and fillings like dove’s eye. Drawn thread is linear and subtractive; Hardanger is geometric, block-bounded, and rebuilt. See our full drawn thread work guide for that technique.
Can you do Hardanger by machine?
Traditionally, Hardanger is a hand technique, the counted satin blocks, hand-cut threads, and woven fillings are what give it its character, and authentic Hardanger is worked by hand. Some modern embroidery machines offer “Hardanger-style” decorative motifs that imitate the look, but they don’t perform true thread-cutting and needleweaving. If you want the genuine article, with its real openwork and woven bars, it’s worked by hand with perle cotton and a blunt tapestry needle.
Conclusion
Hardanger embroidery offers a rare convergence of mathematical precision and meditative practice, transforming simple even-weave and perle cotton into heirloom textiles that honor centuries of Norwegian heritage. Your path progresses logically: understand 22-count fabric, master the kloster blocks that create geometric boundaries, then execute the irreversible cutting phase with growing confidence before rebuilding the openwork with bars, dove’s eyes, and picots.
From these six core stitches, the celebrated repertoire of 28 traditional stitches and techniques opens up, every one a variation on the fundamentals you’ve just learned. Each completed piece represents not merely decorative craft, but hours of focused intention and counted accuracy.
Begin your practice today with a simple coaster or mat that lets you perfect kloster-block alignment and basic cutwork before advancing to finer counts. Embrace the deliberate pace of this tradition, each stitch is a meditation, each completed block a small victory. Your first cutwork opening awaits.
Free: 12 Essential Hand Embroidery Stitches
A printable illustrated cheat sheet of the 12 core stitches every embroiderer should know. Instant PDF.
No spam. One-click unsubscribe.