Fix Thread Looping on Embroidery Backs Fast
This post contains affiliate links. As an Amazon Associate, Latest Embroidery earns from qualifying
purchases, at no extra cost to you. Learn more.
One 10-minute check can cut looping and rejects by more than half, try this now. Quick diagnosis checklist: rethread the top path, confirm the bobbin is seated, check bobbin tension, inspect needle size and stabilizer. Must-have tools? A small screwdriver, lint brush, a tension gauge and quality thread. For bobbin-tension basics see the bobbin tension guide from Superior Threads, and for manufacturer steps consult Brother’s tension adjustment instructions. Step-by-step fixes: rethread with the presser foot up, set a baseline upper tension, then adjust the bobbin case screw in small increments and test on scrap. Daily/monthly care: wipe lint daily and deep-clean the bobbin case monthly with a gauge check. One finishing trick: hide tiny remaining loops with a narrow satin stitch or small applique. Read on for the full step-by-step checklist and testing routine, you’ll save time and rejects.
Need better thread options to reduce looping risks:
Shop embroidery thread on Amazon →
Rapid diagnosis checklist: find the loop source in 5 minutes
Short on time? If you only take one thing from this guide: 40wt polyester thread set — the single cheapest fix for shredding and thread breaks.
Use this fast, timed workflow to isolate thread loops on the back of your embroidery, top thread, bobbin, tension, hooping, or timing, so you can decide whether a quick fix or a service call is needed. Recent shop guides and tool makers (MaggieFrame, Madeira resources) back the use of magnetic hoops and tension gauges for rapid troubleshooting.
Work left-to-right through the list; most loop causes are revealed within five minutes. Keep a thread net, a fresh bobbin, a spare needle, and a tension gauge at hand.
1. 0:00–0:45, Pull Test (30–45 seconds)
On a stopped machine, gently pull the top thread and then the bobbin thread through a few stitches:
- If top pull pulls loops through to the back, suspect top thread path/tension.
- If bobbin pull produces loops, suspect bobbin tension or thread build-up in the hook.
2. 0:45–2:00, Immediate rethreading (1–1.5 minutes)
Rethread both top and bobbin following the machine’s exact path. Watch for snags at thread guides, tension discs, and take-up lever. Use thread nets and discard the last ~10% of a used bobbin to avoid inconsistent bobbin tension.
3. 2:00–3:30, Needle and quick hardware check (1–1.5 minutes)
Inspect the needle for burrs, bends or eye damage; replace after every 8–10 hours of stitching or immediately if damaged. Swap in a new needle and retry one small stitch.
4. 3:30–4:30, Hoop & stabilizer check (1 minute)
Confirm fabric is taut and hoop size is ~1–2″ larger than the design. Magnetic hoops (MaggieFrame) reduce flagging. Use cut-away for dense designs, tear-away for light designs, and add a topping for pile fabrics.
5. 4:30–5:00, Tension gauge validation and next steps
Use tension gauges: bobbin ≈18–20 g; top rayon 100–130 g; top polyester 120–150 g. If targets are met and loops persist, suspect timing/hook issues and schedule a hook/timing check or professional service.
Tension tuning: step-by-step dial-in with exact targets
Accurate tension is the fastest way to stop thread looping on the back of embroidery. Use calibrated top- and bobbin-tension gauges and follow a strict test protocol to reach the specified gram targets: bobbin ≈18–20 g; top thread for rayon ≈100–130 g and polyester ≈120–150 g. Industry growth in commercial embroidery (markets estimated in the multi‑billion dollar range in 2024) has pushed higher-speed machines and denser digitizing, which makes methodical tension tuning essential for consistent production output.
This step-by-step guide assumes you have a top tension gauge and a bobbin-tension gauge, a stable hooping setup and the ability to run the machine at normal embroidery speed (Ricoma SWIFT and similar commercial machines can run up to 1, 000–1, 200 SPM, which affects dynamic tension).
Tools & targets
Use a digital or mechanical tension gauge for both top and bobbin. Target ranges: bobbin ≈18–20 g; top (rayon) 100–130 g; top (polyester) 120–150 g. Keep thread diameter ≤40% of the needle groove per the 40% rule to avoid sudden tension spikes.
Stepwise adjustment sequence
- Set machine at normal embroidery speed. Install the thread type you will use.
- Start with top tension: measure current top grams with your gauge. If outside the target band, adjust toward the band in 5–10 g steps and re-measure.
- Run a 3 cm × 3 cm test block (see Live test protocol). If bottom-side loops appear, slightly increase top tension; if top-side loops appear, decrease top tension, but keep inside the target band for that thread type.
- Next, check bobbin tension. If back-of-stitch loops persist after top is within band, tighten bobbin incrementally (1–2 g steps) toward 18–20 g until loops resolve.
- After every change, run three repeated test blocks (three full 3×3 cm blocks) before making further changes.
Live test stitch protocol
Use a medium-density fill representative of your job and hoop correctly. Run the 3 cm × 3 cm block at full embroidery speed; count three consecutive blocks after each adjustment. Inspect both sides under good light and document gauge readings for each pass, this creates a reliable trace to reproduce settings.
Ricoma SWIFT and machine-specific notes
Ricoma SWIFT owners should match Chroma digitizing density to material and thread: higher density increases thread load and may require the top tension to be at the upper end of the target band. Verify gauge targets after changing digitizing or needle size; SWIFT series machines (up to 1, 200 SPM, 10.1\” touchscreen) respond quickly to small tension shifts.
When to stop adjusting and call service
If, after methodical tuning (top first, then bobbin) and multiple three-block retests you cannot achieve balanced stitches within the target ranges, stop adjusting. Persistent imbalance often indicates hook/timing or needle-and-hook alignment issues, arrange a professional timing/service for the hook/drive system.
Hooping, stabilizer and thread choices that stop loops
Looping and birdnesting almost always trace back to three setup areas: hooping, the stabilizer stack, and thread/needle handling. Below are hands-on, copy-and-paste setups and quick rules you can apply immediately to stop back-of-hoop loops.
These recommendations reflect current practice and growing tool trends (magnetic hoops like MaggieFrame have gained traction in 2024–25 for cutting hoop slippage and flagging). Apply the rules below by project type.
Hooping method, size, tension and magnetic hoops
Choose a hoop 1–2 inches larger than the design on both axes so fabric and stabilizer sit under even tension. Pull fabric smooth but not stretched; check for flatness across the entire area. Use MaggieFrame magnetic hoops or similar magnetic systems to eliminate hoop slippage and flagging, their strong magnets and rigid frames are repeatedly recommended in recent user reviews.
- Hoop size rule: design box + 1–2″ margin.
- Hoop tension: even, no wrinkles across the whole area.
- Magnetic hoop tip: test magnet strength on the fabric/stabilizer combo before long runs.
Stabilizer selection by design density and fabric
Match stabilizer to design density and fabric weight. Use cut-away for dense fills, tear-away for light-to-medium designs, and a topping for pile or low-pile terry fabrics so the needle doesn’t catch fibers.
- Dense designs: cut-away + optional light topping to support heavy stitch counts.
- Light patterns on stable woven: tear-away for quick cleanup.
- Pile/terry: heavy topping (stab + topping) to keep loops out of the needle path.
Thread handling, needle pairing and maintenance
Use thread nets on cones/spools to prevent spool drift and uneven feed, especially with slippery rayons and silks. Discard the last ~10% of a bobbin to avoid inconsistent tension as the bobbin diameter shrinks and the feed changes. Apply the 40% rule: thread diameter should be ≤40% of the needle groove/eye spec so the thread runs freely in the take-up groove (industry guides from needle and thread makers back this).
- Thread nets + spool stand for smooth delivery.
- Always replace needles every 8–10 hours of stitching; change immediately if you see burrs or skipped stitches.
- Match thread and needle (example: 40wt rayon → 80/12–90/14 embroidery needle; polyester 40wt → 80/12). Follow manufacturer charts.
Practical setup examples
Dense logo (knit): hoop with 1–2″ margin, cut-away stabilizer + fine topping, rayon top thread, top tension ~100–130 g, lower stitch density in digitizing if needed.
Lightweight linen: tear-away stabilizer, polyester top thread, top tension ~120–150 g, use a smaller needle (80/12) and check the 40% rule.
Terry-pile towels: heavy topping plus cut-away base, reduce stitch density in digitizing to minimize needle deflection, use topping to keep loops away from the needle eye and moderate top tension (start low and test).
Maintenance routine that prevents most machine-related loops
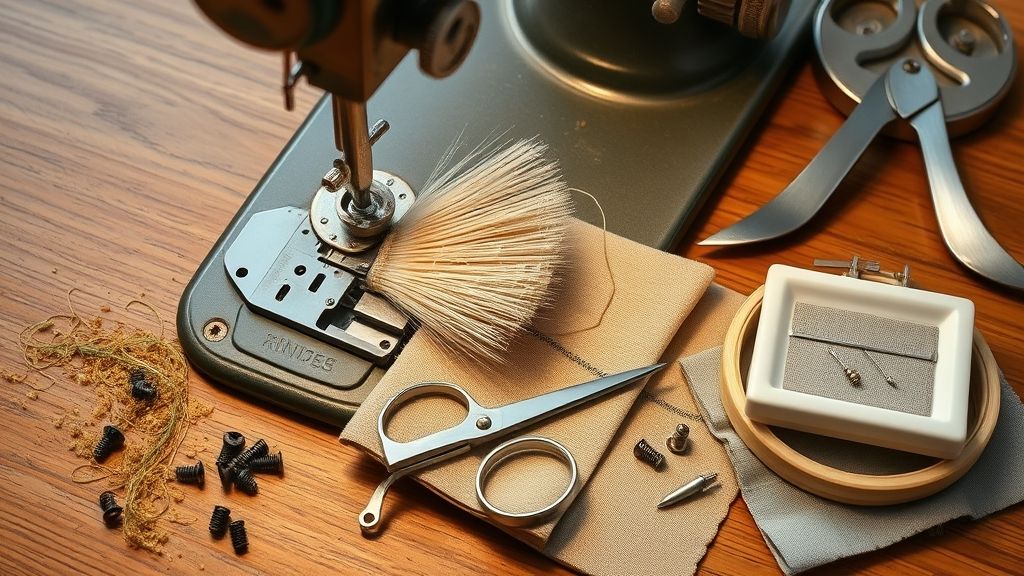
Simple, repeatable maintenance prevents most machine-related thread looping by keeping lint out of tension and hook assemblies and by replacing wear items on a set cadence. The short schedules below pull together industry guidance (daily lint cleaning, needle changes at 8–10 hours, and monthly deep hook work) with shop-ready steps you can follow shift-to-shift.
Use a two-line log (date/operator and loop-rate %) each shift so you can correlate maintenance actions with outcomes and run A/B checks to validate shop-specific claims about failure causes.
Daily pre-shift checklist (before each shift)
Do these 5 quick steps every morning (2–4 minutes):
- Power down and remove the hoop. Use a lint brush + vacuum to clear bobbin case, rotary hook slot, feed dogs, and thread path.
- Open the bobbin cover and inspect the bobbin for the last ~10% of wound thread; discard or rewind if within that tail portion.
- Check needle for burrs or bends; if in doubt replace (see needle cadence).
- Run a single test stitch for tension and stitch formation; note loop occurrences in the log.
- Wipe exterior thread guides and tension disks free of dust (do not oil tension disks).
Weekly quick check (5–10 minutes)
Visual inspection and minor clean: verify hook timing indicator, tighten loose screws, confirm bobbin case seating, and top-up the log with hours run.
Monthly deep hook cleaning
Once a month open the needle plate, remove the bobbin case, unscrew the hook cover and clean the shuttle race thoroughly with a soft brush and lint-free cloth. Inspect the hook for burrs, check race bearings, and reassemble carefully; this prevents hidden lint catching thread and creating loops.
Lubrication, needles and bobbin lifecycle
For heavy use apply 1–2 drops of machine oil every 7–10 hours to the rotary hook bearing and needle bar pivot points only (follow your machine manual for exact oil ports). Replace needles every 8–10 hours of stitching; discard the final ~10% of bobbin winding to avoid inconsistent tension.
Recordkeeping and validation
Keep a simple log: date, operator, hours run, maintenance actions, and loop-rate (% loops per 1000 stitches). Review weekly and run A/B tests (e.g., oil cadence 7 vs 10 hours) to build shop-specific metrics; many sources claim maintenance solves most problems, use your log to measure that claim locally.
Back-of-embroidering finishing: hand and tool fixes
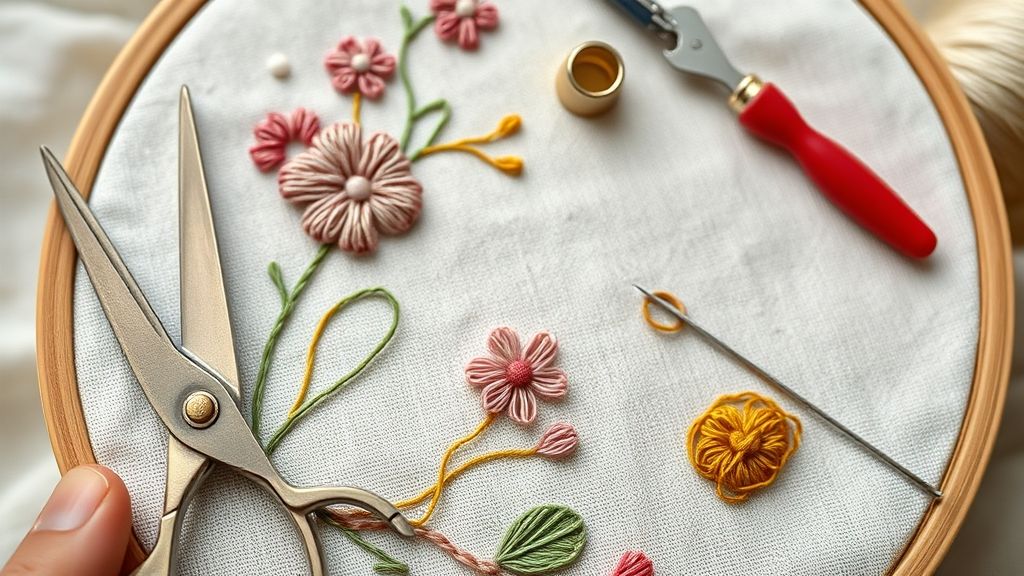
Finished embroidery can be undermined by loose loops on the back, quick, methodical finishing fixes save time and returns. Small-business stitchers investing in cleaner two-sided work are seeing fewer client complaints; the broader embroidery equipment market was valued in the multi‑billion dollar range in 2024, so professional finishing matters for reputation as much as design.
Below are compact, step-by-step hand and tool methods to remove or conceal loops on completed pieces and when to rework versus disguise.
Hand finishing sequence (step-by-step)
Follow this order for secure, invisible backs:
- Waste knot: tie a temporary knot 1–2″ from the tail to hold tension during work.
- Tacking: use fine thread to tack long stray threads down with tiny stitches along the seamline.
- Whipping: whip the tail around nearby threads or bobbin threads in 3–5 short passes to lock it.
- Trim: cut close to the work, leaving a few millimetres to prevent slipping.
Using the Dritz Snag Nab‑It
The Dritz Snag Nab‑It is a 2–2.5″ precision needle tool widely sold for pulling finished loops through to the top or extracting them cleanly. To use:
- Insert needle point behind the loop, catch the loop and pull through to the right side or push to the back as needed.
- Combine with tacking/whipping if you pull a loop to the face to secure its base.
Rework vs disguise: decision guide
If loops affect design alignment or face quality, rework the run; if the defect is small and the piece is two‑sided, disguise with sew‑in backing or a matched applique. For production, discard the last ~10% of a bobbin to avoid end‑of‑run clusters that trigger rework.
Quick shop-friendly concealment for reversible items
Options that sell well and look professional:
- Thin sew‑in backing or lightweight fleece for structure.
- Small appliques or logo patches over problem spots.
- Sewing a clean facing or binding for fully reversible pieces.
How finishing affects returns
Clean backs and professional tool use reduce visible defects and customer returns; investing small time per piece and using tools like the Snag Nab‑It improves perceived stitch quality and lowers after‑sale fixes.
Tools, machines and cost decisions you can act on today

If back-of-stitch looping is costing time and rejects, choose the exact machines and hand tools that research and field feedback name most often: Ricoma SWIFT + Chroma for workflow, MaggieFrame magnetic hoops for hoop stability, and small finishing/tuning items like Dritz Snag Nab-It, thread nets and top/bobbin tension gauges. Recent market notes put a Ricoma SWIFT 20-needle around $15, 995+ and Chroma bundled or sold through Ricoma distributors; MaggieFrame hoop prices vary heavily by size ($100–$1, 100 for specialty sizes), while Dritz tools and thread nets run single-digit to low-double-digit dollars and TOWA/bobbin gauges about $77–$95.
Below is a compact comparison to help you decide what to test first and how quickly small purchases can pay for themselves.
Price comparison table
Magnetic hoops vs standard hoops, pros & cons
Feature tests to run in-shop
Run short A/B tests to measure: stitch quality (visual and pull tests), loop rate (count loops per 100 pieces), and setup time (seconds per hoop). Use identical garments and threads across runs and log results for 50–200 units.
Quick procurement checklist and ROI example
- Buy first: Bobbin/top tension gauge (TOWA style, ~$80–$95) and thread nets (packs $10–$25) for immediate, low-cost impact.
- Add: Dritz Snag Nab-It for finishing (~$5) and a small stock of thread nets/cone stabilizers.
- Evaluate: MaggieFrame hoop(s) on a high-loop-rate SKU before buying multiple sizes; budget $100–$1, 100 per hoop depending on size.
Example ROI: if a $80 bobbin gauge reduces rejects from 5% to 2% on $10, 000/month output, monthly savings ≈ $300, payback <1 month. Note: published research flags missing A/B granular data, so measure your shop’s change before scaling purchases.
FAQ: common practical questions and short answers
Quick, implementation-focused answers for shops and makers who need to stop thread looping and reject rates now. Small changes (rethread, Pull Test, hooping, stabilizer swap) often cut looping immediately; plan for short tests and one verification run per change.
Note: the embroidered-equipment sector is large and growing, equipment alone was estimated near US$495M in 2023, so new tools (magnetic hoops, tension gauges) and process standards are increasingly common in production shops.
How quickly will these fixes reduce looping and rejects?
Try the fast fixes first: rethread top and bobbin, run a Pull Test, verify hooping and stabilizer. You should see measurable improvement within 10–30 minutes; full validation (several stitched samples across lots) takes 1–2 hours. In production, expect fewer top-side loops and steadier speeds once tension and hooping are nailed down.
Do I need a gauge or will visual tuning work?
Use a gauge for consistent results. Visual tuning can work for one-off projects but fails at scale. Target ranges: bobbin ~18–20 g; top tension (rayon) ~100–130 g; top tension (polyester) ~120–150 g. Gauges give objective targets and reduce trial-and-error across shifts.
Which stabilizer should I try first for my application?
Start with the simplest correct match: cut-away for dense or high-fill designs, tear-away for light motifs, and a topping (water-soluble or tear-away topping) on pile fabrics. Swap stabilizers and run a 1–2 minute sample stitch to confirm underside loops are gone before committing a production run.
Is MaggieFrame worth the cost compared to regular hoops?
MaggieFrame and other magnetic hoops reduce hoop slippage and speed two-sided workflows. They cost more up-front but often cut re-hooping time and alignment rejects. Test one hoop on your machine and measure time saved per job versus its price; many shops report ROI within months on high-volume jobs.
How often should I oil and replace needles in production?
Daily: remove lint around the hook and bobbin area. Monthly: deep-clean the hook, race and feed components. Oil: 1–2 drops every 7–10 hours of heavy use (follow your machine manual). Replace needles every 8–10 hours of stitching or immediately if you see fraying, skipped stitches, or tension instability.
Conclusion
Ready to stop back-side loops fast? Run a short experiment: a 5-minute Pull Test, then rethread and tweak machine tension to your recommended gauge targets, use correct hooping and stabilizer combos like MaggieFrame + cut-away/topping, keep a simple daily/monthly maintenance routine, and finish stubborn loops by hand.
- Test: quick Pull Test to establish a baseline
- Tension: rethread and adjust to gauge targets
- Hooping/stabilizer: MaggieFrame + cut-away/topping where relevant
- Maintenance: daily checks, monthly deeper tune-ups
- Finishing: small hand fixes for remaining loops
Call to action: This week, run one controlled test: log loop-rate before and after the Pull Test + tension gauge changes, then share results or repeat across three jobs to measure impact.
Try the quick trial, track the numbers, and enjoy neater backs, one test can change every job.