How to Prevent Satin Stitch Puckering in Embroidery
This post contains affiliate links. As an Amazon Associate, Latest Embroidery earns from qualifying
purchases, at no extra cost to you. Learn more.
If satin fills keep pucking and edges pull in, you’re not alone, and you can fix it with a practical, repeatable setup.
Here’s the plan: use an outline-first method that centers on tension control, smart stabilizer choices, and mindful stitch density. Start by testing on a scrap, trying two stabilizers (tear-away vs cut-away) and watching how the satin behaves. Look for concrete symptoms, edges curling, stitches pulling toward the center, or thread snags, and dial in tension so the fabric stays flat under the needle. Document each test so you can repeat fixes on real projects. For deeper context, explore these guides: Ricoma’s puckering guide and Embroidery on Satin: Pro Techniques, plus a beginner-friendly stabilizer primer from SINGER.
A quick upgrade to your thread selection can shave puckering further:
Shop embroidery thread on Amazon →
Keep reading to master a repeatable workflow that keeps satin bright and edges flat. With concrete symptoms identified and fixes ready, you’ll be prepared to apply the plan to your next project and see reliable, professional results.
How to Prevent Satin Stitch Puckering in Embroidery
Short on time? If you only take one thing from this guide: Machine oil & cleaning kit — most “faulty machine” problems are lint and a dry hook race.
The satin stitch puckers when fabric isn’t held taut enough or when stitch lengths wander. Recent data shows the embroidery landscape is expanding, with the market projected to grow into the billions as consumer demand for polished, custom embroidery rises. For example, market analyses place the embroidery market in the low billions in the near term, with strong growth driven by personalized apparel and decor, while broader industry reports note continued expansion and rising adoption of satin fills in fashion and home projects. These trends underscore why control over tension and stitch behavior matters for achieving durable, professional satin finishes.
From practical research, puckering is most effectively addressed by keeping fabric tension consistent, think drum-tight, not slack, and by controlling stitch length across fills. Outlining the shape with a back stitch provides a reliable guide for the satin fill, helping to keep edges neat and lengths uniform across large areas. This combination, taut fabric, gentle, even thread tension, and a back-stitch outline, produces steadier performance and a higher-quality satin fill that holds up across garments and home décor projects.
Understanding fabric tension: drum-like tautness and motion-reduction
Fabric must be taut enough to resist distortion as stitches are formed. A drum-like tension means the fabric responds to needle penetration with minimal pull-back or slack, preventing puckering along curves or inside wider fills. In controlled environments, operators report gentle, even tension on floss and needlework threads reduces distortion and keeps satin stitches lying flat. Ergonomic hooping, stable frames, and consistent stabilizer choice work together to maintain this tautness across the entire work area.
Outline-first satin fills: back stitch guides the shape
Outline the intended satin shape with a back stitch to set the boundary and guide the fill lines. The back stitch serves as a precise road map so satin stitches follow predictable paths, reducing wandering that causes edge pull-in or gaps. Within the outline, satin stitches are placed inside and along the outside edge, ensuring a smooth contour that remains stable even in larger areas. This approach yields clearer edges, less snagging on the edge, and a steadier fill progression as you work across the design.
Controlled stitch length: benefits and practical tips
Consistent stitch length across the fill minimizes texture variation and helps the stitch line sit evenly on the fabric. Practical tips include using a fixed stitch length on the machine, avoiding abrupt changes when transitioning from outline to fill, and keeping fabric tension uniform while feeding the fabric. The core technique, back-stitch outlining to guide the satin fill, reduces puckering risk and supports uniformity in stitch length, especially in large satin fields.
Outline-first satin fill: step-by-step you can follow
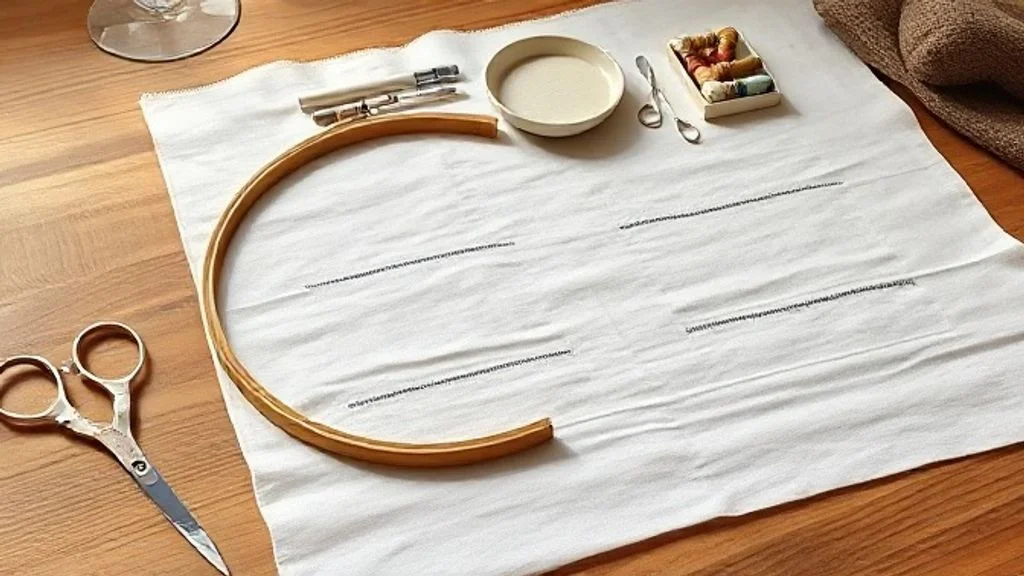
This section presents a concrete, repeatable workflow that uses an outline-first approach to satin fill. By outlining the shape with a back stitch and then guiding the satin fill from that framework, you get neater edges and more uniform stitch lengths. In today’s market, where embroidery continues to grow, the embroidery market was valued at about USD 1.54B in 2024 and is projected to reach USD 2.62B by 2033 with a steady CAGR around 6%, a reliable workflow helps hobbyists and professionals deliver consistent results across projects. The core idea, summarized in the section data, is to outline the shape with a back stitch first, then fill inside and along the outside edge with satin stitches guided by that outline. Outline-first satin fill acts as a built-in guide, reducing drift and puckering as you work your satin stitches.
Think of this as a recipe: you prepare the fabric and stabilizer, lay down a crisp back-stitch outline, then fill in layers that align with that outline. The main tools are simple: a back stitch for outlining and guiding the fill. When done with a consistent stitch length and gentle, even tension, you’ll notice edges that stay straight and densities that hold evenly across the design. Real-world guidance from embroidery professionals emphasizes that outlining early creates a stable framework for the satin fill, especially on denser fabrics or larger shapes. This section walks you through six repeatable steps so you can reproduce solid results each time.
Step 1: Prepare fabric and stabilizer, hoop securely so fabric is taut
Start with a stable foundation. Choose a stabilizer appropriate for your fabric type: tear-away for lighter, woven fabrics, or cut-away for denser textiles and heavier satin fills. Layer the stabilizer evenly and align the fabric with the hoop to prevent shifting. Hoop with a drum-tight feel, edges should be taut, and there should be no finger slack when you gently lift the fabric. If you’re working with slippery or tightly woven fabrics, consider a light spray adhesive to minimize movement during stitching. This preparatory tautness is a foundational step; research and industry guidance consistently highlight hoop tension as a primary factor in preventing puckering. Stabilizer choices and hooping practices are widely discussed in recent industry resources to support clean finishes.
With the fabric taut, you’re ready to lay down the outline and start stitching with confidence. This foundation step reduces fabric movement and sets the stage for a precise satin fill.
Step 2: Outline the shape using a back stitch
Draw the shape with a back stitch to create a crisp, continuous guide for the fill. Use a thread color that contrasts with the fabric to clearly see the outline as you stitch, then switch to the satin fill color later if you prefer a hidden outline. Keep the back-stitch length modest (roughly 2–3 mm per step) to maintain a smooth, straight line through curves. The outline acts as the data-driven, repeatable framework described in the section data, helping you keep edges neat while you build the fill. For curved sections, ease the back stitch slightly to avoid harsh corners and maintain a natural contour.
Industry guidance from embroidery experts supports outlining as a reliable way to guide fills and improve edge definition. The outline provides anchoring points for subsequent satin stitches and reduces the need to guess where the fill should start and stop. As you work, ensure the back-stitch line remains directly on the intended path, then prepare to follow that path with satin stitches that align to the outline.
Step 3: Fill inside and along the outside edge with satin stitches guided by the outline
Begin your satin fill inside the outline, then extend stitches along the outside edge to create a seamless boundary. Use evenly spaced satin stitches with a consistent length (2.0–2.5 mm is a common target, adjusted for fabric density). Work in rows that run parallel to the edge, aligning each stitch to the outline so the edge remains crisp. Keep each satin stitch flat and fully seated against the fabric; avoid long bridges over the outline that could cause gaps or puckering. By letting the outline guide the fill, you ensure that the density remains uniform across the interior and edge, mirroring the data-driven approach described in the section data. If the design has internal gaps, fill them in with additional satin rows, always keeping the stitch length consistent and the tension gentle.
In practice, fill from one side to the other, maintaining equal spacing and avoiding overlap that could harden into ridges. The guiding outline helps maintain straight lines along outer edges even as you fill near curves, producing a clean, professional look that stands up to wear and washing.
Step 4: Keep thread tension gentle and even throughout
Thread tension plays a big role in puckering. Use a gentle, even tension across all satin stitches and avoid pulling stitches taut. If your machine allows, set a lower needle tension and maintain a consistent feed rate to prevent fabric sinking or stretching as you stitch the satin fill. When stitching by hand, pull threads just enough to lie flat without distorting the fabric. The emphasis on gentle, even tension aligns with best-practice guidance from industry sources, which note that consistent tension helps produce uniform density and prevents edge distortion during satin fills.
Step 5: Maintain controlled stitch length for uniform density
To keep density uniform, lock in a single stitch length for satin fills. A fixed stitch length of about 2.0–2.4 mm tends to yield a smooth fill with minimal gaps, but adjust slightly based on fabric density and thread thickness. Consistency is key: avoid shortening or lengthening stitches mid-design, which can create irregular density and puckering at the edges. If you notice edge irregularities, review your outline alignment and confirm the satin rows are parallel to the outline for uniform density across the fill. The data-driven nature of this technique relies on controlled stitch length to achieve predictable results across repeated projects.
Step 6: Inspect edges and adjust tension or outline as needed
After the satin fill completes, inspect the outer edges and interior boundaries. If you detect slight pulling or waviness, consider adjusting the outline length or position and re-stitch smaller sections to re-establish a clean boundary. You can also re-check the hoop tension and stabilizer choice if puckering reappears, ensuring the fabric remains taut and stable. This final check aligns with the data-driven emphasis on consistency and precise control, and it lets you fine-tune the process for future projects. When in doubt, re-stitch a short arc of the outline to restore crisp edges and even density along the boundary.
Practical takeaway: the main technique is to outline the shape with a back stitch, then fill inside and along the outside edge with satin stitches guided by that outline. The simple tools, back stitch for outlining and satin stitches for filling, paired with gentle, even tension and controlled stitch length, deliver clean edges and uniform density. By following this outline-first workflow step by step, you can reproduce reliable satin fills across fabrics and designs, consistently reducing puckering and improving finish quality across projects.
Tension setup and testing plan for reliable satin fills
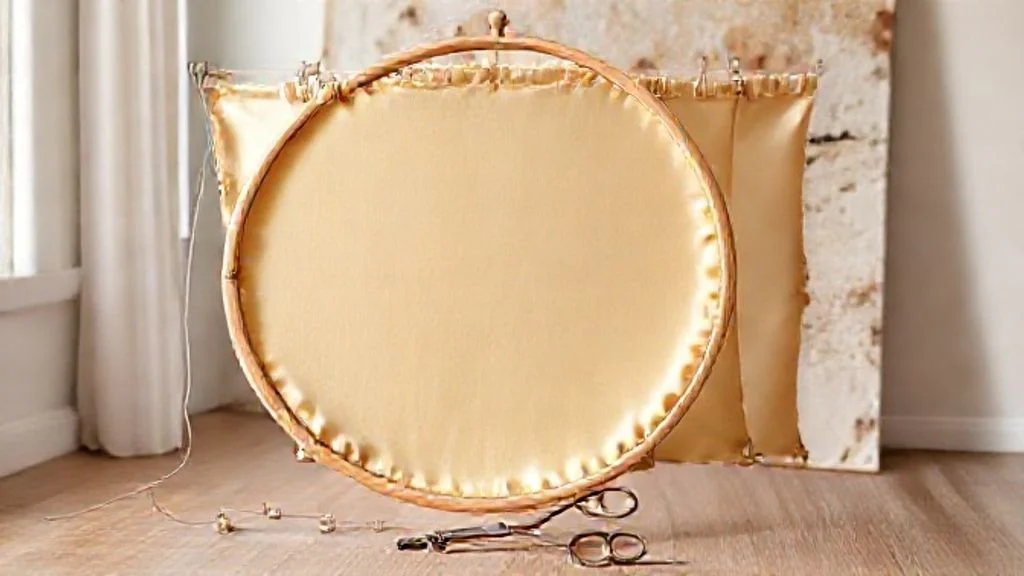
When satin stitches look crisp, it’s usually because the fabric is moved in a drum-like, evenly taut state and the thread experiences gentle, steady tension. This section outlines a practical, repeatable plan to determine the right tension for different fabrics and shapes, with a focus on achieving flat fills and clean edges. The embroidery market has been growing, with industry data indicating multi-billion dollar activity and ongoing interest in professional finishes driven by personalized textiles and small-batch production.
By testing on scraps and stabilizer combinations, you build a knowledge base that translates to consistent results on your final piece. You’ll document results to establish practical tension ranges, apply the best setting to the project, and keep notes for future work. The approach also highlights outlining with back stitches to guide fills and preserve edge neatness as you implement the final tension plan.
Drum-like tension and edge guidance
Begin with the hooped fabric held taut enough that the surface behaves like a drum when tapped, no slack, no sags. This drum-like baseline reduces fabric pull during stitching. Outline the shape with a back-stitch or light underlay to create a stable edge guide; a clean edge helps satin fills stay aligned and minimizes distortion around curves or sharp corners. Maintain steadily even thread tension across the outline and the fill passes to keep edges neat as you work.
Test on scrap fabric and stabilizer combos
Set up short satin fills on scrap samples that mirror the final fabric, vary fiber content, weave, and thickness. Test with different stabilizers (tear-away, cut-away, and wash-away where appropriate) to see how each affects distortion under satin fills. Run multiple passes to observe puckering, density, and thread breaks, noting which combinations yield the smoothest surface. This testing is your practical guide to real-world performance, not just theory.
Tension documentation: building ranges
Record the fabric type, weight, stabilizer choice, stitch density, and the top and bobbin tensions used for each test. Rate puckering on a simple scale and note any distortion around curves. Compile the data into a practical range for each fabric-stabilizer combination, aiming for a narrow band where the satin fill remains flat and edges stay crisp. Over time, these notes become your personal guideline for consistent results.
Applying final tension and note-taking
When you identify a reliable range, apply the central value to the final piece and adjust as needed for seam allowances or design complexity. Keep a project notebook with each fabric and stabilizer pairing, recording the exact tension settings and observed outcomes. Chunk large shapes into manageable areas to minimize distortion, then cross-check with an edge guide to ensure alignment remains true as you stitch.
- Chunk large shapes into sections to limit distortion during fills.
- Maintain edge guides with a light outline or back stitch for neat boundaries.
- Document every result to build a personal tension library for future projects.
Outline-first guidance to maintain edge neatness during fills
Use a deliberate outline pass to set the boundary, then fill with evenly spaced satin stitches that radiate from the outline. This approach helps keep edges straight through curves and reduces pull that can warp the fabric during dense fills. Returning to the outline after the fill can catch any drift and allow quick adjustment before finishing the piece.
How to Prevent Satin Stitch Puckering in Embroidery
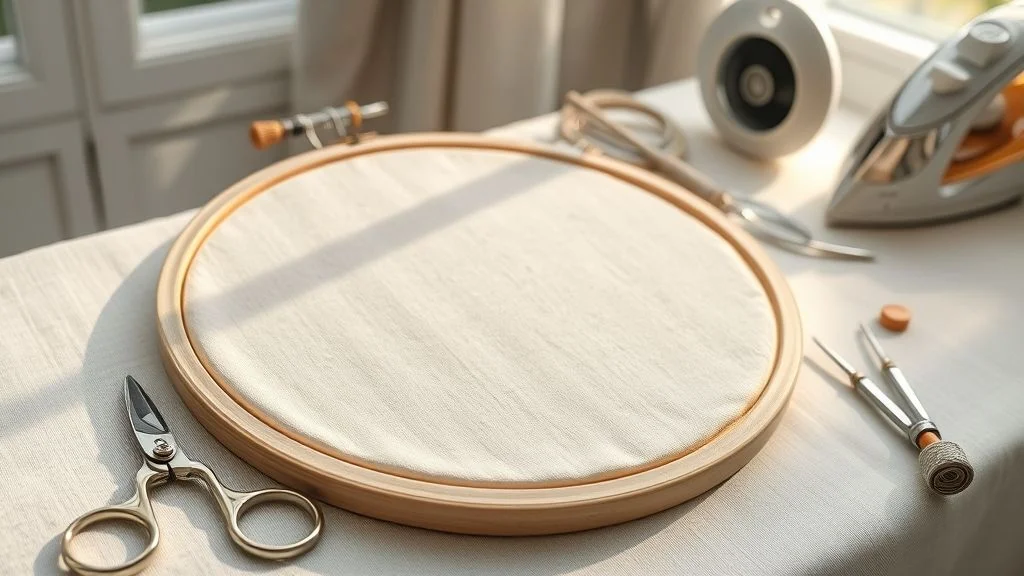
Satin stitching can deliver luxe, smooth fills, but puckering shows up when fabric shifts or stabilizers don’t provide the right support. This section lays out a practical, decision-driven approach: test stabilizer combinations with your fabric, evaluate tension alongside stabilization, and pair thread weight with satin density to keep edges neat and fills consistent. Keep a simple log so you can build a playbook for future projects.
In the wider embroidery market, activity and investment have grown steadily. Market analyses show the embroidery machine sector expanding from billions in 2024 toward a multi‑billion-dollar outlook by the mid‑2020s, signaling continued demand for reliable, stable satin fills. That context reinforces why a methodical testing routine matters: stabilizers and thread choices are often overlooked, and quantitative guidance on fabric-stabilizer combinations is scarce. A practical approach is to test different stabilizer types and fabrics together, then pair thread weight and satin density with the resulting edge neatness and fill consistency.
Stabilizers: test combinations with your fabric
Start with a scrap sandwich: fabric, hoop, stabilizer, then your satin fill. Try cut-away for dense fabrics or heavy fills, tear-away for lighter designs, and wash-away or water-soluble options for specialty surfaces. Run small test motifs that resemble your active area, then compare edge straightness, fabric dimpling, and fill uniformity. Document which combos give the cleanest edge and most even coverage; this becomes your go-to reference for similar projects.
Action steps:
- Hoop the fabric taut but not overstretched to avoid pre-wrinkling.
- Test 2–3 stabilizer types with the same satin density on the same fabric weight.
- Note edge neatness, stitch balance, and any distortion around outlines.
Fabric choice and tension: evaluate in tandem with stabilizers
Fabric stability and tension interact with backing to resist puckering. Weave, nap, and finish all influence how satin stitches land. For stretchy or loosely woven fabrics, lean toward firmer stabilization and lighter satin density; for tightly woven fabrics, you may get away with lighter stabilizer and slightly denser satin fills. Always test tension settings and hooping technique in parallel with stabilizer selection to minimize distortion.
Thread weight and satin density: pairing with stability
Thread diameter and satin stitch spacing directly affect edge cleanability. Heavier threads require careful density calibration to avoid crowding and show-through, while finer threads benefit from slightly increased density for solid coverage. Aim to match thread weight to fabric stability: the more stable the fabric+stabilizer system, the more forgiving you can be with satin density. Run quick density tests in your log and note which pairings deliver crisp outlines and smooth fills.
Document tested combos
Create a simple project log with fields like fabric type, stabilizer type, thread weight, satin density, and observed results. Use short notes to capture edge neatness and fill consistency. This living document informs future projects and reduces trial-and-error time on bigger satin fills.
Plan for larger satin areas
Reinforce large satin regions with additional stabilizer support and a deliberate outline strategy. Use a reinforced outline to anchor the fill, then apply a lighter underlying stabilizer to maintain fabric movement control. Consider underlay stitches to stabilize the base before satin fills, and document outcomes so you can repeat successful approaches on future large areas.
How to Prevent Satin Stitch Puckering in Embroidery
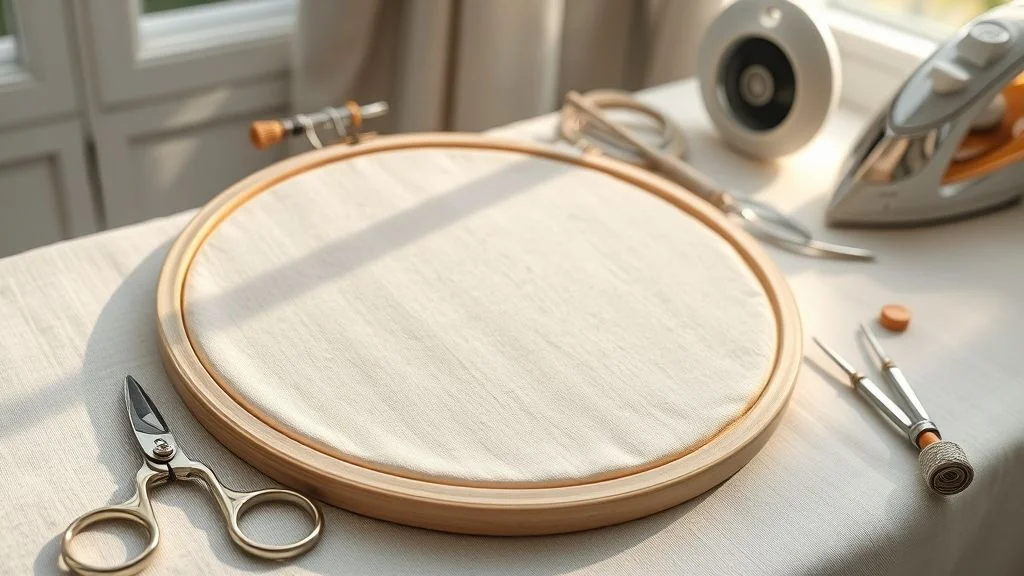
Satin fills are prized for their smooth, glossy coverage, but they’re especially susceptible to puckering and distortion when fabric tension shifts or stitch density is not balanced. Industry insights show the embroidery market remains dynamic, with continued interest in precision satin work and new machine features such as automatic tension regulation and smarter hooping options helping crafters achieve cleaner results. Keeping the process predictable, through stable fabric tension and controlled stitch length, gives you a reliable path to professional-looking fills.
At the core, puckering responds to consistent fabric tension and a measured approach to stitch length, while distortion often comes from stitching large shapes in one go. Outlining with a back stitch guides the satin fill and keeps edges neat, especially on curves or long runs. Working in smaller sections further reduces edge pull and helps you verify tension as you sew. These principles align with recent craft-industry guidance and practical tips shared by embroidery professionals.
Troubleshooting: puckering vs distortion and how to fix them
Identify the issue quickly: puckering appears as the fabric drawing tight along stitch lines, while distortion shows waviness or misalignment along the outline. When either occurs, re-check and increase fabric tautness and re-hoop, then adopt an outlining strategy to keep edges controlled. Use a back stitch to define the boundary before satin fills, and keep your thread tension gentle and even. If needed, adjust the needle and thread path to avoid grabbing the fabric.
- Re-hoop and re-tension: Loosened fabric in the hoop can trigger puckering. Re-hoop with the fabric taut and evenly positioned, then re-run a small test area to confirm stability.
- Outline with back stitch and re-stitch satin fills guided by that outline: Outline the shape with a back stitch to establish a precise edge path, then fill inside the outline with satin stitches that follow the guide. This helps edges stay neat and reduces wandering that can cause distortion.
- Maintain gentle, even thread tension: Keep upper and bobbin tensions balanced. If stitches appear loose or too tight, adjust tension slightly and verify the path of the needle to prevent snagging or pulling the fabric.
- Work in smaller sections to prevent large-area distortion: Divide long fills into 1–2 inch segments, stitching each segment before moving to the next to preserve alignment and reduce tissue shift.
- Compare edge neatness before and after tension adjustments: Visually assess the boundary and take note of improvements in crispness along the outline and along curved edges.
- Document what changes worked for future reference: Keep a simple log of fabric type, stabilizer, hoop size, stitch length, and tension settings so you can reproduce success on similar projects.
How to Prevent Puckering in Satin Stitch Embroidery
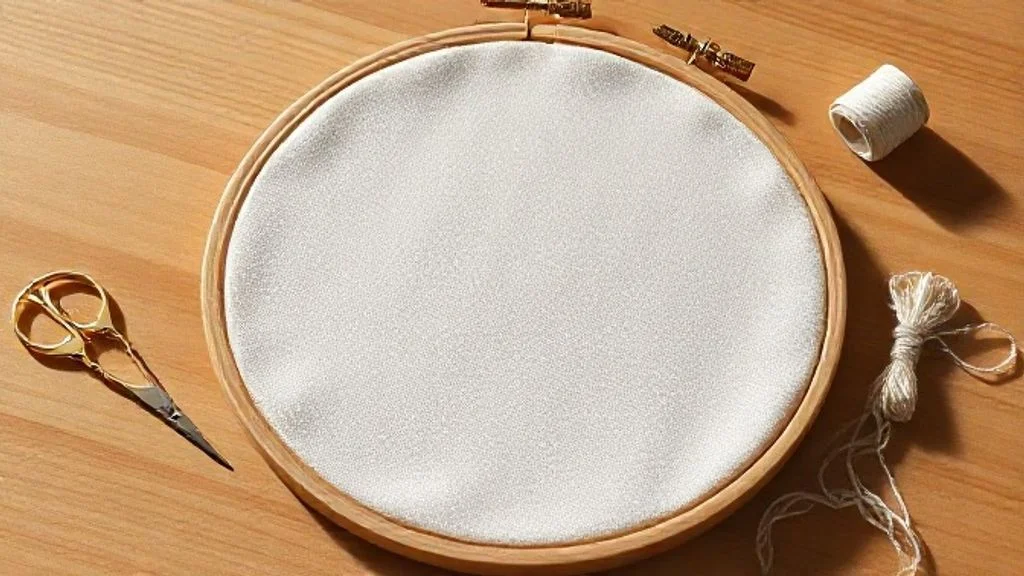
This section provides a ready-to-use, data-informed checklist and templates you can apply directly to satin stitch projects. The approach centers on outlining with a back stitch to guide fills and maintaining drum-tight fabric tension with gentle, even thread pull. Market analyses show steady growth in the embroidery sector, with 2024 estimates around $11.3B and forecasts suggesting continued expansion into the mid-to-high billions by the 2030s, underscoring the value of consistent, repeatable methods.
Use the quick-reference checklist as your project backbone, and rely on the templates to enforce outlining before filling. Recent guidance from industry resources emphasizes stable hooping, proper stabilizers, and controlled tension to prevent puckering, especially on delicate satins and smooth weaves where distortion is most visible.
Practical quick-reference checklist
Keep these items crisp and review them before and during stitching. Consistency across projects relies on disciplined setup and gentle, even tension.
- Ta ut fabric seating in hoop, taut but not overstretched
- Hoop secure and frame stable
- Back stitch outline completed before fill
- Satin fill guided by the outline
- Gentle, even thread tension across stitches
- Controlled stitch length to avoid dense puckers
Templates and workflow
Template 1: outline first with back stitch, then fill inside and along the outside edge. Template 2 (large shapes): break into smaller segments and outline first, then fill each segment to maintain consistent tension.
- Outline first with back stitch to define the boundary
- Fill inside the outline with satin stitches, following the boundary tease-free
- Finish by filling along the outside edge for clean contour
- For large shapes, divide into segments and outline each segment separately
- Fill each segment from inner to outer edges to keep fabric stable
Quality check and record-keeping
After filling, compare edges for uniformity and confirm stitches sit flush against the outline. Log a quick record: fabric type, stabilizer, hoop size, and tension settings used for future reference. This data-backed habit helps reproduce consistent results across projects.
How to Prevent Satin Stitch Puckering in Embroidery
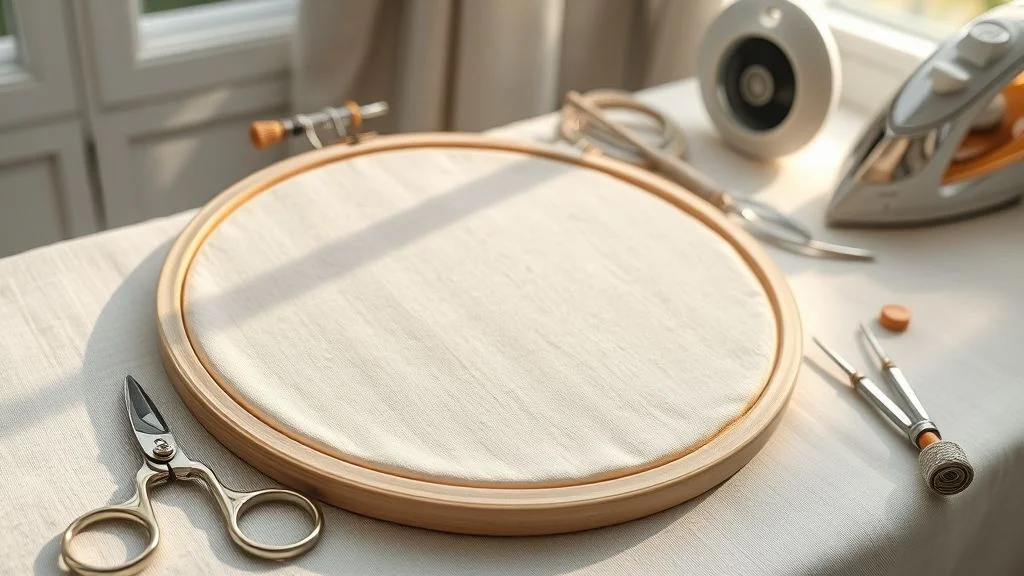
Satin stitch puckering can ruin a smooth, glossy fill. Practical results come from consistent fabric tension, thoughtful shaping, and deliberate stitch pacing. This FAQ focuses on quick, actionable steps you can apply right away to reduce distortion and keep edges neat.
Industry insights show embroidery is expanding, with customization driving demand for crisp stitches across fabrics and projects. That growth pairs with a growing emphasis on testing stabilizers, fabric combos, and tension at home to establish reliable practice ranges for satin fills. Implementing targeted tension checks and outline-guided fills helps you translate technique into consistent results.
What causes satin stitch puckering?
Puckering signals tension and control gaps in the process. The main factors are insufficient fabric tension, distortion on large shapes, and inconsistent stitch length across the fill. Addressing these three areas typically yields the biggest improvements.
Should I always outline first?
Yes. Outlining with a back stitch guides the fill and improves edge neatness, especially around curves or complex shapes. A strong outline helps the satin stitches sit evenly and reduces pull at the edges.
Do stabilizers matter?
Stabilizers play a crucial role, but guidance on exact combos is an area needing testing. The recommended approach is to test stabilizer/fabric pairings (cut-away, tear-away, or water-soluble) on scraps before committing to a full project. This helps you learn which backing best resists distortion for your fabric and design.
How do I test tension at home?
Use scrap fabric with your intended stabilizer. Hoop it tightly, stitch a small outline, then fill a tiny area. Compare the edges to the back for puckering or distortion. If you see pull, adjust top and bobbin tension gradually, and retest until both sides interlock smoothly.
What about large satin areas?
Break large fills into smaller segments and rely on a strong outline-guided fill. Segmenting reduces long runs that invite distortion and helps maintain uniform density across the shape.
Conclusion
This conclusion distills a repeatable, data-informed approach to satin stitching: outline with back stitches, keep fabric taut, gentle, even tension, and fill inside and along the outline.
Test fabrics and stabilizers on scraps, document results, and apply the best combination for cleaner edges.
- Outline first to define the shape
- Maintain fabric tautness to prevent shifting
- Use gentle, even thread tension for smooth fills
- Fill inside and along the outline with satin stitches
- Record results to build a reference
Try the outline-first method on a small scrap project today, document your tension and stabilizer choice, and share your results to build a practical reference for future satin fills.
Stitch with purpose, satin that looks calm, confident, and clean.