How to Master Tambour Embroidery for Stunning Beaded Designs in Weeks
This post contains affiliate links. As an Amazon Associate, Latest Embroidery earns from qualifying
purchases, at no extra cost to you. Learn more.
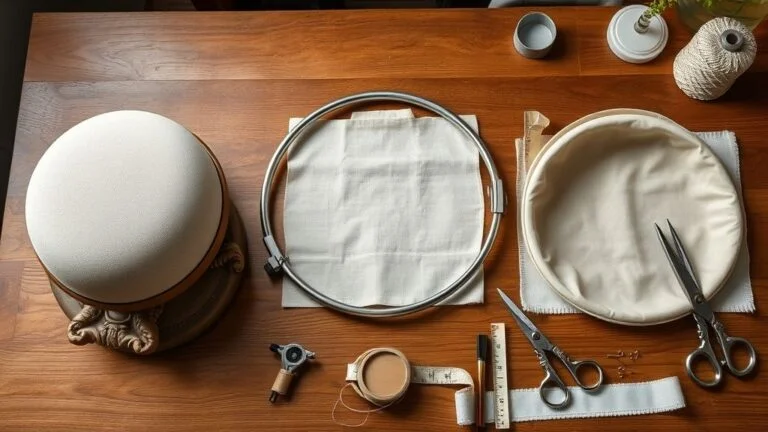
Your first tambour setup: a hook, securely supported fabric and thread. You do not need a large couture frame or a box of embellishments to try the basic movement.
- Hook: view the tambour-hook set on Amazon. Check the handle, included hook sizes and seller details; we have not hands-on tested this set.
- Hands-free support: reuse a hoop and stand if they hold the fabric securely. If you need one, browse hoop stands on Amazon and check whether the hoop is included.
- Practice fabric: start with a small piece, not a whole roll. Read the tambour fabric guide before browsing silk-organza cuts on Amazon.
Optional later: beads, sequins and specialist frames. The stand and fabric links are searches, not verified individual products. Check materials, dimensions and what the package actually includes.
Below are the setup, hook movement and beading considerations. Work on a small sample first, then use what you learn to choose supplies for a larger piece.
What is Tambour Embroidery and Why Is It So Popular?
Origins and Cultural Significance
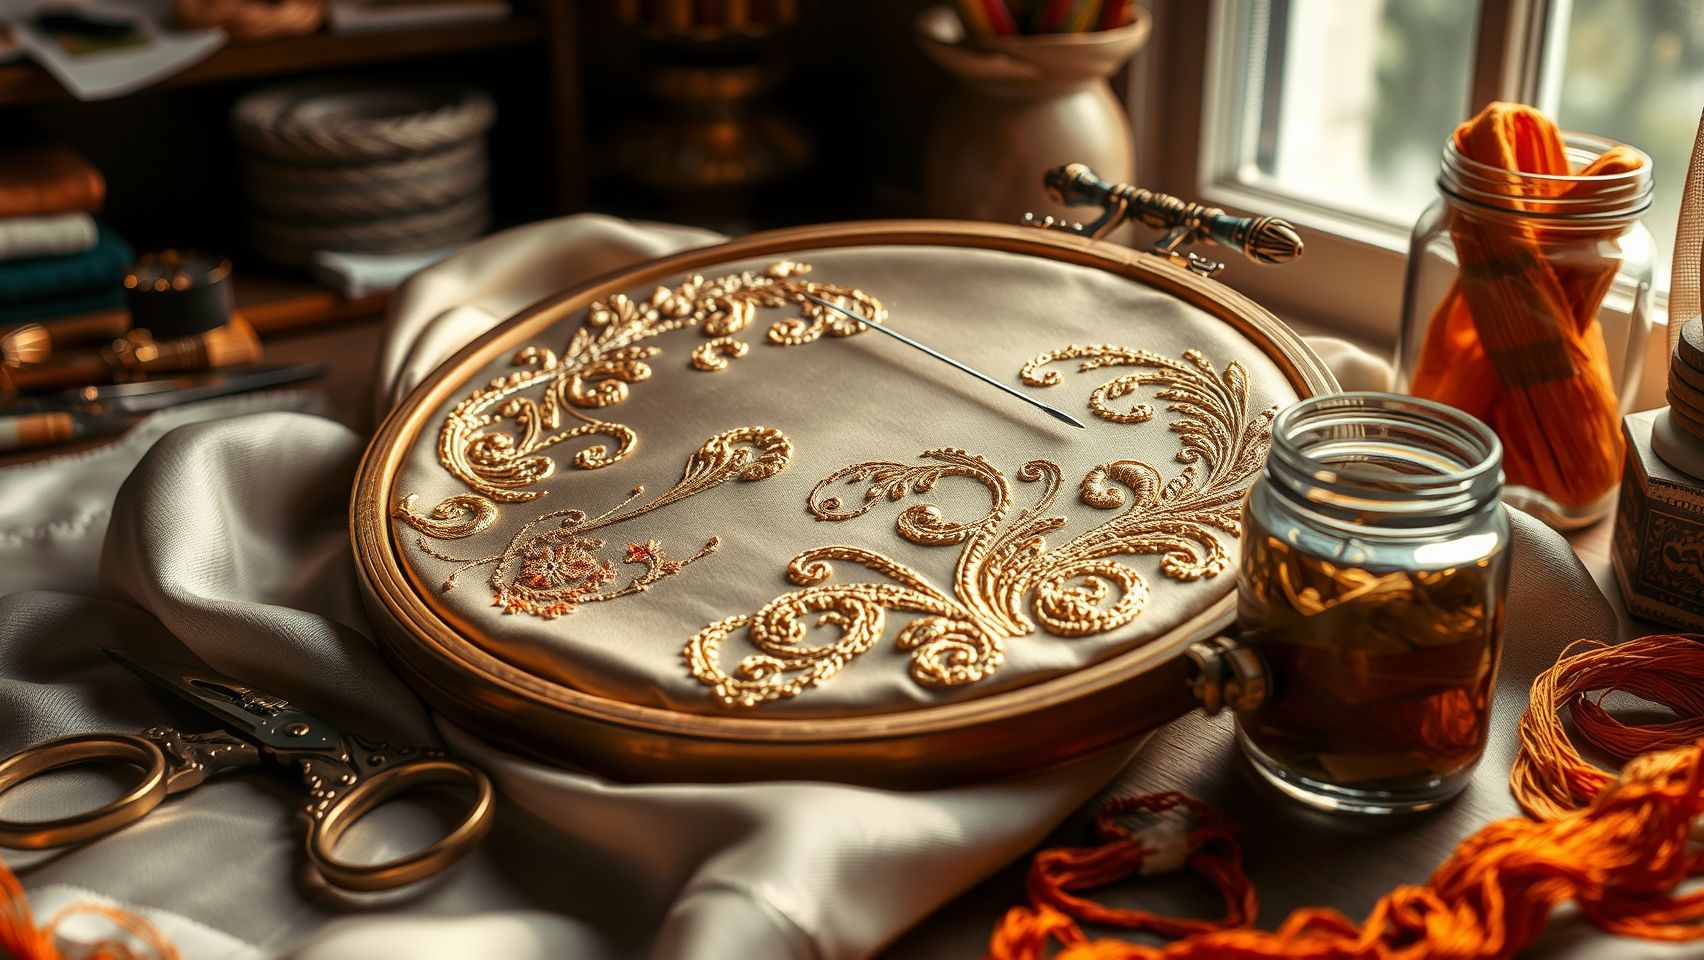
Tambour has a strong association with French couture, but it did not originate solely in eighteenth-century France. The Embroiderers’ Guild of America glossary describes a much older Asian tradition introduced into Europe around 1760. Its French name refers to a drum, reflecting the taut fabric used for the work.
Why Is Tambour Embroidery So Popular Today?
One continuous chain can form an outline or support decorative beadwork without treating every embellishment as a separate sewing task. Once the movement becomes comfortable, that can make repeated lines satisfying to work. The visual result suits costume details, bridal embellishments and small decorative projects alike.
You do not need a couture project to begin. A straight line, a curve and a small motif give you a manageable way to practise control before committing to a garment.
Step-by-Step Guide to Setting Up and Doing Tambour Embroidery
Related reading: the best fabric for tambour embroidery
Tambour embroidery is a sophisticated needlework technique renowned for its delicate, chain-like stitches that create intricate beadwork and embellishments. Mastering this craft involves a precise setup process and understanding the essential tools required to execute beautiful designs efficiently. Whether you are a beginner or looking to elevate your skills, a systematic approach will make your tambour embroidery experience smoother and more rewarding.
Set a practical first goal: a short, even chain on scrap fabric. Keep the hoop supported so both hands are free, and allow time to learn the movement before adding beads. Progress depends on practice and the materials, not a fixed deadline.
Selecting the Right Fabric and Hoop
The foundation of successful tambour embroidery is choosing a stable, smooth fabric that can support fine stitches and beads. Typically, medium-weight fabrics such as silk, taffeta, or fine cotton are favored because they provide sufficient support without sagging. Using a hoop ensures the fabric remains taut, preventing puckering and enabling precise stitch work.
A supported hoop can work for learning. Choose a size you can reach comfortably above and below, with room for your sample, and make sure the stand or clamp holds it securely. Mount the fabric taut and smooth without stretching it out of shape. A slate frame is an option for larger work, not a compulsory first purchase.
Choosing the Right Tools and Preparing Your Workspace
Use a pointed tambour hook and a handle that holds it securely. Hook sizing and suitability depend on the thread, fabric and technique; do not treat a generic millimetre chart as a universal buying rule. Follow the size recommendation in the lesson you are using and test the combination before ordering multiple sets.
Gather your beading thread, preferably lightweight and flexible thread such as polyester or nylon. Use a beading needle (size 11 or smaller) to thread your beads, threading small amounts at a time to avoid tangles. Prepare a small container of beads, seed beads in various sizes are popular for tambour embroidery, and slide just enough beads onto the thread for your immediate stitches.
Create a well-organized, well-lit workspace with a sturdy table. Good lighting is essential to see fine details clearly. Working on a steady surface allows for controlled, precise movements, reducing fatigue and errors. Optional tools like a magnifier can assist in detailed beadwork, especially for smaller beads or intricate patterns.
Executing Basic Tambour Stitches
Learn the chain without beads first. Keep one hand above the fabric holding the hook and the other underneath controlling the thread.
- Bring a starting loop of thread up through the fabric with the hook.
- Insert the hook a short distance along your intended line, keeping the previous loop on it.
- Catch the working thread below the fabric, turn the hook so it can withdraw without snagging, and draw the new loop up through the previous one.
- Repeat slowly, then practise the start and finish taught in the demonstration so the chain does not unravel.
See Casey Renee’s illustrated EGA lesson for the hook orientation and hand movement. Read the sequence alongside its pictures rather than guessing the rotation from a paragraph alone.
- If the hook snags, stop pulling and check its orientation, the thread and fabric tension.
- If the chains vary, slow down and practise on a straight guide line before a curve.
- If a bead does not fit the chosen technique, check the bead hole and tools; do not force it or assume a larger hook will fix it.
Tools and Equipment for Effective Tambour Embroidery
Mastering tambour embroidery requires selecting the right tools and equipment tailored to your skill level and project complexity. The quality and compatibility of your tools can significantly impact your precision, efficiency, and the overall finish of your beadwork. Understanding the differences among various hooks, hoops, threads, and safety practices is essential for achieving stunning results in a short time.
Essential Tools: Tambour Hooks and Comparison
Choose for the lesson and material combination, not an unsupported ranking of hook price or durability. Teacher Kat Klebenow’s tambour supply guide explains hook selection and notes that a hoop is acceptable for learning even when a slate frame is preferred for larger work.
| Item | What to check |
|---|---|
| Hook and handle | The hook fits the handle, the fixing holds securely, and its size suits your teacher’s thread/fabric recommendation. |
| Hoop or frame support | The fabric stays taut and both hands can work. A stand listing may not include the hoop. |
| Beads and thread | Test a small quantity together. Hole size, thread and the chosen beading method need to work as a combination. |
Compatible Hoops and Threads
Choosing the right hoop, wooden, plastic, or adjustable, can enhance your embroidery process by providing stability and ease of manipulation. Wooden hoops are sturdy and offer a traditional aesthetic, but plastic and adjustable hoops are lightweight and often easier to adjust for different project sizes and fabric tension.
Thread options include nylon monofilament, silk, and polyester, each with distinct characteristics. Nylon monofilament is exceptionally strong and transparent, making it suitable for beadwork that requires nearly invisible stitching. Silk offers a luxurious feel and flexibility for delicate embellishments, while polyester provides a good balance of strength, durability, and colorfastness.
Proper handling safety tips include always storing hooks in a secure case, keeping them out of reach of children, and using magnifiers if needed to prevent accidental pricks. Regular maintenance ensures your tools stay in optimal condition, contributing to cleaner stitches and reduced frustration during intricate work.
Optional tools like bead trays, needle forceps, appropriate lighting, and magnifiers can further facilitate efficient embroidery, especially for detailed bead placement and long hours of work. Investing in quality equipment aligned with your project scope ensures consistency and professional results in your tambour embroidery endeavors.
Creating Stunning Beaded Embellishments with Tambour
Tambour embroidery is a captivating technique that allows artisans to incorporate beads into fabric with remarkable precision and elegance. This method not only elevates the visual appeal of your projects but also unlocks a new realm of textures and patterns, making it ideal for creating intricate, beaded embellishments on garments, accessories, or art pieces. Start with a small motif so you can judge the weight and spacing of the beads before embellishing a finished garment.
To start, it’s essential to plan your design thoroughly. Whether you’re envisioning a delicate floral pattern or bold geometric motifs, your success depends on thoughtful preparation and understanding of the beading process. This section will guide you through designing with beads, choosing the right supplies, and executing consistent stitches to produce stunning, textured effects. Experimentation is encouraged, each project is an opportunity to refine your technique and develop your artistic style.
Design Planning for Beaded Tambour Embellishments
Before beginning to stitch, sketch your pattern on paper or transfer it directly onto fabric using water-soluble markers or tracing paper. Clear outlines help you visualize placement and scale, ensuring uniformity across your design. Many experienced embroiderers recommend creating a detailed template to follow, especially when working with complex motifs or multiple bead colors. This proactive step minimizes mistakes and keeps your workflow smooth.
For intricate patterns, consider segmenting your design into sections. This approach allows you to focus on one area at a time, keeping tension even and stitch lengths consistent. Remember, precision in initial planning translates into a more polished final product, with evenly spaced beads and harmonious textures.
Selecting Beads and Color Coordination
Choosing the right beads is critical for achieving the desired pattern and texture. Seed beads in sizes 8-11 are most commonly used for tambour embroidery, offering a balance between delicacy and durability. Size 11 beads are ideal for finer details, while size 8 beads can be used to add bulk and texture. When selecting beads, consider the overall color scheme and contrast; coordinating bead colors with your fabric enhances visual interest and depth.
Pro tip: Use a color wheel to find complementary or analogous colors that harmonize with your fabric background. Incorporate metallic beads or shimmering finishes to add luminescence and richness to your design, creating a dynamic play of light and shadow.
Executing Beaded Embellishments with Consistency
Beads can be added using different tambour workflows. Follow one complete lesson rather than mixing top-fed and pre-strung underside techniques. For pre-strung underside work, beads are threaded first and brought into position below the fabric as the chain secures them; the beads are not pulled through the cloth with the hook.
Practise a short beaded line, turn the work over and inspect the spacing before continuing. If the line is loose or the fabric distorts, adjust the small sample rather than pulling harder on a long completed section.
Tips for Maintaining Uniform Stitching and Troubleshooting
Choose bead spacing to suit the bead and pattern instead of a universal “two-bead” stitch length. Use good lighting, stop when you cannot see the hook clearly and review the demonstration if the motion feels forced. Recording your own hands can help you notice changes in angle or tension.
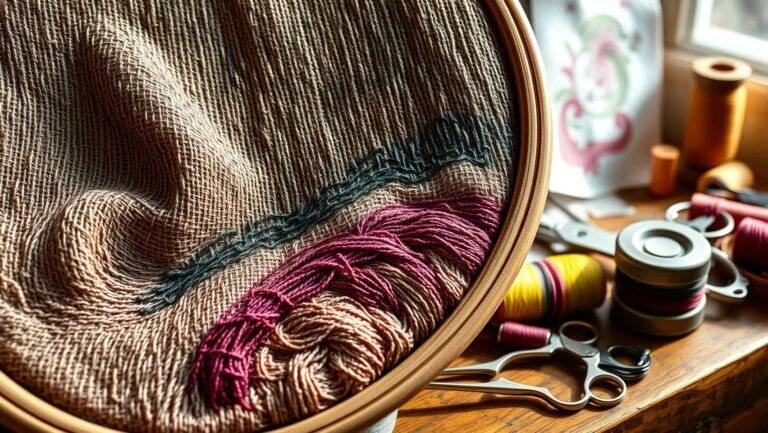
For further demonstrations and material choices, see Kat Makes’ learning resources. The illustrations on this article are not evidence that we tested the linked supplies or stitched the pictured projects.
Cost, Time, and Practical Tips for Tambour Embroidery Success
Embarking on tambour embroidery can be an exciting and rewarding craft, but understanding the practical aspects of cost and time investment is essential for beginners and experienced crafters alike. With a handful of basic supplies and some strategic planning, you can create stunning beaded designs within realistic timeframes and budget constraints.
Estimated Cost
Price the small setup you actually need: one usable hook/handle, fabric, thread and a way to support the hoop. Add delivery charges and check whether kits include the stand or just the hoop. Reusing suitable supplies and testing a small fabric cut can avoid unnecessary purchases. We do not claim a fixed starter-kit price.
Time Estimates for Projects
Begin with a short practice session and a small motif. Count preparation and finishing time as well as stitching, and use that sample to judge a larger project’s workload. A weekly practice plan can be useful, but the complexity of a design and your experience determine the time needed.
Practical Tips for Efficiency and Safety
To speed up your tambour embroidery workflow, organize your tools methodically, use small containers for beads and threads, and keep your hook handle easily accessible. Batch beading across multiple projects simultaneously, which minimizes setup time and improves speed. Ensure your workspace is ergonomically arranged to prevent fatigue, especially during longer sessions. For safety, always handle sharp hooks with care, work in well-lit areas, and store tools in protective cases when not in use. Following safety protocols discourages injuries and prolongs the lifespan of your tools.
Additional resources, such as digital tutorials on platforms like YouTube or Instagram reels, are invaluable for accelerating learning curves. Visual guidance helps troubleshoot common issues, refine technique, and explore new design ideas quickly. Use tutorials to improve one movement at a time, and judge progress by your sample rather than a promised number of weeks.
Best Fabric for Tambour Embroidery
A translucent practice fabric can make it easier to see the working thread, but tambour is not limited to sheers. The fabric needs to suit the hook, thread and weight of the embellishment. Check it on a small mounted sample before planning a large design.
For a closer look at organza, netting and opaque cloth, use the fabric selection and small-cut buying guide. Tulle is a net, not a tightly woven fabric, and a hoop is not automatically unsuitable: the support and tension matter.
Frequently Asked Questions
What fabric is best for tambour embroidery?
A translucent practice fabric such as organza can help you see the thread. Other fabrics can work too; match the hook and thread to the cloth and test whether it supports the planned beadwork. Mount it taut without distorting it.
Do you need a special frame for tambour embroidery?
No special slate frame is required to start. A securely supported hoop can leave both hands free, with one above the fabric and one below. A larger frame may be useful later for the size and weight of your project.
Is tambour embroidery hard to learn?
The hook movement takes practice. Start with a thread-only chain and work slowly before adding beads. A stable setup helps, but the time needed varies; this guide does not guarantee mastery in a few sessions or weeks.
Conclusion
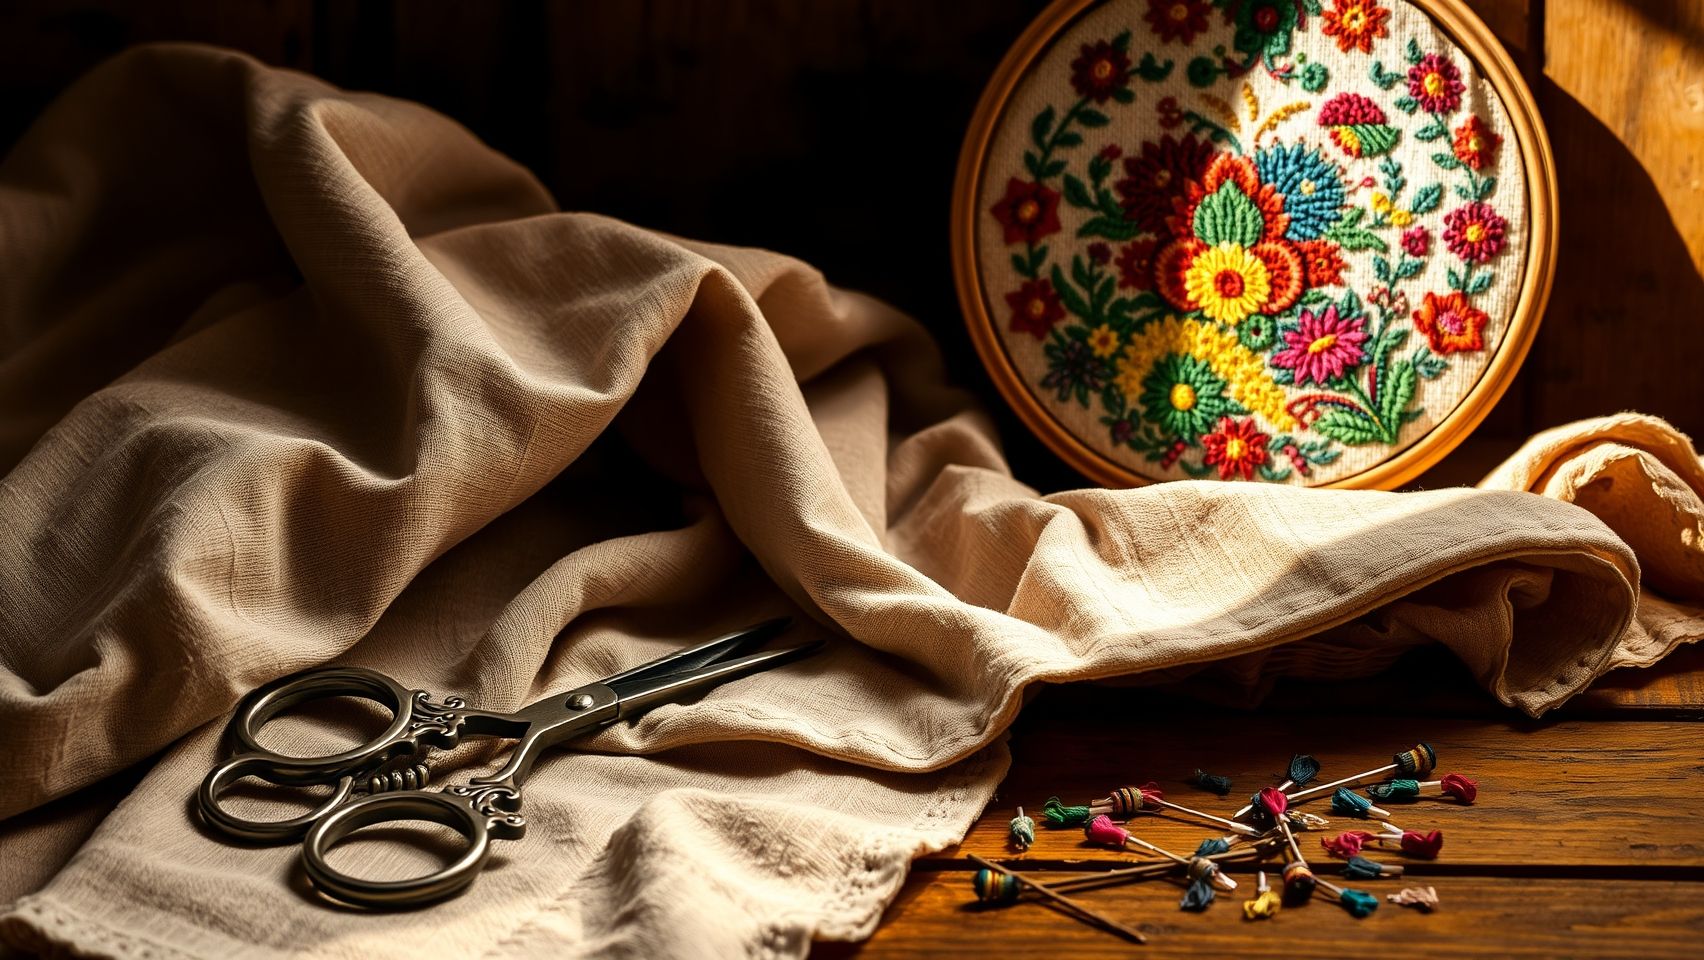
Mastering tambour embroidery seamlessly blends historical elegance with contemporary craft techniques, empowering you to create luxurious beaded designs with both precision and confidence. Throughout this journey, we’ve emphasized the importance of choosing the right tools, following clear step-by-step processes, and practicing regularly, key factors that transform simple fabrics into stunning works of art.
Recent trends in embroidery for 2024 highlight an exciting surge of creativity driven by innovations such as detailed beadwork and modern designs. Staying updated with these developments ensures your projects remain fresh and inspired, elevating your craftsmanship to new heights.
Now is the perfect moment to embrace this beautiful art form. Start your first tambour project today using our recommended tools and tutorials. Don’t forget to share your progress on social media, join the vibrant embroidery community and be inspired by others’ work. Enjoy the creative process, and watch your skills flourish into stunning masterpieces that reflect your unique style!
Remember, every stitch brings you closer to mastery. Your embroidery adventure begins now, happy stitching!
Free: 12 Essential Hand Embroidery Stitches
A printable illustrated cheat sheet of the 12 core stitches every embroiderer should know. Instant PDF.
No spam. One-click unsubscribe.