Stitch Your Sole DIY Embroidered Sneakers Guide
Sneakers have transcended their athletic origins to become a staple in modern wardrobes. They’re comfortable, versatile, and, frankly, a little ubiquitous. But what if you could transform a basic pair of kicks into a wearable work of art? Enter the world of DIY embroidered sneakers! This project allows you to inject your personality and creativity into your footwear, creating a truly one-of-a-kind statement piece. Imagine sporting sneakers adorned with intricate floral designs, bold geometric patterns, or even quirky, personalized motifs. Embroidery elevates the humble sneaker from everyday wear to a reflection of your unique style. It’s more than just a craft; it’s an opportunity to express yourself with every step you take.
In this comprehensive guide, we’ll walk you through the exciting process of embroidering your own sneakers. From selecting the right materials and preparing your shoes to mastering basic embroidery stitches and bringing your design to life, we’ll cover every essential step. We’ll also delve into helpful tips and tricks to ensure a successful and satisfying crafting experience. So, grab your sneakers, gather your embroidery supplies, and get ready to embark on a creative journey that will transform your footwear and your wardrobe!
Choosing Your Sneakers and Embroidery Design
The foundation of any successful DIY project is careful preparation. When it comes to embroidered sneakers, this starts with selecting the right pair of shoes and a design that complements them. The type of sneaker material will significantly impact the ease and outcome of your embroidery. Canvas sneakers are generally the easiest to work with due to their looser weave and durability. Leather or synthetic leather sneakers can also be embroidered, but require more specialized needles and techniques. Avoid overly textured or waterproof materials, as they can be difficult to penetrate with a needle.
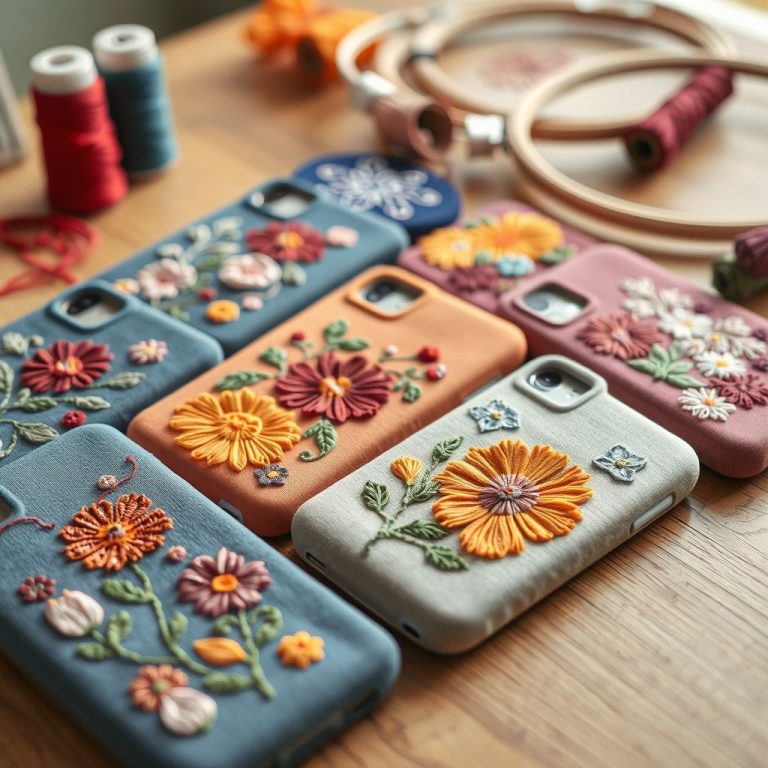
Consider the style of your sneakers when choosing a design. A minimalist design might be perfect for a sleek, modern sneaker, while a more elaborate pattern could be ideal for a classic canvas shoe. Think about your personal style and the colors you enjoy wearing. Do you prefer delicate floral motifs, bold geometric shapes, or whimsical character designs? The possibilities are endless! Before you start stitching, sketch your design onto paper or directly onto the sneakers using a water-soluble marker. This will give you a clear roadmap to follow and prevent any unexpected surprises. Don’t be afraid to draw inspiration from existing embroidery patterns or create your own unique artwork. Remember that less is often more, especially for your first project. Start with a simple design and gradually increase the complexity as you gain confidence and experience. Finding inspiration is easier than ever these days and maybe this upcycling embroidery guide will give you some inspiration.
Remember to consider the placement of your design. Common areas for embroidery include the sides of the sneakers, the tongues, or even the heel counters. Think about how the design will look when you’re wearing the shoes and how it will interact with the overall silhouette. Also, consider the structure of the shoe. Embroidering over areas with thick seams or reinforcements can be challenging, so plan your design accordingly.
Gathering Your Embroidery Supplies
Once you’ve chosen your sneakers and finalized your design, it’s time to gather your embroidery supplies. Having the right tools on hand will make the process smoother and more enjoyable. Here’s a list of essential items you’ll need:
- Embroidery needles: Choose needles with sharp points and large eyes to accommodate embroidery floss. A variety pack with different sizes is a good investment.
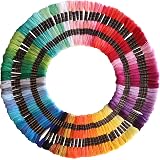
- Embroidery floss: Select high-quality floss in colors that complement your design and sneakers. Cotton floss is a popular choice, but you can also experiment with silk or metallic threads.
- Embroidery hoop: While not always necessary for sneakers, a small embroidery hoop can help to stabilize the fabric and prevent puckering. Choose a hoop that fits comfortably around the area you’ll be embroidering.
- Water-soluble marker: Use this to transfer your design onto the sneakers. The marker will disappear when exposed to water.
- Scissors: Sharp embroidery scissors are essential for trimming floss and making clean cuts.
- Thimble: A thimble will protect your fingers from the needle as you stitch through the sneaker material.
- Seam ripper: A seam ripper can be handy for removing any mistakes or unwanted stitches.
- Pencil or pen: For sketching your design onto paper before transferring it to the sneakers.
- Optional: Stabilizer: A stabilizer, such as a fusible interfacing, can be added to the inside of the sneaker to give it more stability while you embroider it.
Investing in quality embroidery supplies will not only make your project easier but will also ensure a more professional-looking result. Don’t skimp on the floss or needles, as cheaper alternatives can be more prone to breakage or fraying. Taking the time to gather the right tools will set you up for success and allow you to focus on the creative aspects of the project.
Preparing Your Sneakers for Embroidery
Before you start stitching, it’s crucial to properly prepare your sneakers. This will ensure that your embroidery looks its best and that your shoes remain in good condition. First, clean your sneakers thoroughly to remove any dirt or debris. Use a damp cloth and mild soap to gently wipe down the surface. Allow the shoes to dry completely before proceeding.
Next, transfer your design onto the sneakers using a water-soluble marker. If you’re using a pre-printed pattern, you can trace it directly onto the fabric. If you’ve created your own design, sketch it onto paper first and then transfer it using tracing paper or a light box. Be sure to position the design carefully and make sure it’s aligned correctly. Once you’re happy with the placement, go over the lines with the water-soluble marker to make them clear and visible. “Proper preparation prevents poor performance” so take your time to make sure that you are happy with the tracing you do.
If you’re using an embroidery hoop, position it around the area you’ll be embroidering. Be careful not to stretch the fabric too tightly, as this can distort the shape of the sneakers. If you’re not using a hoop, you can use your fingers to hold the fabric taut as you stitch. For added stability, consider using a piece of fusible interfacing on the inside of the sneaker. This will provide a firm surface to stitch through and prevent the fabric from puckering. Cut a piece of interfacing slightly larger than your design and iron it onto the inside of the sneaker, following the manufacturer’s instructions.
Preparing your sneakers properly may seem like a tedious task, but it’s an essential step in the embroidery process. Taking the time to clean, transfer your design, and stabilize the fabric will ensure that your embroidery looks its best and that your sneakers remain in good condition.
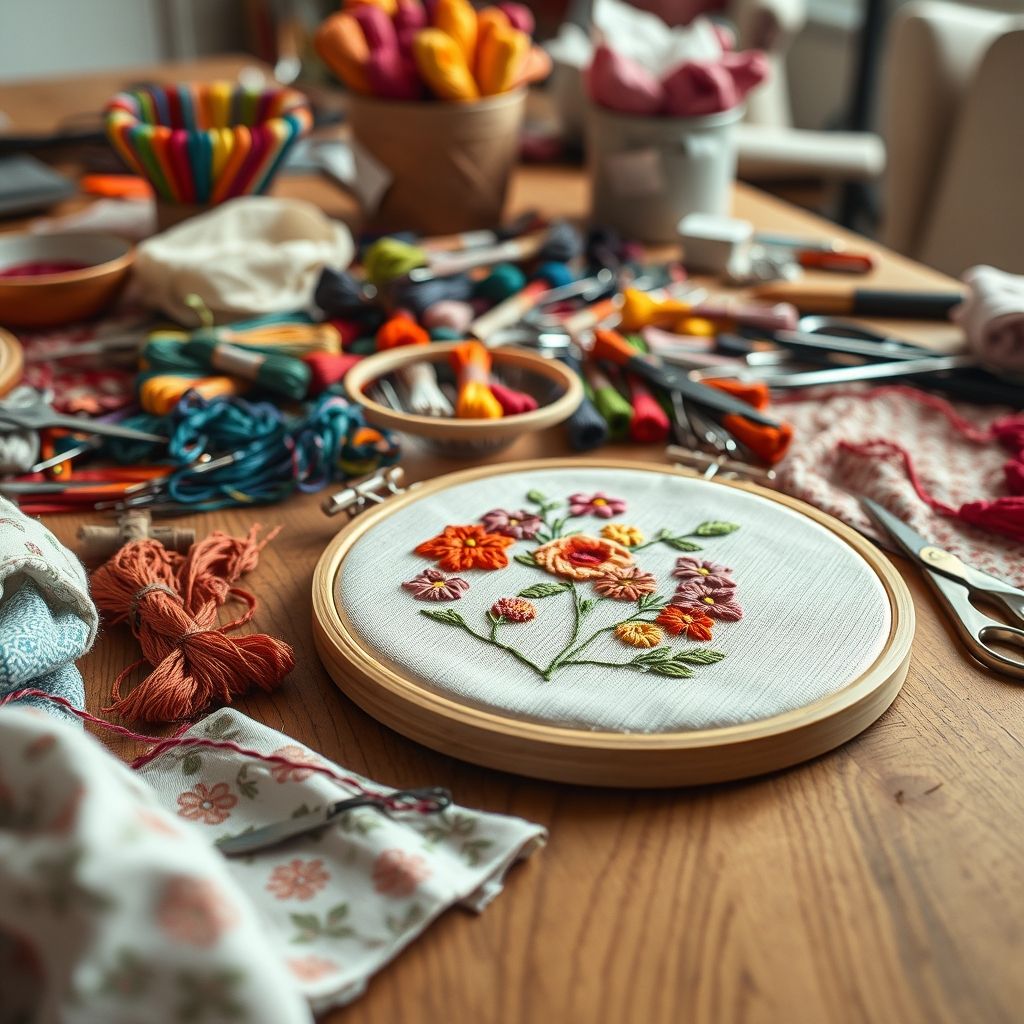
Mastering Basic Embroidery Stitches
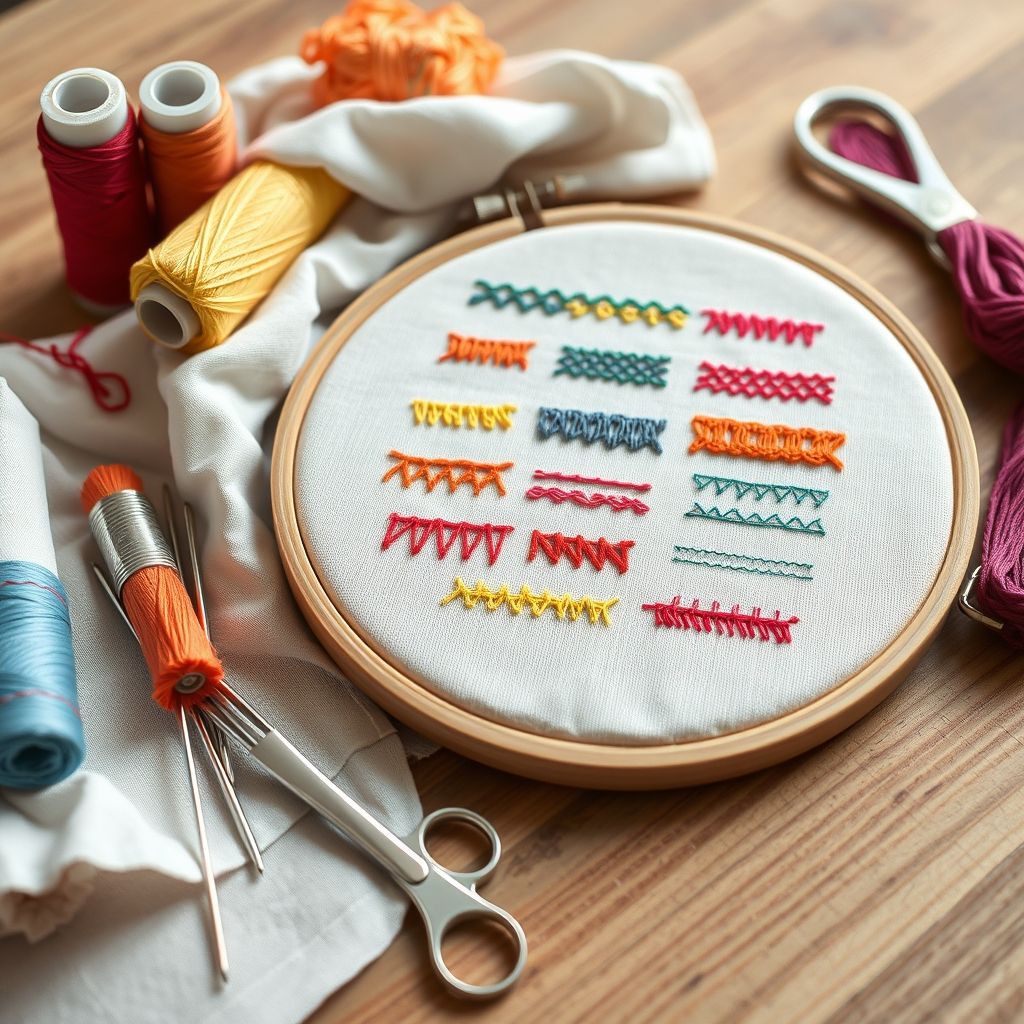
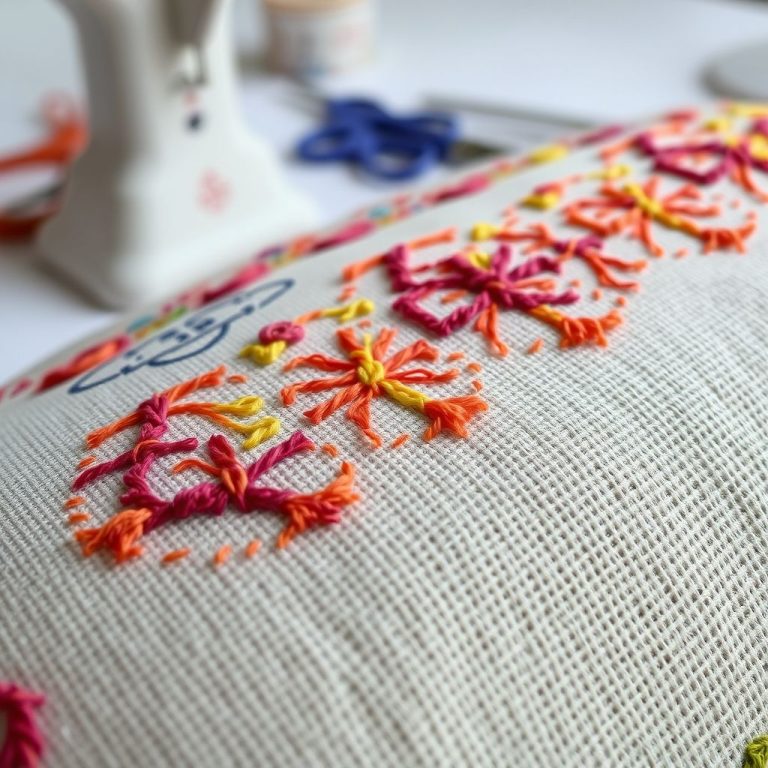
Embroidery is a craft that relies on a variety of stitches to create different textures and patterns. While there are many advanced embroidery techniques, mastering a few basic stitches is all you need to get started with your DIY embroidered sneakers. Here are a few essential stitches to learn:
- Running stitch: This is the simplest embroidery stitch, and it’s used for outlining shapes and creating dashed lines. To create a running stitch, simply bring the needle up through the fabric and then down again, creating a series of evenly spaced stitches.
- Back stitch: The back stitch is a stronger and more defined stitch than the running stitch, making it ideal for outlining and creating solid lines. To create a back stitch, bring the needle up through the fabric, then take it back down a short distance away. Bring the needle up again a short distance ahead of the first stitch, and then take it back down into the end of the previous stitch.
- Satin stitch: The satin stitch is used to fill in shapes with a smooth, solid color. To create a satin stitch, bring the needle up through the fabric on one side of the shape and then take it down on the other side. Repeat this process, keeping the stitches close together and parallel to each other.
- French knot: The French knot is a decorative stitch that creates a small, raised dot on the fabric. To create a French knot, bring the needle up through the fabric and then wrap the floss around the needle several times. Hold the floss taut and then insert the needle back into the fabric close to where it came out. Pull the floss through to create a knot.
- Stem stitch: This stitch is perfect for creating stems, vines, and curved lines. To create a stem stitch, bring the needle up through the fabric and then take it down a short distance away, angling the stitch slightly to the side. Bring the needle up again halfway between the first two stitches, and then take it down into the end of the previous stitch.
Practice these basic stitches on a scrap piece of fabric before you start working on your sneakers. Experiment with different floss colors and stitch lengths to see what effects you can create. Don’t be afraid to make mistakes! Embroidery is a skill that takes time and practice to master. As they say in this article, embracing the learning process is key to mastering embroidery. With patience and persistence, you’ll be creating beautiful embroidered sneakers in no time.
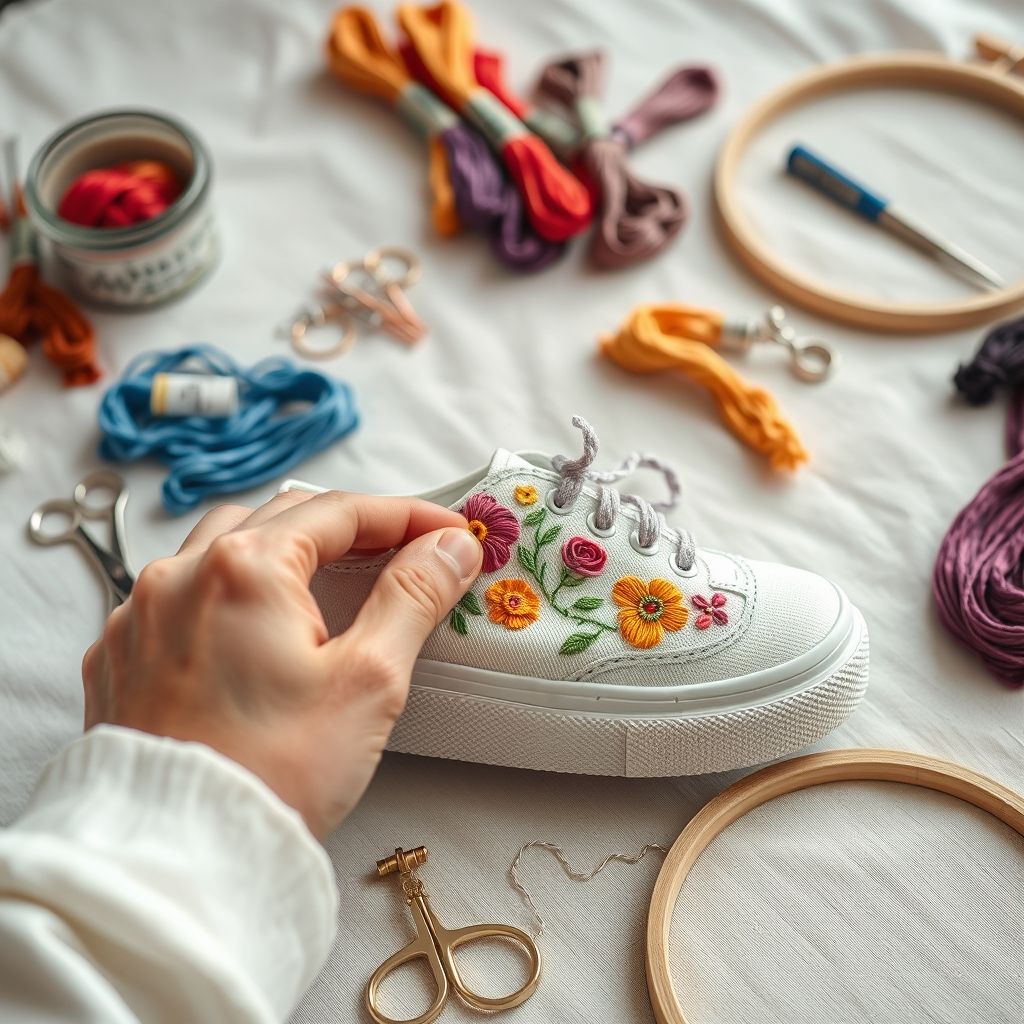
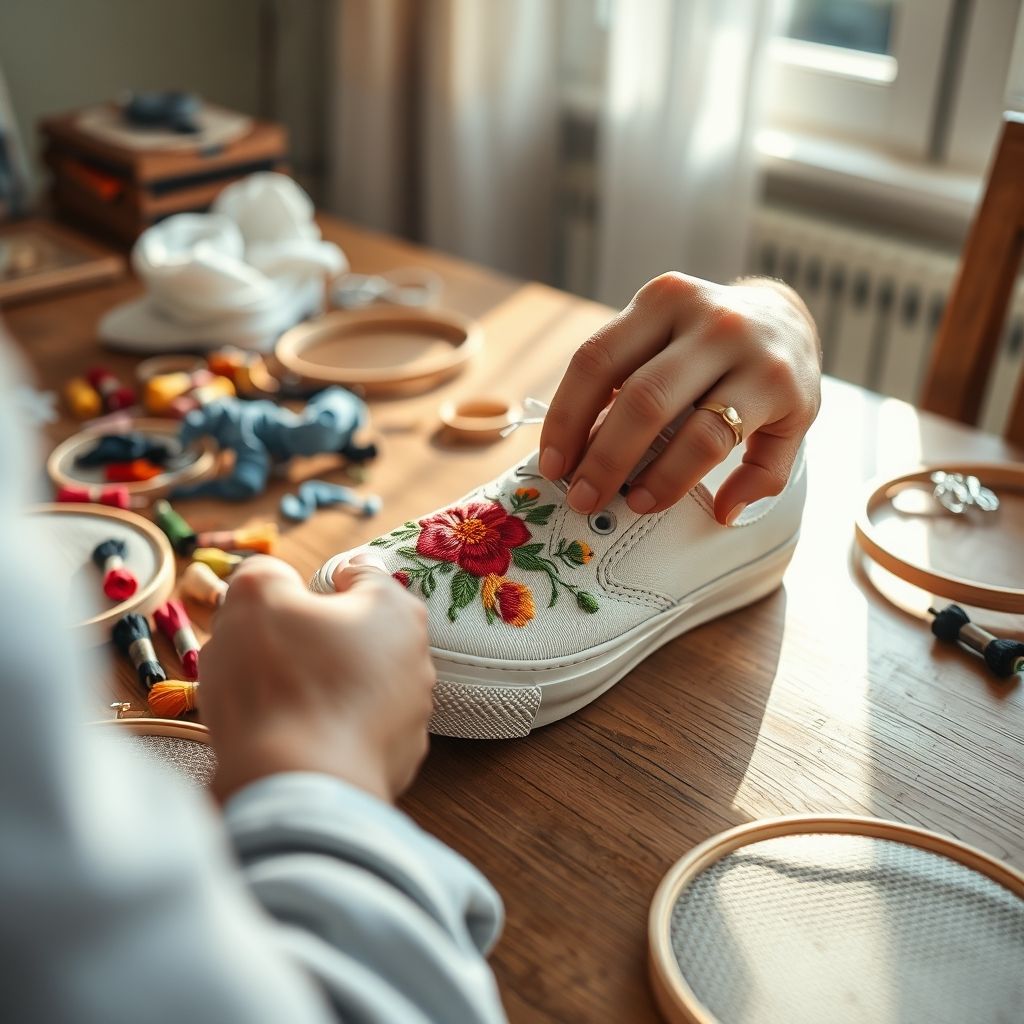
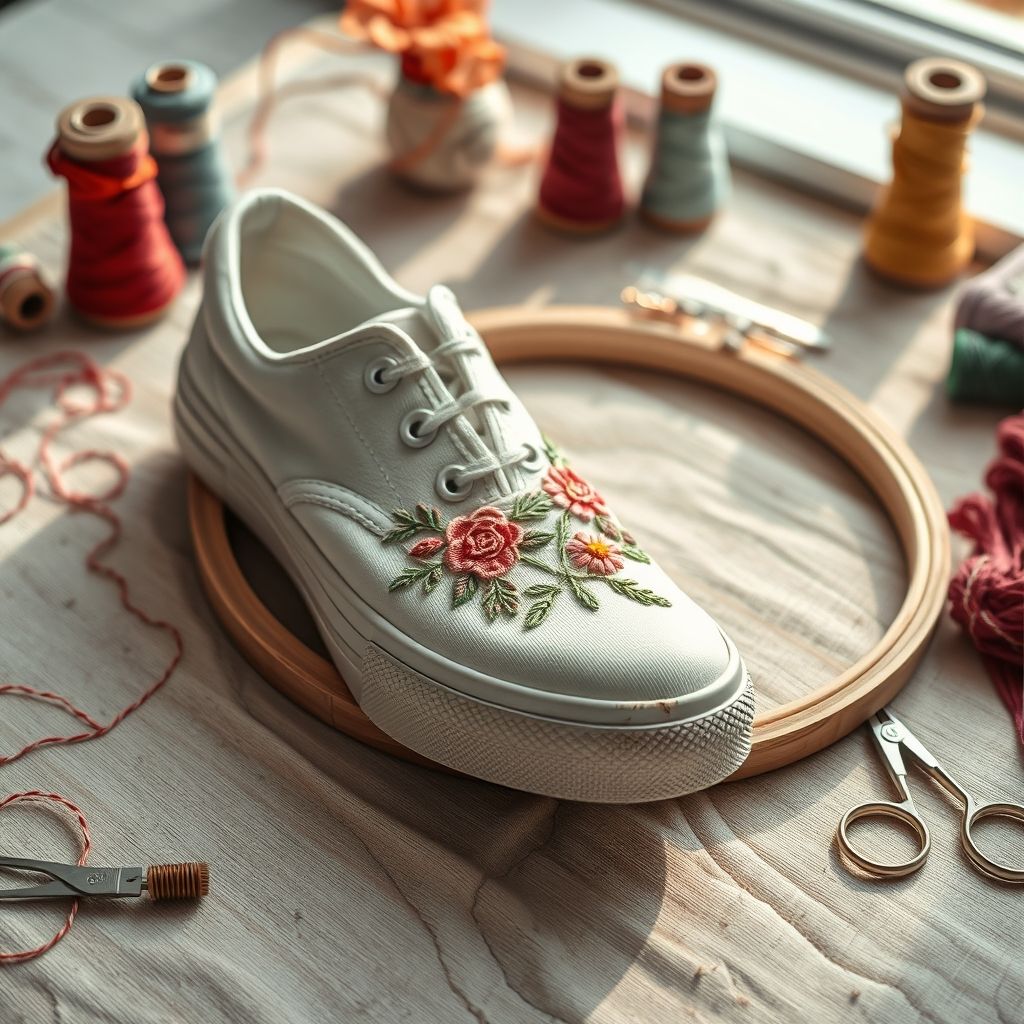
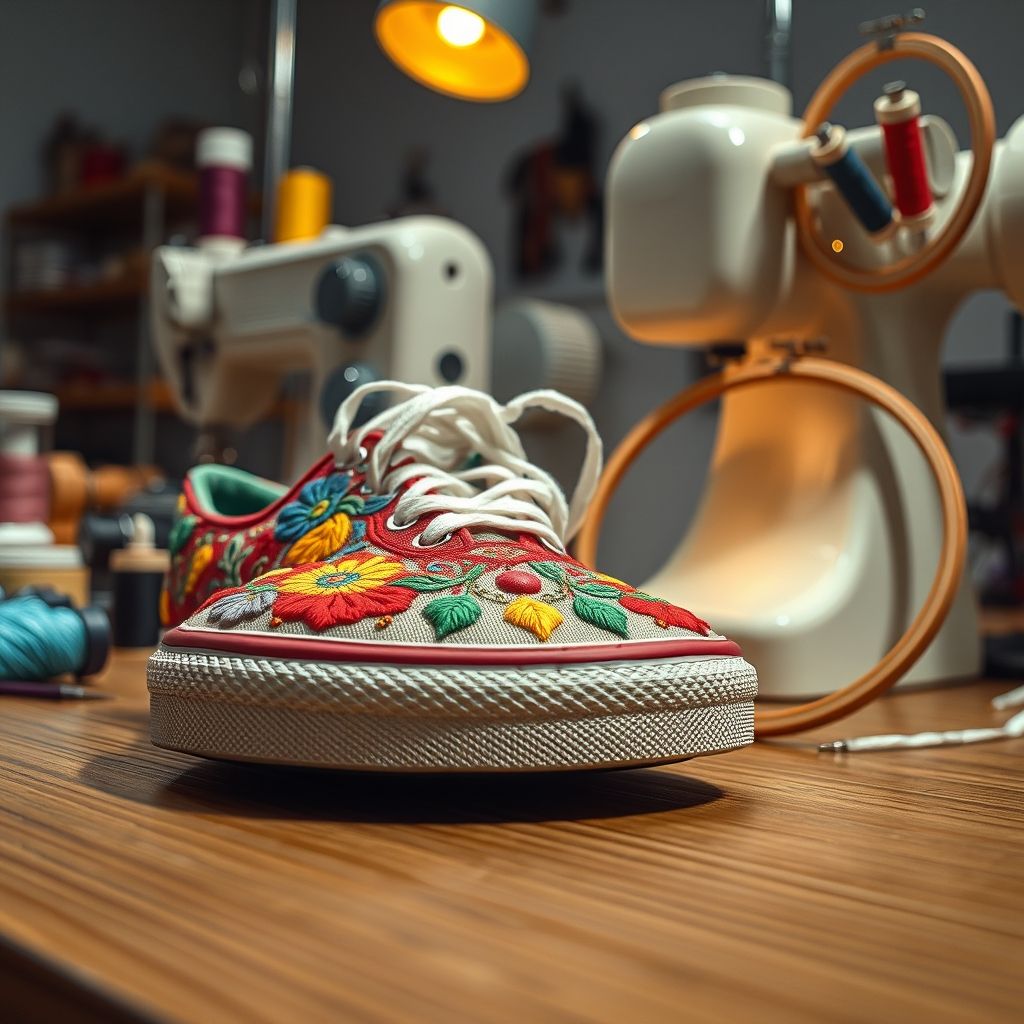
Embroidering Your Sneakers: Step-by-Step
Now that you’ve chosen your sneakers, gathered your supplies, and mastered the basic embroidery stitches, it’s time to bring your design to life! Here’s a step-by-step guide to embroidering your sneakers:
- Start with the outlines: Begin by outlining your design using a back stitch or stem stitch. This will define the shape and give you a clear boundary to work within.
- Fill in the details: Once you’ve completed the outlines, start filling in the details of your design using satin stitch, French knots, or other decorative stitches.
- Use a variety of colors and textures: Don’t be afraid to experiment with different floss colors and stitch types to create a visually interesting and dynamic design.
- Take your time: Embroidery is a slow and deliberate process. Don’t rush things, and take breaks when you need them.
- Pay attention to tension: Keep your stitches consistent and avoid pulling the floss too tightly, as this can distort the fabric.
- Secure your ends: When you’re finished with a section of embroidery, secure the ends of the floss by knotting them on the inside of the sneaker.
- Remove the water-soluble marker: Once you’ve completed your embroidery, gently dampen a cotton swab and use it to remove any visible lines from the water-soluble marker.
- Let it dry: Allow the sneakers to air dry completely before wearing them.
As you embroider, pay attention to the overall balance and composition of your design. Step back occasionally to assess your progress and make any necessary adjustments. Don’t be afraid to improvise or add your own personal touches. The beauty of DIY embroidery is that it’s a completely customizable art form. The right threads can truly make your design pop, so consider investing in some high-quality embroidery threads to give your creation that extra bit of flair:
New brothread - Single Huge Spool 5000M Each Polyester Embroidery Machine Thread 40WT for Commercial and Domestic Machines - Navy Blue (Janome Color)
$7.99 (as of May 28, 2025 05:48 GMT -04:00 - More infoProduct prices and availability are accurate as of the date/time indicated and are subject to change. Any price and availability information displayed on [relevant Amazon Site(s), as applicable] at the time of purchase will apply to the purchase of this product.)
Simthread 144pcs Embroidery Pre-Wound Bobbins Thread, Class 15 Type A Size SA156, Polyester White 60 wt, Bernina Pfaff Ambition BabyLock Brother Embroidery and Sewing Machines Plastic Side
$24.99 (as of May 27, 2025 05:24 GMT -04:00 - More infoProduct prices and availability are accurate as of the date/time indicated and are subject to change. Any price and availability information displayed on [relevant Amazon Site(s), as applicable] at the time of purchase will apply to the purchase of this product.)
72 PCS Sewing Thread Assortment, 36 Color Thread for Sewing Machine with 36 Same Color Bobbins, Polyester Thread 400 Yards/Spool (72)
$15.49 (as of May 28, 2025 05:48 GMT -04:00 - More infoProduct prices and availability are accurate as of the date/time indicated and are subject to change. Any price and availability information displayed on [relevant Amazon Site(s), as applicable] at the time of purchase will apply to the purchase of this product.)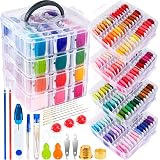
262 Pack Embroidery Thread Floss Kit Including 200 Colors 8 M/Pcs Cross Stitch Sewing Thread with Floss Bins and 62 Pcs Cross Stitch Tool,4-Tier Transparent Storage Box
$27.99 (as of May 28, 2025 05:48 GMT -04:00 - More infoProduct prices and availability are accurate as of the date/time indicated and are subject to change. Any price and availability information displayed on [relevant Amazon Site(s), as applicable] at the time of purchase will apply to the purchase of this product.)
Simthread 144 Prewound Bobbin Thread Size L 60WT (SA155) for Husqvarna Viking pfaff Creative Vision Embroidery Machines Plastic Side - White
$24.99 (as of May 27, 2025 05:24 GMT -04:00 - More infoProduct prices and availability are accurate as of the date/time indicated and are subject to change. Any price and availability information displayed on [relevant Amazon Site(s), as applicable] at the time of purchase will apply to the purchase of this product.)Tips and Tricks for Successful Sneaker Embroidery
Embroidery, especially on unconventional surfaces like sneakers, can present unique challenges. Here are some helpful tips and tricks to ensure a successful and enjoyable crafting experience:
- Use a smaller needle: When working with thicker sneaker materials, such as leather or synthetic leather, use a smaller needle to avoid damaging the fabric.
- Consider using a leather needle: Leather needles have a specially designed point that can easily penetrate leather without tearing it.
- Use pliers to pull the needle through: If you’re having trouble pulling the needle through the fabric, use a pair of pliers to gently grasp the needle and pull it through.
- Protect your fingers: Embroidering through thick materials can be hard on your fingers. Use a thimble or finger protectors to prevent blisters and soreness.
- Work in good lighting: Good lighting is essential for seeing the details of your design and avoiding mistakes.
- Take breaks: Embroidering can be tiring, especially for your hands and eyes. Take frequent breaks to stretch and rest.
- Don’t be afraid to experiment: Try different stitches, colors, and materials to create unique and personalized designs.
- Learn how to make your own embroidered patches: You can create patches and attach them to your shoes. Here is a DIY embroidered patch guide for you to check out.
Remember that practice makes perfect. The more you embroider, the better you’ll become at it. Don’t get discouraged if your first attempt isn’t perfect. Learn from your mistakes and keep experimenting until you achieve the results you’re looking for. With a little patience and perseverance, you’ll be creating stunning embroidered sneakers that will turn heads wherever you go.
Caring for Your Embroidered Sneakers
Once you’ve poured your heart and soul into creating your beautiful embroidered sneakers, it’s important to take proper care of them to ensure they last for years to come. Here are some tips for caring for your embroidered sneakers:
- Spot clean only: Avoid washing your embroidered sneakers in the washing machine, as this can damage the embroidery and the shoes themselves. Instead, spot clean any dirt or stains with a damp cloth and mild soap.
- Avoid harsh chemicals: Do not use bleach or other harsh chemicals to clean your embroidered sneakers, as these can fade the colors of the floss and damage the fabric.
- Air dry only: Do not put your embroidered sneakers in the dryer, as the heat can shrink the fabric and damage the embroidery. Instead, allow them to air dry completely in a well-ventilated area.
- Protect from sunlight: Prolonged exposure to sunlight can fade the colors of the floss. Store your embroidered sneakers in a cool, dark place when you’re not wearing them.
- Avoid wearing in extreme weather: While your embroidered sneakers are durable, it’s best to avoid wearing them in extreme weather conditions, such as heavy rain or snow.
- Consider using a fabric protector spray: A fabric protector spray can help to repel water and stains, keeping your embroidered sneakers looking their best.
By following these simple care tips, you can extend the life of your embroidered sneakers and enjoy them for years to come. Remember that each pair of embroidered sneakers is a unique work of art, so treat them with the care and respect they deserve.
Conclusion: Step Out in Style
DIY embroidered sneakers are more than just a fun craft project; they’re a powerful form of self-expression. By adding your own personal touch to a basic pair of shoes, you can create a unique and eye-catching statement piece that reflects your individual style. Throughout this guide, we’ve explored the essential steps involved in creating your own embroidered sneakers, from choosing the right materials and preparing your shoes to mastering basic embroidery stitches and caring for your finished product. Remember that patience, practice, and a willingness to experiment are key to success. Don’t be afraid to try new things, make mistakes, and learn from your experiences. The more you embroider, the better you’ll become at it, and the more confident you’ll feel in your ability to create truly stunning and personalized designs.
The possibilities are endless when it comes to embroidered sneakers. You can create intricate floral patterns, bold geometric shapes, whimsical character designs, or even personalized monograms. Whether you’re looking to add a touch of personality to your everyday wardrobe or create a unique gift for a friend or loved one, embroidered sneakers are a perfect choice. As mentioned before, embroidery is a wonderful way to upcycle your wardrobe, so you could apply the techniques you learned in this article to other items in your closet as well. As you step out in style with your newly crafted footwear, remember that you’re not just wearing sneakers; you’re wearing a piece of art, a reflection of your creativity, and a testament to your unique personality. So, embrace the joy of DIY embroidery, unleash your inner artist, and create sneakers that truly shine.
122 skeins Embroidery Floss - Embroidery Thread - Friendship Bracelet String for Cross Stitch, Hand Embroidery, String Art
$9.99 (as of May 28, 2025 05:48 GMT -04:00 - More infoProduct prices and availability are accurate as of the date/time indicated and are subject to change. Any price and availability information displayed on [relevant Amazon Site(s), as applicable] at the time of purchase will apply to the purchase of this product.)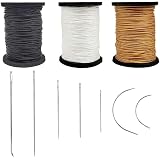
Topus Extra Strong Upholstery Repair Sewing Thread Kit and Heavy Duty Household Hand Needles, Including 7 Styles of Leather Canvas Sewing Needles and 3 Rolls Nylon Thread (70 Yard Per Roll), 3 Colors
$9.99 (as of May 28, 2025 05:48 GMT -04:00 - More infoProduct prices and availability are accurate as of the date/time indicated and are subject to change. Any price and availability information displayed on [relevant Amazon Site(s), as applicable] at the time of purchase will apply to the purchase of this product.)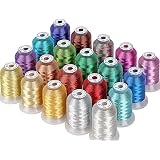
New brothread 20 Assorted Colors Metallic Embroidery Machine Thread Kit 500M (550Y) Each Spool for Computerized Embroidery and Decorative Sewing
$26.99 (as of May 27, 2025 05:24 GMT -04:00 - More infoProduct prices and availability are accurate as of the date/time indicated and are subject to change. Any price and availability information displayed on [relevant Amazon Site(s), as applicable] at the time of purchase will apply to the purchase of this product.)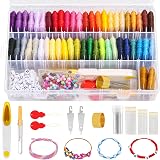
PAXCOO 488Pcs String Bracelet Making Kit, Friendship Bracelet String Kit with 50 Skeins Embroidery Floss Cross Stitch Thread, 400Pcs Friendship Bracelet Beads, 37Pcs Embroidery Tools
$11.99 (as of May 28, 2025 05:48 GMT -04:00 - More infoProduct prices and availability are accurate as of the date/time indicated and are subject to change. Any price and availability information displayed on [relevant Amazon Site(s), as applicable] at the time of purchase will apply to the purchase of this product.)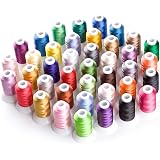
Simthread Brother 40 Colors 40 Weight Polyester Embroidery Machine Thread Kit 550Y(500M) for Brother Babylock Janome Singer Husqvarna Bernina Embroidery and Sewing Machines
$25.19 (as of May 27, 2025 05:24 GMT -04:00 - More infoProduct prices and availability are accurate as of the date/time indicated and are subject to change. Any price and availability information displayed on [relevant Amazon Site(s), as applicable] at the time of purchase will apply to the purchase of this product.)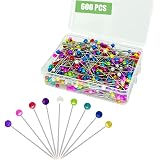
600PCS Sewing Pins Straight Pin for Fabric, Pearlized Ball Head Quilting Pins Long 1.5inch, Multicolor Corsage Stick Pin for Dressmaker, Jewelry DIY Decoration, Craft and Sewing Project
$4.99 (as of May 28, 2025 05:48 GMT -04:00 - More infoProduct prices and availability are accurate as of the date/time indicated and are subject to change. Any price and availability information displayed on [relevant Amazon Site(s), as applicable] at the time of purchase will apply to the purchase of this product.)
Brother PE900 5" x 7" Embroidery Machine with Deluxe Embroidery & Digitizing Software Bundle
$1,099.99 (as of May 28, 2025 05:48 GMT -04:00 - More infoProduct prices and availability are accurate as of the date/time indicated and are subject to change. Any price and availability information displayed on [relevant Amazon Site(s), as applicable] at the time of purchase will apply to the purchase of this product.)
Brother Elite PE900 Large Embroidery Machine with Wireless LAN Connection with Sewing Bundle (4 Items)
$1,099.99 (as of May 28, 2025 05:48 GMT -04:00 - More infoProduct prices and availability are accurate as of the date/time indicated and are subject to change. Any price and availability information displayed on [relevant Amazon Site(s), as applicable] at the time of purchase will apply to the purchase of this product.)
Brother Skitch PP1 4" x 4" Embroidery Machine with 80 Spool Thread and Acessory Bundle
$569.99 (as of May 28, 2025 05:48 GMT -04:00 - More infoProduct prices and availability are accurate as of the date/time indicated and are subject to change. Any price and availability information displayed on [relevant Amazon Site(s), as applicable] at the time of purchase will apply to the purchase of this product.)