Embroidery on Shirt: The Ultimate Beginner’s Guide
Embroidery on shirts is a fun and creative way to add a personal touch to your clothes. It gives a unique touch to your wardrobe and helps you stand out from the crowd. If you are new to it, it may seem uncomfortable at first. Still, with the suitable materials and techniques, it’s an easy skill to pick up. In this beginner’s guide to embroidery on a shirt, we will cover all the essential materials, tips for selecting the suitable fabric and design, step-by-step instructions for stitching your design onto the shirt, and how to care for your embroidered clothing. We’ll also answer some frequently asked questions, like whether you can elaborate on any fabric or how to enhance your embroidery skills. So, let’s get started and create something beautiful together!
Introduction to Shirt Embroidery
Embroidery on shirts involves using various techniques to add decorative designs or patterns onto shirts. This allows for the creating of intricate and personalized designs, especially when done by hand. For those looking for a faster and more precise option, embroidery machines can be used. When it comes to sewing on shirts, hooping, and stabilizers are essential. They ensure that the fabric remains taut and stable during the process.
Additionally, considering the placement of the design on the shirt is crucial to achieving the desired aesthetic. By strategically placing the embroidered design, it can become the centerpiece of your t-shirt. Whether you’re working with the back of the shirt or the center of your hoop, planning the placement will result in a beautifully embroidered t-shirt.
Essential Materials for Beginners
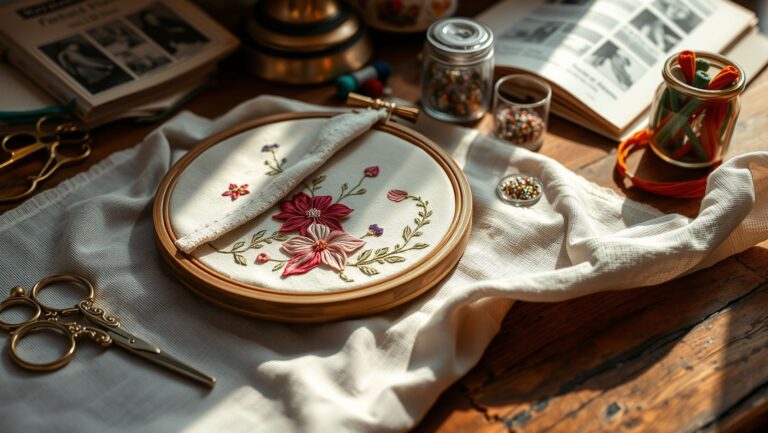
There are a few essential materials that beginners should have to get started. First and foremost, choose a suitable fabric for your embroidered design, such as cotton or linen. You’ll also need hoops to hold the material firmly while stitching. Make sure to use a stabilizer to prevent puckering and ensure smooth embroidery on shirt. Investing in quality threads that are strong and colorfast will make a significant difference in the final result. Lastly, remember to get a good pair of embroidery scissors for precise and clean cuts. With these essential materials, you’ll be well-equipped to begin hand embroidering on clothes.

Preparing Your Shirt for Embroidery
Properly preparing your shirt is essential for a smooth and successful process. Start by choosing a suitable fabric for your project, such as a t-shirt or a cotton tee. Ensure your shirt is clean and free from any wrinkles before you begin. This will help you achieve a professional finish and prevent distortions in your embroidered design. Additionally, select a configuration that complements the style and size of your shirt. Consider placing the design in the center of your hoop on the back of the shirt for optimal visibility. To prevent puckering and maintain design integrity, use a stabilizer. Follow these steps to ensure your shirt is ready for sewing.
Choosing the Right Fabric
For hand embroidery shirts, choosing the suitable fabric is crucial for achieving optimal results. Consider the texture and thickness of the fabric to ensure that it can accommodate the embroidery process. Fabrics like cotton and linen are ideal choices due to their stability and ability to hold stitches well. It’s best to avoid stretchy fabrics like jersey, as they can be challenging to embroider. Opt for fabrics with a tight weave to prevent stitches from sinking in. Before starting your embroidery project, it’s recommended to test the fabric to check if it can withstand the process without puckering or distorting the design. By selecting the fabric for your embroidered shirt, you can ensure that your stitches stay in place and your design looks impeccable.

Selecting the Right Design for Your Shirt
When choosing a design for your embroidery on shirt, it’s essential to consider the material’s style, size, and purpose. The design should complement the overall look of the sweater and enhance its appeal. For beginners, it’s advisable to start with simplistic designs that are easier to execute. You can venture into more intricate designs as you gain more experience and skill. Another aspect to keep in mind is the compatibility of the design with the chosen embroidery hoop size. It’s essential to ensure that the design fits within the center of your hoop without getting cut off. To find inspiration and ready-to-use techniques, you can explore online resources that offer a wide range of options. Remember, selecting the right design is crucial in creating a beautifully embroidered shirt.

Step-by-Step Guide to Shirt Embroidery
To ensure success, follow a systematic approach. Start by organizing your threads beforehand for easy access during the process. Next, determine the direction and placement of the design on the fabric, considering factors like the shirt’s style and size. When hooping the shirt, ensure the fabric is taut but not stretched, providing a smooth and even embroidery surface. Lastly, stitch the embroidery on the sweater carefully, using techniques such as running or back stitch. By following these steps, you can create a beautifully embroidered design on your t-shirt. Remember to remove any stabilizer and adequately care for your embroidered clothing to maintain its quality.
Organizing Threads for Embroidery
When it comes to sewing, organizing your threads is essential for a smooth and enjoyable stitching process. You can quickly identify and access the colors you need by sorting and arranging your embroidery threads. One helpful tip is to use thread organizers or bobbins to keep your lines tangle-free and neatly organized. Labeling each thread color can save you valuable time during the embroidery process, allowing for quick reference and easy identification. It’s also essential to store your threads in a suitable place to prevent any damage or tangling. If you’re looking for convenience and variety, consider using embroidery thread kits that offer a wide range of colors. By organizing your threads effectively, you’ll be able to focus more on your embroidery design and enjoy the creative process.

Direction and Placement of Design
When embroidering on a shirt, it is essential to consider the direction and placement of your design. Consider the shirt’s orientation to determine the best approach for the procedure. Choose an order that complements the overall look depending on the shape and style of the shirt. Centering the design is famous for a balanced and visually appealing result. However, experiment with different placements to achieve unique and creative effects. You can use templates or marking tools to ensure precise placement on the hoop. By carefully considering the direction and order of your design, you can create a beautifully embroidered shirt that stands out.

Hooping the Shirt for Embroidery
To hoop the shirt, select an embroidery hoop that matches the size of your design and the area you want to embroider on the shirt. Place the fabric in the ring, ensuring it is taut and evenly stretched for best results. Secure the outer hoop firmly, but avoid adding excessive tension that may distort the fabric. Take a moment to adjust the material as needed to align the design with the center of the hoop. Before stitching, double-check the hooped fabric for any wrinkles or puckering that could affect the final result. Following these steps ensures that your embroidered design is centered and beautifully stitched on your shirt.

Stitching the Embroidery Design
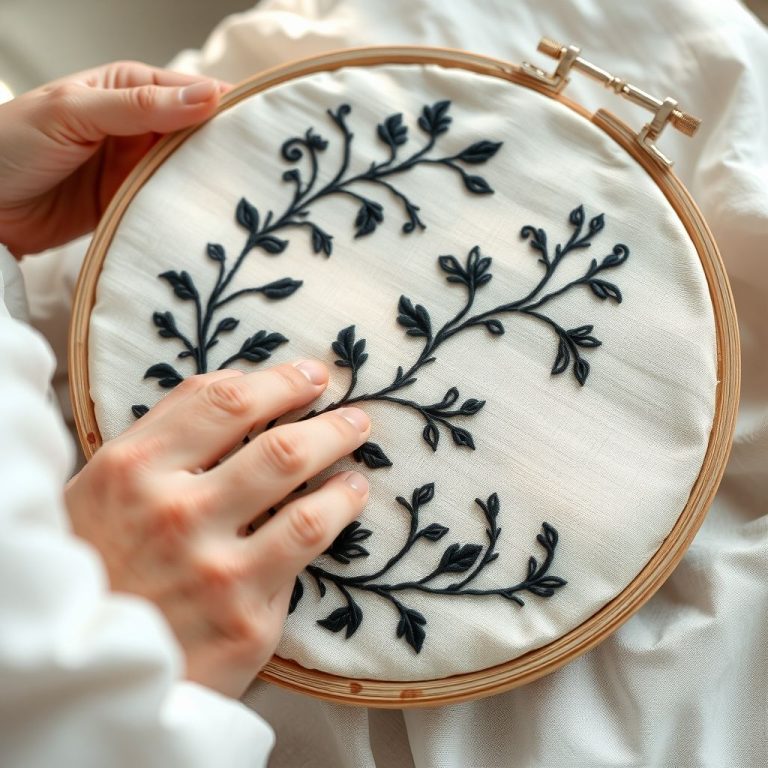
To stitch the design on your shirt, start by securing the thread with a backstitch or knot. Take your time and follow the specific stitch instructions provided with the chosen method to ensure accurate stitching and smooth thread tension. For filling large areas, use satin stitches; outlining stitches works best for finer details. Feel free to experiment with different stitch techniques to add texture to your design. Remember to stretch the t-shirt properly in the hoop, positioning the structure at the center to achieve the desired effect. With these tips, you’ll be well on your way to creating a beautifully embroidered t-shirt.

Removing Stabilizer and Taking Care of Embroidered Clothing
After completing your embroidery on the shirt, it is essential to carefully remove the stabilizer to reveal the beautifully stitched design. Trim any excess stabilizer close to the stitches, taking care not to damage the embroidery itself. When caring for your embroidered shirt, follow the fabric’s instructions for gentle washing. Harsh detergents or abrasive washing methods could harm the delicate embroidery on the shirt. Additionally, take care when storing your embroidered shirt to prevent snagging or tangling of threads. By adequately removing the stabilizer and taking care of your embroidered clothing, you can ensure that your design stays vibrant and intact for a long time.

Can You Embroider on Any Fabric?
It is possible on various fabrics, but not all are suitable for beginners. Fabrics like cotton and linen are beginner-friendly due to their stability. In contrast, stretchy materials like jerseys may require advanced techniques. Experiment with different materials, but test them beforehand to ensure they can withstand the process.

Creative Tips for Enhancing Your Embroidery Skills
To enhance your sewing skills, try experimenting with different stitches to add variety and texture to your designs. By incorporating unique materials like beads or sequins, you can make your design stand out and create a stunning effect. Another tip is to use eye-catching, contrasting thread colors and add visual interest to your designs. Drawing inspiration from nature or your surroundings can also help you create one-of-a-kind embroidered motifs that reflect your style. Lastly, practicing proper tension control is crucial for achieving neat and professional-looking stitches. This ensures that your embroidered designs appear polished and well-executed. Following these creative tips, you can take your embroidery hobby to the next step and create stunning designs.


Conclusion
To master the art of embroidering on shirts, you need suitable materials and techniques. Choosing the right fabric and design for your shirt and preparing it for embroidery properly is essential. Organizing your threads, hooping the cloth, and stitching your plan precisely are crucial steps in achieving a professional-looking result. Remove the stabilizer and take care of your embroidered clothing to ensure longevity. You can enhance your embroidery skills and create unique and personalized pieces with practice and creativity. So grab your materials, follow these steps, and let your creativity shine through your embroidered shirts.


Your blog is like a breath of fresh air in a sea of negativity and pessimism Thank you for being a source of light and hope
As a fellow blogger, I can appreciate the time and effort that goes into creating well-crafted posts You are doing an amazing job