How to Create Stunning Flower Embroidery Patterns for Beginners
Imagine transforming simple fabric into vibrant floral art with just a few stitches. Floral embroidery has an irresistible appeal—bright, elegant, and endlessly customizable. Whether you’re a newcomer or looking to enhance your skills, crafting beautiful flower patterns can be both fun and fulfilling. The good news? You don’t need to be an expert to create stunning designs. There are plenty of free downloadables and accessible tools to get you started—plus tips on easy transfer techniques and perfect stitching. If you’re eager to elevate your embroidery game, signing up for our exclusive free PDF patterns will give you inspiration and practical resources right at your fingertips. Want to learn how top brands like leading embroidery companies craft these intricate designs? Or get the scoop on the latest industry trends? Keep reading—this guide will walk you through everything you need to embark on your floral embroidery journey with confidence. Whether you’re working with machine embroidery or hand-stitching, this is your path to creating gorgeous, professional-looking flower patterns that will wow everyone. Ready to turn your fabric into a garden of art? Let’s dive in!
Key Insights on Floral Embroidery Trends and Materials
Recent years have seen a significant surge in floral embroidery, especially in the home decor and wall art markets. Industry data indicates that floral motifs now account for nearly 45% of growth within the craft sector, reflecting a growing consumer preference for nature-inspired designs. This trend is driven by a desire for personalized, story-driven patterns such as monograms, cultural symbols, and botanical illustrations, with around 60% of consumers actively seeking such bespoke options. Additionally, digital advancements—like AI-assisted design automation and wireless uploads—have boosted productivity by approximately 70%, making sophisticated floral patterns more accessible to beginners and professionals alike.
The industry has also experienced a steady growth rate of 28% over the past three years, with the global embroidery market valued at over USD 5 billion and projected to reach USD 8.5 billion by 2033. This expansion is supported by technological innovations in embroidery machines, including AI-enabled error detection and faster digitizing software, which reduce design time and improve quality. Such developments are especially beneficial for the 40% of beginners adopting machine embroidery, requiring user-friendly, efficient tools to start creating stunning floral patterns.
Recent Market Trends and Motifs
Floral embroidery continues to evolve, with botanical motifs leading the way in modern fashion and home decor. Designers are favoring detailed flower arrangements, abstract botanical forms, and culturally inspired floral patterns. The trend toward eco-consciousness is also influencing material choices, with organic dyes, biodegradable fabrics, and sustainable threads gaining popularity. Market reports highlight a 65% demand for eco-friendly embroidery materials, aligning craft practices with environmental responsibility.
Technological and Consumer Adoption Insights
Innovations in embroidery machines and software continue to revolutionize pattern creation. Notable advancements include AI-powered digitizing tools that automate complex floral designs, significantly reducing manual input. For example, platforms like Wilcom and Hatch Embroidery have integrated AI features to enhance speed and accuracy, enabling users to produce detailed flower motifs with ease.
Price points are becoming more accessible, with beginner-friendly machines and software packages tailored for the DIY market. Approximately 40% of novice embroiderers are now using simplified, intuitive devices that support basic floral patterns, allowing them to experiment with styles like monograms, cultural motifs, and botanical designs easily. These industry shifts suggest a future where floral embroidery remains a prominent and sustainable craft, driven by innovative technology and consumer demand for personalized, eco-friendly projects.
Step-by-Step Guide to Transferring Floral Patterns onto Fabric
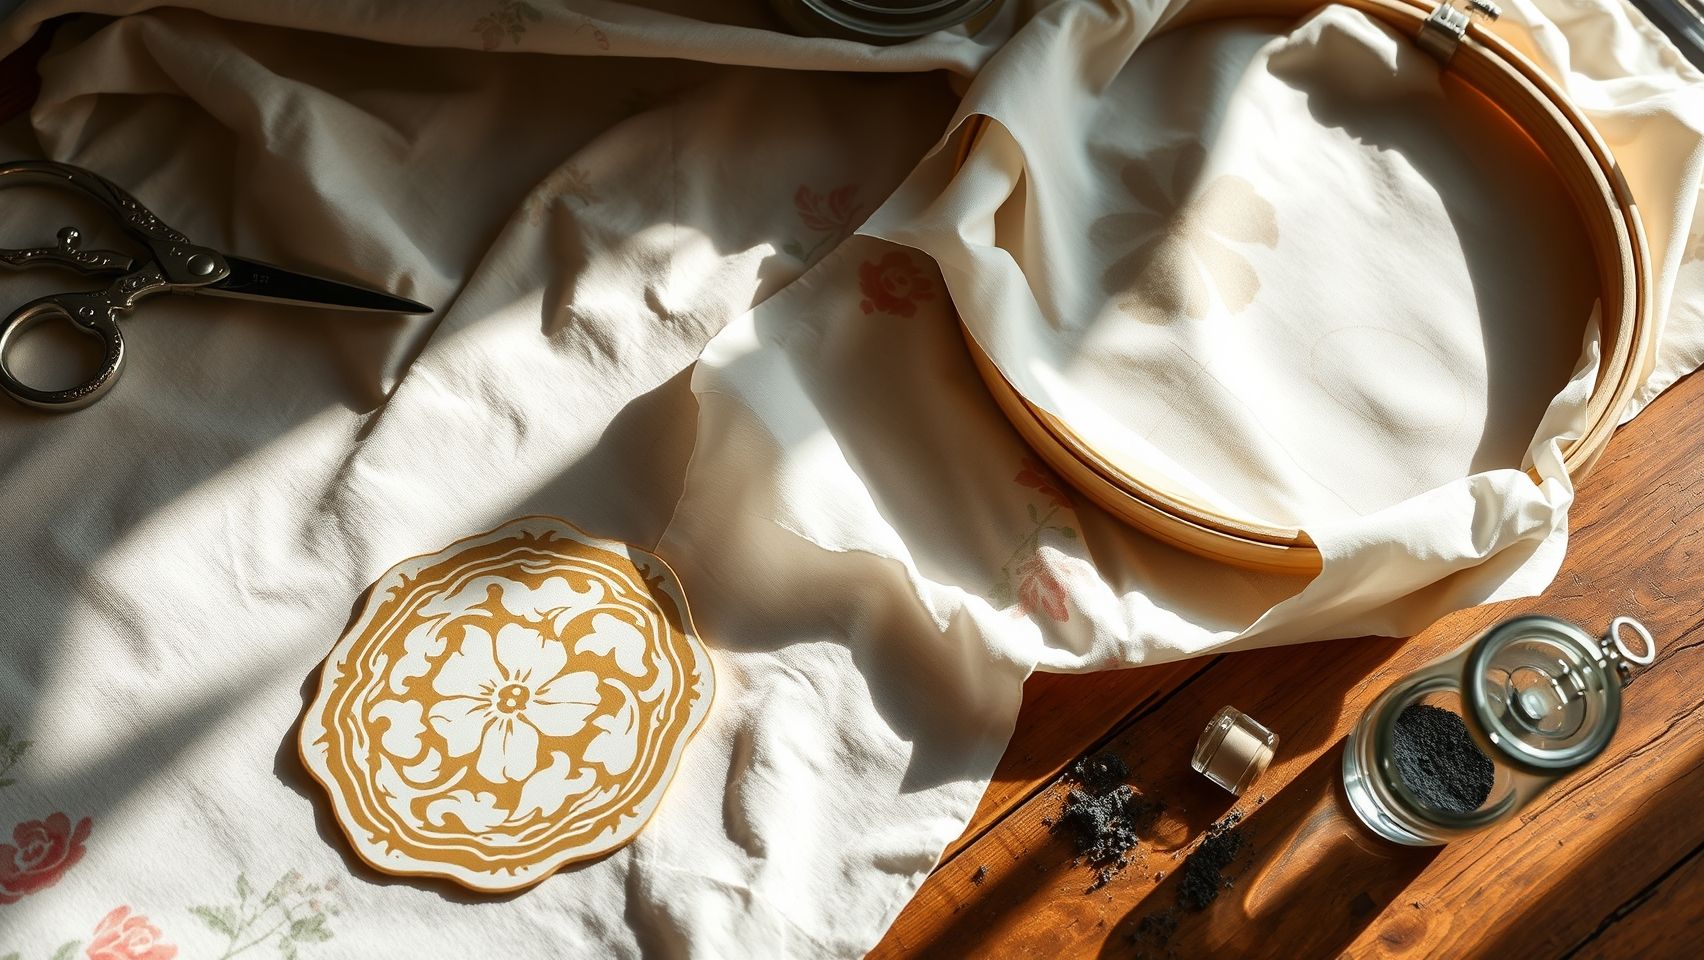
Transferring digital flower embroidery patterns onto fabric is a crucial step for creating stunning embroidered designs. Whether you’re a beginner or looking to refine your technique, using practical tools and following precise steps will ensure your floral patterns are accurately placed for embroidery. Today’s methods combine tradition with technology, offering reliable solutions for transferring intricate floral designs onto fabric with ease and precision.
Select Pattern
First, choose a beautiful flower embroidery pattern that suits your project. Many websites offer free PDF patterns that can be downloaded in seconds. To ensure compatibility, always opt for files in PDF format, which can be easily opened on multiple devices. You can often access these patterns by signing up with your email, providing a range of designs suitable for various skill levels. Once downloaded, select a pattern that fits the size and complexity of your embroidery project.
Prepare Materials
Next, gather your transfer tools: a lightbox, transfer paper, or water-soluble pen. For lightbox transfer, secure the fabric in an embroidery hoop, place the pattern underneath, and trace the design with a water-soluble pen or transfer paper. The lightbox makes the lines glow, enhancing visibility and ensuring accuracy. Alternatively, if you prefer transfer paper, position it between your fabric and pattern, then trace the design with a pen, which leaves a transfer mark on the fabric. Water-soluble pens are also highly convenient; simply directly draw over the pattern lines on your fabric’s surface for quick transfer. Make sure to test your tools on scrap fabric first to prevent smudging or uneven lines.
Align Pattern
Proper alignment is essential for a professional finish. Secure your fabric in a sturdy embroidery hoop, ideally between 10-12 inches, to prevent puckering. Mark the center point of your fabric and pattern to ensure correct placement. Use pins or clips if necessary to keep the fabric taut and prevent shifts during transfer. Drawing faint guides with a fabric-safe chalk or water-soluble pen can assist in aligning larger designs accurately before proceeding with the transfer.
Transfer Design
For paper transfer, place your pattern on the lightbox or use a window to trace it onto transfer paper. Set the paper on the fabric in the hoop and trace the pattern with a water-soluble pen, ensuring your lines are clear and contrast well against the fabric. For digital transfer, upload your pattern into embroidery software compatible with your machine. Adjust size and position as needed within the software, then send the design to your embroidery machine to stitch the pattern directly onto your fabric. This method is especially useful for complex or very detailed floral patterns, providing superb accuracy without manual tracing.
Troubleshooting
Common issues like misalignment or smudging can be easily addressed. Double-check the tension of your embroidery hoop; loose fabric can cause shifting, leading to misaligned designs. For smudging, use a contrast water-soluble pen and work in a well-lit space. Additionally, test your transfer method on scrap fabric beforehand to refine your technique and avoid mistakes on your final project. If lines are faint, go over them gently with your water-soluble pen or increase contrast during digital transfer for sharper lines.
Final Check
Before stitching, confirm the pattern’s placement on your fabric. Ensure that all lines are visible and accurately aligned, adjusting as necessary. Once satisfied, gently erase any guidelines or marks that might interfere with your embroidery. A clean, well-positioned pattern sets the foundation for beautiful floral embroidery, making your creative vision come to life with precision and elegance. Taking these careful steps helps ensure your flower embroidery patterns are perfectly transferred, ready for stitching and showcasing your craftsmanship.
How to Stitch Beautiful Floral Motifs Step-by-Step
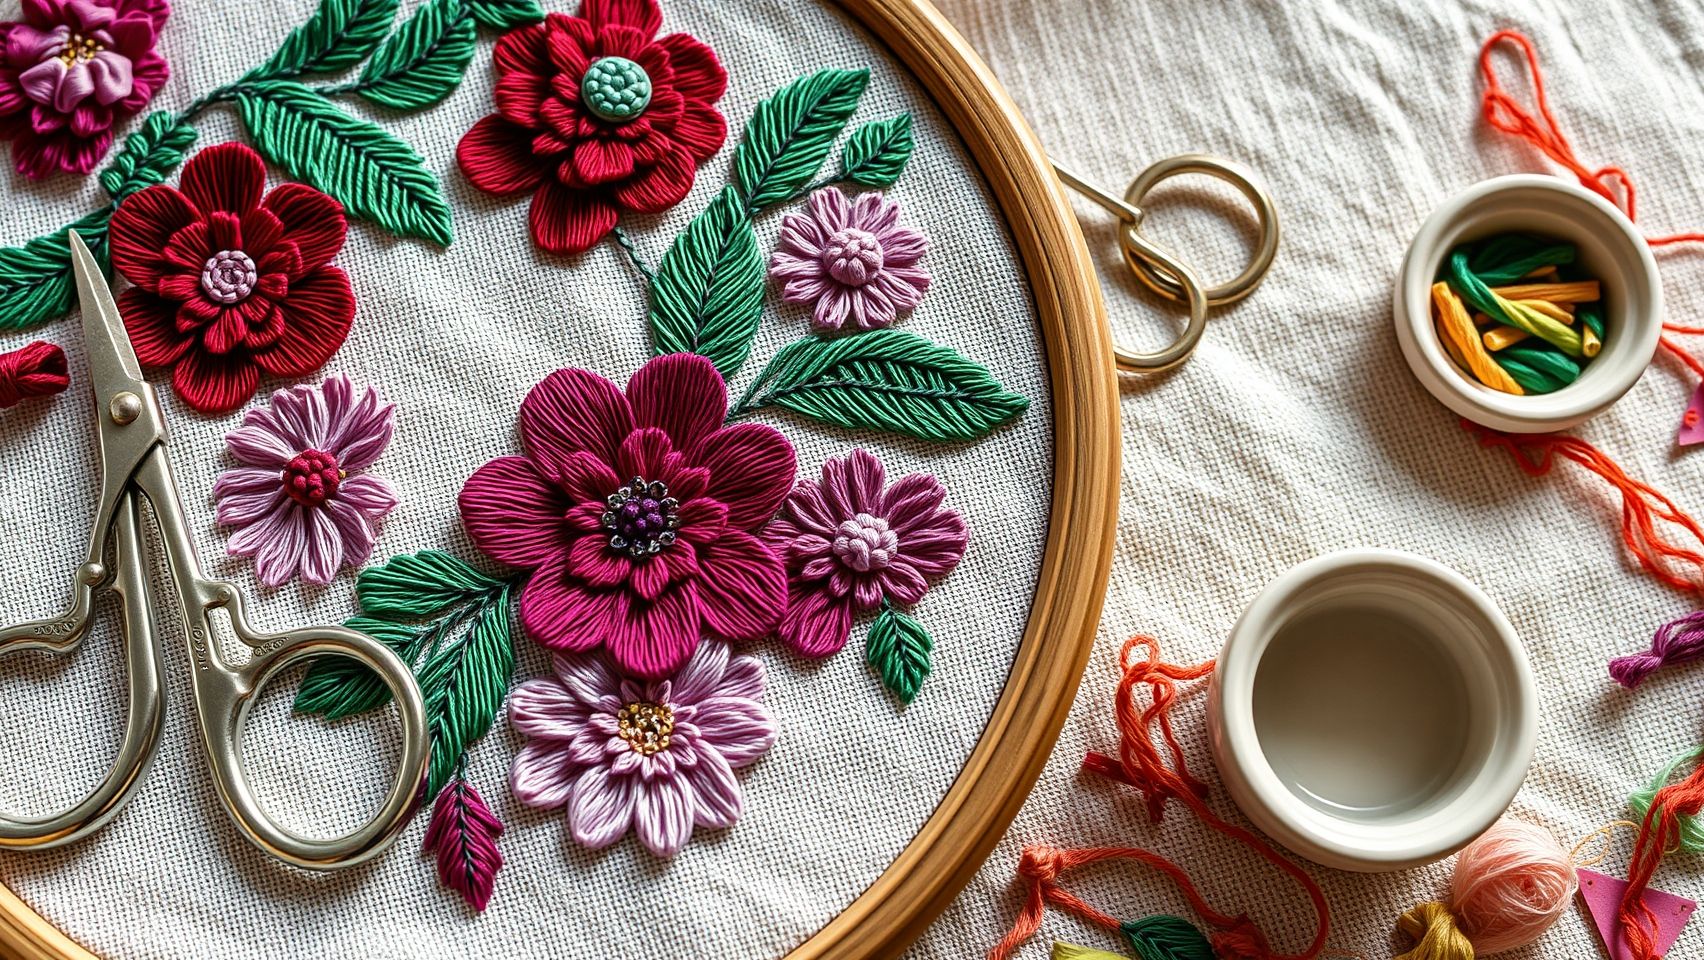
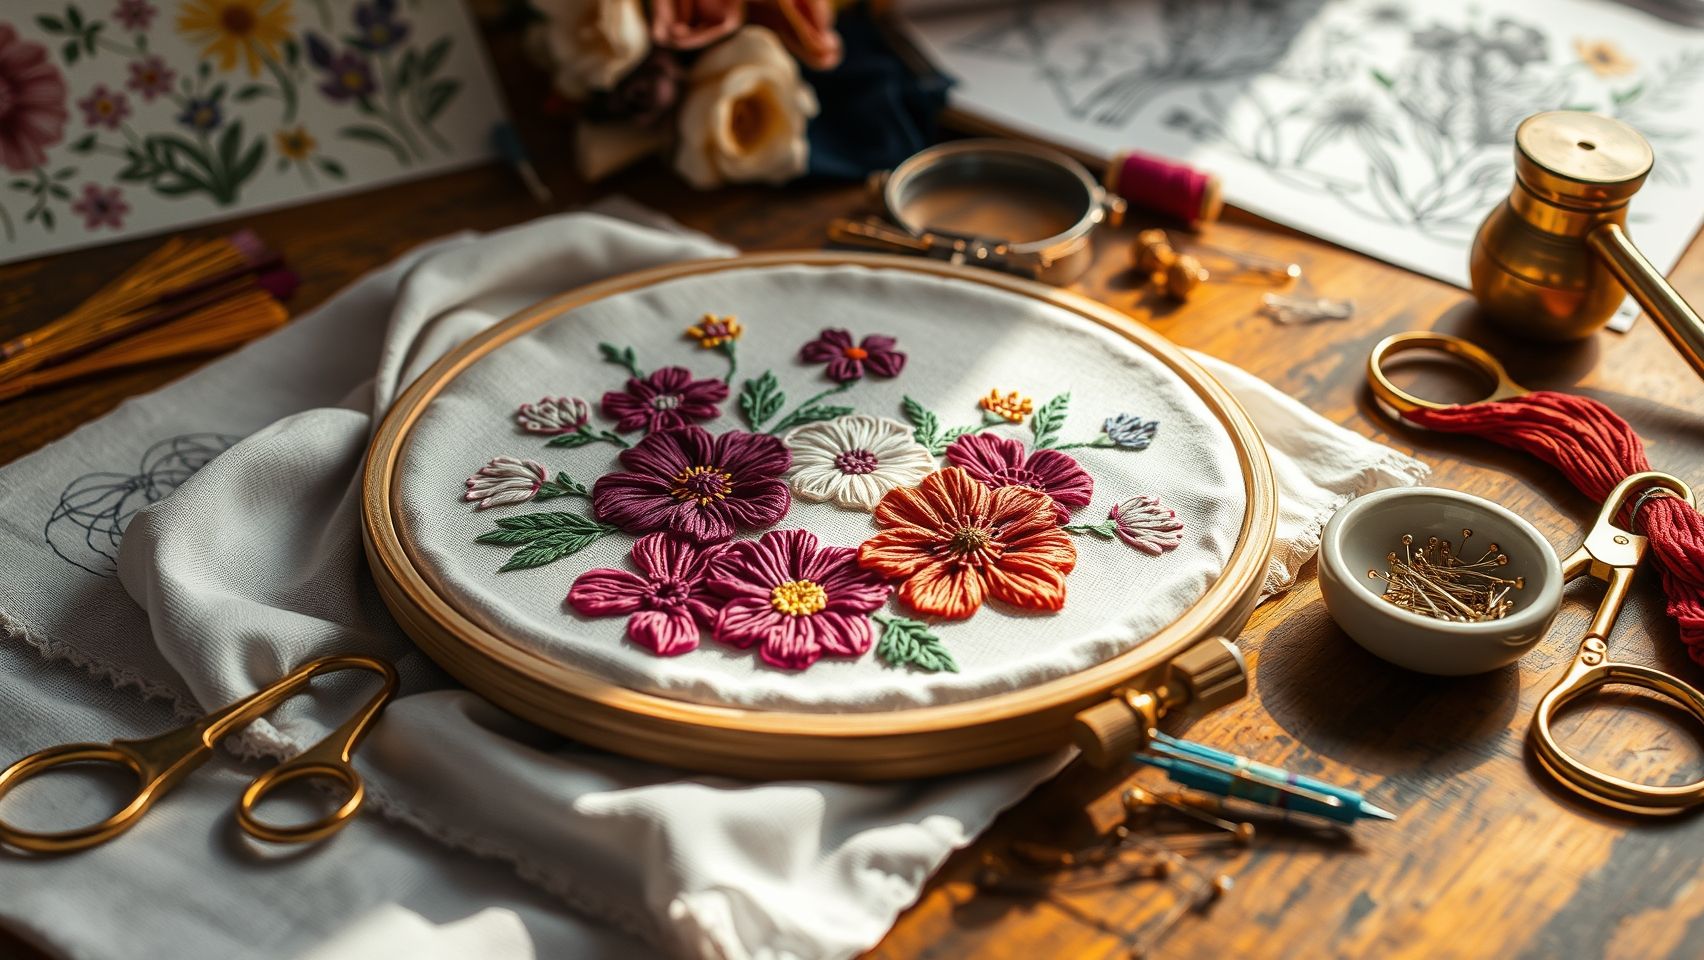
Creating stunning flower embroidery patterns requires a combination of technique, color selection, and attention to detail. For beginners, mastering the fundamental stitches and layering methods is essential to achieve realistic and visually appealing floral motifs. In this guide, we’ll break down the essential embroidery techniques—including stitch types, layering strategies, color palettes, thread management, and finishing touches—that will help you craft beautiful floral designs with confidence.
Choosing the Right Stitches for Floral Embroidery
Selecting appropriate stitches is the first step toward creating vivid floral motifs. Outline stitches like backstitch and chain stitch work well for defining flower petals and stems, providing clear boundaries and structure. Fill stitches, such as satin stitch and long and short stitches, are ideal for adding color and dimension to petals and leaves, creating smooth, solid areas of color. Textured stitches like French knots and bullion stitch add intricate accents, such as flower centers or textured leaves, imparting a three-dimensional feel to your design.
Layering Techniques to Build Dimension
To achieve realistic floral effects, layering different stitches is crucial. Start by stitching the outlines using a backstitch for clean lines. Then, apply satin stitch for filling larger petal areas, carefully overlapping stitches to ensure even coverage. For textured centers of flowers, French knots or bullion stitches create focal points. Layer satin leaves over textured centers to add depth, and alternate stitch types to enhance the perception of dimension. Practice blending these techniques on small motifs to build confidence before progressing to larger projects.
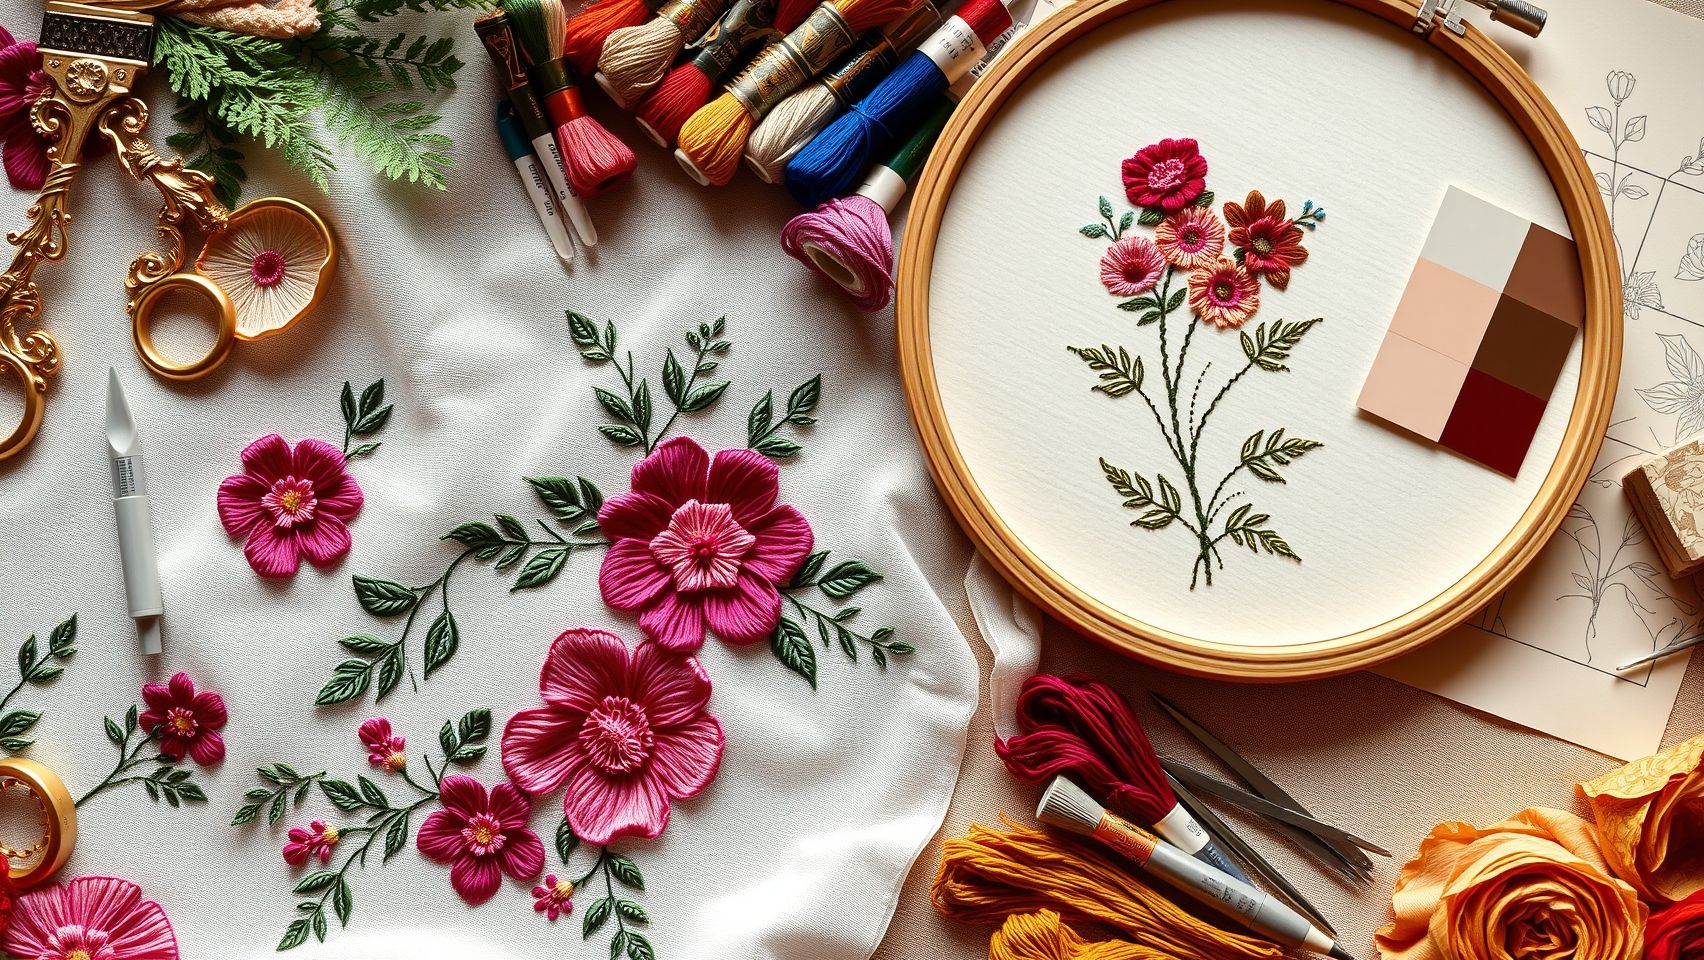
Color Selection with Specific HEX Palettes
Color harmony significantly impacts the realism and visual appeal of embroidered flowers. For a spring palette, consider using HEX codes like #FFC0CB (pink), #A0522D (brown), and #228B22 (green). These colors evoke fresh, blooming flowers and lush foliage. For fall-inspired motifs, incorporate hues such as #D2691E (orange), #556B2F (olive green), and #FF8C00 (dark orange). Carefully selecting thread shades that match these HEX codes ensures your embroidery reflects seasonal beauty and adds vibrancy to your design.
Managing Thread Quality and Tension
Using high-quality embroidery threads, such as DMC or Madeira, ensures durability and vibrant color projection. Set your machine tension appropriately—usually around medium tension if using machine embroidery—to prevent puckering or loose stitches. Manage thread ends meticulously by securing knots and trimming excess to prevent unraveling. Employing quality threads and proper tension settings results in clean, professional-looking projects that stand the test of time.
Finishing Touches for a Polished Look
Once your floral motif is complete, secure all stitches by reversing or tying off threads neatly. Trim any loose or excess threads close to the fabric surface. For enhanced presentation, consider framing your embroidered piece or incorporating it into larger textiles like quilts, clothing, or decorative accessories. Applying a light press with an iron on low heat can smooth out stitches and improve the overall appearance, giving your floral embroidery a finished, sophisticated look.
For beginners aiming to complete simple floral motifs, dedicating 1-2 hours per design is realistic. Practice consistently, explore different stitch combinations, and refine your color choices—these steps will help you turn basic embroidery into eye-catching floral art. To further enhance your skills, consult recent industry insights and tutorials from professional embroiderers, which can provide new ideas and advanced techniques to elevate your work.
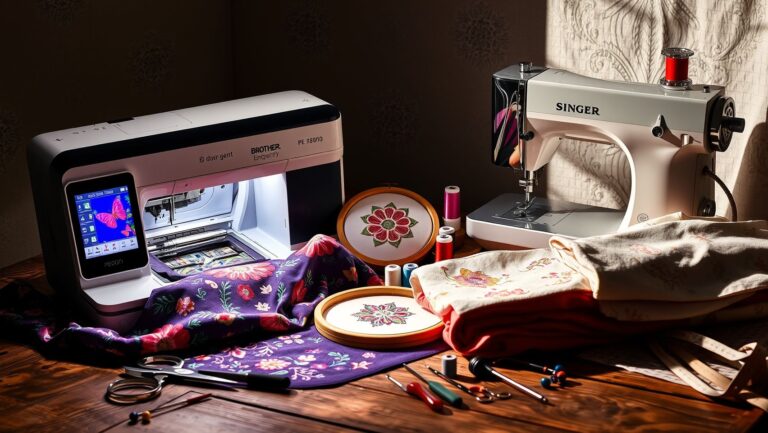
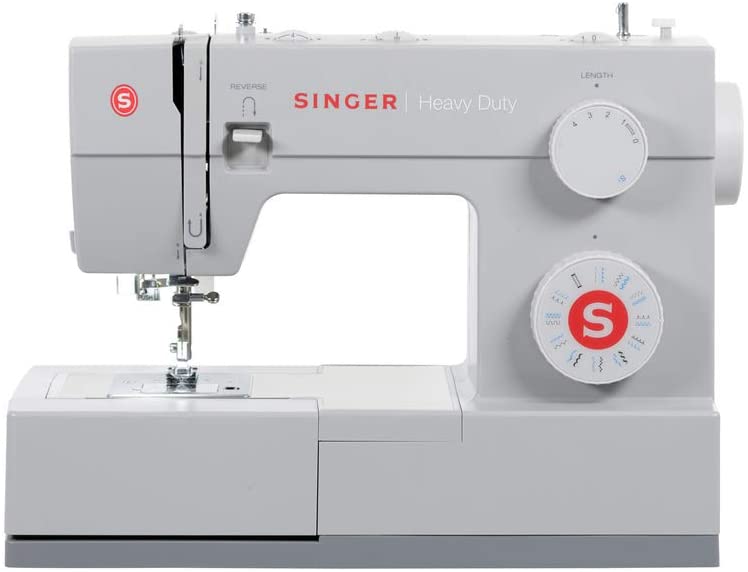
Choosing the Right Tools and Equipment for Floral Embroidery
Creating stunning flower embroidery patterns as a beginner is entirely achievable with the right selection of tools and equipment. The key is to find user-friendly machines and software that simplify the embroidery process while offering impressive design capabilities. Additionally, choosing suitable accessories ensures pattern accuracy and stitch quality, setting the foundation for beautiful floral motifs.
Recent industry data indicates that approximately 40% of beginners prefer embroidery machines with wireless design upload features, as they provide convenient and speedy pattern transfers. Many professional-grade machines costing between $1,200 and $2,000 showcase these features along with a repertoire of 200+ built-in designs and automatic functions, making them excellent choices for novices aiming to grow their skillset efficiently.
Machine Options for Beginners
When selecting a beginner embroidery machine for floral motifs, look for models that balance ease of use with advanced features. Popular options such as the Brother PE770 and Janome Memory Craft 500E stand out for their user-friendly interfaces and robust functionalities. The Brother PE770, priced around $1,200, offers a large color touchscreen, automatic thread cutter, and access to 136 built-in designs, making it a practical choice for beginners. The Janome 500E, costing approximately $2,000, provides a larger embroidery area, extensive design library, and a highly intuitive touchscreen, ideal for more ambitious floral projects.
Other models like the Bernina 700 series also feature wireless pattern uploads and over 200 built-in designs, backed by excellent user ratings. These features enable seamless pattern customization and quick workflows, which are crucial for beginners looking to experiment with floral embroidery.
Software Recommendations for Floral Pattern Digitizing
Software choice significantly impacts the ease of designing floral embroidery. Hatch Embroidery 2.0 is a top recommendation, especially for beginners interested in digitizing their own patterns. It boasts AI-driven automation that simplifies complex design processes, along with easy pattern editing tools. This software allows users to transform simple sketches into workable embroidery files with minimal technical know-how, helping bring floral motifs to life effortlessly.
Additionally, many embroidery machines now integrate directly with software platforms that support pattern customization, further streamlining the creative workflow. Opting for software with user-friendly interfaces and helpful guides can dramatically reduce the learning curve for new embroiderers.
Essential Accessories for Floral Embroidery
To ensure optimal pattern accuracy and stitch quality, investing in the right accessories is crucial. Key items include a variety of hoop sizes—such as 4×4” and 5×7”—which accommodate different floral design dimensions. Using stabilizers like cut-Away or Tear-Away stabilizers supports fabric stability during stitching, preventing puckering and distortions of delicate floral patterns.
Colorful threads, preferably polyester for durability, come in various shades to vividly recreate floral hues. Transfer tools such as water-soluble pens and adhesive sprays facilitate precise pattern placement. Properly selected accessories directly contribute to achieving professional-looking floral embroidery with crisp detail and vibrant color.
Cost Comparison and Practical Tips
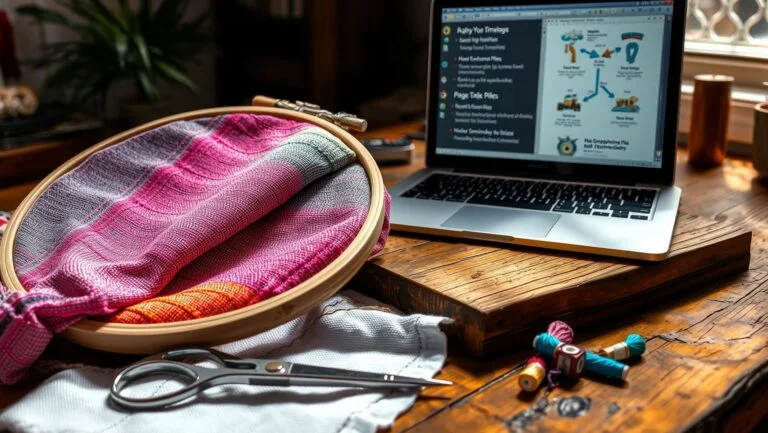
Creating Your Own Floral Embroidery Patterns with Digital Tools
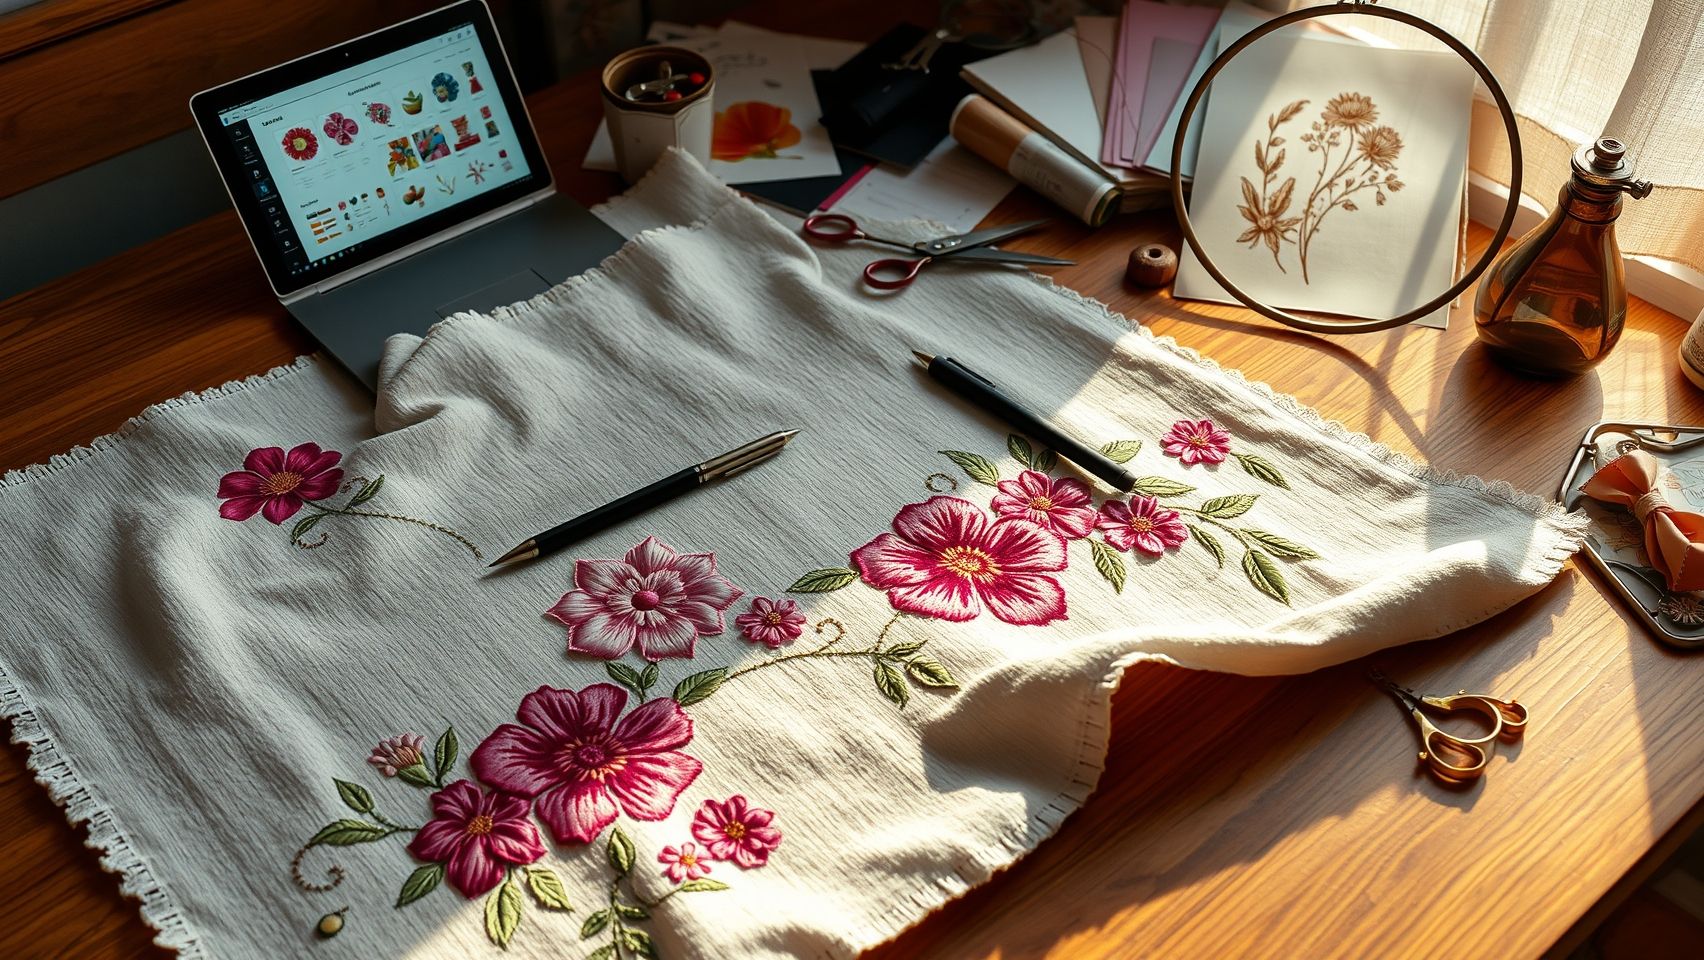
Designing custom flower embroidery patterns has become increasingly accessible thanks to advanced digital tools that streamline the digitizing process. Using embroidery software, beginners can rapidly transform hand-drawn sketches into professional-quality stitch files, achieving precise and intricate floral motifs that enhance any project. This section guides you through selecting the right software, digitizing techniques, managing color palettes, and optimizing your patterns for quick production.
Selecting the Right Software
Choosing user-friendly embroidery software with robust features is crucial for beginners. Programs like Hatch Embroidery 2.0 and Wilcom DecoAuto stand out due to their intuitive interfaces and AI-assisted digitizing capabilities. Hatch Embroidery offers an easy learning curve with automated tracing and stitch placement, ideal for those just starting out. Wilcom DecoAuto provides advanced features for creating complex floral designs, with optimized tools that reduce manual input and improve pattern accuracy. According to recent industry insights, digital tools can increase project speed by up to 70%, emphasizing their efficiency advantage over traditional hand digitizing.
Digitizing Process: From Sketch to Stitch
Transforming floral sketches into embroidery files involves several key steps:
- Import or scan your hand-drawn floral sketches into the software. Most programs support common image formats or scanning directly into the workspace.
- Convert the sketch into digital vectors or outlines using auto-trace features. Focus on accurate node placement to define the flower’s details clearly.
- Select stitch types carefully to enhance the floral motif. Satin stitches work well for petals, while fill stitches add texture to leaves and background areas. Layering stitches creates depth and realism.
- Refine the pattern by adjusting node positions and stitch paths. This step ensures smooth curves and balanced coverage, vital for professional results.
Proper layering and stitch type selection optimize pattern appearance, reduce stitch density, and prevent long production times. Most embroidery software provides visual previews, enabling iterative adjustments before finalizing the design.
Managing Color Palettes with HEX Codes
Color selection plays a crucial role in creating visually appealing floral embroidery patterns. Digital palettes allow precise color management using HEX codes, facilitating consistent color schemes across projects. For seasonal themes, you might choose spring colors like #FFC0CB (pink), #FA8072 (salmon), and #3CB371 (medium sea green). For autumn hues, options include #D2691E (chocolate), #8B4513 (saddle brown), and #F4A460 (sandy brown). Modern embroidery software supports custom color palettes, allowing you to save and reuse your preferred HEX codes, ensuring color consistency and reducing guesswork during stitching.
Careful palette management not only enhances design fidelity but also helps match seasonal or thematic color schemes, increasing the visual impact of your floral motifs.
Pattern Optimization for Efficiency and Detail
Balancing stitch detail with production efficiency requires pattern optimization techniques. Adjust stitch density to prevent excessive thread usage and minimize stitch count without sacrificing quality. Underlay stitches provide foundational support, improving stitch definition, especially in complex floral areas. Modifying stitch paths for more direct routes reduces unnecessary overlaps and stitching time. Many software options include automatic optimization features, analyzing your pattern to suggest improvements.
By fine-tuning these parameters, you ensure your patterns are not only beautiful and intricate but also suitable for quick and cost-effective stitching—vital for producing multiple copies or fulfilling commercial orders.
Exporting and Troubleshooting
Once your pattern is finalized, exporting it in a compatible format, such as PES, DST, or EXP, is essential for embroidery machine compatibility. Most software offers straightforward export options, often with preset configurations for popular brands. Before stitching, verify pattern settings—especially stitch density and color sequencing—to prevent errors.
Common digitizing errors include misplaced nodes or overlapping stitches, which can cause thread breakage or pattern distortion. Regular pattern preview and test stitches help identify issues early. Software tutorials and community forums are valuable resources for troubleshooting specific problems, ensuring your floral designs execute flawlessly on your embroidery machine.
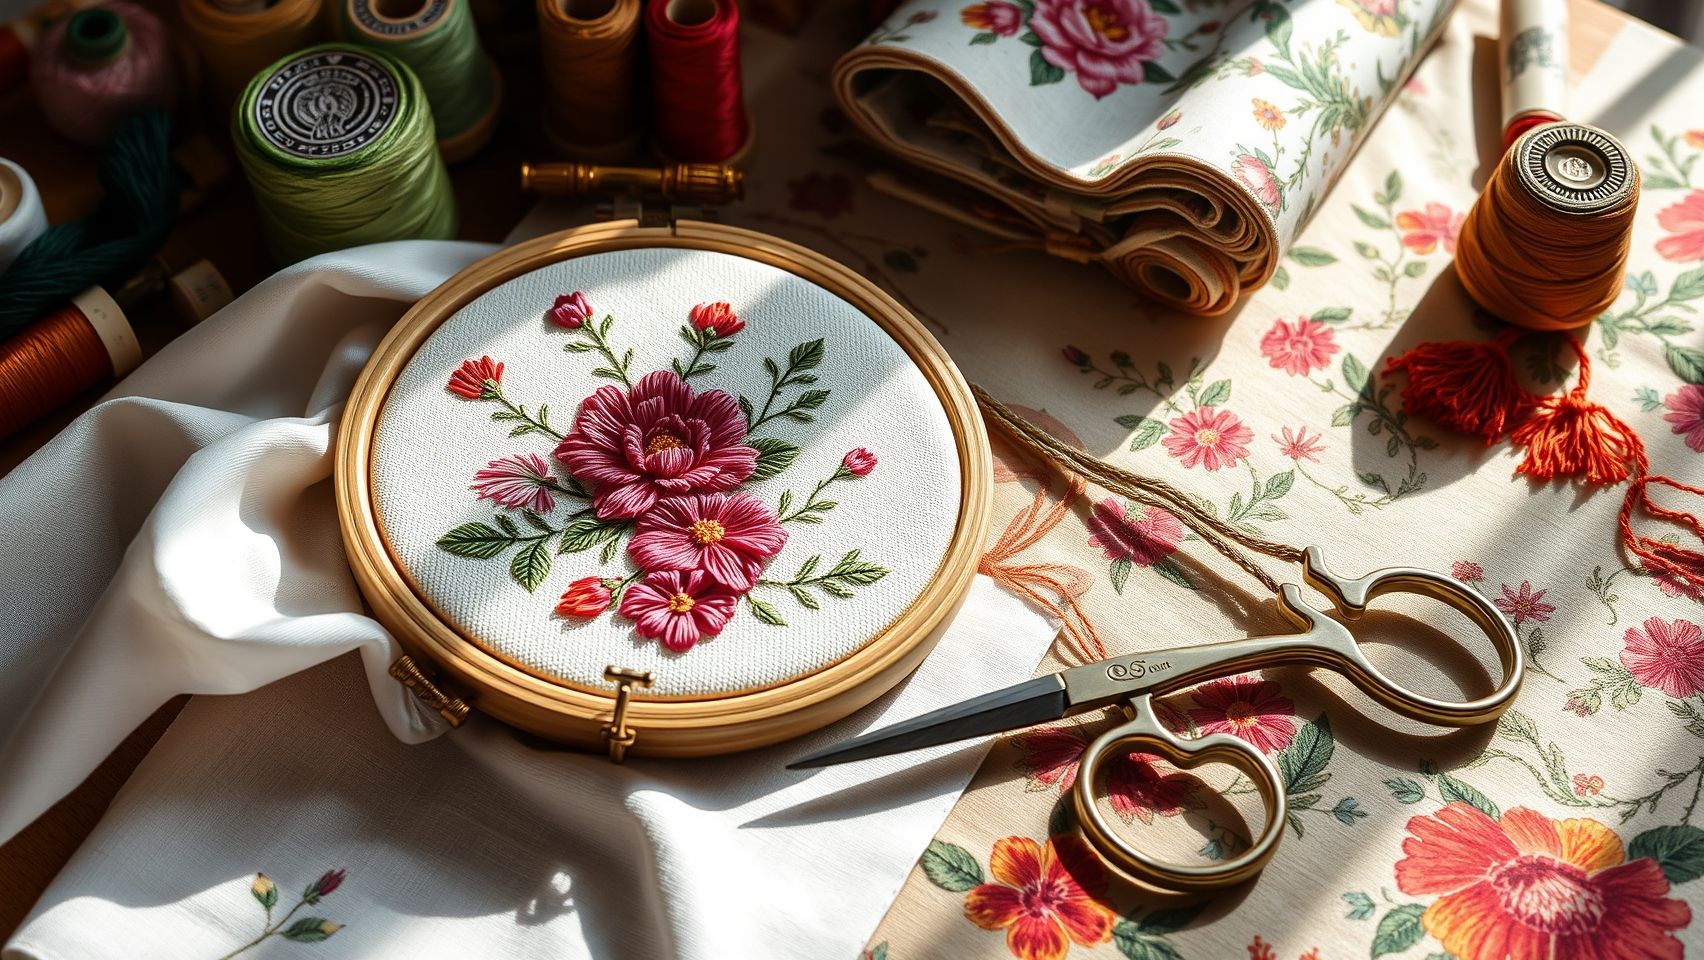
Decorating with Your Floral Embroidery: Final Tips and Inspiration
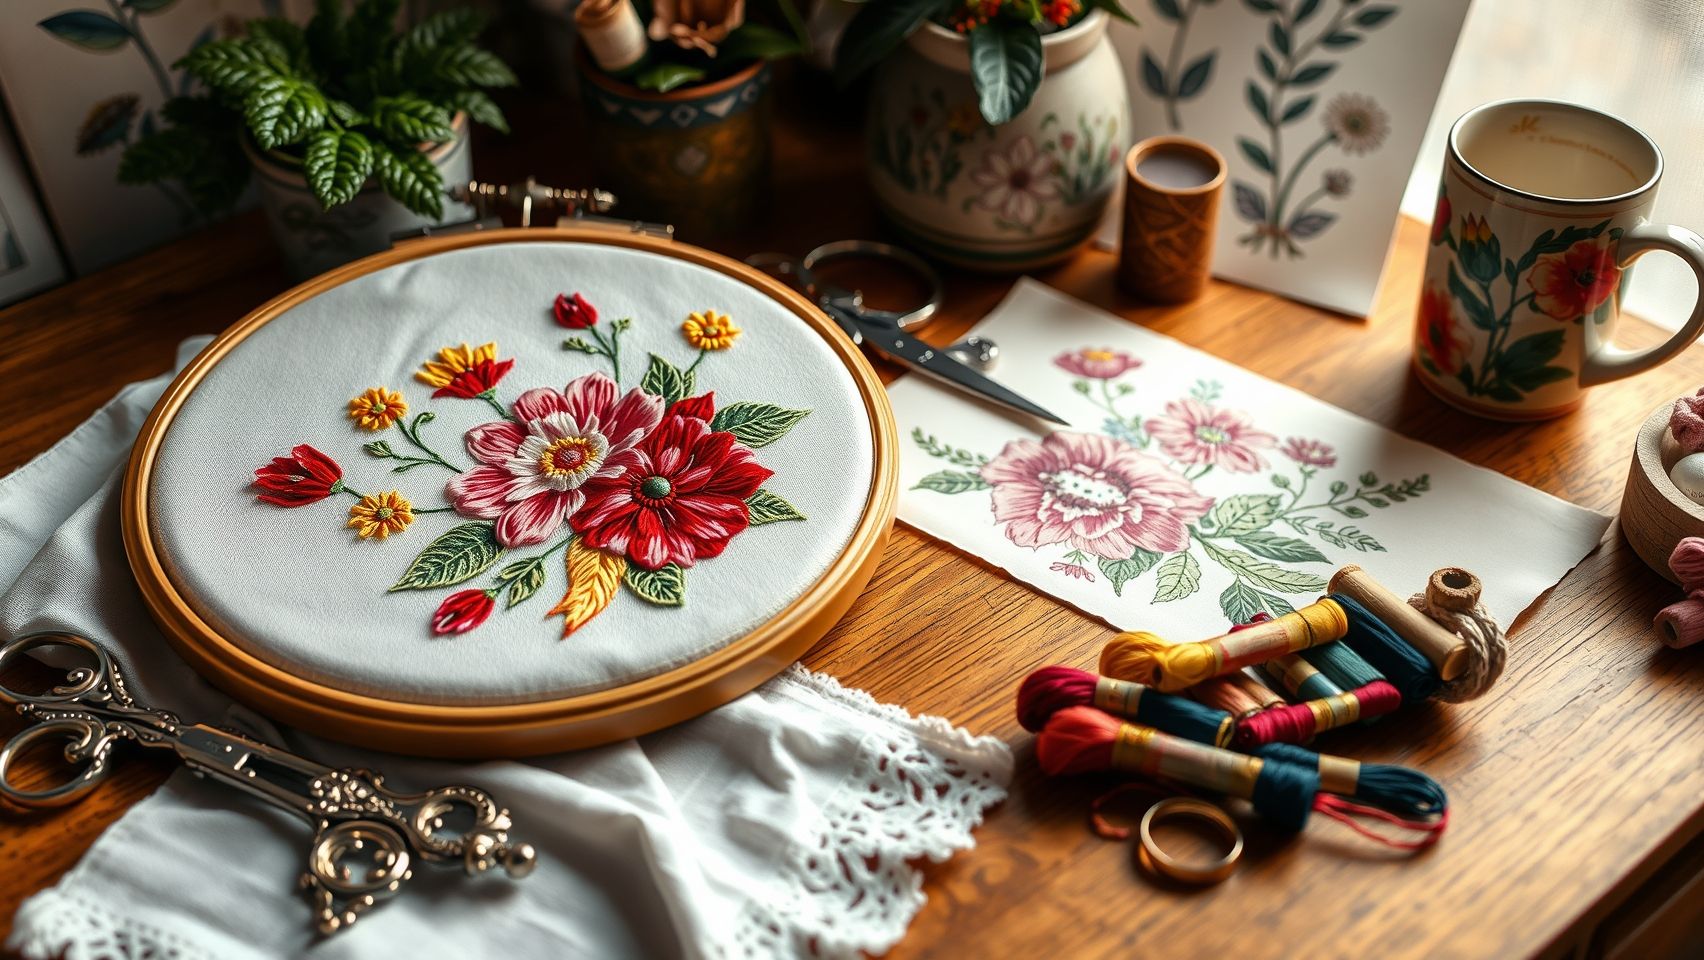
Bringing your finished flower embroidery motifs into showcase-ready projects is an exciting step that allows your creativity to shine. Thoughtful finishing touches can transform simple embroidered pieces into stunning decorative items, perfect for gifting, home decor, or personal keepsakes. With a little attention to detail, you can elevate your embroidery from a craft project to a cherished piece of art.
Incorporating seasonally inspired color palettes and community sharing strategies can further enhance your embroidery experience. Whether you’re decorating a pillow, framing your work, or creating a patch, the right techniques and presentation will make your floral motifs truly stand out. Let’s explore some inspiring tips to help you bring your embroidered flowers into full bloom.
Finishing Touches: Appliqué, Framing, and Backing
To give your floral embroidery a polished look, consider adding appliqué details or fabric backing. Applying a delicate fabric border around your motifs can add depth and texture, making the embroidery more durable and visually appealing. Framing your finished work in a rustic wooden frame or an ornate hoop can instantly turn your piece into wall art or a decorative gift. Additionally, mounting your embroidery on a contrasting fabric backing not only enhances the vibrancy of your floral motifs but also ensures longevity.
Experiment with different finishing techniques—such as adding beads or embellishments—to create unique textures. These small details can add an extra layer of elegance and intricacy, perfect for display. Remember, the goal is to showcase your work in a way that amplifies its beauty and craftsmanship.
Seasonal Color Adjustments for Embroidery Projects
Adapting your color palette to match the seasons can make your floral embroidery more harmonious with the environment or decor. For spring, opt for soft, pastel-inspired HEX colors like #FFC0CB (pink) and #228B22 (green). These colors evoke fresh blooms and new growth, breathing life into your designs. For fall, warm, earthy tones such as #D2691E (chocolate) and #8B4513 (saddle brown) beautifully mirror the changing leaves and harvest vibes. Using seasonal palettes not only aligns your projects with nature’s rhythms but also adds meaningful context to your work.
Incorporating these shades into your embroidery threads or fabric choices helps create a cohesive and seasonally relevant piece. Whether you’re designing a table runner or a decorative pillow, matching your color schemes can make your project feel timely and inviting.
Sharing Your Work and Engaging with the Community
Showcasing your embroidery on social media is a fantastic way to connect with other crafters and inspire others. Studies show that approximately 75% of users report increased brand loyalty after sharing personalized embroidery projects within online communities. To maximize engagement, photograph your work in good lighting, highlighting the textures and details of your floral motifs.
Posting regularly, using hashtags like #flowerembroidery or #handmadeembroidery, and joining local or online embroidery groups can expand your reach. Share stories behind your projects, tips you’ve learned, or challenges you’ve overcome to foster genuine community connections. Tutorials and virtual classes have made embroidery more accessible, increasing participation by about 50%, so don’t hesitate to explore online workshops to improve your skills and exchange ideas.
Consider creating a portfolio or scrapbook of your work, and encourage friends and followers to share their feedback. Engaging actively not only boosts your motivation but also helps you grow as an artist and contributor to the vibrant embroidery community.
Next Steps and Resources
Once you’re comfortable with simple motifs, challenge yourself with more complex and textured floral designs. Experimenting with different stitches, layering, and mixed media can add depth and richness to your embroidery. For beginners, creating personalized embroidery kits that include essential supplies and step-by-step instructions can simplify the learning process — making it approachable and enjoyable.
To support your embroidery journey, you can download free floral PDF patterns by subscribing via email. These patterns serve as excellent practice pieces and inspiration. Additionally, explore beginner-friendly embroidery kits that provide all necessary tools and guidance, turning your learning experience into a rewarding adventure.
Conclusion
Embarking on your floral embroidery journey is both practical and incredibly fun. Remember, the key steps include selecting the right tools, transferring your patterns accurately, mastering stitching techniques, and adding your personal touch to make each design uniquely yours. As you gain confidence, don’t hesitate to explore seasonal variations and different styles to keep your work fresh and inspiring.
Now is the perfect time to download your free flower embroidery PDF patterns and start practicing with step-by-step tutorials! Pair your patterns with beginner-friendly embroidery kits to experience the joy of creating beautiful floral designs effortlessly. Whether you’re simply starting or looking to refine your skills, the world of flower embroidery is waiting for your creativity to blossom. Take action today, and enjoy every stitch on your path to mastering this timeless craft!
Begin your creative adventure now—the flowers are blooming, and your embroidery skills can bloom too! Happy stitching!

Friendship Bracelet String 12 Skeins, Embroidery Floss Cross Stitch Embroidery Thread Floss Bracelet Making Yarn, Craft Floss (Purple Series)
$3.99 (as of June 30, 2025 07:58 GMT -04:00 - More infoProduct prices and availability are accurate as of the date/time indicated and are subject to change. Any price and availability information displayed on [relevant Amazon Site(s), as applicable] at the time of purchase will apply to the purchase of this product.)
New brothread Set of 2 White Bobbin Thread/Bottom Thread 60WT Huge Spool 5000M (5500Y) for Embroidery and Sewing Machines
$14.99 (as of June 30, 2025 05:32 GMT -04:00 - More infoProduct prices and availability are accurate as of the date/time indicated and are subject to change. Any price and availability information displayed on [relevant Amazon Site(s), as applicable] at the time of purchase will apply to the purchase of this product.)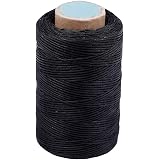
284Yards Leather Sewing Waxed Thread-Practical Long Stitching Thread for Leather Craft DIY/Bookbinding/Shoe Repairing/Leather Projects
$6.99 (as of June 30, 2025 07:58 GMT -04:00 - More infoProduct prices and availability are accurate as of the date/time indicated and are subject to change. Any price and availability information displayed on [relevant Amazon Site(s), as applicable] at the time of purchase will apply to the purchase of this product.)
New brothread - 20 Options - 8 Snap Spools of 1000m Each Polyester Embroidery Machine Thread with Clear Plastic Storage Box for Embroidery & Quilting - Monochrome
$14.99 (as of June 30, 2025 05:32 GMT -04:00 - More infoProduct prices and availability are accurate as of the date/time indicated and are subject to change. Any price and availability information displayed on [relevant Amazon Site(s), as applicable] at the time of purchase will apply to the purchase of this product.)
DMC 117F25HDC Embroidery Floss Pack 8.7yd, Home Decor 36/Pkg
$22.99 (as of June 30, 2025 13:06 GMT -04:00 - More infoProduct prices and availability are accurate as of the date/time indicated and are subject to change. Any price and availability information displayed on [relevant Amazon Site(s), as applicable] at the time of purchase will apply to the purchase of this product.)
Brother Persona PRS100 Single Needle Embroidery Machine with 4-Spool Thread Stand and Free Arm Embroidery
$3,999.99 (as of June 30, 2025 13:06 GMT -04:00 - More infoProduct prices and availability are accurate as of the date/time indicated and are subject to change. Any price and availability information displayed on [relevant Amazon Site(s), as applicable] at the time of purchase will apply to the purchase of this product.)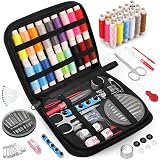
Coquimbo Sewing Kit Gifts for Mom Grandma Women Men Adults Kids Teen Beginner Traveler, Portable Sewing Supplies Accessories Contains Thread, Needles, Scissors, College Dorm Room Essentials (Black, M)
$5.98 (as of June 30, 2025 11:04 GMT -04:00 - More infoProduct prices and availability are accurate as of the date/time indicated and are subject to change. Any price and availability information displayed on [relevant Amazon Site(s), as applicable] at the time of purchase will apply to the purchase of this product.)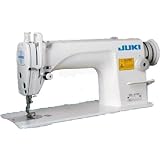
JUKI DDL-8700 Industrial Straight Stitch Sewing Machine
$888.99 (as of June 30, 2025 13:06 GMT -04:00 - More infoProduct prices and availability are accurate as of the date/time indicated and are subject to change. Any price and availability information displayed on [relevant Amazon Site(s), as applicable] at the time of purchase will apply to the purchase of this product.)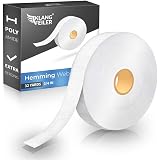
Klangfeiler® Hemming Tape - 3/4 INCH x 32 Yards - Extra Strong - Iron-On Hem Tape Adhesive
$8.99 (as of June 30, 2025 11:04 GMT -04:00 - More infoProduct prices and availability are accurate as of the date/time indicated and are subject to change. Any price and availability information displayed on [relevant Amazon Site(s), as applicable] at the time of purchase will apply to the purchase of this product.)