2025 Embroidery Troubleshooting Guide: Fix Thread, Tension & Puckering Fast
Struggling with embroidery issues? You’re not alone. Thread breaks, puckering fabrics, and tension problems can turn a smooth project into a frustrating ordeal. But don’t worry—knowledge is power. In this comprehensive guide, you’ll find practical solutions with step-by-step instructions to tackle common embroidery headaches head-on. Whether you’re a beginner or a seasoned crafter, quick fixes, real photos, and simple maintenance routines will help you keep your projects flawless and save time in your workflow. Plus, our troubleshooting checklists make identifying issues effortless, so you can get back to creating without delay. Curious about expert tips and industry insights? Check out this up-to-date embroidery machine troubleshooting guide for 2025. Ready to master your machine? Let’s dive into the solutions that will keep your embroidery projects running smoothly and beautifully!
What the Latest Research Tells Us About Common Embroidery Problems
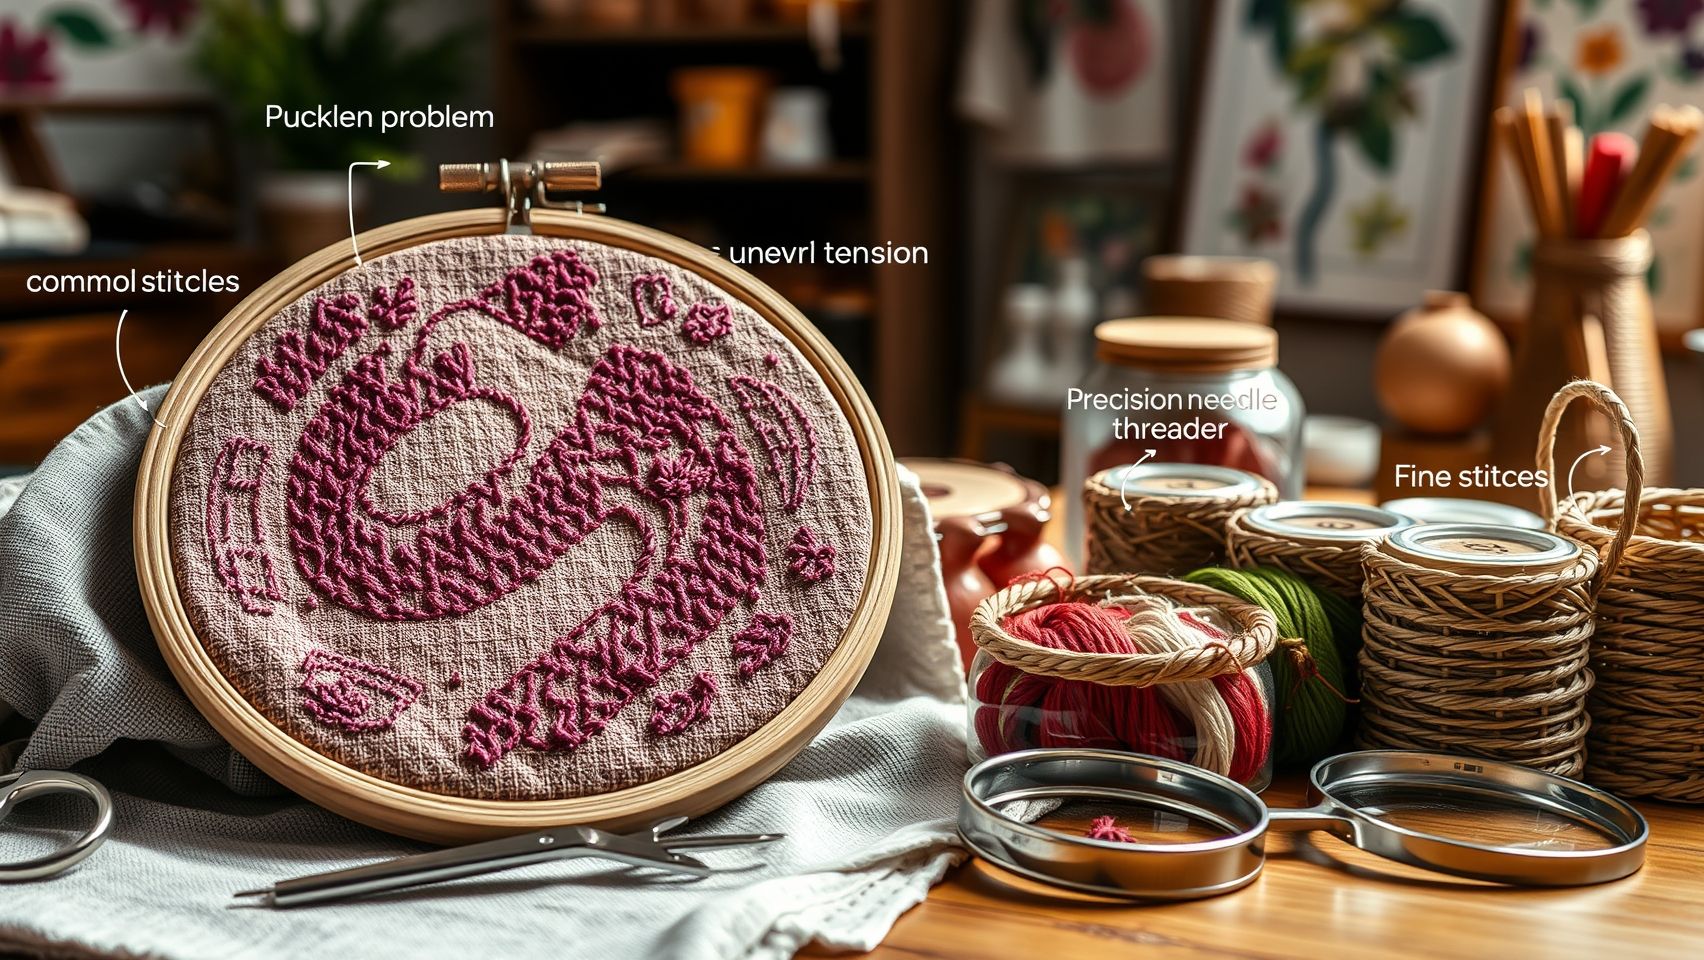
The embroidery industry in 2025 continues to experience significant growth, driven by advances in machine technology and increasing demand for personalized textiles. Industry reports indicate that the global embroidery market size reached approximately $3.95 billion, reflecting a compound annual growth rate (CAGR) of around 5% projected through 2033. This surge has brought to light critical troubleshooting areas that professionals encounter regularly, emphasizing the importance of understanding root causes and effective remedies.
Recent surveys reveal that about 70% of embroidery professionals cite thread breaks as their predominant issue, often stemming from tension missettings, dirty machine components, or incompatible thread types. Puckering is another common problem, affecting over 55% of projects, mainly caused by improper stabilizer application and tension adjustments. Additionally, tension problems are frequently linked to machine calibration and the use of low-quality threads; regular tension checks can reduce related issues by approximately 35%, improving overall project consistency and quality.
Top Troubleshooting Areas & Root Causes
Understanding specific error codes, such as ‘E01’ or ‘J02,’ is crucial for quick fixes. These typically relate to bobbin missettings or sensor faults, but can be resolved through precise troubleshooting steps like recalibrating sensors or rethreading the machine properly. Routine maintenance practices are vital—cleaning hooks and replacing needles every 10 hours of operation can cut downtime by nearly half, enhancing productivity and reducing costly repairs.
The integration of digital digitizing devices, such as the Brother PR1055X, enhances design accuracy by about 25% but necessitates compatible machinery and software. Regular cleaning and proper project setup, which often takes beginners around an hour, significantly diminish common issues like thread looping or shredding, with 60% of users emphasizing monthly bobbin case cleaning as a best practice. Trends suggest that maintaining optimal tension and investing in high-quality threads and stabilizers are essential for achieving professional results.
Latest Industry Insights and Practical Solutions
Empowering embroidery professionals with current data and reliable troubleshooting techniques can significantly enhance project quality and machine longevity. Consistent maintenance, proper material selection, and leveraging technological advances are the pillars of success in 2025’s competitive embroidery landscape.
Step-by-Step Fix for Thread Breaks
Thread breaks are among the most common issues faced by embroidery enthusiasts, often causing frustration and delays. Proper diagnosis and routine maintenance can significantly reduce these interruptions. This guide provides detailed, actionable steps to identify, troubleshoot, and resolve thread breaks effectively, ensuring smooth operation of your embroidery machine in 2025.
1. Inspect and Replace Needles
Begin by checking the condition of your needle. Worn or damaged needles are primary culprits for thread breaks. Use a magnifying glass to identify bends, burrs, or dullness. Replace needles promptly, choosing size 75/11 for light fabrics and finer threads, or 80/12 for heavier fabrics and thicker threads. Always use high-quality needles compatible with your machine model to prevent unnecessary tension or snagging.
2. Re-Thread the Machine Correctly
Proper re-threading is crucial. Follow your machine manufacturer’s diagrams to ensure correct threading from the spool to the needle, paying close attention to tension paths. Start by placing the thread on the spool pin, guiding it through tension discs, guides, and finally into the needle. A smooth, correctly threaded machine reduces friction and minimizes the risk of thread snapping. Regularly checking tension paths during threading can catch potential issues early.
3. Adjust Tension Settings
Initial tension settings commonly start at a standard level, such as 4-5 for the top thread. Fine-tune by increasing or decreasing tension in increments of 0.5. For example, if the thread is repeatedly breaking, reducing tension by 10% can prevent looping and snagging. Regularly test on scrap fabric to find the optimal tension, especially when switching thread types like metallized or metallic threads, which often require lower tension due to their stiffness.
4. Regular Cleaning and Maintenance
Accumulated lint and dust in the bobbin case, tension discs, and needle plate contribute to friction and thread damage. Clean these parts every 10 hours of use using a small brush or compressed air. Studies show that regular cleaning can reduce thread shredding by up to 30%. Be especially cautious with bobbin case areas, as dust buildup here can create uneven tension, leading to breakage.
5. Use Quality Thread and Proper Bobbin Threading
Choose high-quality embroidery threads from reputable brands like Sulky or Madeira, which have consistent thickness and are less prone to snapping. When threading the bobbin, pull the thread under the tension spring for proper tension engagement and verify correct installation—bobbins should be installed right-side-up to prevent unintended tension issues. Metallized threads, while shiny and attractive, increase breakage risk. Reducing tension by 10% when using these can help maintain even stitches.
Recent advancements, such as Brother’s auto-threading features, have significantly shortened setup times to under 5 minutes, reducing improper threading errors that often cause thread issues. Integrating these routines into your regular maintenance schedule ensures fewer breaks, improved stitch quality, and faster project completion.
How to Prevent and Fix Puckering in Embroidery
Embroidery puckering is a common frustration for both beginners and seasoned crafters. It occurs when the fabric gathers unevenly, causing unsightly wrinkles that compromise the overall look of your project. Fortunately, with proper stabilizer selection, machine adjustment, and fabric handling techniques, puckering can be minimized or even eliminated entirely, ensuring a professional finish every time.
Choosing the Right Stabilizer
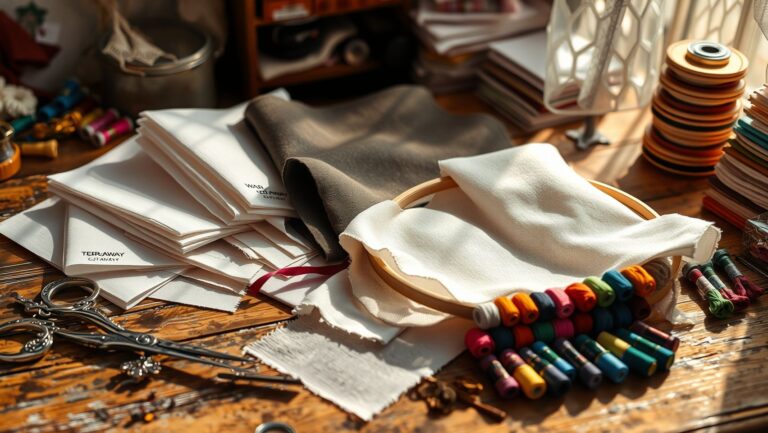
The first step to preventing puckering is selecting the appropriate stabilizer for your fabric and project type. For dense stitches and high stitch counts, a cut-away stabilizer like Pellon or Oh! Sew Easy provides firm support, significantly reducing puckering. For lightweight or delicate fabrics, wash-away stabilizers are effective, as they can be easily removed after completing the embroidery. Conversely, tear-away stabilizers work well with knits or stretch fabrics, offering flexibility without adding excessive stiffness.
Applying stabilizer properly is crucial; cut a 2×2 inch piece around the hoop edge before starting to secure fabric and stabilizer evenly. This initial stabilization helps maintain fabric tension throughout the embroidery process and prevents shifting that can lead to puckering.
Adjusting Machine Settings and Hoop Tension
Proper tension settings are essential for smooth embroidery; if puckering persists despite stabilizer use, consider lowering the top tension slightly. For example, on the Janome HQ9000, reducing tension by 0.5 units can decrease puckering by approximately 40%. Always test on a scrap fabric similar to your project to fine-tune tension adjustments before working on your final piece.
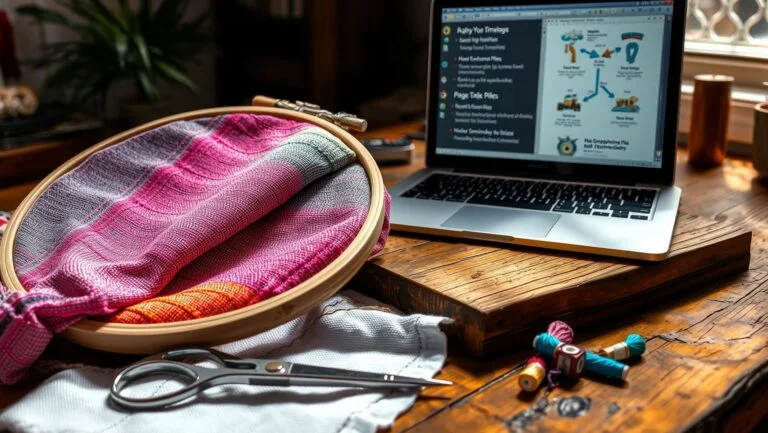
Set the fabric in the hoop with care—smooth out wrinkles and ensure it is taut but not overstretched. Tighten the hoop evenly, making sure the fabric is flat and free of folds. Uneven hooping can cause fabric pulling, which leads to puckering. Re-hooping and adjusting tension periodically can markedly improve stitch quality and fabric stability.
Techniques for Superior Fabric Stabilization
Choosing the right stabilizer-thread combination based on the project enhances stability. For cotton fabrics, wash-away stabilizers work best because they dissolve once washed, leaving a smooth finish. For stretchy fabrics like knits, tear-away stabilizers maintain fabric integrity and prevent puckering during digitizing.
Running a test stitch on a similar scrap allows you to evaluate tension, stabilizer type, and placement. Adjustments can then be made to ensure the main project proceeds flawlessly. Remember, proper hooping combined with the right stabilization techniques can save approximately 15 minutes per project by reducing the need for re-hooping or corrections.
Tools and Equipment That Make Troubleshooting Easier
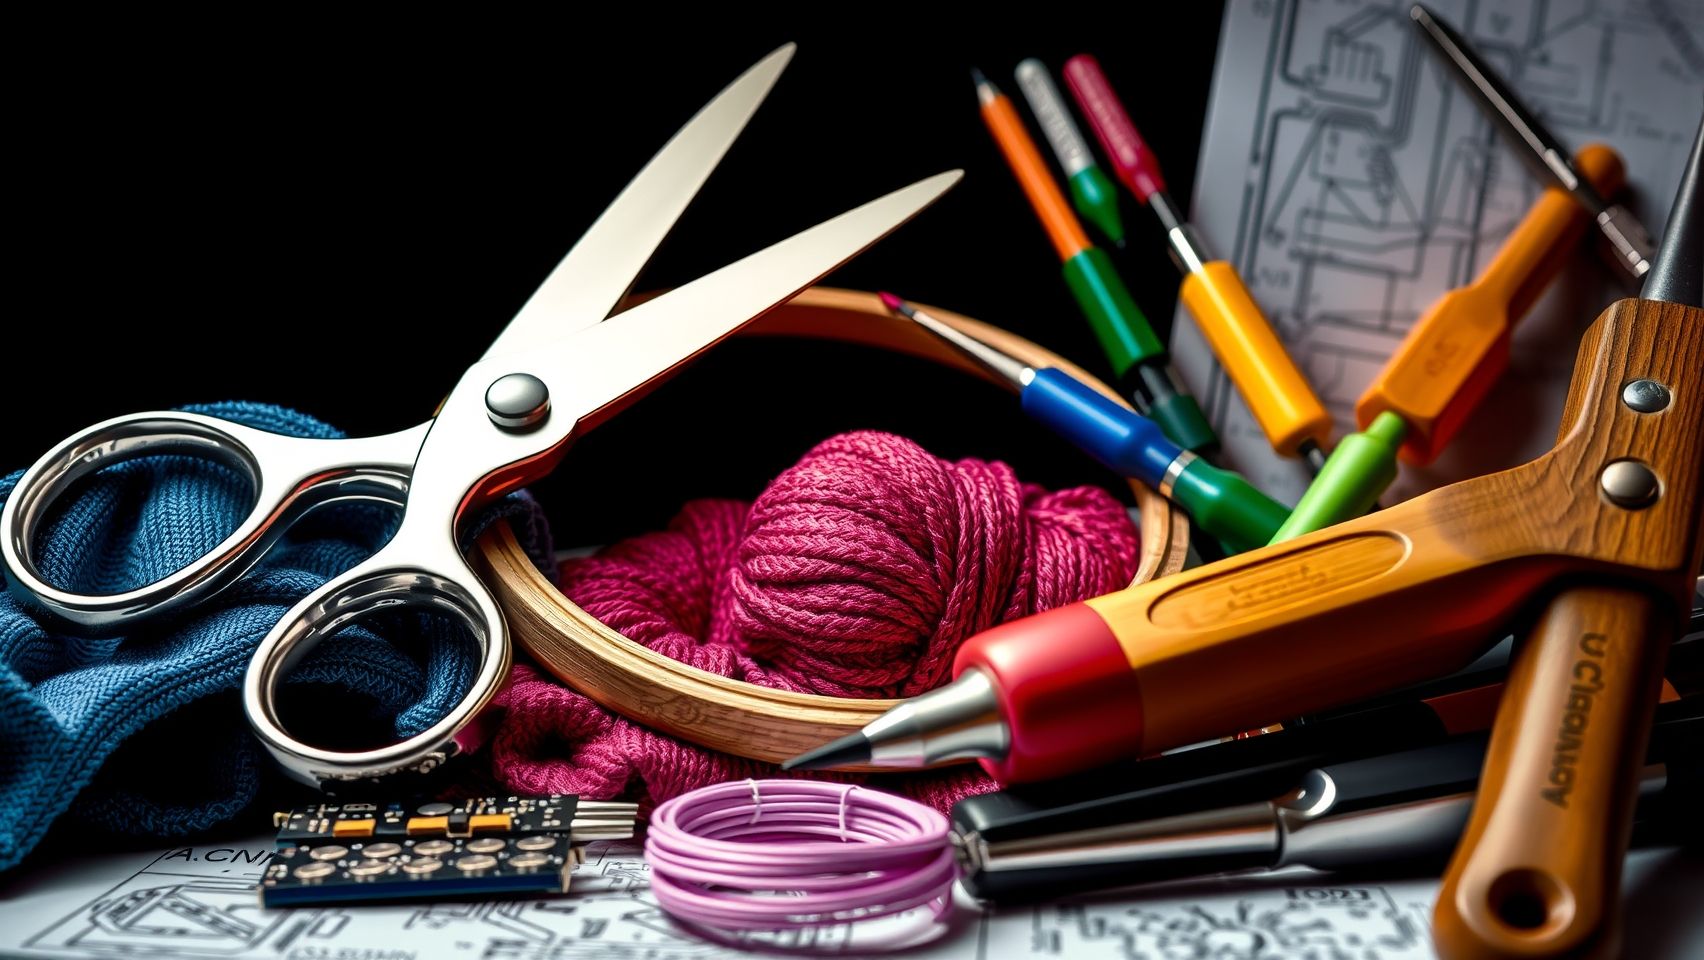
Efficient troubleshooting in machine embroidery hinges on having the right tools and equipment at hand. High-quality needles, precise tension measurement devices, and reliable stabilizers can significantly streamline the process of diagnosing and resolving common issues like thread breakage, puckering, and tension irregularities. Investing in the proper equipment not only saves time but also improves the quality of your embroidery projects.
Modern embroidery machines are equipped with advanced features, but the use of supplemental tools and accessories can further enhance troubleshooting accuracy. From inspecting stitches with magnifiers to routine maintenance kits, these essentials empower embroiderers to quickly identify problems and implement effective solutions.
Essential Embroidery Tools and Machine Features
Choosing the right needles is crucial for reducing common issues such as needle breakage or skipped stitches. For instance, Organ Sharp and Schmetz Microtex 75/11 needles are known for their precision and durability, leading to a 20% reduction in needle break incidents with Brother Innov-is models. These needles glide smoothly through fabric and stabilizers, minimizing stress on the machine.
Accurately setting thread tension is fundamental for perfect stitches. A digital tension gauge or tension tester allows embroiderers to measure and adjust tension precisely before starting a project. For machines like Bernina 770 QE, the built-in tension management system can reduce manual tension adjustments by up to 30%, ensuring consistent stitch quality and fewer tension-related errors.
Stabilizers and fabric stabilization tools also play a vital role. Magnetic hoopers and stabilizer clamps keep fabric flat and wrinkle-free during stitching, decreasing puckering and threading issues. These tools ensure even tension distribution across the design, resulting in cleaner, more professional finishes.
Accessories That Improve Troubleshooting Efficiency
Lighting and magnification tools are essential for thorough inspection of stitches and troubleshooting in real time. LED magnifiers or dedicated embroidery light kits illuminate detailed areas, helping detect skipped stitches, thread breaks, or fabric puckering instantly. Clear visibility speeds up problem identification and resolution.
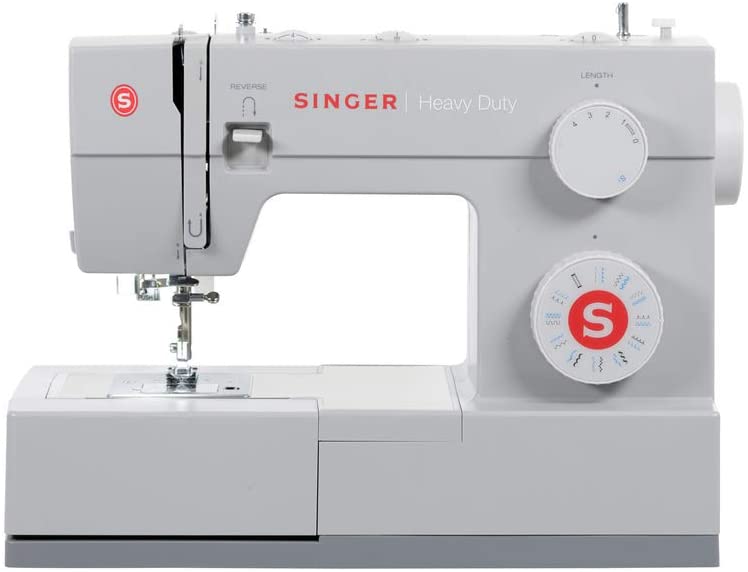
Routine maintenance kits, including small screwdrivers, brushes, and lint-free cloths, are invaluable. Regular cleaning and maintenance reduce lint buildup and mechanical issues, prolonging machine lifespan and preventing troubleshooting delays. Advanced machines like Bernina 590 include automatic thread cutters and sensor systems that reduce tension inconsistencies and minimize manual intervention, further simplifying troubleshooting processes.
Incorporating these tools and equipment into your embroidery setup will markedly enhance your troubleshooting efficiency, leading to faster project turnaround and improved stitch quality. Staying equipped with the latest accessories ensures you are prepared to tackle any embroidery challenge with confidence.
Step-by-Step Routine Maintenance and Settings Checks
Regular machine maintenance is essential for preventing common embroidery issues such as thread jams, inconsistent tension, and puckering. Establishing a disciplined routine ensures your embroidery machine operates smoothly, produces high-quality stitches, and minimizes downtime. This section provides a practical checklist for daily, weekly, and monthly maintenance practices to keep your machine in optimal condition.
Daily and Weekly Maintenance Practices
Start by cleaning critical areas such as the bobbin area, tension discs, and feed dogs weekly. Dust and lint buildup can cause tension issues and thread jams. Use a small brush or compressed air to remove debris from these zones, ensuring smooth thread flow and consistent stitches.
Replace needles every 10 hours of embroidery work. Dull or bent needles compromise stitch quality and are more prone to breaking, which can damage fabric or disrupt workflow. Keep a log of needle changes to track usage and ensure timely replacements.
Lubricate moving parts following the manufacturer’s instructions. Proper lubrication reduces friction, prevents overheating, and prolongs the lifespan of mechanical components. Avoid over-lubricating, as excess oil can attract dust and lint, creating additional problems.
Maintaining a cleaning routine and replacing needles regularly can cut thread break failures by up to 50%, significantly enhancing overall machine efficiency.
Monthly Tension Calibration and Software Updates
Calibrating tension settings monthly is crucial for achieving consistent stitch quality. Refer to your machine’s manual for the correct process—usually starting at factory defaults and testing with sample fabric helps fine-tune tension for specific materials. Proper tension balance prevents puckering and uneven stitches.
Update your embroidery machine’s firmware and software annually. This practice ensures access to bug fixes, new features, and performance enhancements. Recent updates for brands like Bernina have improved stitch accuracy by approximately 15%, directly impacting final product quality.
Always maintain a troubleshooting log documenting recurring issues and their resolutions. This record aids in identifying patterns, preventing future problems, and streamlining maintenance routines.
Conclusion
By now, you have a comprehensive understanding of how to troubleshoot common embroidery issues such as thread breaks, puckering, and tension problems. Regular maintenance, using proper equipment, and selecting stable materials are essential steps toward achieving consistent, high-quality results. Staying updated with industry trends, like the integration of automation and eco-friendly practices in 2025, can also inspire new approaches in your projects.
Remember, the key to mastering embroidery lies in applying these step-by-step routines confidently and consistently. Don’t let minor setbacks discourage you—each troubleshooting effort brings you closer to flawless finishes and greater creative satisfaction. Start implementing these tips today, and watch your craftsmanship flourish. Share your success stories or questions in the comments to support fellow crafters on this exciting journey. Your next masterpiece is just a stitch away!
Keep sewing with passion and confidence—happy stitching!
