Illuminate Your Stitches: Perfect Embroidery Lighting
Have you ever squinted at your embroidery hoop, struggling to distinguish between shades of thread or battling eye strain after hours of stitching? If so, you’re not alone. Proper lighting is as crucial to successful embroidery as sharp needles and quality thread. It can dramatically impact your accuracy, reduce fatigue, and ultimately, elevate the quality of your finished pieces. Imagine the difference between stitching in a dimly lit room, straining your eyes to see each detail, and working under bright, focused light, where every stitch is crisp and clear. The latter makes for a more enjoyable and productive crafting experience.
This post will explore the best lighting setups for embroidery work, covering everything from the essential qualities of good embroidery lighting to the specific types of lamps and bulbs that will help you see your work in a whole new light. We’ll delve into color temperature, brightness levels, and ergonomic considerations, providing you with practical tips and recommendations to create the ideal embroidery environment. Get ready to say goodbye to eye strain and hello to beautifully illuminated stitches!
Understanding the Core Principles of Embroidery Lighting
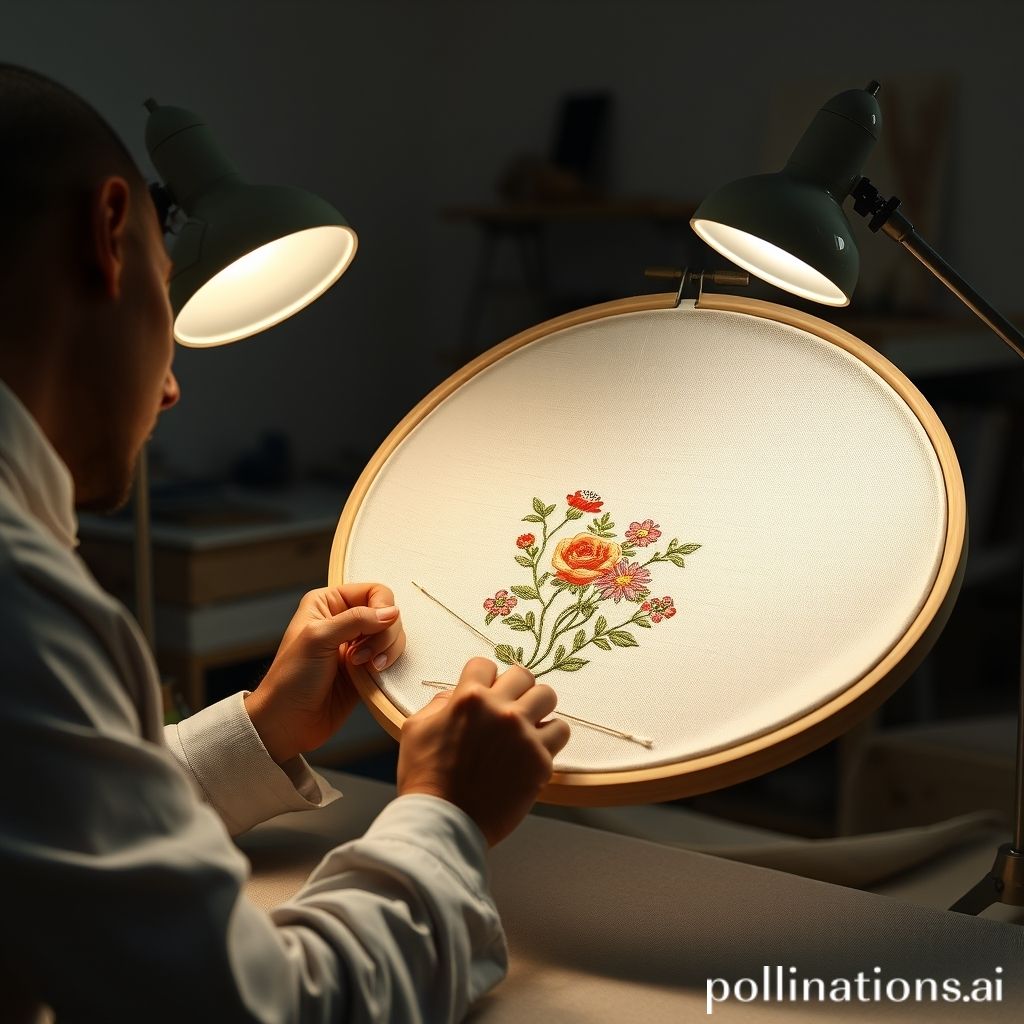
Effective embroidery lighting isn’t just about brightness; it’s about creating an environment that allows you to see colors accurately, distinguish fine details, and minimize eye strain. The two key factors to consider are color temperature and light intensity, also known as lumens or lux. Color temperature, measured in Kelvin (K), determines the warmth or coolness of the light. A lower Kelvin value (around 2700K) produces a warm, yellowish light, while a higher Kelvin value (around 5000K-6500K) produces a cool, bluish-white light. For embroidery, a “daylight” bulb, typically around 5000K-6500K, is ideal, as it mimics natural sunlight and provides the most accurate color representation.
Light intensity is crucial for seeing fine details. “A good rule of thumb is to aim for at least 500 lux (lumens per square meter) on your work surface,” suggests the Craft Yarn Council in their guide to ergonomic crafting. Insufficient light forces your eyes to work harder, leading to fatigue and potential errors. However, too much light can create glare, which is equally detrimental. Diffused light, rather than direct, harsh light, is preferred. Think of it as the difference between working in the midday sun and working in a shaded area on a sunny day. The goal is bright, even illumination without harsh shadows or reflections.
Finally, consider the CRI, or Color Rendering Index, of your bulb. This indicates how accurately the light source renders colors compared to natural sunlight. A CRI of 80 or higher is generally recommended for embroidery, ensuring that your thread colors appear true and vibrant. By understanding these core principles, you can begin to select the right lighting solutions for your specific needs.
The Power of Natural Light: Maximizing Daylight for Embroidery

Whenever possible, harness the power of natural light for your embroidery work. Natural daylight is often the most accurate and comfortable light source for crafting, providing excellent color rendering and minimizing eye strain. “Nothing beats natural daylight for accurate color matching,” notes renowned embroidery artist, Mary Corbet, on her blog, Needlenthread.com. Setting up your embroidery station near a window is the first step towards maximizing this valuable resource.
However, relying solely on natural light presents challenges. The intensity and direction of sunlight vary throughout the day and depending on weather conditions. Direct sunlight can be too harsh, causing glare and fading delicate fabrics. Cloudy days, on the other hand, may not provide sufficient illumination. To mitigate these issues, consider using sheer curtains or blinds to diffuse direct sunlight and maintain a consistent level of brightness. Facing your work area north or east can also help to reduce glare and provide more even lighting throughout the day.
Furthermore, be mindful of the time of day. Early morning and late afternoon light tends to be warmer, while midday light is cooler. These subtle shifts in color temperature can affect your perception of thread colors. Supplement natural light with artificial lighting to maintain consistent illumination, especially during periods of low light or when working at night. A combination of natural and artificial light often provides the best of both worlds, allowing you to enjoy the benefits of daylight while maintaining consistent and controlled illumination.
Task Lighting: Pinpointing Light Where You Need It Most

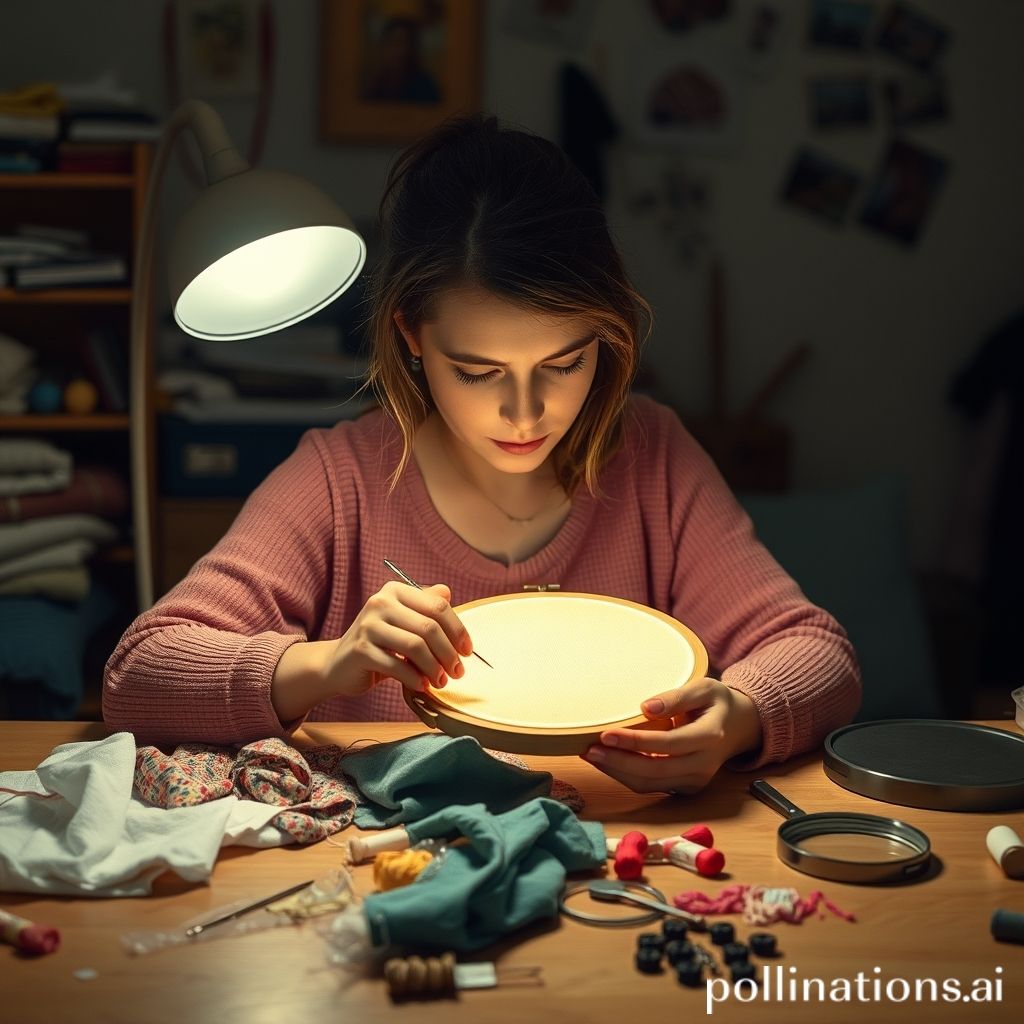
Task lighting, also known as directional lighting, focuses a concentrated beam of light on a specific area, making it ideal for detailed embroidery work. “Task lighting is essential for minimizing shadows and illuminating intricate stitchwork,” explains the ergonomic specialist, Dr. Emily Carter, in her publication on workplace safety. Unlike ambient lighting, which provides general illumination for a room, task lighting is designed to provide bright, focused light exactly where you need it, reducing eye strain and improving visibility.
One popular option for embroidery is the swing-arm lamp. These lamps feature an adjustable arm that allows you to position the light source precisely where needed. Look for models with a flexible gooseneck for maximum adjustability. Another excellent choice is a magnifying lamp, which combines magnification with integrated lighting. This type of lamp is particularly useful for working with intricate designs or for those with visual impairments. Some models even come with multiple magnification levels to suit different tasks.
When choosing a task lamp, consider the type of bulb it uses. LED bulbs are generally preferred for their energy efficiency, long lifespan, and cool operating temperature. They also provide a consistent and flicker-free light. Ensure that the lamp provides sufficient lumens for your embroidery needs and that the light can be easily adjusted to avoid glare. Experiment with different positions and angles to find the optimal setup that illuminates your work area without creating shadows or reflections. Don’t be afraid to try different lighting angles until you find the one that works best. After all, everyone’s eyes are different. By combining task lighting with ambient lighting, you can create a well-lit and comfortable embroidery environment that minimizes eye strain and maximizes productivity.
Ambient Lighting: Creating a Comfortable and Balanced Environment
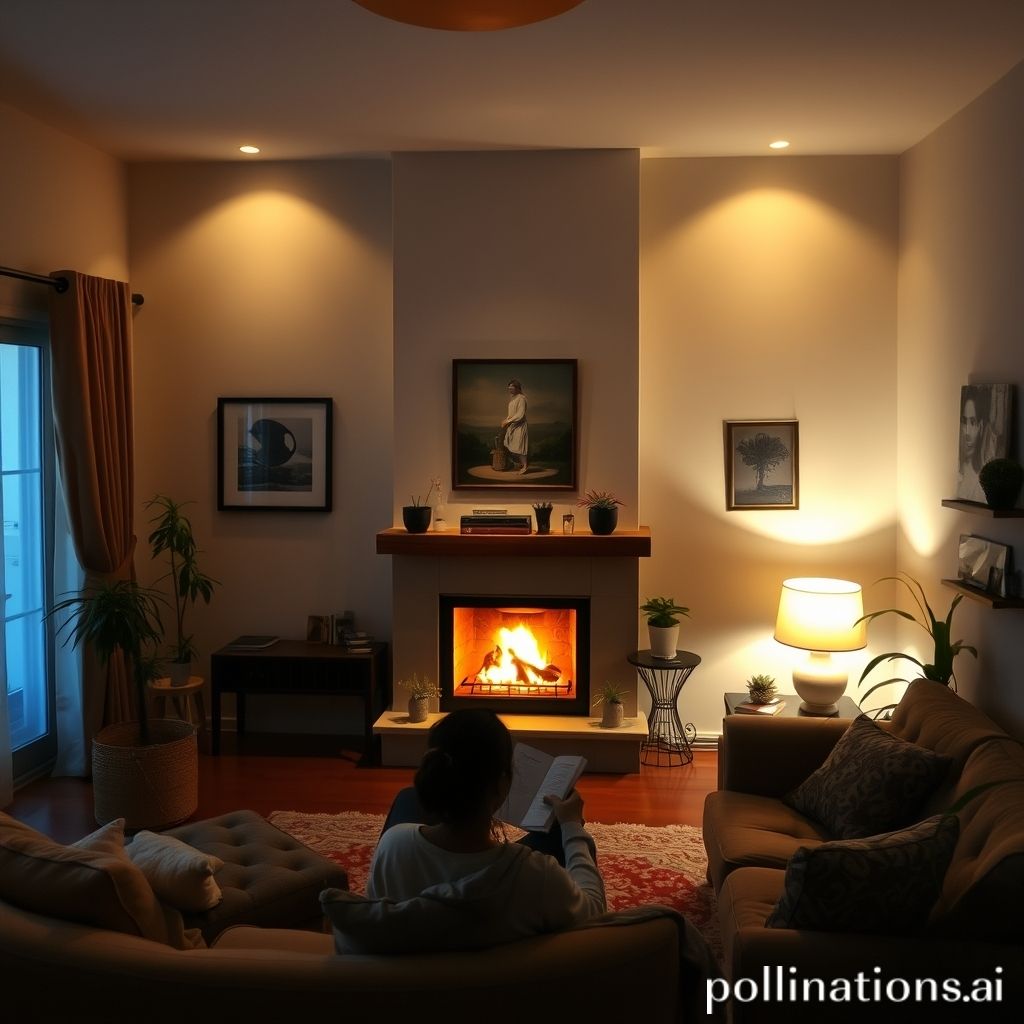
Ambient lighting, or general lighting, provides overall illumination for a room, creating a base level of brightness and setting the mood. While task lighting is crucial for illuminating your embroidery project directly, ambient lighting plays an important role in creating a comfortable and balanced working environment. “Ambient lighting should be soft and diffused, avoiding harsh shadows or glare,” advises interior designer, Sarah Miller, in her guide to home studio setup. Without adequate ambient lighting, the contrast between your brightly lit embroidery hoop and the surrounding darkness can cause eye strain and fatigue.
To create effective ambient lighting, consider using a combination of overhead fixtures, such as ceiling lights or chandeliers, and supplementary lamps, such as floor lamps or table lamps. Dimmable fixtures are particularly useful, as they allow you to adjust the brightness of the room to suit your needs. Aim for a warm, inviting light that complements the task lighting without overpowering it. Avoid using fluorescent bulbs for ambient lighting, as they can produce a harsh, unnatural light that can distort colors and cause eye strain. Instead, opt for LED or incandescent bulbs with a warm color temperature (around 2700K-3000K) to create a cozy and relaxing atmosphere.
The placement of ambient lighting is also important. Avoid positioning light sources directly behind you, as this can cast shadows on your work. Instead, try positioning lights to the side or in front of you to provide even illumination. Experiment with different arrangements until you find a setup that minimizes shadows and glare. Remember, the goal of ambient lighting is to create a comfortable and balanced environment that supports your task lighting and reduces eye strain. Consider the size of your room when implementing ambient lighting. A larger room may require more lighting to effectively illuminate all of the space.
Choosing the Right Bulbs: LED, Halogen, and Incandescent Options
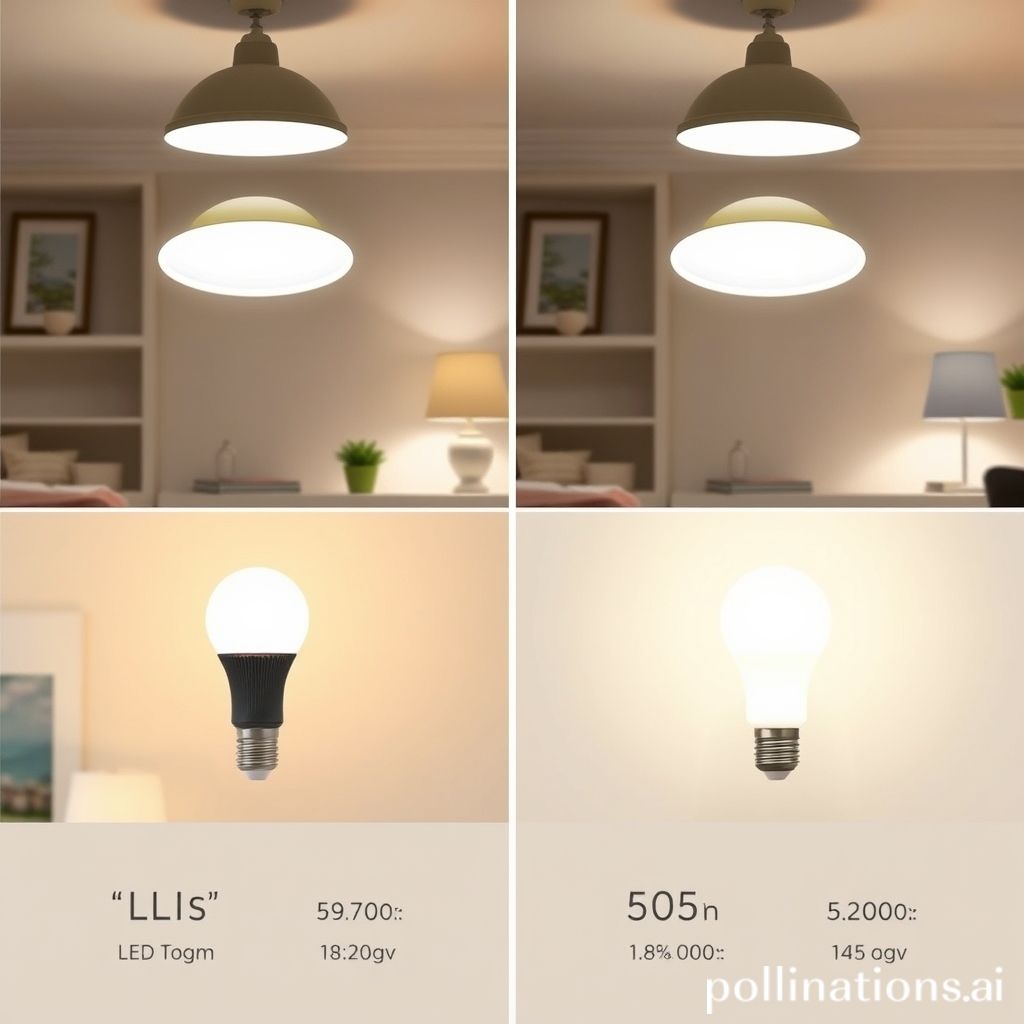
The type of bulb you choose can significantly impact the quality of light in your embroidery space. LED, halogen, and incandescent bulbs each have their own unique characteristics, advantages, and disadvantages. “LED bulbs are the clear winner for embroidery lighting due to their energy efficiency, long lifespan, and consistent light output,” claims the product reviewer, Mark Thompson, in his lighting guide for crafters. LED bulbs consume significantly less energy than halogen or incandescent bulbs, saving you money on your electricity bill. They also last much longer, reducing the need for frequent replacements.
Halogen bulbs provide a bright, white light that is similar to natural daylight. They are a good option for task lighting, but they tend to get hot and consume more energy than LED bulbs. Incandescent bulbs produce a warm, yellowish light that is not ideal for embroidery, as it can distort colors and make it difficult to see fine details. They are also the least energy-efficient and have the shortest lifespan of the three types of bulbs. When selecting bulbs for your embroidery lighting, prioritize LED bulbs with a color temperature of around 5000K-6500K and a CRI of 80 or higher. Look for bulbs that are labeled as “daylight” or “full spectrum” to ensure accurate color rendering.
Additionally, consider the shape and size of the bulb. For task lighting, a reflector bulb or a spotlight bulb can help to focus the light on your work area. For ambient lighting, a standard A-shaped bulb or a globe-shaped bulb can provide more even illumination. Ultimately, the best type of bulb for your embroidery space will depend on your specific needs and preferences. Weigh the pros and cons of each type of bulb carefully before making a decision.
Ergonomics and Lighting: Preventing Eye Strain and Fatigue
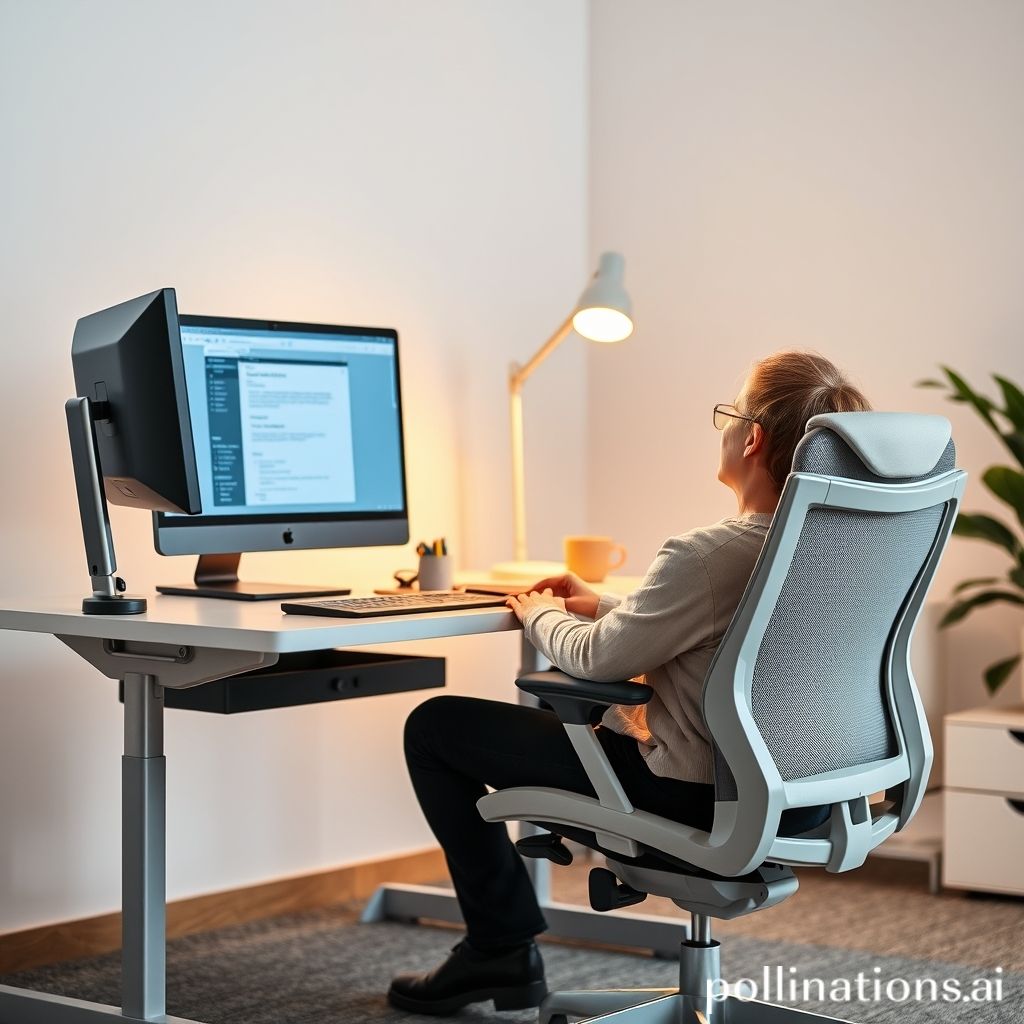
Proper lighting is an integral part of an ergonomic embroidery setup, helping to prevent eye strain, fatigue, and other discomforts. “Ergonomics is about creating a comfortable and efficient workspace that supports your body and reduces the risk of injury,” explains occupational therapist, Dr. Lisa Green, in her guide to ergonomic crafting. When your work area is poorly lit, your eyes have to work harder to focus, leading to eye strain, headaches, and blurred vision. Over time, this can contribute to more serious problems, such as carpal tunnel syndrome and neck pain.
To create an ergonomic embroidery environment, start by adjusting your chair and table to the correct height. Your elbows should be bent at a 90-degree angle, and your feet should be flat on the floor or supported by a footrest. Position your embroidery hoop at a comfortable distance, and use a stand or frame to support the weight of your project. Ensure that your lighting is positioned correctly to provide even illumination without glare or shadows. Take frequent breaks to rest your eyes and stretch your body. The 20-20-20 rule suggests looking at something 20 feet away for 20 seconds every 20 minutes.
Consider using blue light filtering glasses or software to reduce the amount of blue light emitted from your computer or tablet screen. Blue light can disrupt your sleep cycle and contribute to eye strain. Furthermore, be mindful of your posture. Slouching or hunching over your work can put unnecessary strain on your neck and back. Sit up straight, and use a cushion or lumbar support to maintain proper posture. By paying attention to ergonomics and lighting, you can create a comfortable and sustainable embroidery practice that minimizes the risk of injury and maximizes your enjoyment.
Setting Up Your Ideal Embroidery Lighting Station: A Step-by-Step Guide
Creating the perfect lighting setup for your embroidery work doesn’t have to be complicated. By following a few simple steps, you can transform your workspace into a well-lit and comfortable haven for creativity. First, assess your existing lighting situation. “Start by evaluating the amount of natural light available in your workspace and identifying any areas that are too dark or too bright,” recommends lighting expert, David Brown, in his article on home studio design. Determine the type and placement of your current lighting fixtures and identify any gaps in coverage.
Next, select the right types of lamps and bulbs for your needs. Choose LED bulbs with a color temperature of around 5000K-6500K and a CRI of 80 or higher. Consider using a combination of ambient lighting, task lighting, and accent lighting to create a balanced and well-illuminated environment. Position your task lighting to provide direct, focused light on your embroidery project, and use ambient lighting to provide overall illumination for the room. Place your lighting to the side to avoid creating any unwanted shadows.
Experiment with different arrangements to find the optimal setup that minimizes shadows and glare. Use dimmers to adjust the brightness of your lights to suit your needs. Take frequent breaks to assess your lighting and make any necessary adjustments. Remember, the perfect lighting setup is a personal preference. It may take some trial and error to find what works best for you. However, by following these steps, you can create a comfortable and efficient embroidery workspace that enhances your creativity and reduces eye strain. Don’t be afraid to adjust your lighting as needed over time. As you gain experience, you’ll find the perfect configuration.
Conclusion: See Your Craft in a New Light
Embroidery is a craft that demands precision, patience, and a keen eye for detail. By investing in proper lighting, you’re not just illuminating your workspace; you’re investing in your craft, your comfort, and your long-term well-being. We’ve explored the importance of color temperature, light intensity, and CRI, and delved into the benefits of natural light, task lighting, and ambient lighting. You’ve learned how to choose the right bulbs, create an ergonomic workspace, and set up your ideal embroidery lighting station. The key takeaway is that well-lit embroidery is easier on the eyes, and much more fun.
Remember, the perfect lighting setup is a personal journey. What works for one embroiderer may not work for another. Experiment with different arrangements, try different types of bulbs, and don’t be afraid to adjust your lighting as needed. By paying attention to the principles outlined in this post, you can create a comfortable and efficient embroidery environment that enhances your creativity and reduces eye strain. Proper lighting not only makes it easier to see your stitches but also enhances your overall crafting experience.
So, go ahead and illuminate your stitches. Say goodbye to squinting and eye strain, and hello to beautifully illuminated embroidery. With the right lighting, you’ll be amazed at the difference it makes in the quality of your work and the enjoyment you derive from your craft. Your eyesight will thank you, and your embroidery will shine. Now, grab your hoop, thread your needle, and let your creativity shine through the light!
