Which Embroidery Machine Is Best for Beginners in 2025? Clear Steps to Start
Are you eager to dive into embroidery but unsure which machine to choose? You’re not alone! Many beginners feel overwhelmed by the countless options and technical jargon. Choosing the right embroidery machine is crucial to start your creative journey confidently, whether you’re interested in personalized gifts, home decor, or starting a small business.
Recent industry reports indicate that the global embroidery machine market is booming, expected to reach over USD 7.88 billion by 2034, reflecting a growing demand for user-friendly and innovative machines. We’ve tested top contenders like the Brother XR9550PRW and Singer SE300, which offer friendly features for beginners while providing room to grow.
In this complete guide, you’ll discover expert-recommended machines, understanding their features, pros, and cons, along with practical, step-by-step tips to start sewing confidently from day one. Whether you’re just exploring or aiming to master embroidery techniques, we’re here to help you take the first stitch with ease—and excitement.
What the research reveals about top beginner embroidery machines in 2025
Choosing the right embroidery machine for beginners in 2025 involves understanding the key features, ease of use, and growth potential of various models. Recent industry data indicates a robust growth in the craft and embroidery sectors, with a market valuation reaching over USD 1.54 billion in 2024 and projected to expand further. This evolution emphasizes the importance of selecting a machine that balances affordability with functionality, fostering skill development and creativity.
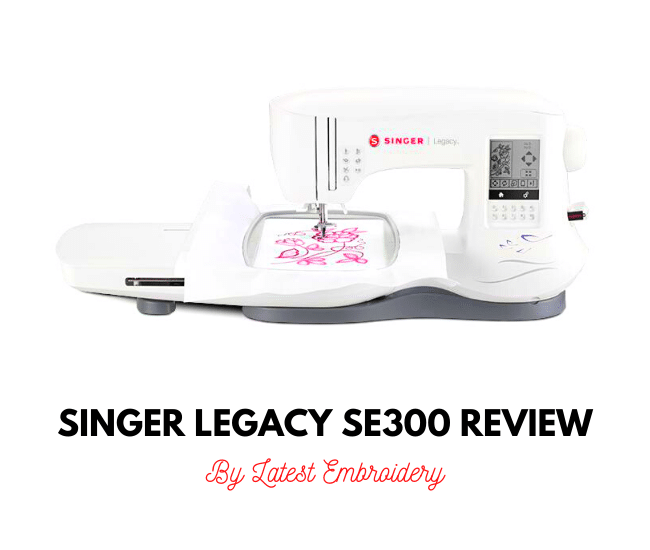
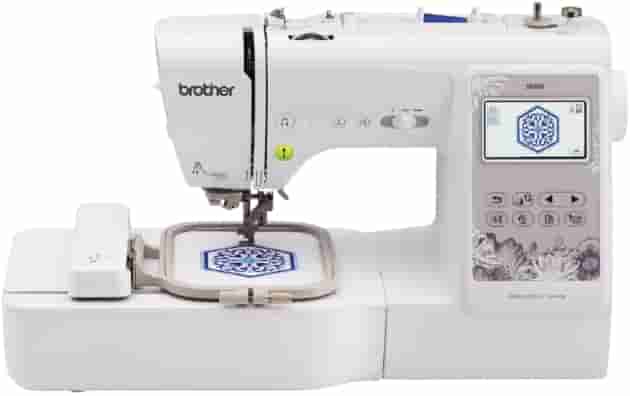
Reviewing the latest models, the Brother XR9550PRW stands out as an ideal beginner-friendly option owing to its intuitive user interface, simple setup process, and automatic features. Priced at around $300, it offers 140 built-in designs, making it accessible for newcomers while providing room to explore various styles. Its setup difficulty rating is just 2 out of 5, thanks to straightforward instructions and smart design features, including automatic thread cutting and built-in tutorials.
Summary of the top tested models
Another notable entry is the Singer SE300, valued at approximately $380. It boasts 160 high-quality built-in stitches, offering a wider variety for users eager to expand their skills. Although its initial setup is slightly more complex, it provides advanced design capabilities that support intermediate growth. Both the Brother XR9550PRW and Singer SE300 share features like stitch guides and LED lighting to prevent common beginner mistakes such as improper hooping or tension issues.
Among the other eight models evaluated, the Janome MOD 15 and Brother PE800 also perform well in ease of use and offer diverse design options at similar price points. Most new models include automatic thread trimming, tutorial support, and beginner-preservation features, making them practical choices for those starting in embroidery.
When selecting the right machine, consider your immediate needs—like design variety or ease of setup—and your future growth plans. If affordability and simplicity are priorities, the Brother XR9550PRW provides excellent value, whereas the Singer SE300 suits enthusiasts looking to deepen their craft with more complex designs. Avoid common pitfalls such as ignoring practice stitches, as clear tutorials can help prevent these mistakes and accelerate skill development.
Step-by-step: Setting up your embroidery machine for first projects
Getting started with a new embroidery machine can seem daunting, but a systematic setup process ensures smooth projects and minimizes mistakes. Proper preparation sets a solid foundation for successful embroidery, boosting confidence even for complete beginners. In this guide, we’ll walk through the essential steps to assemble, thread, and prepare your machine for your initial embroidery projects.
Unpack and assemble your machine according to the manual
Begin by carefully unpacking all components and accessories included in your embroidery machine package. Follow the manufacturer’s manual to assemble the machine correctly. Pay close attention to attaching the embroidery arm, securing the power cord, and assembling any optional parts like extension tables or additional hoops. Ensuring the machine is stable on a flat surface is crucial; check the base for firmness and adjust if necessary to prevent wobbling during operation.
Check the stability of the base and attach the embroidery hoop securely
Once the machine is assembled, verify that it sits firmly on your workspace. The stability of the base reduces vibrations that can distort stitches. Attach the embroidery hoop securely, making sure it is aligned and tightened properly to hold fabric taut. Proper hooping prevents puckering and ensures even stitching. For beginners, consulting visual guides or diagrams provided in the manual can help achieve optimal hoop placement.
Thread the machine correctly
Correct threading is vital to avoid tension issues that can cause stitching problems. Follow your machine’s threading path precisely, typically starting from the bobbin to the needle. Use the built-in threading guides or diagrams available on many machines. For enhanced tension control, start with equal tension settings—around 4-5/10—ideal for beginners. If your machine offers an automatic thread cutter, enable it to save time and improve workflow. Perform a test stitch on scrap fabric to check tension and stitch quality, adjusting the tension dial if necessary.
Install compatible design software and connect your machine
Modern embroidery machines often come with proprietary software such as Brother CanvasWorkspace or Singer Creative Design. Install the software on your computer or tablet following the manufacturer’s instructions. Connect your machine via USB or Wi-Fi, ensuring a stable link for seamless design transfer. Running a connection test helps confirm that your device recognizes the machine correctly, reducing setup issues during your projects.
Select a pattern and perform test stitching
Start with an easy, built-in design from your machine’s library to familiarize yourself with its interface. Load the pattern and preview it on your screen. Before stitching on your actual fabric, conduct a test on scrap material. Check the stitch density, tension, and speed, making adjustments as needed for optimal results. Gradually, practice multiple stitches—each session increasing your confidence and skill level. Remember, patience and practice are key to mastering embroidery.
Troubleshooting tips for common issues
If you encounter skipped stitches or uneven tension, re-thread the machine carefully, ensuring no skips or loops. Adjust the bobbin tension slightly if necessary—this can often resolve tension inconsistencies. Always test on scrap fabric after making adjustments to confirm improvements. As you gain experience, troubleshoot more advanced issues such as needle deflection or fabric puckering, utilizing your machine’s tutorials and guides for guidance. Consistent practice and attention to detail will make your first embroidery projects rewarding and successful.
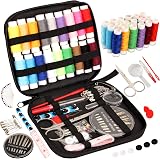
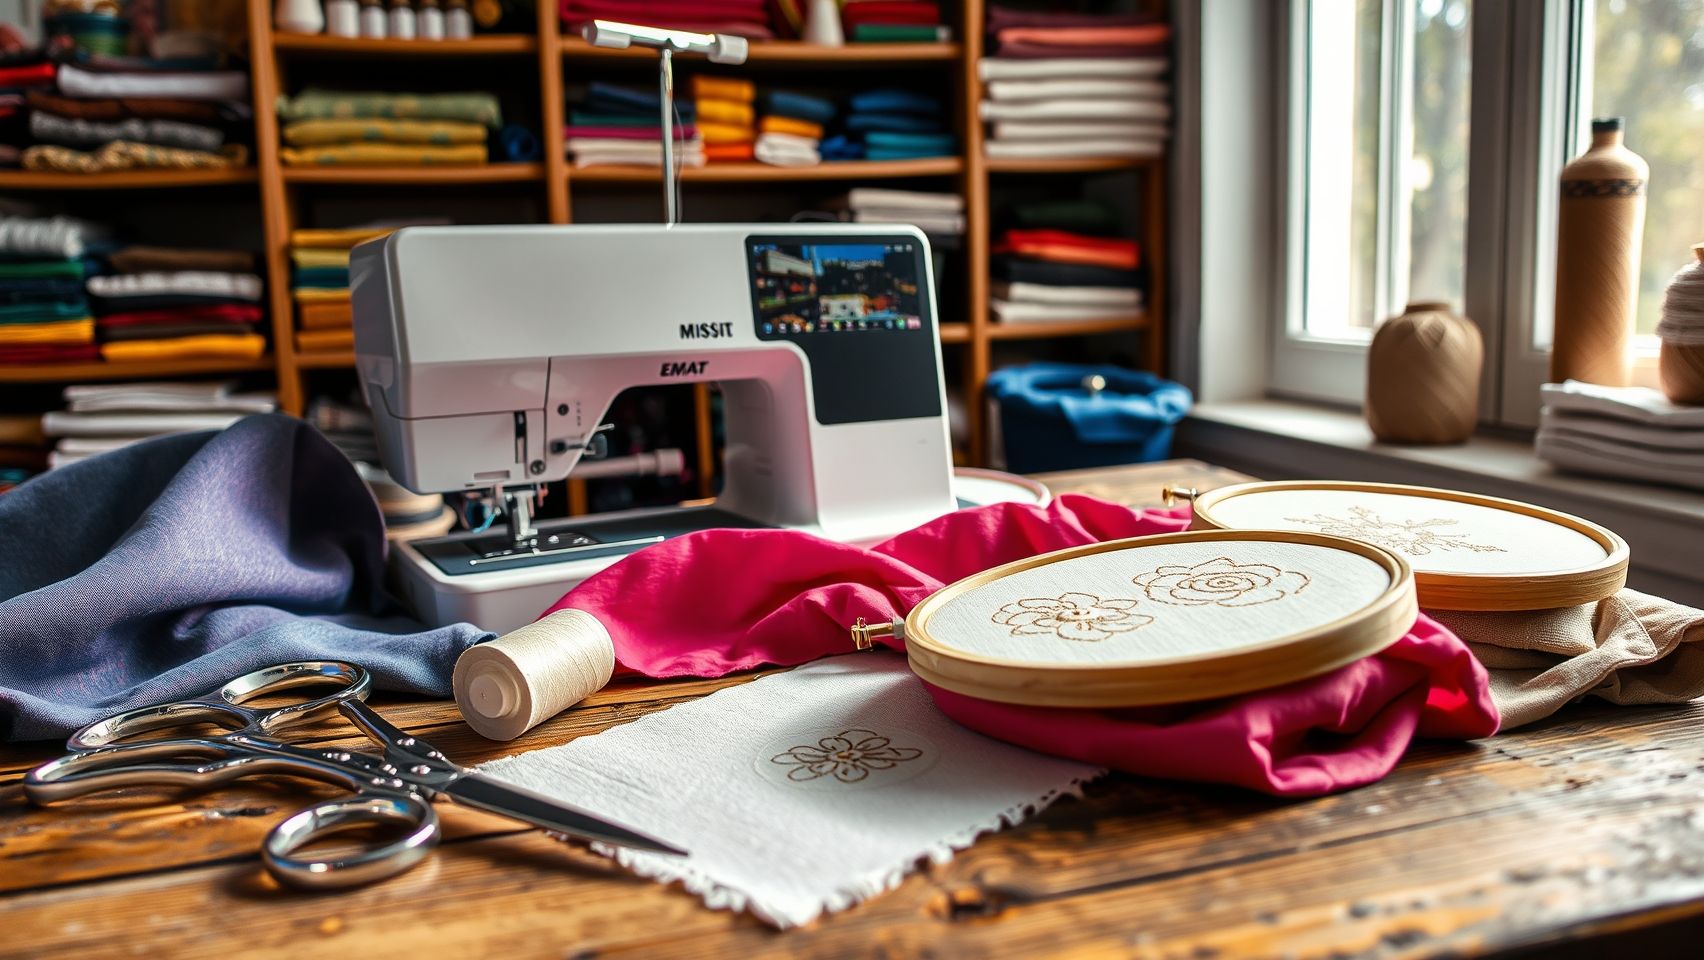
Essential tools and accessories for beginner embroiderers
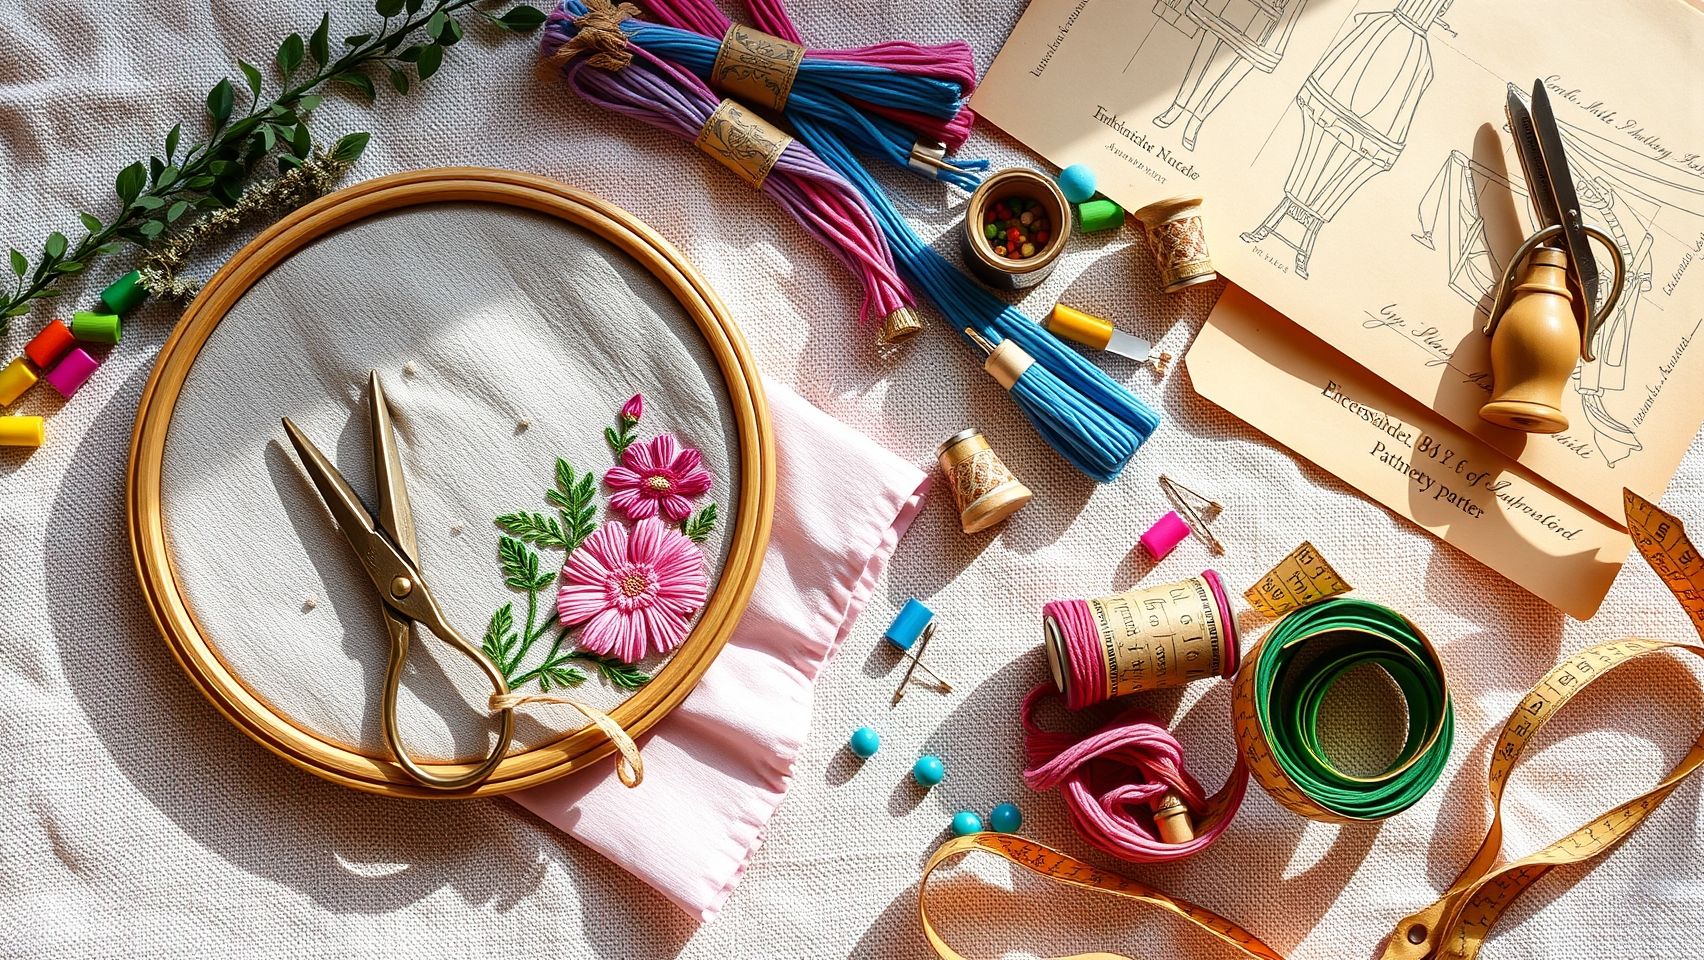
Starting your embroidery journey in 2025 requires selecting the right tools and supplies to ensure smooth projects and professional-looking results. The key tools include embroidery hoops, threads, stabilizers, and design software. Making informed choices about these essentials will help you achieve beautiful, consistent embroidery pieces while saving time and reducing frustration.
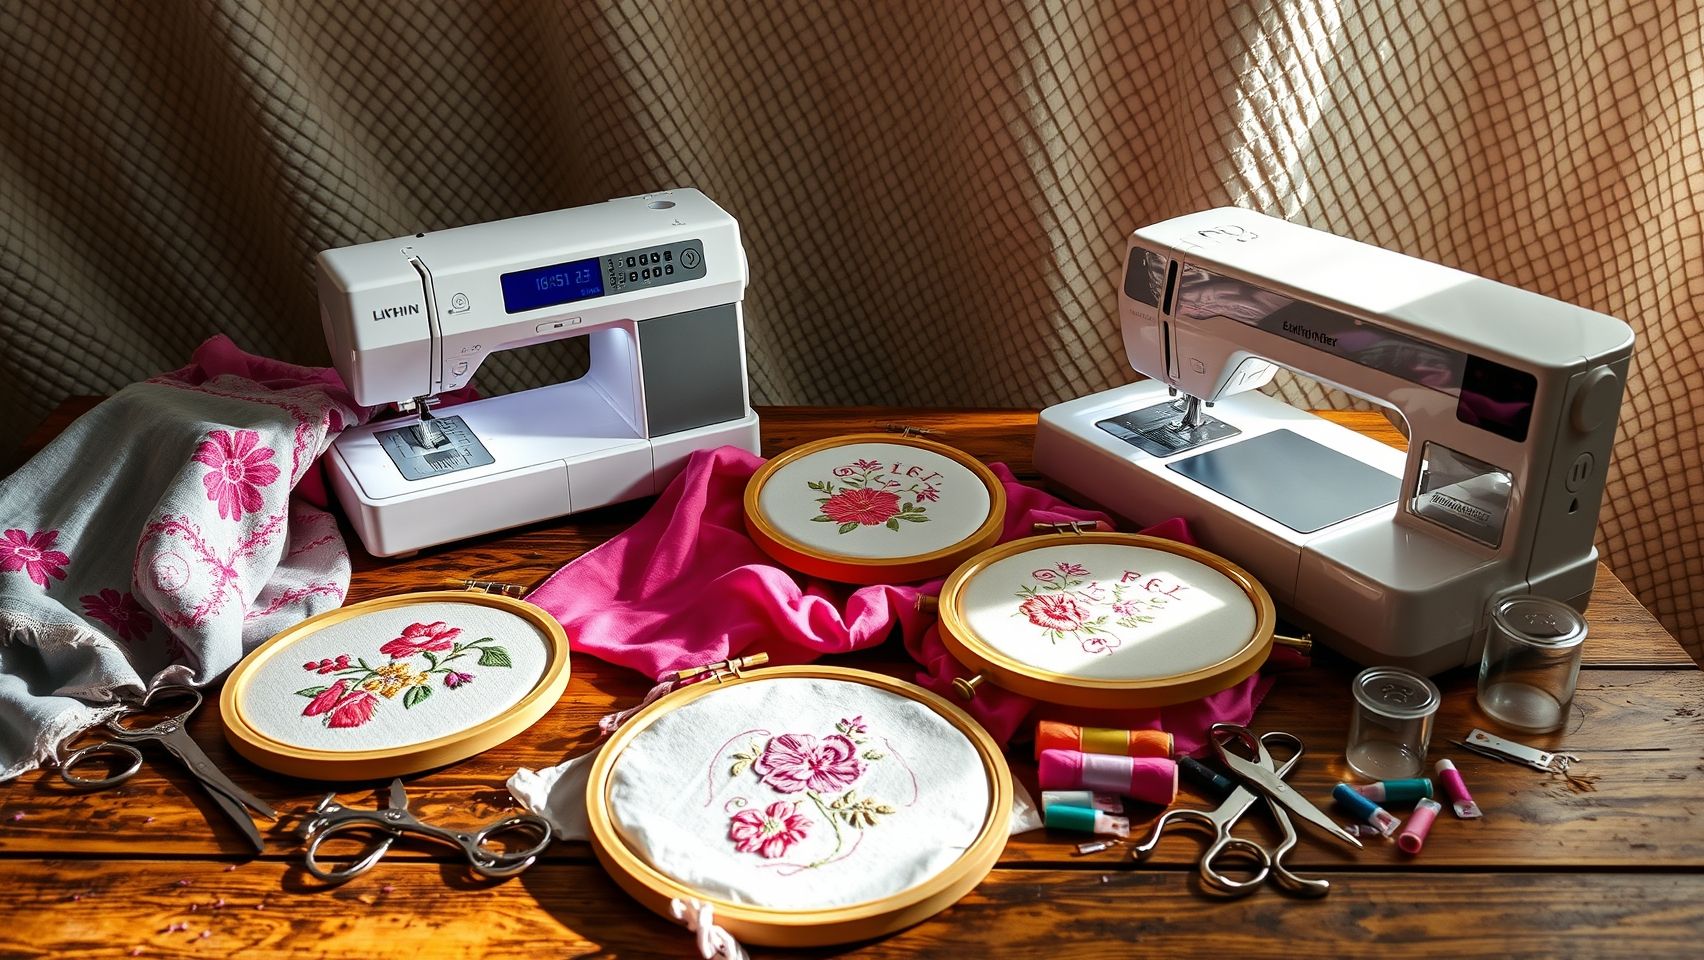
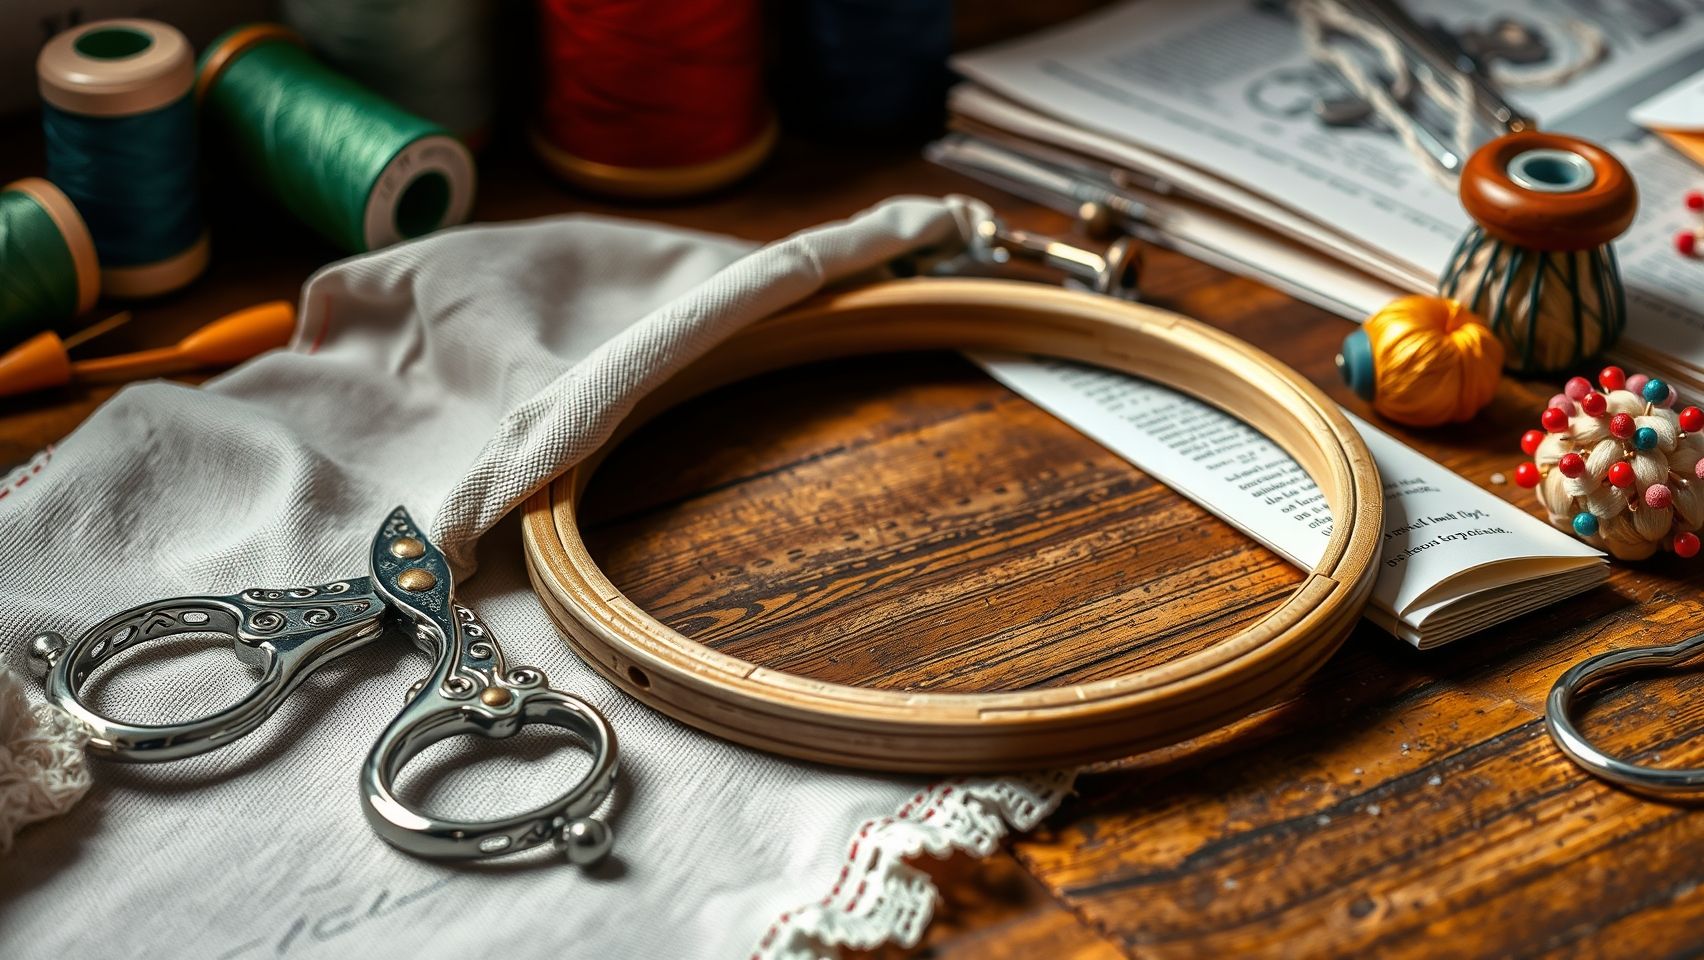
Choosing the Right Embroidery Hoops
For beginners, versatile hoop sizes like 5×7 inches are ideal, accommodating a wide range of projects from initials to patches. Larger hoops, such as 6×10 inches, are perfect for quilts or apparel, providing ample space for complex designs. Consider magnetic hoop attachments for quicker setup and easier handling, especially for small or delicate fabrics.
Selecting High-Quality Threads
High-quality embroidery threads like polyester or rayon are recommended for durability and vibrant colors. Polyester threads typically cost around $2 per spool and are resistant to fading and wrinkling, making them suitable for everyday use. Rayon threads offer a luxurious sheen, ideal for decorative projects, but may be slightly more expensive. Choosing the right thread based on your fabric and project requirements is essential for professional results.
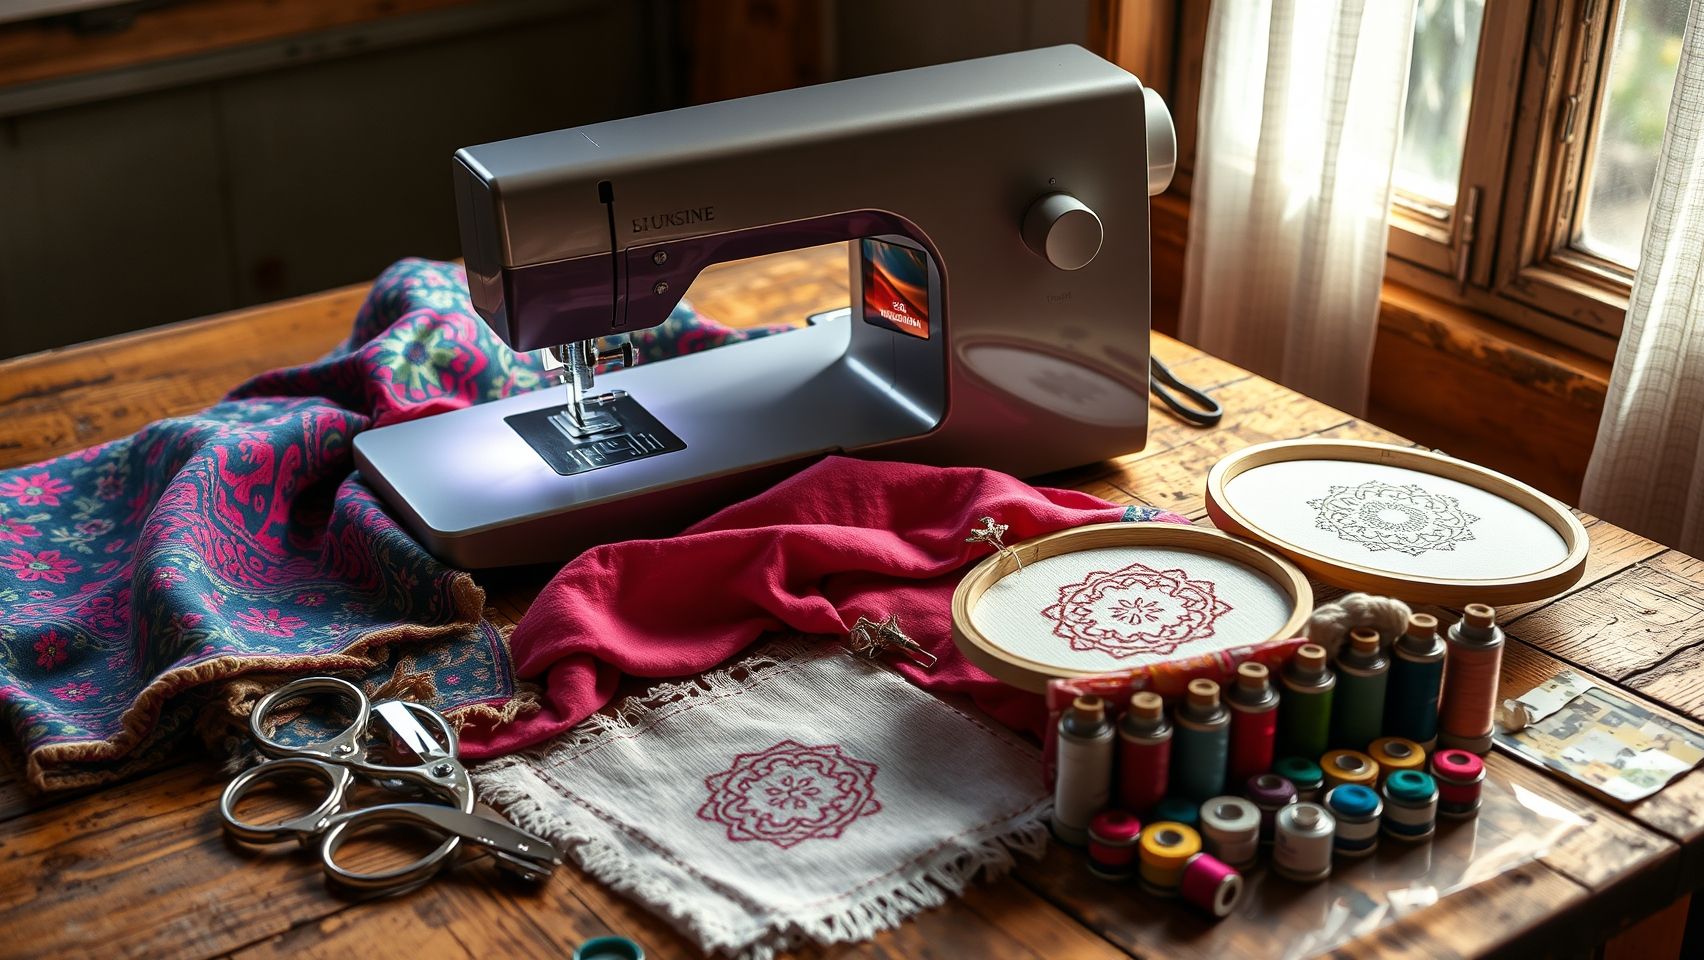
Using Stabilizers Effectively
Stabilizers are crucial for preventing puckering and maintaining fabric integrity during embroidery. Tear-away stabilizers, priced approximately at $10 per roll, work well on lightweight fabrics, allowing for easy removal after stitching. Cut-away stabilizers are better suited for heavier materials, providing extra support and durability. Selecting the appropriate stabilizer ensures your designs stay crisp and neat.
Additional Tools and Software
Automatic needle threaders and sharp scissors streamline setup and finishing. Basic digitizing software like Brother CanvasWorkspace, starting at around $50, simplifies pattern customization and allows beginners to create personalized designs effortlessly. Investing in these tools can significantly enhance your embroidery experience and expand your creative possibilities.
By carefully selecting these essential tools and accessories, beginner embroiderers can confidently start their projects with high-quality supplies tailored to their needs, ensuring beautiful results and an enjoyable crafting journey in 2025.
Common beginner mistakes and how to avoid them
Starting with embroidery can be exciting, but beginners often encounter some common pitfalls that can impact the quality and efficiency of their projects. Recognizing these errors early and following simple routines can save time, frustration, and material costs, setting the foundation for success.
In this section, we’ll explore frequent mistakes like incorrect hooping, tension issues, and neglecting stabilizers, providing actionable solutions and routine practices to help beginners achieve professional results quickly and with confidence.
Incorrect hooping causes puckering
One of the most common errors beginners make is improperly hooping fabric, leading to puckering and uneven stitches. To prevent this, always ensure the fabric is taut within the hoop and the hoop is tightly secured. Choose the appropriate hoop size for your design and double-check the tightness before starting to stitch. Routine checks of hoop tension and fabric placement can significantly improve stitch quality.
Tension errors
Tension issues often cause distorted or skipped stitches. Start by testing tension settings on scrap fabric similar to your project. Make incremental adjustments, tightening or loosening the upper tension slowly and testing after each tweak. Modern embroidery machines sometimes offer automatic tension adjustment features, but manual fine-tuning remains crucial for precision work.
Ignoring stabilizers leads to fabric warping
Stabilizers are essential to maintain fabric stability during embroidery. Ignoring their use can cause fabric to warp, shrink, or stretch, ruining the design. Always use the recommended stabilizer for your project type—whether cut-away, tear-away, or water-soluble—based on fabric and design complexity. Proper stabilizer application ensures clean edges and crisp stitches.
Starting with complex designs
A common mistake is diving into intricate patterns too soon, which can be overwhelming. Beginners should start with simple, small designs that focus on basic stitches. As skills improve, gradually move to more complex projects, building confidence and mastering machine controls step-by-step.
Neglecting machine maintenance
Regular maintenance prevents stitching issues. Clean the bobbin case, remove lint, and check for thread debris according to your machine’s manual. Routine cleaning ensures consistent tension and smooth operation, reducing the risk of thread breakage and skipped stitches.
Not practicing enough
Consistent practice is key to developing embroidery skills. Allocate time daily to test different stitches and techniques, using tutorials for guidance. Frequent practicing helps identify machine quirks, improve hand-eye coordination, and develop a natural rhythm in your stitching.
Frequently Asked Questions About Beginner Embroidery Machines in 2025
Starting with embroidery in 2025 can seem daunting, but understanding the key concerns and current trends can make the journey smoother. Many beginners worry about initial costs, essential features, common mistakes, and how to grow their skills over time. This section aims to address these questions with insights supported by recent market data and industry developments.
What is the typical initial cost for a beginner embroidery machine in 2025?
The market for embroidery machines continues to offer a range of options suitable for beginners. Entry-level models like Brother XR9550PRW and Singer SE300 are popular choices, providing a good balance of affordability and functionality. Price-wise, these machines usually range from around $200 to $400, making them accessible for newcomers. Additionally, simple user-friendly software included with these models allows beginners to start designing immediately without extra costly investments.
According to recent market statistics, the embroidery market is expected to grow to over USD 2.68 billion in 2025, indicating a healthy supply of affordable, high-quality machines aimed at beginners and hobbyists alike.
What essential features should I look for in a beginner embroidery machine?
For beginners, key features include automated threading, easy-to-navigate touchscreens, built-in design options, and compatibility with basic design software. Machines like the Brother XR9550PRW and Singer SE300, which combine these features, offer a smooth learning curve and room for growth. New models in 2025 are also increasingly boasting advanced capabilities such as automatic tension control and larger embroidery areas, making it easier to take on more complex projects as skills improve.
Recent updates have enhanced these machines with more intuitive interfaces and expanded design libraries, supporting beginners transitioning to more sophisticated projects.
What are common mistakes beginners make, and how can I avoid them?
Common errors include improper hooping, using incorrect stabilizers, and selecting incompatible threads or fabrics. These mistakes often lead to frustrating results or machine damage. To avoid them, beginners should start with detailed tutorials, follow manufacturer instructions carefully, and experiment with scrap fabrics and stabilizers first.
Research indicates that starting with simple projects and gradually increasing complexity builds confidence and technical skills. Additionally, choosing a machine with built-in tutorials or community support can significantly reduce trial-and-error frustration.
What are the pathways for growth as I become more experienced?
As you master basic embroidery, you can explore advanced features available in higher-end models or upgrade software for more intricate designs. The 2025 market offers machines with features like automated thread cutters, increased hoop sizes, and multi-needle capabilities, which are ideal for those looking to produce professional-quality work or even start a small business.
Based on industry insights, successful growth involves continuous learning, experimenting with new techniques, and investing in software updates or additional accessories to expand your creative possibilities. Manufacturers are also increasingly supporting hobbyists with online tutorials and community forums to help you progress efficiently.
Conclusion
Embarking on your embroidery journey in 2025 has never been easier with the right tools and guidance. As we’ve discussed, selecting a user-friendly machine like the Brother XR9550PRW provides a solid foundation for beginners. Learning the basic setup, mastering sewing techniques, and using high-quality tools and stabilizers are key steps toward success. Remember, avoiding common mistakes through consistent practice and research will help you progress more confidently and quickly.
Keep experimenting with new designs and software upgrades to expand your skills and create unique, personalized projects. The embroidery world is full of innovative possibilities, waiting for your creativity to flourish.
Begin your embroidery journey today by choosing an ideal machine, following our step-by-step setup guide, and dedicating time to practice regularly. Every expert seamster or sewist started just like you — with a single stitch. Take that first step now, and watch your skills grow with each project. Your masterpiece awaits!
Happy stitching and best wishes on your creative adventure!
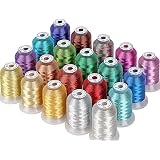
New brothread 20 Assorted Colors Metallic Embroidery Machine Thread Kit 500M (550Y) Each Spool for Computerized Embroidery and Decorative Sewing
$26.99 (as of June 17, 2025 05:31 GMT -04:00 - More infoProduct prices and availability are accurate as of the date/time indicated and are subject to change. Any price and availability information displayed on [relevant Amazon Site(s), as applicable] at the time of purchase will apply to the purchase of this product.)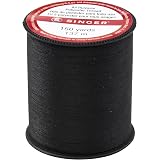
Singer 60110All Purpose Polyester Thread, 150 Yards, Black
$7.54 (as of June 17, 2025 07:58 GMT -04:00 - More infoProduct prices and availability are accurate as of the date/time indicated and are subject to change. Any price and availability information displayed on [relevant Amazon Site(s), as applicable] at the time of purchase will apply to the purchase of this product.)
Friendship Bracelet String 50 Skeins Fashionable Rainbow Color Embroidery Floss Cross Stitch Embroidery Thread Cotton Floss Bracelet Yarn, Craft Floss
$5.99 (as of June 17, 2025 07:58 GMT -04:00 - More infoProduct prices and availability are accurate as of the date/time indicated and are subject to change. Any price and availability information displayed on [relevant Amazon Site(s), as applicable] at the time of purchase will apply to the purchase of this product.)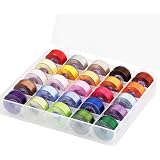
Simthread 25pcs Assorted Colors Size A Class 15 (SA156) 60WT Prewound Bobbins Thread with Clear Storage Plastic Box for Brother Embroidery Thread Sewing Thread Machine DIY
$10.99 (as of June 17, 2025 12:53 GMT -04:00 - More infoProduct prices and availability are accurate as of the date/time indicated and are subject to change. Any price and availability information displayed on [relevant Amazon Site(s), as applicable] at the time of purchase will apply to the purchase of this product.)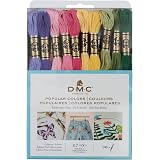
DMC 117F25-PC36 Embroidery Popular Colors Floss Pack, Colors may vary, 8.7-Yard, 36/Pack
$19.49 (as of June 17, 2025 12:53 GMT -04:00 - More infoProduct prices and availability are accurate as of the date/time indicated and are subject to change. Any price and availability information displayed on [relevant Amazon Site(s), as applicable] at the time of purchase will apply to the purchase of this product.)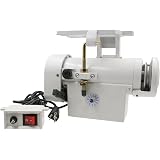
Consew Industrial Sewing Machine Servo Motor - 550 Watts, 110 Volts
$169.76 (as of June 17, 2025 12:53 GMT -04:00 - More infoProduct prices and availability are accurate as of the date/time indicated and are subject to change. Any price and availability information displayed on [relevant Amazon Site(s), as applicable] at the time of purchase will apply to the purchase of this product.)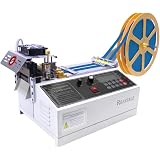
Webbing Cutting Machine, 5inch LCD Display Cold and Hot Webbing Cutter for Elastic bands Ribbons Nylon Webbing
$449.99 (as of June 17, 2025 12:53 GMT -04:00 - More infoProduct prices and availability are accurate as of the date/time indicated and are subject to change. Any price and availability information displayed on [relevant Amazon Site(s), as applicable] at the time of purchase will apply to the purchase of this product.)
Brother SE700 Embroidery & Sewing Machine with 90 Spools & Accessories
$599.99 (as of June 17, 2025 12:53 GMT -04:00 - More infoProduct prices and availability are accurate as of the date/time indicated and are subject to change. Any price and availability information displayed on [relevant Amazon Site(s), as applicable] at the time of purchase will apply to the purchase of this product.)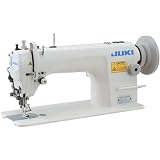
JUKI DU-1181N Industrial Top and Bottom Feed Sewing Machine
$1,779.98 (as of June 17, 2025 12:53 GMT -04:00 - More infoProduct prices and availability are accurate as of the date/time indicated and are subject to change. Any price and availability information displayed on [relevant Amazon Site(s), as applicable] at the time of purchase will apply to the purchase of this product.)