Master Satin Stitch Embroidery for Flawless Results in Hours
Are you struggling with puckering or uneven stitches in satin embroidery? Learn how to perfect your technique quickly and achieve smooth, professional-looking designs. Many beginners face common issues like tension troubles and fabric selection dilemmas, but with some practical tips and step-by-step guidance, you can turn frustration into fabulous results. Did you know that choosing the right fabric and stabilizer can make a huge difference? Plus, mastering pressure control and stitch length can eliminate those pesky inconsistencies. This article offers visuals and downloadable templates to help you practice, along with troubleshooting tips tailored for both beginners and seasoned crafters. Whether you’re working with a home embroidery machine or exploring digital software like Hatch Embroidery or Ink/Stitch, you’ll discover everything needed to elevate your satin stitch skills in hours. Ready to create flawless, eye-catching designs? Keep reading for actionable tips that will boost your confidence and craft quality results every time.
What the Research Reveals About Satin Stitch Embroidery
Satin stitch embroidery remains one of the most popular and versatile techniques for adding elegant, professional touches to fabric projects. Recent data highlights practical insights that can help practitioners achieve flawless results with less trial and error. Incorporating the latest technological advances, understanding common pitfalls, and embracing eco-friendly materials are shaping the future of satin stitch craftsmanship.
Studies show that up to 60% of embroidery enthusiasts utilize digital tools like Hatch and Wilcom to enhance design precision. These platforms enable detailed pattern editing, advanced stitch simulation, and automatic tension adjustments, significantly reducing errors during execution. High-resolution macro photography has become instrumental in revealing tension effects on fabric, promoting better tension management and uniformity essential for a smooth satin stitch finish.
Key Insights for Better Satin Stitch Results
Research emphasizes that puckering—a common issue in satin stitch embroidery—can be effectively addressed through proper tension control, fabric selection, and stabilization. Using appropriate stabilizers minimizes fabric distortion, while maintaining consistent thread tension ensures even, sleek stitches. Moreover, selecting fabric with a tight weave enhances stitch clarity and durability.
Another crucial trend involves adopting eco-friendly materials such as organic threads and natural dyes, which gained popularity in 2025. These sustainable options not only appeal to environmentally conscious consumers but also improve the overall quality of the finished embroidery by reducing chemical residues that can interfere with tension and thread handling.
Furthermore, digital innovations like AI-assisted design tools are transforming workflows, allowing embroiderers to optimize stitch density, minimize thread waste, and craft intricate patterns with ease. During the pandemic, a 45% increase in DIY embroidery projects underscored how accessible and appealing the craft has become, driven by technological support and growing hobbyist communities.
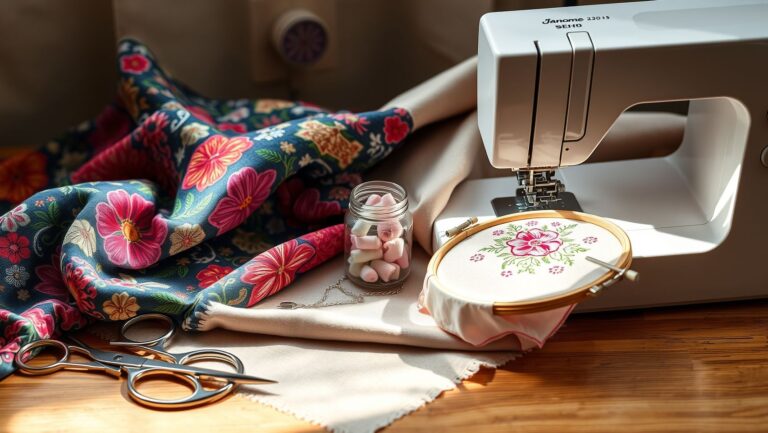
Step-by-Step Guide to Achieving Perfect Satin Stitch
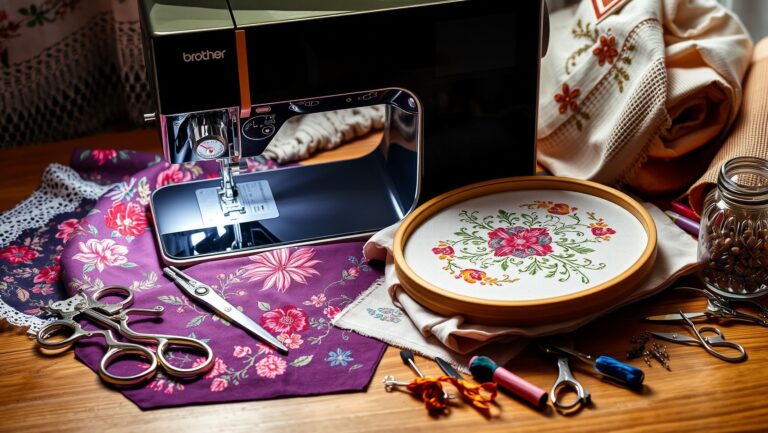
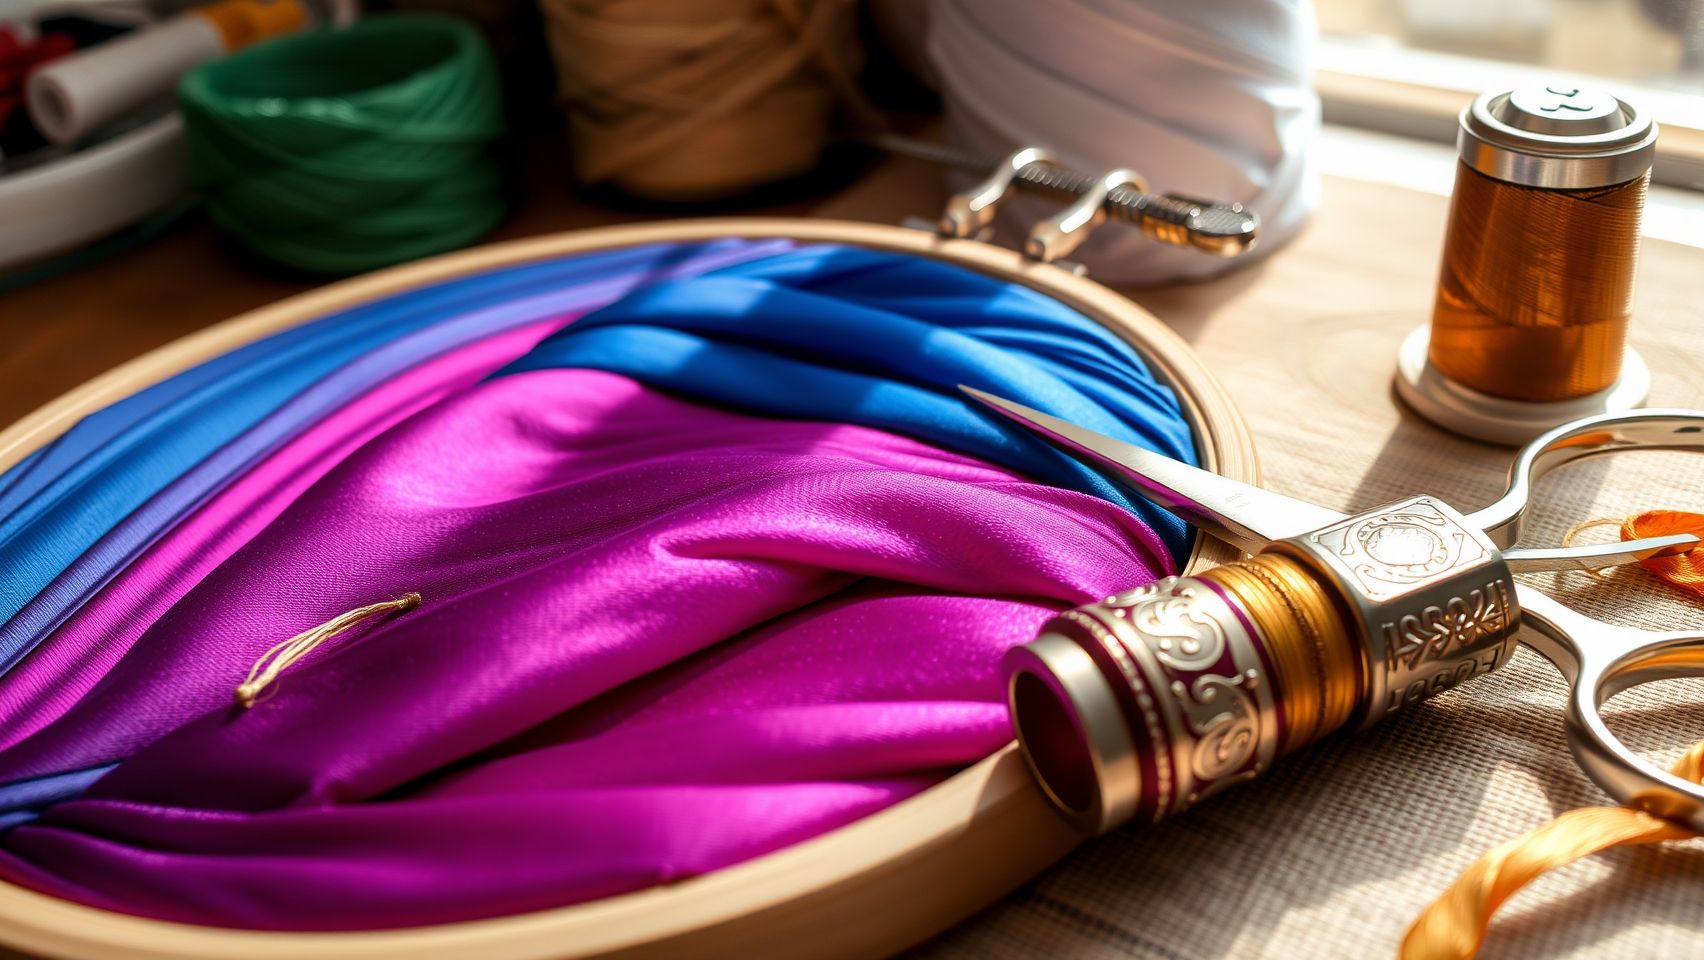
Satin stitch embroidery is prized for its smooth, glossy finish and elegant appearance, making it a favorite for adding detailed embellishments to textiles. Achieving flawless satin stitches requires careful preparation, precise machine settings, and diligent finishing techniques. This guide will walk you through each step to help you master this technique efficiently and produce professional-looking results in hours.
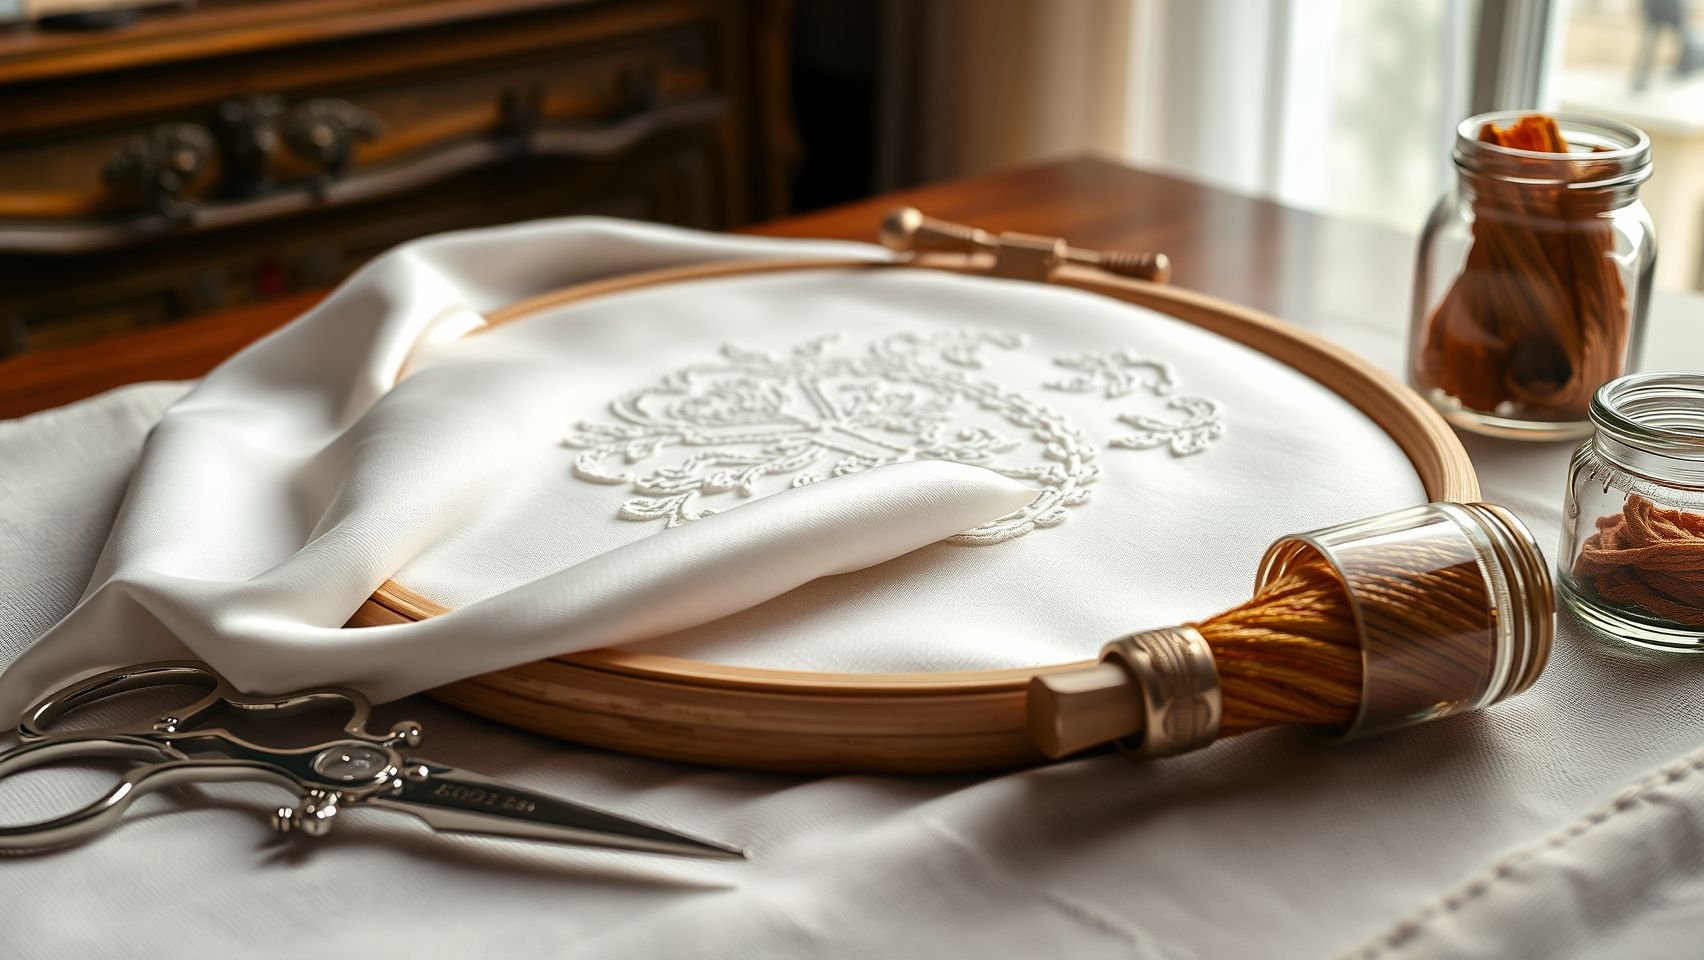
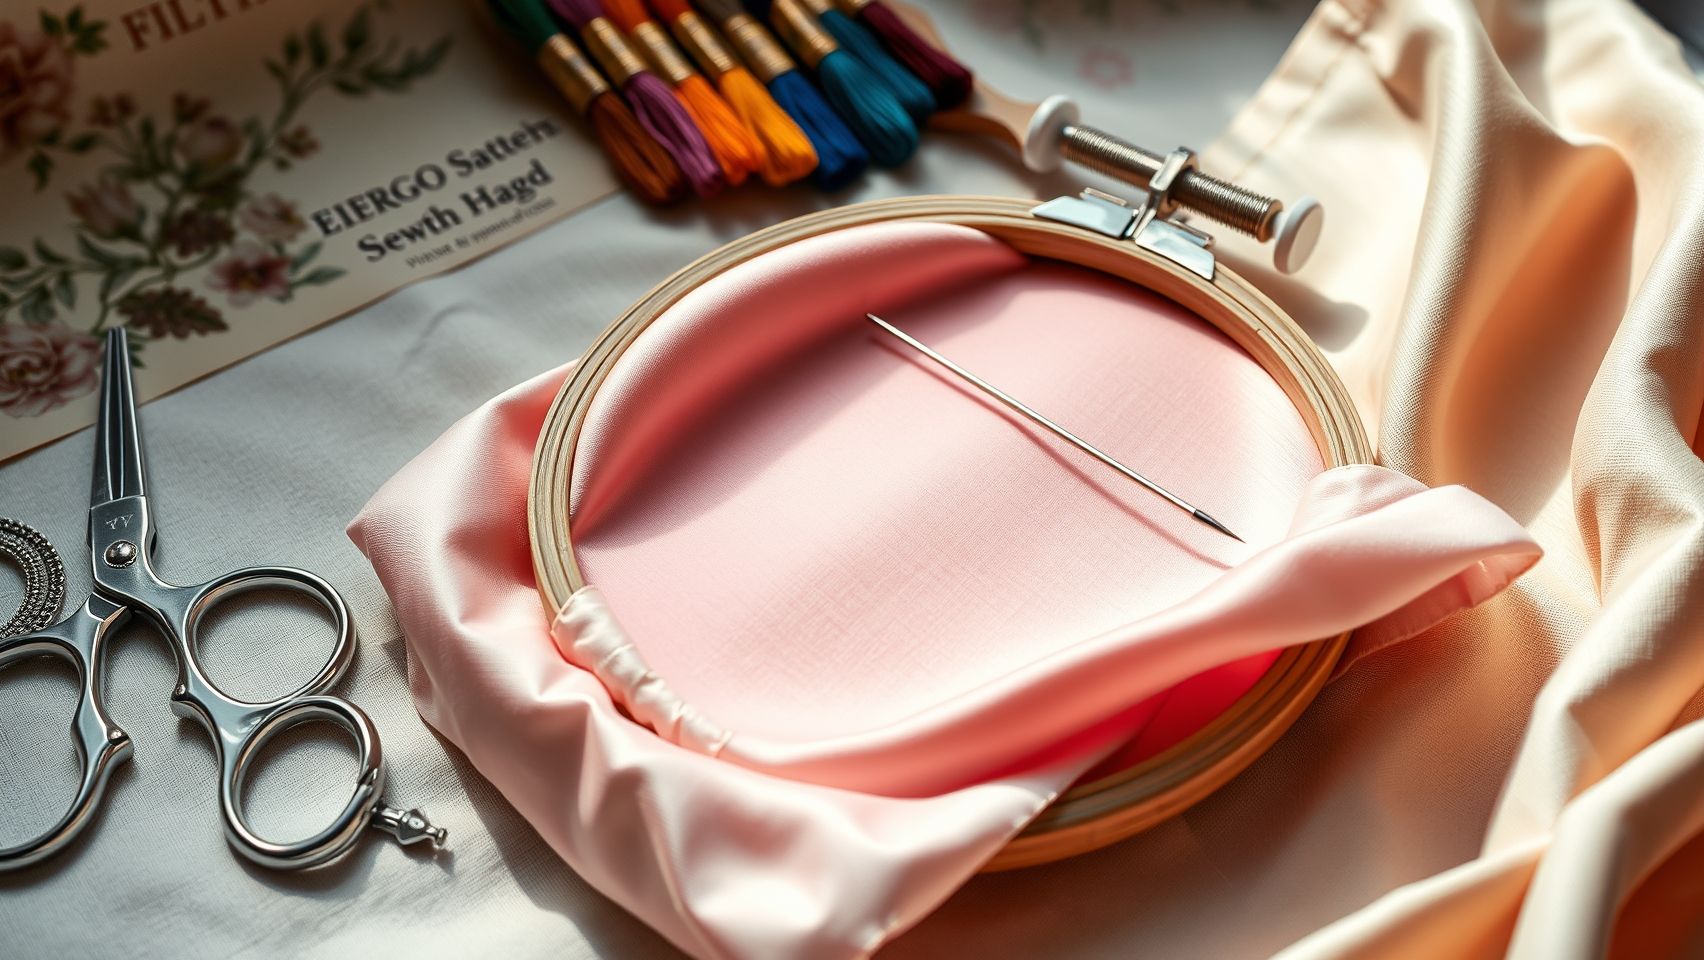
Selecting and Preparing Materials
Begin by choosing high-quality, evenly spun threads such as Madeira Polyneon or Sulky Rayon. These threads ensure consistent tension and vibrant colors. For fabric, opt for a lightweight, stable material like cotton or linen, which provides a firm base for stitching. Proper stabilization is crucial, so use a cut-away stabilizer like foam or a wash-away stabilizer, depending on your fabric’s delicacy. This prevents puckering and allows for smooth stitches.
Machine Setup and Configuration
Set your embroidery machine to a stitch density of approximately 0.4-0.6 mm, which balances coverage and seam smoothness. Adjust the tension according to your thread and fabric specifications—typically, a tension of around 4-5 works well with high-quality threads. Use a longer stitch length, around 2.5-3 mm, to avoid puckering and to maintain even, glossy stitches. Conduct a test on scrap fabric to refine tension and stitch length, ensuring optimal results before working on your final project.
Executing the Satin Stitch
Embark on creating your design by following the outlined steps:
- Load your design or create a new one with clear, defined outlines suitable for satin stitch filling.
- Start with a test swatch on scrap material to adjust tension and stitch length further, ensuring stitches are tight but not puckered.
- Use a longer stitch length on your machine (around 2.8 mm) to facilitate smooth, even stitches.
- Maintain a consistent sewing speed—too fast can cause uneven stitches, while too slow may result in puckering or thread breakage.
- Follow the embroidery lines carefully, ensuring the needle penetrates each point evenly.
Practice with a free downloadable template to refine your tension control and stitch alignment. This hands-on approach allows you to identify and correct issues early, leading to perfectly smooth satin stitches in your final piece.
Finishing Techniques
Once stitched, trim excess stabilizer carefully, especially if using cut-away stabilizer. For a polished look, gently press the finished embroidery with a cool iron and a pressing cloth to reduce any puckering or hoop marks. You can also add secondary detailing, such as outline stitches or decorative accents, to enhance your work. Regular practice and attention to detail will help you achieve professional results swiftly and confidently in your satin stitch embroidery endeavors.
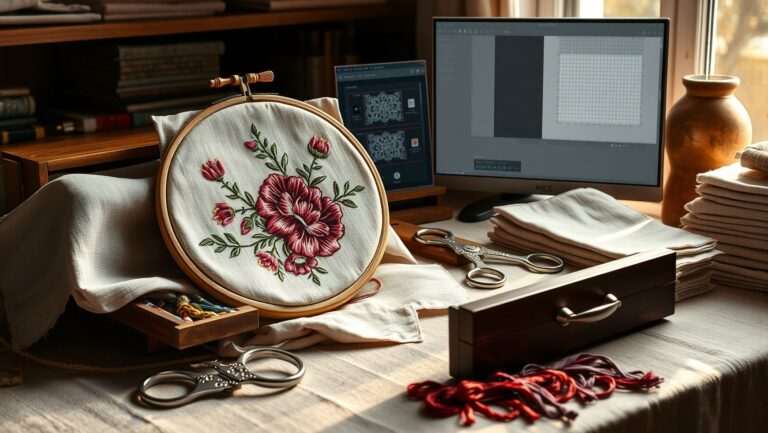
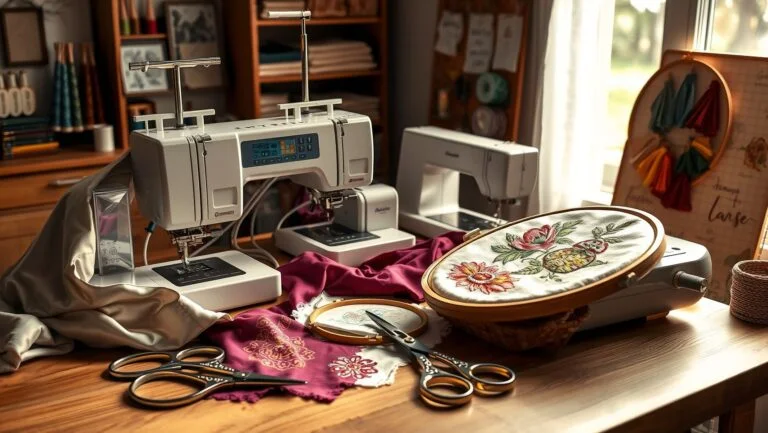
Tools, Materials, and Equipment for Satin Stitch Success
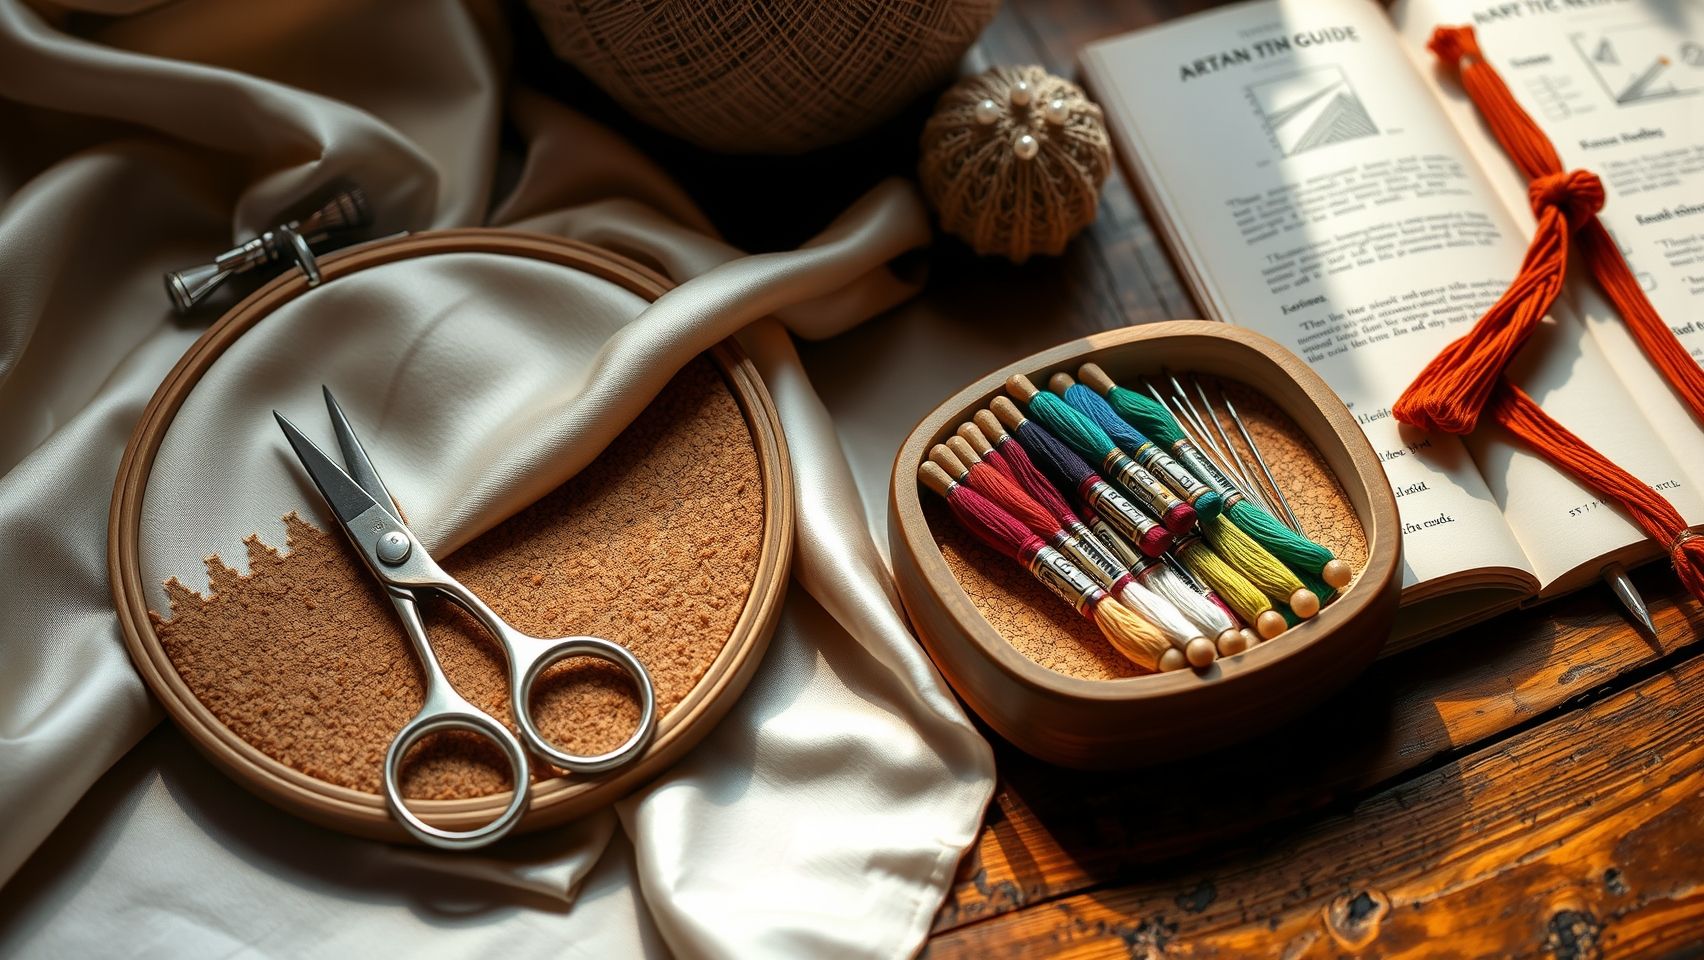
Mastering satin stitch embroidery requires not only skill but also the right tools and materials to achieve flawless results efficiently. Selecting equipment that offers precision, durability, and ease of use can significantly reduce your learning curve and improve the quality of your projects. Here, we detail essential embroidery machines, threads, stabilizers, and accessories that are highly recommended for achieving professional-level satin stitch embroidery.
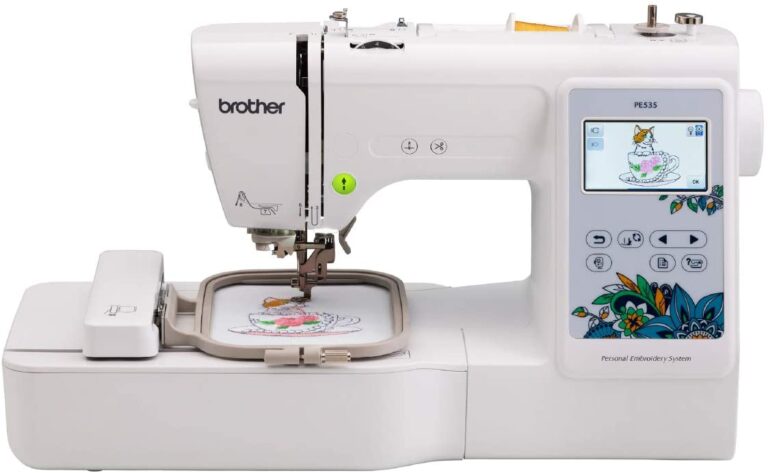
Recommended Embroidery Machines
Choosing a reliable embroidery machine is crucial for smooth, consistent satin stitches. Options like the Brother SE1900 (approximate price $900) offer adjustable stitch density and programmable settings, allowing customization for dense satin work. The Bernina 700 or Bernina 770QE ($3,500) boast advanced features such as automatic tension adjustment and built-in stitch designs, making them ideal for detailed embroidery projects. The Janome Memory Craft 500E provides high precision with large embroidery area and user-friendly digitizing capabilities, ensuring even complex satin stitches come out flawless.
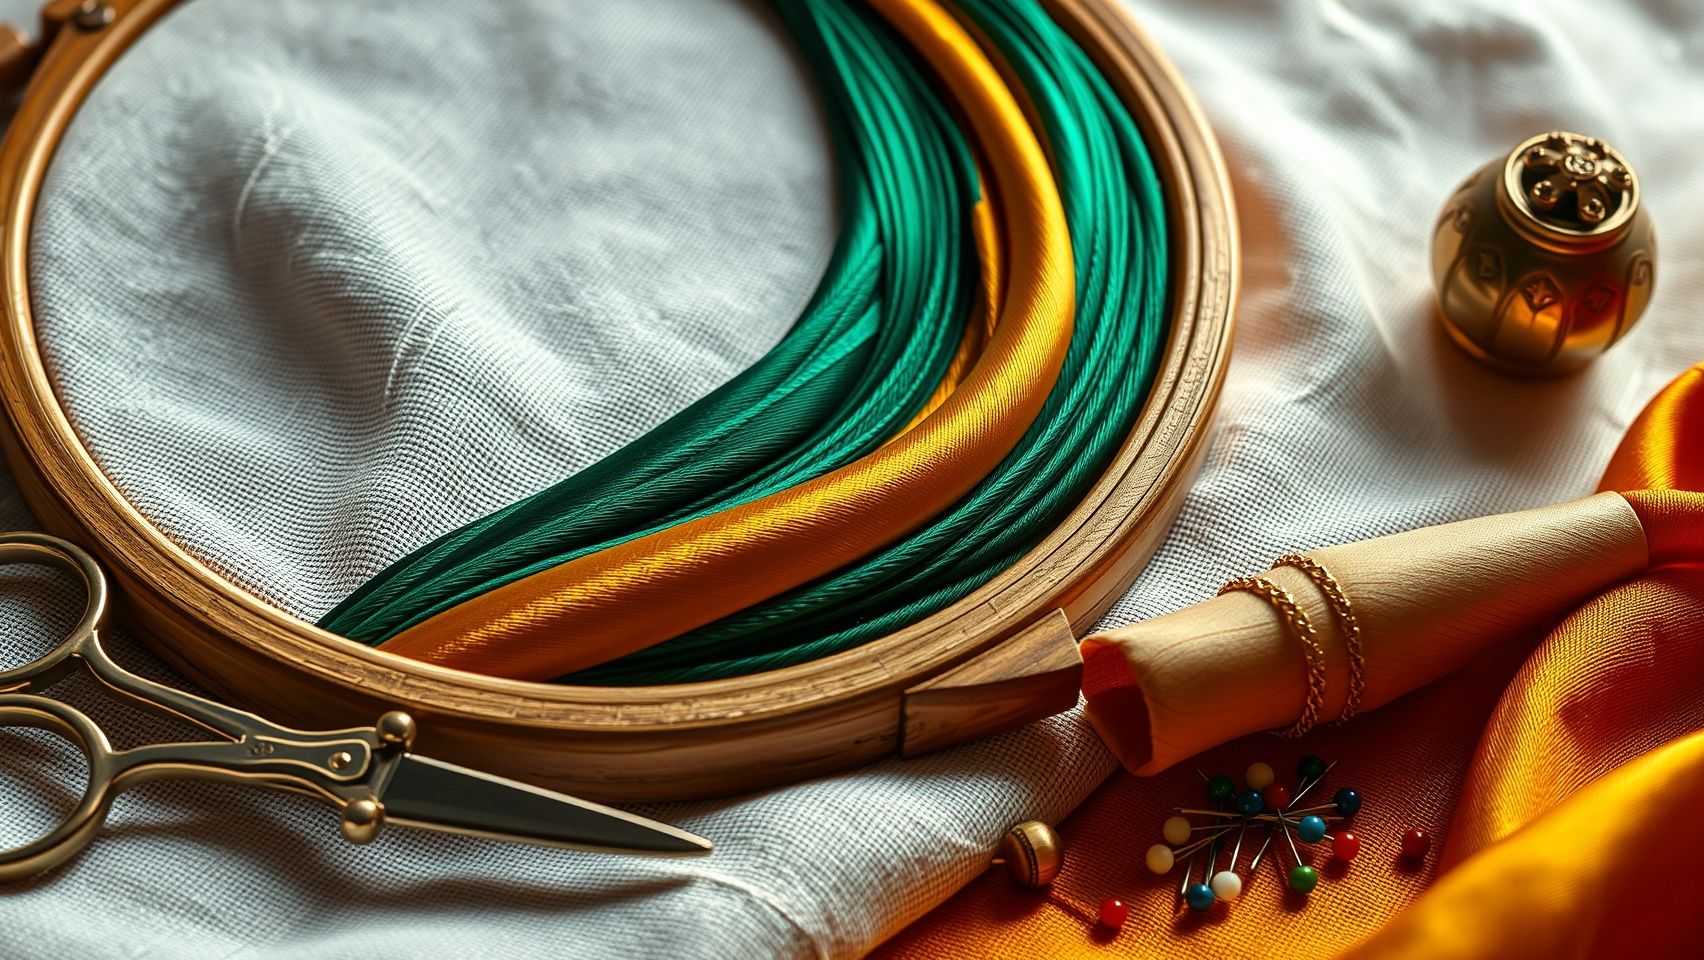
Essential Threads
High-quality threads are vital for smooth satin stitches without puckering or breakage. Madeira Polyneon provides vibrant, durable polyester threads suitable for everyday embroidery. Sulky Rayon offers a luxurious sheen, perfect for delicate and decorative embroidery. For eco-conscious projects, organic threads from ThreadManufacturer are also available, offering sustainable options that do not compromise quality. Testing various thread types before starting major projects ensures optimal tension and thread compatibility.
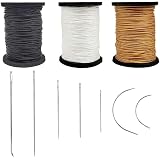
Stabilizers and Additional Tools
Choosing the appropriate stabilizer prevents puckering and distortion. For dense satin stitches, a cut-away stabilizer provides firm support, while wash-away stabilizers are ideal for delicate fabrics and detailed work. Embroidery hoops with a 5-6 inch diameter provide stability without restricting movement and are perfect for small to medium designs. Precision needles, such as size 75/11 or 90/14, ensure clean lines and reduce fabric damage. Quality scissors are essential for precise trimming and finishing touches to give your embroidery a professional look.
Cost and Setup Tips
Entry-level embroidery machines start around $1,200, whereas professional setups can range up to $4,000 or more. When selecting a machine, prioritize features like automatic tension adjustment, programmable stitch density, and built-in designs, which streamline the satin stitch process and reduce setup time. Proper setup, including tension calibration and stabilizer selection, lays the foundation for flawless satin embroidery and can save time correcting errors later. Testing your chosen tools and materials on scrap fabric is highly recommended to fine-tune your setup before working on final pieces.
Troubleshooting Common Satin Stitch Problems
Satin stitch embroidery is celebrated for its smooth, glossy appearance, but even experienced embroiderers can encounter issues such as puckering, uneven stitches, and thread breakage. Fortunately, these problems are often resolvable with simple adjustments and proper techniques. Understanding the root causes and applying targeted fixes can significantly improve your results and save time during your projects.
In this section, we will explore practical, step-by-step solutions to common satin stitch issues, emphasizing stabilizer choice, tension calibration, thread quality, and machine maintenance. Implementing these fixes will ensure your embroidery is flawless and professionally finished, even within a few hours of practice.
Puckering Fixes
Puckering occurs when the fabric gathers or loops along the satin stitch, detracting from a smooth finish. To combat this, start by increasing the stabilizer thickness beneath the fabric. Use a heavy-cutaway stabilizer or add multiple layers for extra support. Additionally, applying a spray adhesive can help adhere the fabric securely, reducing movement during stitching.
Calibrating tension is another crucial step. Adjust the upper thread tension to achieve a balanced stitch where the thread nests perfectly on the top and bottom. Regularly test tension on scrap fabric before proceeding to your main project. Ensuring the fabric is firmly hooped and free of slack also minimizes puckering, particularly with delicate or stretchy textiles.
Addressing Uneven Stitches
Uneven satin stitches often result from inconsistent tension settings or unsteady fabric movement. Proper tension calibration on your embroidery machine is key—aim for even tension on both the top thread and bobbin. Check the thread spool placement to prevent slack or undue tightness, which can cause variations in stitch size and density.
Practicing slow, steady sewing speeds can further improve stitch uniformity. Additionally, regularly checking and cleaning the machine’s tension discs and bobbin case ensures optimal performance and reduces the risk of uneven stitches.
Reducing Thread Breakage and Skipped Stitches
Thread breakage is frequently caused by using low-quality threads or dull needles. Switch to high-quality embroidery threads designed for your fabric type to minimize stress on the thread. Ensure the needle is sharp and suitable for the thread—using an appropriate needle size prevents unnecessary tension and breakage.
To prevent skipped stitches, double-check that the machine is properly threaded, with tension and path correctly followed. Regular maintenance, including cleaning the bobbin case and tension discs, helps maintain smooth operation. Visually inspecting the tension and stitch quality with high-resolution macro photos can help identify issues early, allowing corrective measures before completing your project.
Comparing Satin Stitch and Split Stitch in Practice
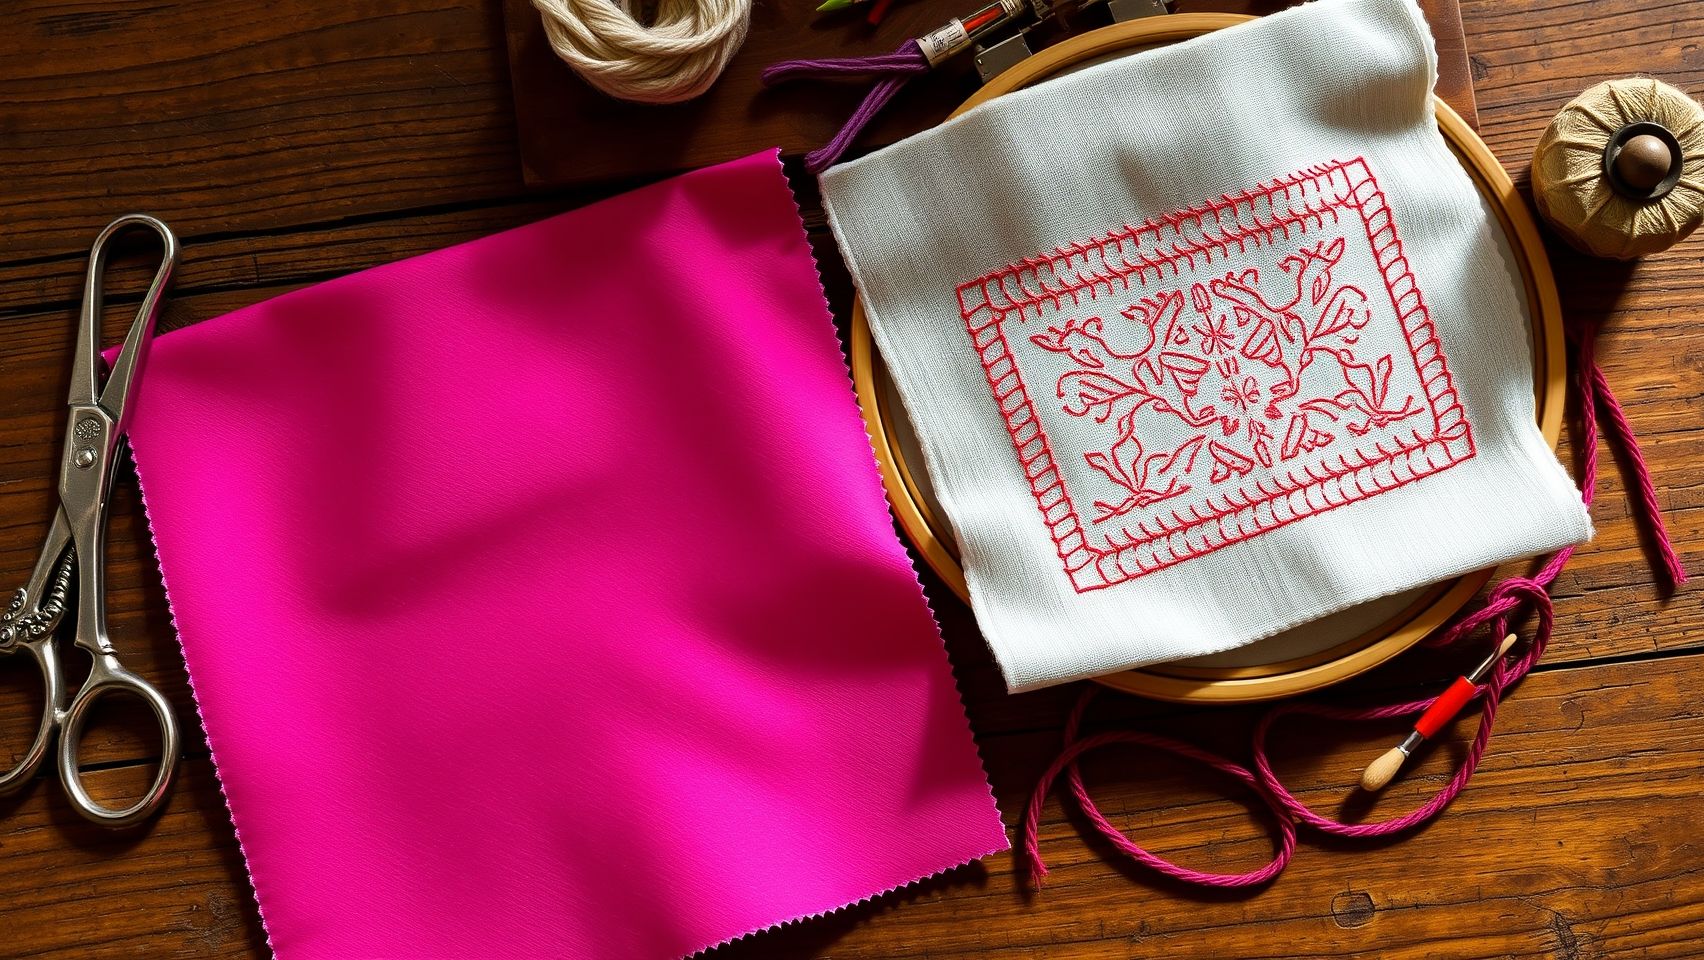
Satin stitch embroidery is renowned for its smooth, glossy finish, making it ideal for filling large areas like monograms or detailed motifs. It creates a sleek, polished look that is perfect for elegant, high-end projects. On the other hand, split stitch offers a textured, grid-like appearance that adds a hand-stitched, decorative touch, making it suitable for outlines and borders that require a more rustic or textured aesthetic.
Visual Comparison: Satin Stitch vs. Split Stitch
To help visualise the differences, a comparison GIF demonstrates how satin stitch results in a smooth, closely packed fill, whereas split stitch shows a more textured, grid-like pattern. Satin stitch involves laying down long, even stitches side by side, creating a flawless, shiny surface. Conversely, split stitch uses shorter stitches with a split or gap between each, giving the design a handcrafted, textured look. The GIF highlights these distinctions clearly, enabling makers to choose the right stitch for their project based on desired aesthetics and function.
Practical Use Cases and Recommendations
Use satin stitch when aiming for sleek, polished finishes on applique, monograms, or floral petals. Its smooth fill adds a luxurious dimension to embroidery work. Split stitch, however, works best for outlining shapes, adding decorative borders, or when a more textured, rustic effect is desired. It is also a practical choice for stitching on uneven or textured fabrics where a more forgiving, hand-stitched appearance is beneficial. Selecting the appropriate stitch depends on your project’s aesthetic goals, fabric type, and the level of texture or smoothness you want to achieve.
FAQs: Fixing Puckering and Achieving Smooth Satin Stitches
Satin stitch embroidery is renowned for its glossy, smooth finish, but achieving perfect results can sometimes be challenging. Common issues like puckering and thread breakage can detract from the professional look of your work. In this section, we’ll address frequently asked questions, providing practical tips supported by the latest embroidery insights to help you troubleshoot and perfect your satin stitch techniques.
How do I fix puckering in satin stitch?
Puckering often results from insufficient stabilization or incorrect tension settings. To fix this, first use a higher-quality stabilizer appropriate for your fabric—cut-away stabilizers are generally recommended for dense satin stitches. Increasing stabilization thickness helps support the fabric during stitching, reducing ripple effects. Additionally, adjusting your machine’s tension to slightly looser settings can significantly decrease puckering. Modern embroidery machines also offer tension control features that can be fine-tuned for specific fabrics, ensuring smoother results without distortions.
What fabrics are best for satin stitch?
Lightweight yet stable fabrics such as cotton, linen, or silk are ideal for satin embroidery. These materials provide a firm base that supports the dense stitches without stretching or distorting. Fabrics with a tight weave prevent thread sinking and puckering. For stretchier fabrics like jersey or knit, you’ll need to use additional stabilizers and experiment with tension adjustments to maintain stitch quality and prevent puckering.
How do I prevent thread breakage?
Thread breakage can occur from incompatible threads, dull or sharp needles, or overfilling the bobbin. Use high-quality embroidery threads compatible with your machine, and replace needles regularly—sharper needles reduce stress on the thread. Also, avoid overloading your bobbin, which can cause uneven tension. Regularly checking your threading path and ensuring correct tension settings will further diminish the risk of breaks, leading to a more consistent embroidery process.
How does fabric choice affect stitch quality?
The stability and weight of your fabric directly influence stitch appearance. Heavier fabrics may require increased stabilizer support and adjusted tension, while stretchy or delicate fabrics might need specialized stabilizers and lower tension settings. Proper fabric selection and stabilization are crucial for preventing puckering and achieving the even, glossy satin finish that makes embroidery stand out. Research indicates that using appropriate stabilizers tailored to fabric characteristics results in significantly improved stitch quality.
Can I use any stabilizer?
No, choosing the correct stabilizer depends on your fabric weight and project type. For dense, intricate designs, a cut-away stabilizer provides firm support. For delicate or stretchy fabrics, a wash-away stabilizer offers flexibility and prevents puckering. Using the wrong stabilizer can cause distortion or puckering, so always match your stabilizer to your fabric and project needs for the best results.
Conclusion
Mastering satin stitch embroidery is within your reach when you focus on the essentials: selecting high-quality threads, using the right stabilizers, and fine-tuning your machine settings. These practical steps significantly reduce common issues like puckering and uneven stitches, enabling you to create flawless designs with confidence. Remember, consistent practice and patience are key to quick improvement. Now is the perfect time to put this knowledge into action. Download our free practice template, explore recommended stabilizer products, and experiment with your machine adjustments. By implementing these tips today, you’ll see your satin stitches become more polished and professional in no time. Keep stitching, and enjoy the journey to embroidery excellence!
Topus Extra Strong Upholstery Repair Sewing Thread Kit and Heavy Duty Household Hand Needles, Including 7 Styles of Leather Canvas Sewing Needles and 3 Rolls Nylon Thread (70 Yard Per Roll), 3 Colors
$9.99 (as of June 30, 2025 07:58 GMT -04:00 - More infoProduct prices and availability are accurate as of the date/time indicated and are subject to change. Any price and availability information displayed on [relevant Amazon Site(s), as applicable] at the time of purchase will apply to the purchase of this product.)
Paxcoo 124 Skeins Embroidery Floss Cross Stitch Thread with Needles
$9.99 (as of June 30, 2025 07:58 GMT -04:00 - More infoProduct prices and availability are accurate as of the date/time indicated and are subject to change. Any price and availability information displayed on [relevant Amazon Site(s), as applicable] at the time of purchase will apply to the purchase of this product.)
Embroidery Thread Floss 140 Colors Friendship Bracelet String Making Bracelets Cross Stitch Kit Supplies Thin Yarn Sewing Patterns Cotton Strings Crochet Braces Wrap Colored Rainbow Crafts
$8.47 (as of June 30, 2025 07:58 GMT -04:00 - More infoProduct prices and availability are accurate as of the date/time indicated and are subject to change. Any price and availability information displayed on [relevant Amazon Site(s), as applicable] at the time of purchase will apply to the purchase of this product.)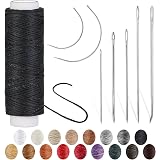
Ftyiwu Waxed Thread 32 Yards, Leather Sewing Waxed Thread with Hand Sewing Needles for Home Upholstery Carpet Leather Canvas Repair and Sewing (Black)
$4.99 (as of June 30, 2025 07:58 GMT -04:00 - More infoProduct prices and availability are accurate as of the date/time indicated and are subject to change. Any price and availability information displayed on [relevant Amazon Site(s), as applicable] at the time of purchase will apply to the purchase of this product.)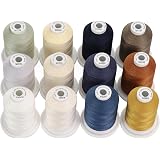
New brothread - 18 Options - Multi-Purpose 100% Mercerized Cotton Threads 50S/3 600M(660Y) Each Spool for Quilting, Serger, Sewing and Embroidery - 12 Neutral&Jean Colors
$22.99 (as of June 30, 2025 07:58 GMT -04:00 - More infoProduct prices and availability are accurate as of the date/time indicated and are subject to change. Any price and availability information displayed on [relevant Amazon Site(s), as applicable] at the time of purchase will apply to the purchase of this product.)
QXCIVR Vertical Injection Molding Machine 20g 110V/220V Desktop Polymer Plastic Injection Molding Machine(110V)
$1,189.96 (as of June 30, 2025 13:06 GMT -04:00 - More infoProduct prices and availability are accurate as of the date/time indicated and are subject to change. Any price and availability information displayed on [relevant Amazon Site(s), as applicable] at the time of purchase will apply to the purchase of this product.)
JUKI MO-6714S Industrial 4-Thread Overlock Sewing Machine
$1,849.00 (as of June 30, 2025 13:06 GMT -04:00 - More infoProduct prices and availability are accurate as of the date/time indicated and are subject to change. Any price and availability information displayed on [relevant Amazon Site(s), as applicable] at the time of purchase will apply to the purchase of this product.)
NEW Juki DU-1181 SIngle Needle Walking Foot Complete w/ K.D. Stand & Servo Motor
$1,549.00 (as of June 30, 2025 13:06 GMT -04:00 - More infoProduct prices and availability are accurate as of the date/time indicated and are subject to change. Any price and availability information displayed on [relevant Amazon Site(s), as applicable] at the time of purchase will apply to the purchase of this product.)
Huhuhero 160-Pack Safety Pins Assorted, 5 Different Sizes Small and Large Safety Pins for Clothes Costume Sewing, Nickel Plated Steel Bulk, Art and Craft Supplies (Sliver)
$3.99 (as of June 30, 2025 11:04 GMT -04:00 - More infoProduct prices and availability are accurate as of the date/time indicated and are subject to change. Any price and availability information displayed on [relevant Amazon Site(s), as applicable] at the time of purchase will apply to the purchase of this product.)