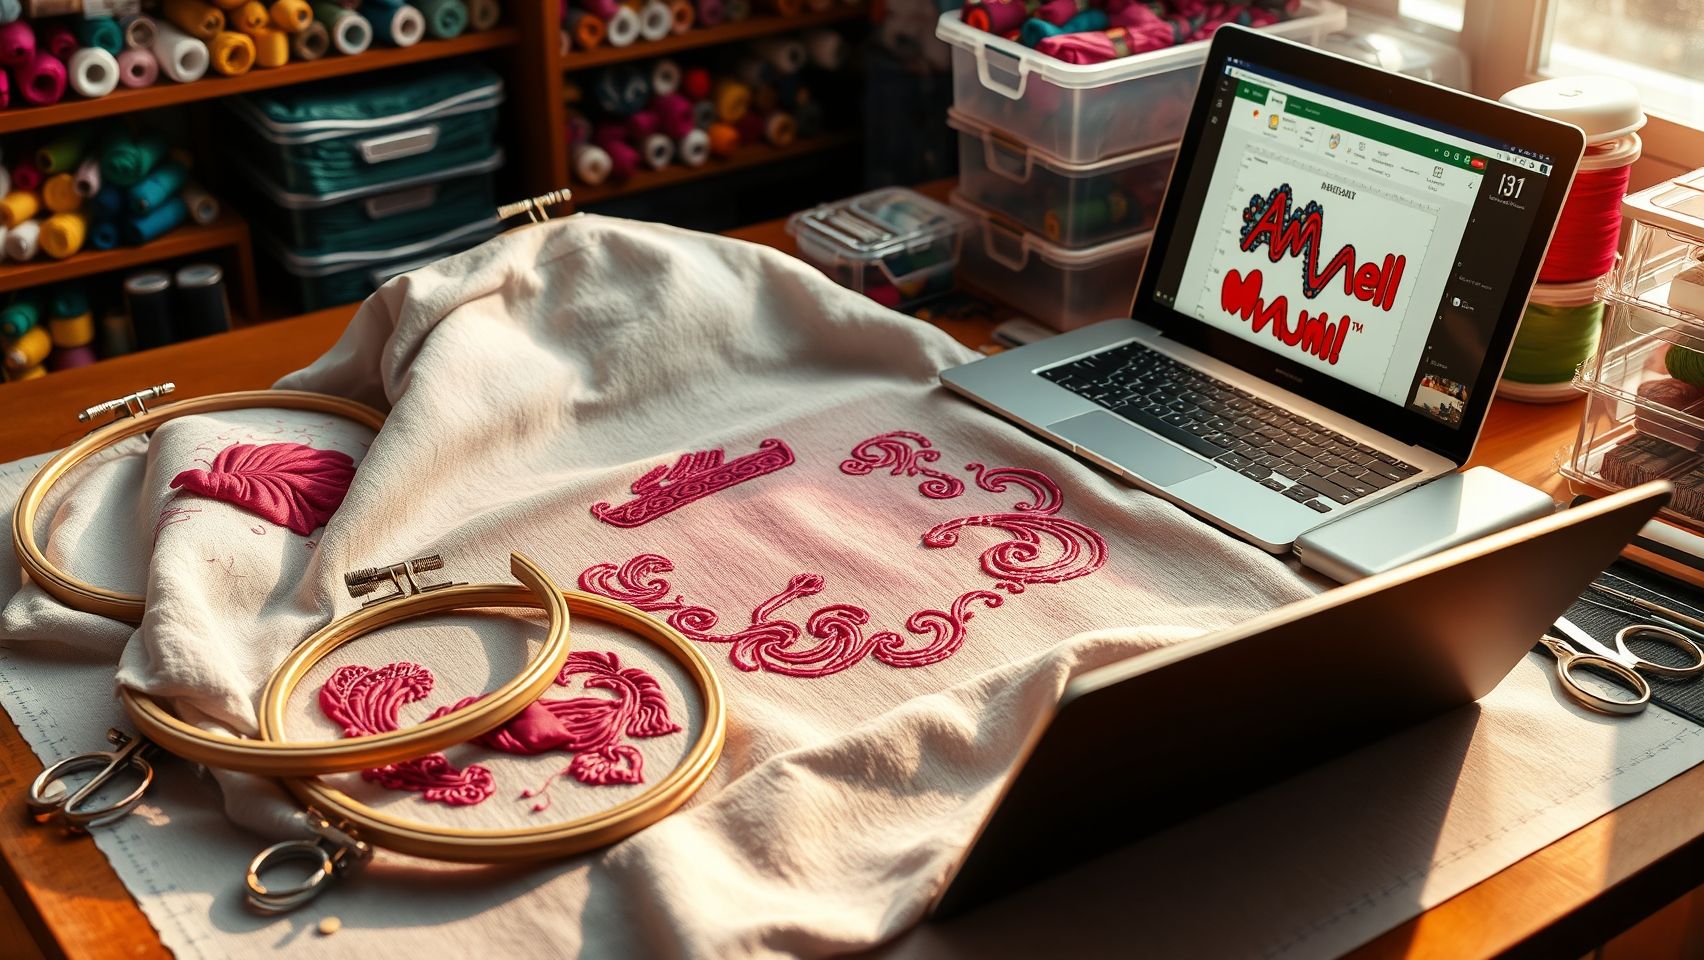
How to Choose the Best Commercial Embroidery Machine for Small Business ROI
Imagine boosting your embroidery profits within months by selecting the right machine and planning your investment smartly. Many small business owners face the challenge of choosing a commercial embroidery machine that offers reliable performance, cost efficiency, and scalable options to grow with their venture. With the embroidery industry projected to reach over USD 5.70 billion by 2030, it’s clear that the right equipment can make all the difference.
But where do you begin? From understanding key features and comparing top brands like Tajima and Brother, to analyzing ROI strategies and industry statistics, this guide is designed to help you make informed decisions. You’ll discover practical steps for evaluating options and a success story of a small business that doubled its revenue by investing in the right technology. If you’re ready to turn embroidery into a profitable enterprise, keep reading to uncover the secrets of smart machine selection and maximize your returns.
Key Insights from Embroidery Machine Performance and ROI Data

Choosing the right commercial embroidery machine for a small business requires understanding current performance metrics, space requirements, and feature sets that influence return on investment (ROI). Recent industry research highlights that automation and multi-needle configurations significantly enhance productivity and cost-efficiency, making certain models more suitable for high-volume or customization-focused projects.
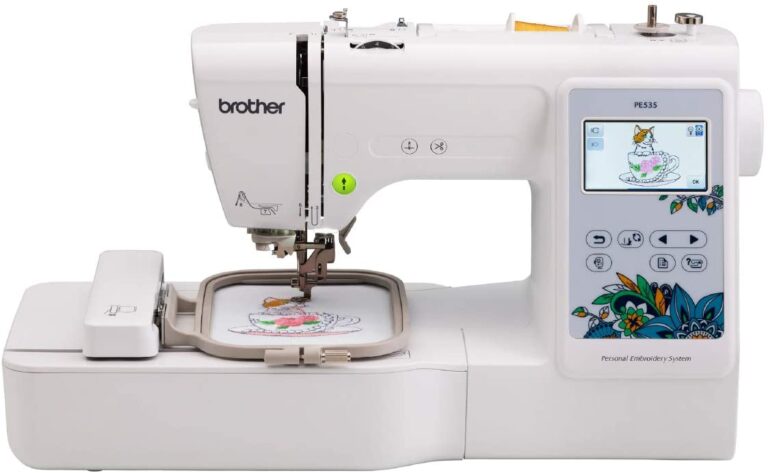
Among popular options, the Brother PR1055X stands out with its high-speed embroidery system, automatic thread trimming, and a built-in 10-needle design. Priced around $8,995, it offers rapid project completion—on average 15-20% faster than competitors—and reduces labor costs owing to its automation features. Its compact footprint of roughly 4.5′ x 2.5′ makes it suitable for small business setups aiming for efficiency.
The Janome MB-7, costing approximately $9,999, features 7 needles and advanced digitizing software. While slightly slower, it excels in customization tasks and moderate production, making it ideal for businesses focusing on personalized products. Its space needs are about 4′ x 2.5′, slightly less than the Brother model, which can be advantageous for smaller or shared workspaces.
Overall, higher needle counts and automation contribute to faster processing times and lower labor costs, which are critical for maximizing ROI. Understanding these operational metrics helps small business owners make informed decisions, balancing budget, space, and production demands effectively.
Step-by-Step Process to Assess Space and Training for Small Business Embroidery Machines
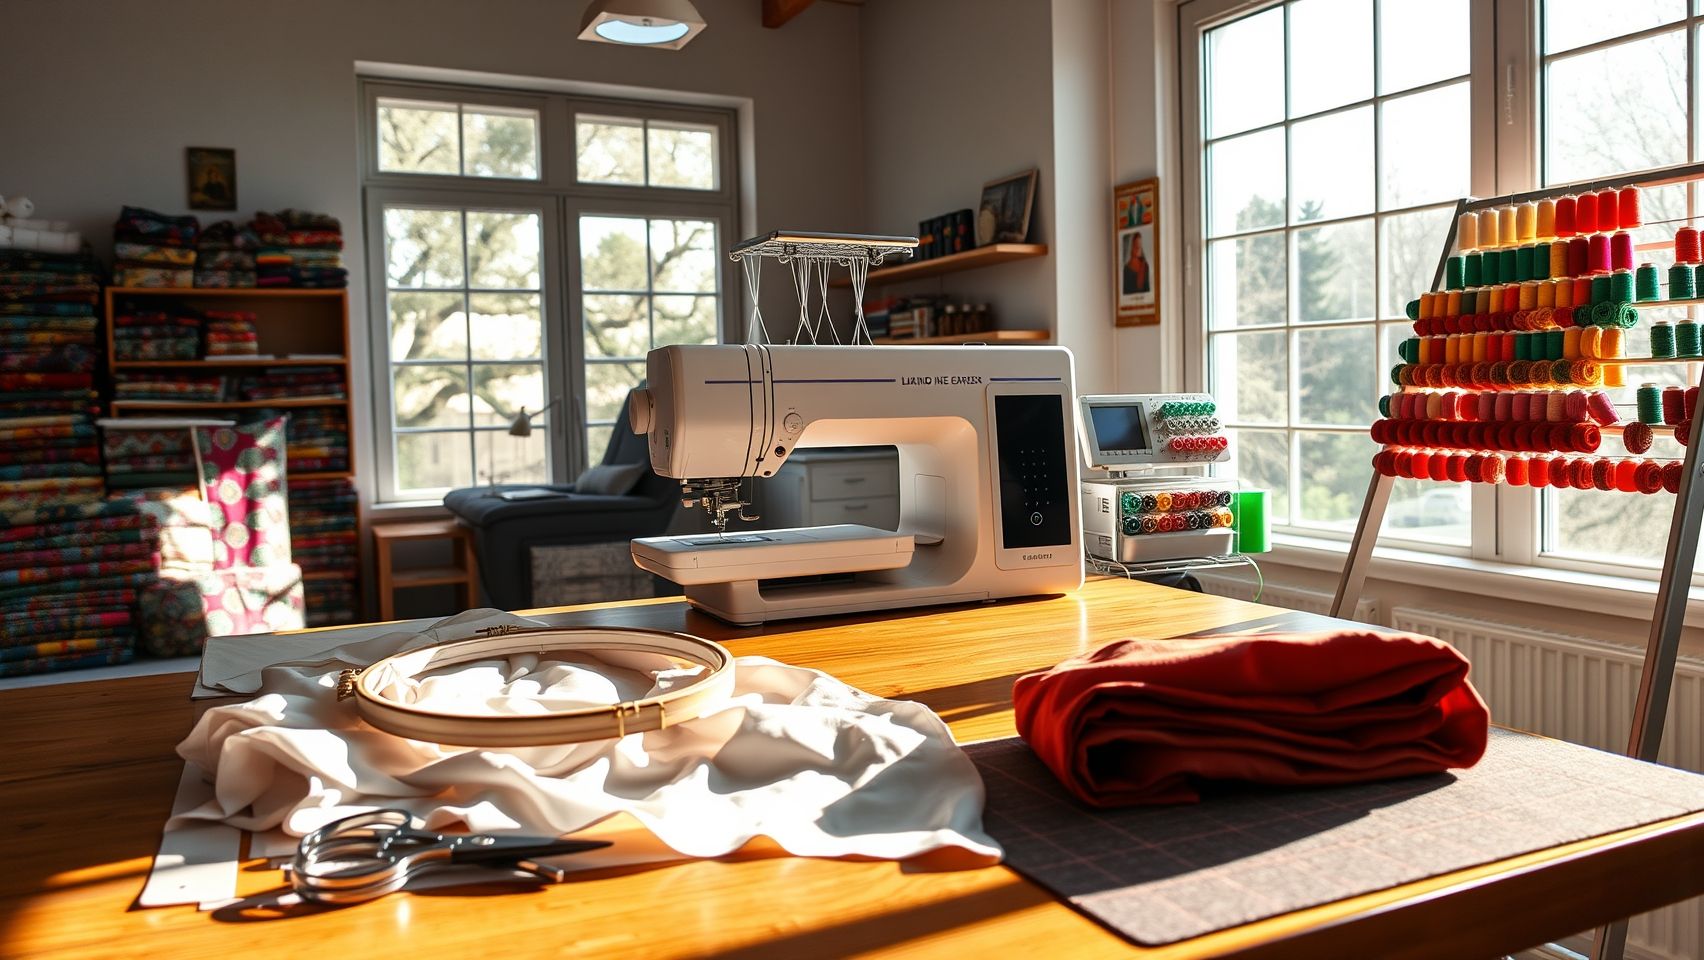
Selecting the right embroidery space and ensuring proper training are crucial steps in maximizing your small business ROI. A well-planned workspace not only improves efficiency but also minimizes troubleshooting time, leading to faster project completion and profitability. This guide will walk you through practical steps to evaluate your area and prepare yourself or staff for seamless machine operation.
Measuring Your Embroidery Space
Start by measuring your dedicated embroidery area with a tape measure. Use manufacturer recommendations for machine size to determine the minimum space required— for example, the Brother PR1055X needs about 4.5′ x 2.5′. Add extra clearance for movement and access, ideally 6-12 inches around the machine. Ensure there is ample room to store supplies and finished pieces without cluttering the workspace. Proper spatial planning prevents cramped conditions that can hinder machine operation and safety.
Setup Checklist for Optimal Workspace
- Electrical outlets: Confirm enough outlets close to the workspace, ideally with surge protection to safeguard your investment.
- Lighting: Ensure bright, even lighting, preferably with adjustable fixtures, to facilitate accurate threading and detailed design work.
- Ventilation: Good airflow reduces heat and keeps dust away, maintaining machine longevity and operator comfort.
- Clutter reduction: Organize supplies in labeled containers and keep pathways clear to improve workflow and safety.
Preparation and Training
Download and review setup guides from manufacturers like Brother or Janome, which often include step-by-step assembly and threading instructions. Practice assembling and threading the machine, following these guides carefully. Schedule manufacturer training sessions or online tutorials—initially block out at least three hours to focus on threading, performing function tests, and basic maintenance routines.
Develop a training plan for yourself and staff that covers troubleshooting common issues such as thread jams or software errors. Use manufacturer customer support and active online forums for additional assistance. Setting up a mock project, such as stitching a simple design, will help identify workflow bottlenecks and optimize machine placement. Documenting procedures for quick troubleshooting ensures smooth operation, leading to quicker project turnaround and improved ROI.
Essential Equipment and Software for Small Business Embroidery Success
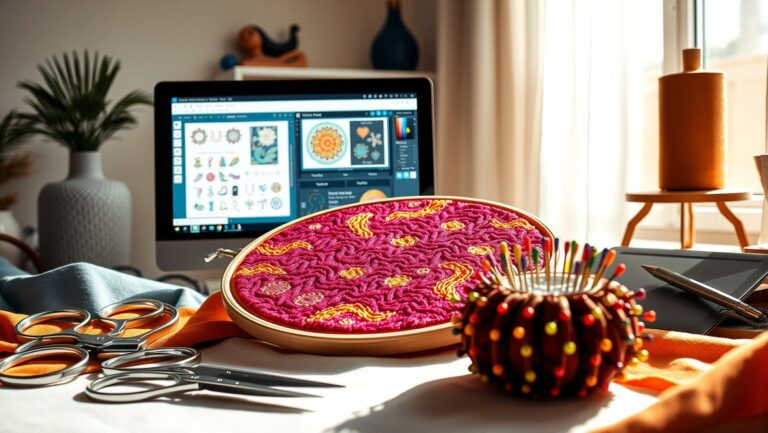
Setting up a reliable embroidery operation for a small business hinges on choosing the right equipment and software. The right tools enhance efficiency, quality, and consistency, ultimately boosting your ROI. From selecting compatible hoops to investing in digitizing software, each element plays a crucial role in your embroidery workflow.
In this section, we will explore must-have tools, accessories, and design software, along with step-by-step setup tips to optimize your embroidery production process. Proper setup and regular maintenance ensure your machines perform at peak capacity, reducing downtime and improving stitch quality.
Must-Have Tools and Accessories
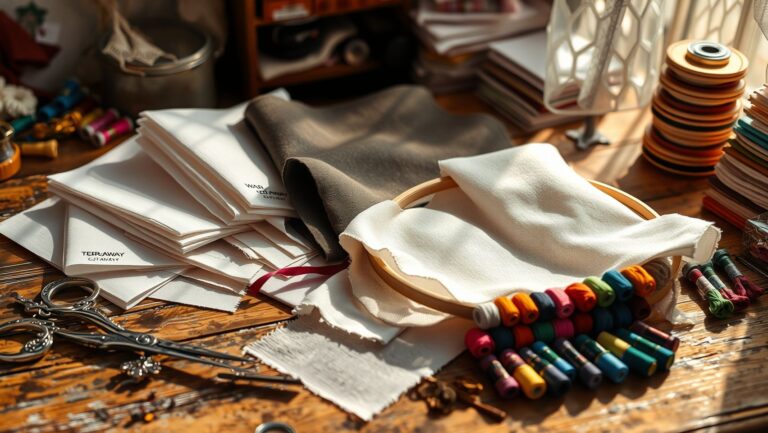
Start with high-quality embroidery hoops like the Brother EM-1015 or Janome Hoop Set, which accommodate various project sizes such as 5-10 inches. Choose stabilizers—cutaway for dense designs and tear-away for lightweight fabrics—to provide a stable base for stitching. Select polyester or rayon threads for durable, vibrant results, matching the material and project type.
Ensure your machine is equipped with essential accessories such as spare needles, bobbins, and extra thread spools to minimize production interruptions. Regularly clean your machine’s bobbin area and needle plate with brush kits and compressed air after every 50 hours of operation to prevent thread jams and dust buildup.
Design Software and Setup
Invest in robust digitizing software, such as Brother PE-Design Plus or Janome Digitizer MBX, which integrate seamlessly with your embroidery machines. These tools allow for creating, customizing, and editing designs directly on your computer or tablet. Software like Brother PE-Design Plus, costing around $600, supports direct uploads via USB or Wi-Fi, streamlining workflows.
Once installed, adjust design dimensions, preview stitch paths, and test with sample stitching to verify proper alignment and density. Regular updates and troubleshooting—like reinstalling drivers—are essential for smooth operation, with plenty of guides available from manufacturer websites.
Consistent maintenance, proper accessory choices, and effective software setup create a reliable foundation for embroidery success, ensuring high-quality output and maximizing your business ROI.
Comparing Financing Options and Profit Projection Tools for Small Embroidery Businesses

Choosing the right financing plan is crucial for small embroidery businesses aiming to maximize ROI. Assess whether leasing or buying equipment aligns best with your budget and growth strategy, considering total costs, interest rates, and potential tax benefits. Simultaneously, leveraging online profit projection calculators helps forecast earnings based on realistic operational parameters, empowering smarter investment decisions.
Assessing Financing Options
Compare leasing versus purchasing by calculating total expenses over your expected equipment lifespan. For instance, leasing a Brother PR1055X at $200/month totals $2,400 annually, while buying at $8,995 incurs a substantial upfront cost. Use the lease-to-own ROI calculators to determine break-even points, factoring in interest rates typically ranging from 7-10%. Leasing may offer lower monthly outlays and tax advantages, but owning outright reduces long-term costs if you plan sustained usage.
Creating a Basic Profit Calculator
Use simple formulas to project your business profitability. Input variables like equipment cost, projected monthly project volume, and average embroidery fee ($10-$25/item). For example, with a projected volume of 50 items/month at $15 each and costs of $5 per item (including supplies and labor), your gross revenue is $750. Subtracting variable costs and fixed expenses yields clear profit estimates.
Applying the profit formula:
Profit = (number of items sold x average price) – (cost per item + monthly expenses)
Regular tracking and adjustment over 3-6 months refine your projections, helping optimize pricing strategies and marketing efforts for better ROI.
Step-by-Step Use of Profit Calculator and Project Planning

Creating an effective profit calculator is essential for small businesses investing in commercial embroidery machines. By accurately estimating costs and sales, you can make informed decisions that maximize your ROI. Let’s walk through the process of setting up a simple, yet functional, profit calculator tailored for your embroidery projects and planning your workload for optimal profitability.
1. Identify Fixed Costs
Start by listing your fixed costs, which are expenses that remain constant regardless of production volume. For example, a Brother PR1055X embroidery machine setup costs approximately $8,995. Additional fixed expenses include software (~$50/month), initial supplies, and training. These costs are upfront investments that need to be amortized over your project volume.
2. Estimate Variable Costs Per Project
Next, calculate the variable costs associated with each item. Typical variable expenses include thread, stabilizers, energy, and labor, averaging around $5-8 per item. These costs fluctuate with the number of projects completed and are crucial for accurate profit margins.
3. Set Sales Targets & Use a Spreadsheet
Determine your weekly or monthly sales goals based on your production capacity. For example, starting with small batches like 10-20 items per week allows for manageable growth. Use a spreadsheet (Excel or Google Sheets) to input your costs, projected sales volume, and prices. Incorporate formulas to automatically calculate profit margins and identify break-even points.
4. Monitor & Adjust Regularly
Schedule weekly reviews of actual sales data and costs. This ongoing analysis helps refine your pricing strategy, ensuring sustained profitability. For instance, if your actual costs increase or sales decline, adjusting your prices or marketing efforts can help improve ROI.
Conclusion

Choosing the right commercial embroidery machine for your small business is a critical step toward maximizing your return on investment and fostering growth. Throughout this guide, we’ve highlighted the importance of carefully analyzing performance capabilities, available space in your workspace, training requirements, and financial considerations. By leveraging data-driven tools and following a structured plan, you can make confident decisions that align with your business goals.
Remember, the key to success lies in taking practical actions today. Start by measuring your workspace, evaluating the features that matter most, and creating a straightforward profit plan. Take the next step by downloading our free ROI calculator template or scheduling a consultation with embroidery experts for personalized guidance tailored to your needs. Don’t let hesitation hold you back—equipped with the right knowledge and tools, you’re well on your way to transforming your small business.
Your future success depends on making informed, confident decisions now—seize the opportunity and elevate your embroidery business to new heights today!
Topus Extra Strong Upholstery Repair Sewing Thread Kit and Heavy Duty Household Hand Needles, Including 7 Styles of Leather Canvas Sewing Needles and 3 Rolls Nylon Thread (70 Yard Per Roll), 3 Colors
$9.99 (as of June 30, 2025 07:58 GMT -04:00 - More infoProduct prices and availability are accurate as of the date/time indicated and are subject to change. Any price and availability information displayed on [relevant Amazon Site(s), as applicable] at the time of purchase will apply to the purchase of this product.)
New brothread - 20 Options - 8 Snap Spools of 1000m Each Polyester Embroidery Machine Thread with Clear Plastic Storage Box for Embroidery & Quilting - Monochrome
$14.99 (as of June 30, 2025 05:32 GMT -04:00 - More infoProduct prices and availability are accurate as of the date/time indicated and are subject to change. Any price and availability information displayed on [relevant Amazon Site(s), as applicable] at the time of purchase will apply to the purchase of this product.)
Simthread - 33 Selections - Various Assorted Color Packs of Polyester Gray Embroidery Machine Thread Huge Spool 5500Y for All Purpose Sewing Embroidery Machines - Essential Color 3
$14.99 (as of June 30, 2025 05:32 GMT -04:00 - More infoProduct prices and availability are accurate as of the date/time indicated and are subject to change. Any price and availability information displayed on [relevant Amazon Site(s), as applicable] at the time of purchase will apply to the purchase of this product.)New brothreads - 40 Options- Various Assorted Color Packs of Polyester Embroidery Machine Thread Huge Spool 5000M for All Embroidery Machines -1Black+1White
$11.99 (as of June 30, 2025 13:06 GMT -04:00 - More infoProduct prices and availability are accurate as of the date/time indicated and are subject to change. Any price and availability information displayed on [relevant Amazon Site(s), as applicable] at the time of purchase will apply to the purchase of this product.)
New brothread - Single Huge Spool 5000M Each Polyester Embroidery Machine Thread 40WT for Commercial and Domestic Machines - Black
$7.99 (as of June 30, 2025 07:58 GMT -04:00 - More infoProduct prices and availability are accurate as of the date/time indicated and are subject to change. Any price and availability information displayed on [relevant Amazon Site(s), as applicable] at the time of purchase will apply to the purchase of this product.)
Fairfield The Original Poly-Fil, Premium Polyester Fiber Fill, Soft Pillow Stuffing, Stuffing for Stuffed Animals, Toys, Cloud Decorations, and More, Machine-Washable Poly-Fil Fiber Fill, 32-ounce Bag
$14.87 (as of June 30, 2025 11:04 GMT -04:00 - More infoProduct prices and availability are accurate as of the date/time indicated and are subject to change. Any price and availability information displayed on [relevant Amazon Site(s), as applicable] at the time of purchase will apply to the purchase of this product.)
Smartstitch S-1501 Commercial Embroidery Machine with 15 Needles,14"x20" Embroidery Area,1200SPM Max Speed,12" Touch Screen, Wifi available, capable of embroidering on 3D Caps, Flat, T-shirt and more
$5,499.00 (as of June 30, 2025 13:06 GMT -04:00 - More infoProduct prices and availability are accurate as of the date/time indicated and are subject to change. Any price and availability information displayed on [relevant Amazon Site(s), as applicable] at the time of purchase will apply to the purchase of this product.)
Brother PE550D Embroidery Machine, 125 Built-in Designs Including 45 Disney Designs, 4" x 4" Hoop Area, Large 3.2" LCD Touchscreen, USB Port, 9 Font Styles
(as of June 30, 2025 13:06 GMT -04:00 - More infoProduct prices and availability are accurate as of the date/time indicated and are subject to change. Any price and availability information displayed on [relevant Amazon Site(s), as applicable] at the time of purchase will apply to the purchase of this product.)
Juki DDL-8100e ECONOMIC Lockstitch Industrial Sewing Machine, White, Single Needle, Up to 4500 Stitches per Minute, Assembly Required
$859.00 (as of June 30, 2025 13:06 GMT -04:00 - More infoProduct prices and availability are accurate as of the date/time indicated and are subject to change. Any price and availability information displayed on [relevant Amazon Site(s), as applicable] at the time of purchase will apply to the purchase of this product.)