Embroidery Studio Bliss: Organize Your Creative Space
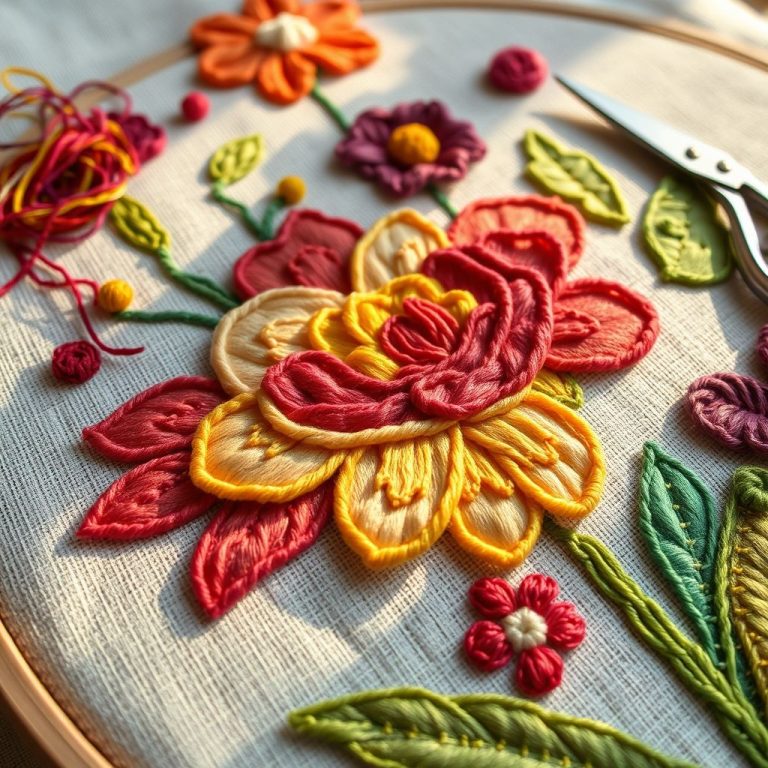
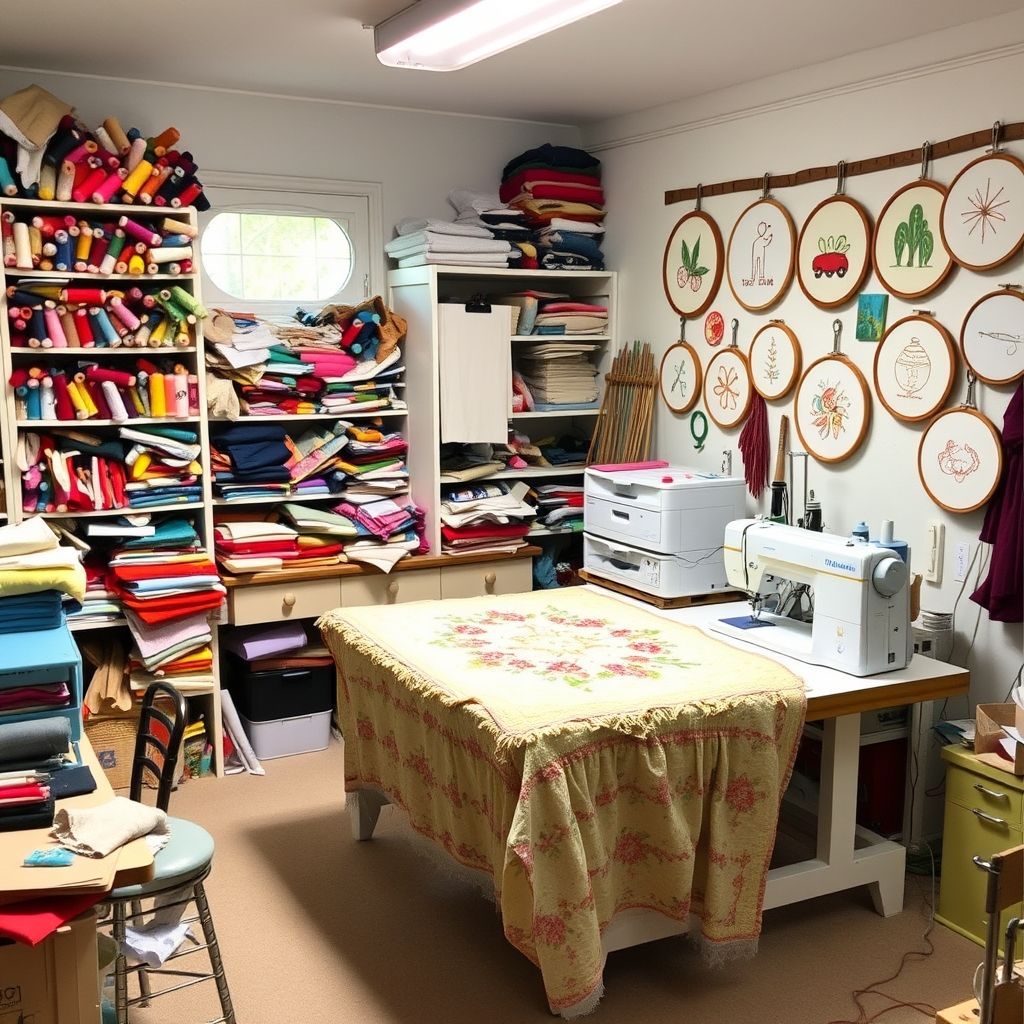
Embroidery is a beautiful art form, a dance between fabric, thread, and machine that transforms simple materials into stunning works of art. But, like any creative pursuit, embroidery comes with its fair share of “stuff” – threads of every color imaginable, piles of fabric scraps begging to be used, hoops, needles, stabilizers, and the ever-important embroidery machine itself. Without a well-organized space, this abundance of supplies can quickly devolve into chaos, stifling creativity and making it difficult to find what you need when inspiration strikes. A cluttered studio isn’t just visually unappealing; it can also lead to wasted time, damaged materials, and ultimately, diminished enthusiasm for your craft. In this post, we’ll explore practical tips and tricks to transform your embroidery studio from a chaotic mess into an organized haven, allowing you to focus on what truly matters: creating beautiful embroidery.
We’ll delve into strategies for organizing your threads, fabrics, and tools, exploring different storage solutions and techniques to maximize space and efficiency. We’ll also discuss how to create designated zones within your studio for different tasks, ensuring a smooth workflow from design to finished product. Finally, we’ll touch on the importance of maintaining your embroidery machine and other equipment to keep them in optimal working condition.
Thread Taming: Conquer Your Colorful Collection
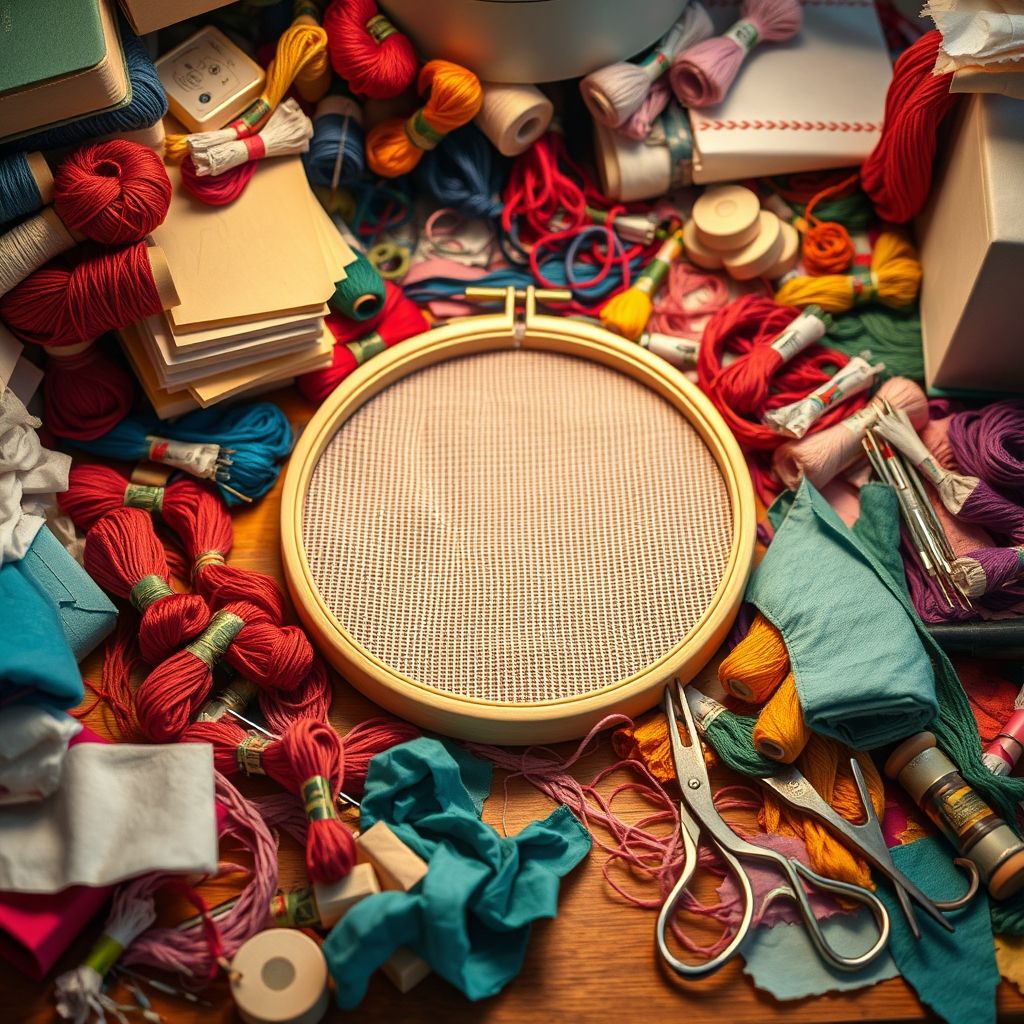
Embroidery threads are the heart of any project, but their sheer variety can quickly become overwhelming. Spools, cones, and bobbins in every color imaginable can easily spill out of drawers and boxes, creating a tangled mess. Effective thread organization is crucial for saving time and preventing frustration. One of the most popular methods is sorting threads by color family. This allows you to quickly locate the shade you need without having to rummage through a jumble of spools. Within each color family, you can further organize threads by type (e.g., cotton, rayon, polyester) or weight.
There are numerous storage options available for embroidery threads, from simple plastic storage boxes to elaborate thread racks. Wall-mounted thread racks are a great way to display your thread collection and keep it easily accessible. Drawer organizers with individual compartments are perfect for storing bobbins and smaller spools. If you have a large collection, consider investing in a thread storage unit with multiple drawers or shelves. Remember to label everything clearly so you can easily find what you’re looking for. “Having a dedicated space for each thread type makes it much easier to grab what I need and get straight to stitching,” says Sarah, a professional embroiderer with over 20 years of experience.
Another helpful tip is to keep a thread inventory. This can be a simple spreadsheet or a more sophisticated software program. Your inventory should include the thread brand, color number, and quantity on hand. This will help you avoid running out of thread in the middle of a project and prevent you from buying duplicates. Regularly update your inventory as you use threads, and make a note of any colors that are running low. Consistent organization prevents frustration and ensures you always have the materials you need. Choosing the right tools can make all the difference:

New brothread - Single Huge Spool 5000M Each Polyester Embroidery Machine Thread 40WT for Commercial and Domestic Machines - White
$7.99 (as of May 30, 2025 05:48 GMT -04:00 - More infoProduct prices and availability are accurate as of the date/time indicated and are subject to change. Any price and availability information displayed on [relevant Amazon Site(s), as applicable] at the time of purchase will apply to the purchase of this product.)
Friendship Bracelet String 12 Skeins, Embroidery Floss Cross Stitch Embroidery Thread Floss Bracelet Making Yarn, Craft Floss (Blue Series)
$3.99 (as of May 30, 2025 05:48 GMT -04:00 - More infoProduct prices and availability are accurate as of the date/time indicated and are subject to change. Any price and availability information displayed on [relevant Amazon Site(s), as applicable] at the time of purchase will apply to the purchase of this product.)
New brothread 40 Brother Colors 500m Each Embroidery Machine Thread with Clear Plastic Storage Box for Embroidery Sewing Machine
$25.49 (as of May 30, 2025 05:48 GMT -04:00 - More infoProduct prices and availability are accurate as of the date/time indicated and are subject to change. Any price and availability information displayed on [relevant Amazon Site(s), as applicable] at the time of purchase will apply to the purchase of this product.)
12 Skeins Embroidery Floss White Color, Friendship Bracelet String Cross Stitch Embroidery Thread Floss Bracelet Making Yarn, Craft Floss(White)
$3.99 (as of May 30, 2025 05:48 GMT -04:00 - More infoProduct prices and availability are accurate as of the date/time indicated and are subject to change. Any price and availability information displayed on [relevant Amazon Site(s), as applicable] at the time of purchase will apply to the purchase of this product.)
New Brothread 144pcs White 60S/2(90WT) Prewound Bobbin Thread Plastic Size A SA156 for Embroidery and Sewing Machine Cottonized Soft Feel Polyester Thread
$23.99 (as of May 30, 2025 05:48 GMT -04:00 - More infoProduct prices and availability are accurate as of the date/time indicated and are subject to change. Any price and availability information displayed on [relevant Amazon Site(s), as applicable] at the time of purchase will apply to the purchase of this product.)Fabric Frenzy: Managing Your Textile Treasures
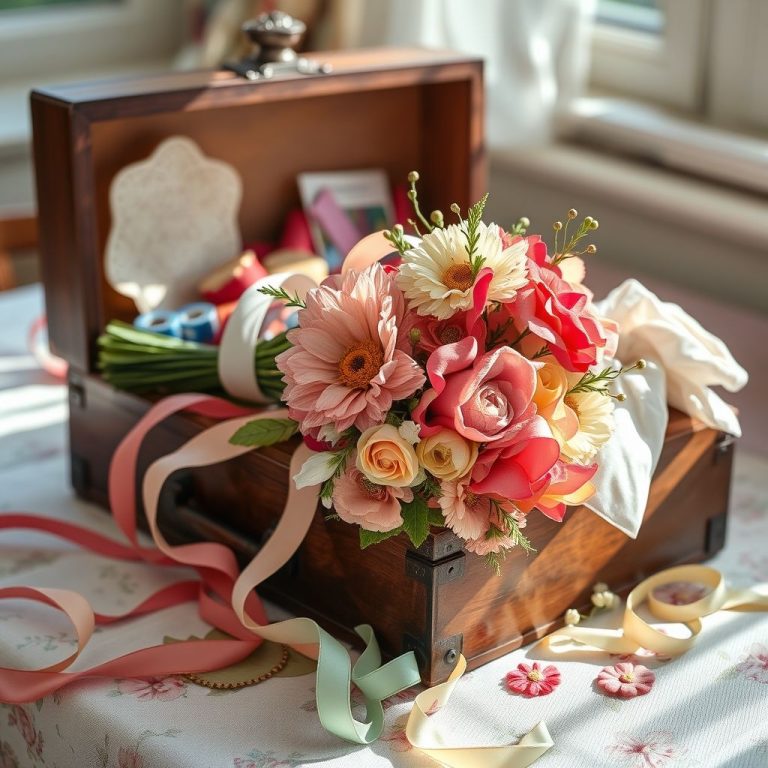
Fabric is another essential component of embroidery, and managing your stash effectively is just as important as organizing your threads. Many embroiderers accumulate fabric scraps over time, often unsure of what to do with them. One way to manage your fabric is to sort it by type (e.g., cotton, linen, silk) and size. Larger pieces can be folded neatly and stored on shelves or in drawers. Smaller scraps can be kept in bins or baskets, organized by color or pattern. Clear plastic bins are ideal for storing fabric because they allow you to see the contents at a glance.
Consider implementing a “one in, one out” rule to prevent your fabric stash from growing out of control. For every new piece of fabric you acquire, commit to using or donating an existing piece. This will help you keep your collection manageable and ensure that you’re actually using the fabric you have. Don’t be afraid to get creative with your scraps! They can be used for small embroidery projects, patchwork, or even as embellishments on clothing or accessories. “I love using fabric scraps to create unique embroidery designs,” says Emily, a passionate embroiderer. “It’s a great way to reduce waste and add a personal touch to my projects.” Remember to properly store your fabric to prevent fading and damage from pests. Use acid-free tissue paper to protect delicate fabrics, and store your fabric in a cool, dry place away from direct sunlight.
Tool Time: Keeping Your Embroidery Essentials Accessible

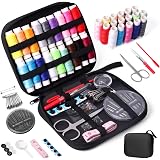
Embroidery involves a variety of tools, from needles and scissors to hoops and stabilizers. Keeping these tools organized and readily accessible is essential for a smooth workflow. A well-organized tool station can save you time and frustration, allowing you to focus on your embroidery. Consider using a pegboard to hang your most frequently used tools, such as scissors, seam rippers, and tweezers. This keeps them within easy reach and prevents them from getting lost in a drawer. Small containers or jars can be used to store needles, bobbins, and other small items.
Invest in a good quality sewing box or tool organizer to store your less frequently used tools. Look for a box with multiple compartments and trays to keep everything separated and organized. Label each compartment clearly so you can easily find what you need. It’s also a good idea to keep a small first-aid kit in your embroidery studio, as accidents can happen. Make sure your kit includes bandages, antiseptic wipes, and pain relievers. Regular cleaning and maintenance of your tools is also crucial. Clean your needles and scissors regularly to prevent rust and corrosion. Sharpen your scissors as needed to ensure clean cuts. By taking care of your tools, you’ll extend their lifespan and keep them in optimal working condition.
Creating Zones: Designing Your Ideal Workspace

Consider dividing your studio into distinct zones based on different tasks, such as designing, stitching, finishing, and storage. This approach can significantly improve your workflow and efficiency. The design zone should be a dedicated area for sketching, planning, and digitizing your embroidery designs. This area should include a comfortable desk or table, a computer, and ample lighting. Consider adding a corkboard or whiteboard to display inspiration and project ideas. The stitching zone is where you’ll be operating your embroidery machine. This area should be spacious enough to accommodate your machine, ironing board, and other necessary equipment. Make sure the area is well-lit and has access to power outlets. You might even want to add a comfortable chair to make those long stitching sessions more enjoyable.
The finishing zone is where you’ll be adding the finishing touches to your embroidered projects, such as trimming threads, ironing, and adding embellishments. This area should include an ironing board, scissors, and any other tools you need for finishing. The storage zone is where you’ll be storing your threads, fabrics, and other supplies. This area should be organized and easily accessible. “Having designated zones really helps me stay focused and organized,” says Mark, a textile artist. “It prevents clutter from spreading and makes it easier to find what I need.” Consider adding shelves, cabinets, and bins to maximize storage space. By creating distinct zones within your studio, you can create a more functional and efficient workspace.
Machine Maintenance: Keeping Your Embroidery Powerhouse Humming
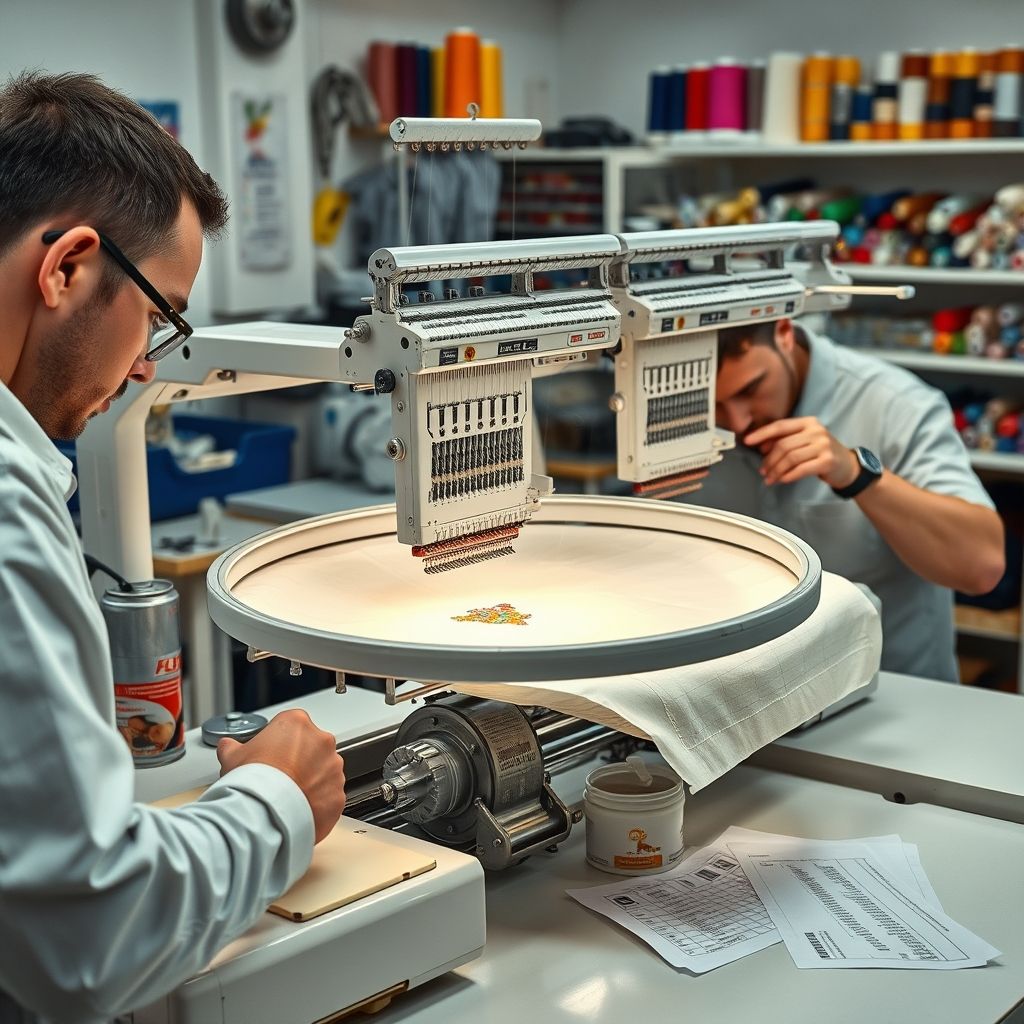
Your embroidery machine is the most important piece of equipment in your studio, so it’s crucial to keep it in good working condition. Regular maintenance can prevent costly repairs and extend the lifespan of your machine. Consult your machine’s manual for specific maintenance recommendations. In general, you should clean your machine regularly to remove lint and debris. Use a soft brush or vacuum cleaner to remove lint from the bobbin area, needle plate, and other accessible parts. Oiling your machine is also important to keep it running smoothly. Use a high-quality sewing machine oil and follow the manufacturer’s instructions. Replace your needles regularly, as dull needles can damage your fabric and machine. Use the correct type and size of needle for the fabric you’re embroidering. “Regular maintenance is key to keeping my embroidery machine running smoothly,” says Lisa, a professional embroiderer. “It saves me time and money in the long run.”
Schedule regular servicing appointments with a qualified technician. A technician can perform more in-depth maintenance tasks, such as cleaning and lubricating internal parts. They can also diagnose and repair any potential problems before they become major issues. Store your embroidery machine in a clean, dry place when not in use. Cover it with a dust cover to protect it from dust and debris. By following these maintenance tips, you can keep your embroidery machine in optimal working condition for years to come.
Digital Delights: Organizing Your Embroidery Files
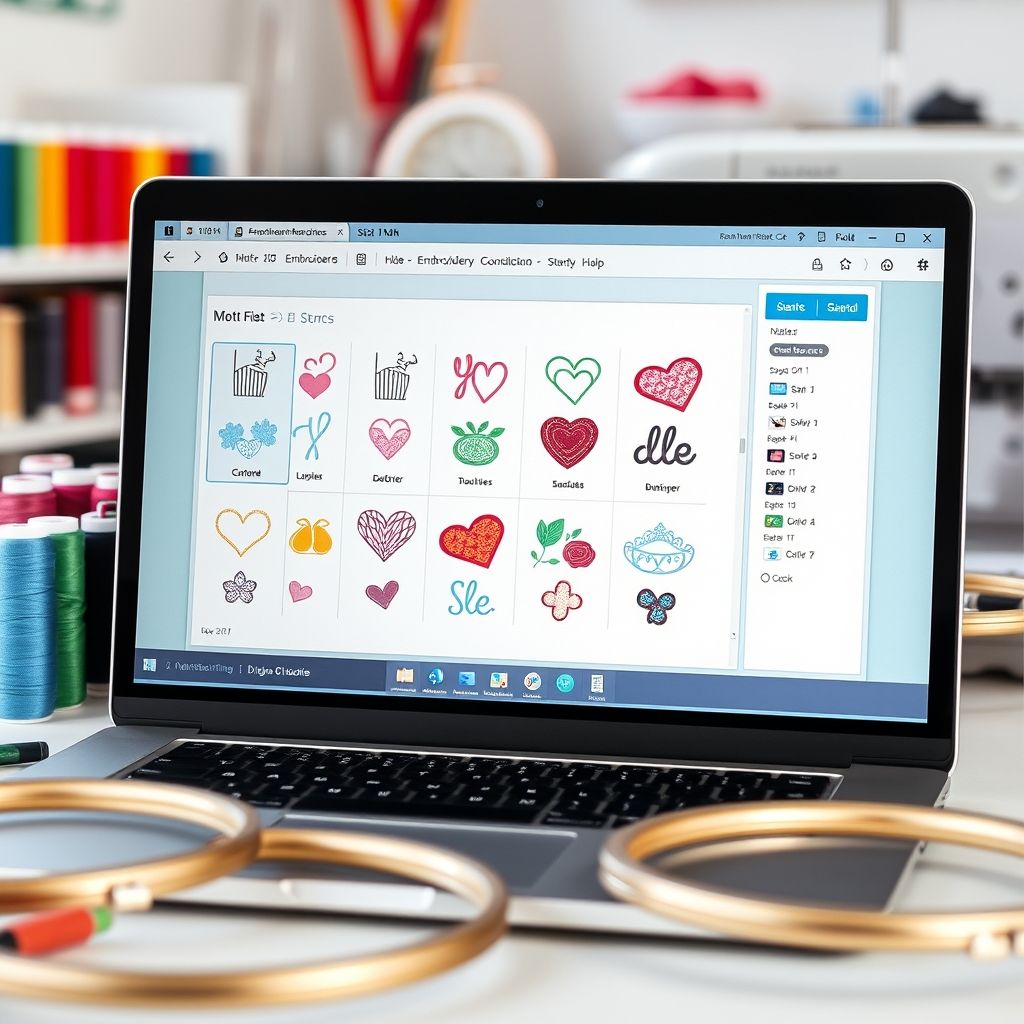
In today’s digital age, many embroidery designs are stored as computer files. Organizing these files is essential for quickly finding the designs you need. Create a well-structured folder system on your computer to store your embroidery files. Organize your files by category, such as theme, style, or client. Use descriptive file names to make it easy to identify your designs. Consider using a file management software program to help you organize and manage your embroidery files. These programs allow you to tag, categorize, and search for files quickly and easily. Back up your embroidery files regularly to protect them from data loss. Use an external hard drive or cloud storage service to back up your files. Consider using a cloud-based embroidery design library to store and access your designs from anywhere. These libraries offer features such as search, tagging, and collaboration. “Organizing my embroidery files has saved me so much time and frustration,” says David, an embroidery enthusiast. “I can now find the designs I need in seconds.”
Vertical Victory: Maximizing Space with Clever Storage
If you’re short on space, think vertically! Utilize wall space and height to maximize your storage options. Install shelves above your workspace to store fabric, threads, and tools. Use tall, narrow cabinets to store bulky items, such as ironing boards and cutting mats. Hang fabric rolls from a curtain rod or dowel to keep them organized and easily accessible. Use over-the-door organizers to store small items, such as needles, scissors, and bobbins. Create a vertical thread rack using pegboard and dowels. Install a wall-mounted ironing board to save floor space. “Thinking vertically has transformed my small embroidery studio,” says Jessica, a space-conscious embroiderer. “I’m amazed at how much storage I’ve been able to create.” Consider using stackable storage bins to maximize vertical space. Label each bin clearly so you can easily find what you’re looking for.
By embracing vertical storage solutions, you can transform a cramped and cluttered studio into a spacious and organized haven.
Studio Sanity: Maintaining Your Organized Space
Organizing your embroidery studio is just the first step. Maintaining that organization is crucial for long-term success. Establish a regular cleaning and organizing routine. Set aside a few minutes each day or week to tidy up your studio. Put tools back in their designated places after each use. Regularly declutter your studio to remove unwanted items. Donate or sell items you no longer need or use. Implement the “one in, one out” rule for fabric and threads. For every new item you acquire, commit to using or donating an existing item. Develop good habits, such as wiping down your machine after each use and storing fabric scraps in designated bins. Enlist the help of a friend or family member to help you organize your studio. Reward yourself for maintaining your organized space. A clean and organized studio is a more enjoyable and productive space to work in. “Maintaining my organized studio is so much easier than starting from scratch,” says Michael, a dedicated embroiderer. “It’s a worthwhile investment of time and effort.” By consistently maintaining your organized space, you’ll create a more enjoyable and productive embroidery experience.
In conclusion, organizing your embroidery studio is an investment in your creativity and productivity. By implementing the tips and tricks outlined in this post, you can transform your studio from a chaotic mess into an organized haven. A well-organized studio allows you to focus on what truly matters: creating beautiful embroidery. Remember to tailor these tips to your specific needs and preferences. There’s no one-size-fits-all solution, so experiment with different storage options and organizational techniques until you find what works best for you. The key is to create a system that is easy to maintain and that supports your creative process.
Imagine walking into your studio each day, greeted by an organized and inspiring space. Threads are neatly arranged, fabrics are easily accessible, and tools are within easy reach. This is the power of an organized embroidery studio. It’s not just about aesthetics; it’s about creating an environment that fosters creativity, reduces stress, and enhances your overall embroidery experience. So, take the time to organize your studio, and reap the rewards of a more productive and fulfilling creative journey. Embrace the process, experiment with different ideas, and create a space that inspires you to create your best work. A well-organized studio is an investment in your passion and a testament to the beauty of embroidery.

Coats & Clark Dual Duty All Purpose Thread 400 Yards White 230-1 (6-Pack)
$14.50 (as of May 30, 2025 05:48 GMT -04:00 - More infoProduct prices and availability are accurate as of the date/time indicated and are subject to change. Any price and availability information displayed on [relevant Amazon Site(s), as applicable] at the time of purchase will apply to the purchase of this product.)
Aurifil Mako Cotton Thread Solid 50wt 1422yds Very Dark Navy
$13.40 (as of May 30, 2025 05:25 GMT -04:00 - More infoProduct prices and availability are accurate as of the date/time indicated and are subject to change. Any price and availability information displayed on [relevant Amazon Site(s), as applicable] at the time of purchase will apply to the purchase of this product.)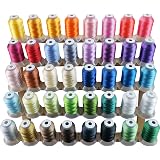
New brothread 40 Brother Colors Polyester Embroidery Machine Thread Kit 500M (550Y) each Spool for Brother Babylock Janome Singer Pfaff Husqvarna Bernina Embroidery and Sewing Machines
$26.99 (as of May 30, 2025 05:48 GMT -04:00 - More infoProduct prices and availability are accurate as of the date/time indicated and are subject to change. Any price and availability information displayed on [relevant Amazon Site(s), as applicable] at the time of purchase will apply to the purchase of this product.)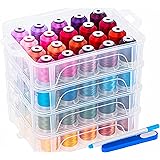
New brothread 80 Spools 500m Each Embroidery Machine Thread with Clear Plastic Storage Box - Colors Compatible with Janome and Robison-Anton Colors
$47.59 (as of May 30, 2025 05:25 GMT -04:00 - More infoProduct prices and availability are accurate as of the date/time indicated and are subject to change. Any price and availability information displayed on [relevant Amazon Site(s), as applicable] at the time of purchase will apply to the purchase of this product.)
Friendship Bracelet String 50 Skeins Fashionable Rainbow Color Embroidery Floss Cross Stitch Embroidery Thread Cotton Floss Bracelet Yarn, Craft Floss
$5.99 (as of May 30, 2025 05:48 GMT -04:00 - More infoProduct prices and availability are accurate as of the date/time indicated and are subject to change. Any price and availability information displayed on [relevant Amazon Site(s), as applicable] at the time of purchase will apply to the purchase of this product.)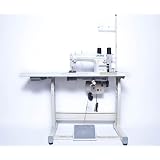
Industrial Sewing Machine Juki DDL-8700 Lockstitch Sewing Machine with Ergonomic Chair + Servo Motor + Table Stand Cut Juki DDL8700 Combo + LED Lamp Commercial Grade Sewing Machine
$909.00 (as of May 30, 2025 05:48 GMT -04:00 - More infoProduct prices and availability are accurate as of the date/time indicated and are subject to change. Any price and availability information displayed on [relevant Amazon Site(s), as applicable] at the time of purchase will apply to the purchase of this product.)
TransOurDream Tru-Iron on Heat Transfer Paper for Dark Fabric (20 Sheets, 8.5x11") T Shirt Transfers Paper for Inkjet Printer Printable Heat Transfer Vinyl for T-Shirts (TOD-7)
$13.59 (as of May 30, 2025 05:52 GMT -04:00 - More infoProduct prices and availability are accurate as of the date/time indicated and are subject to change. Any price and availability information displayed on [relevant Amazon Site(s), as applicable] at the time of purchase will apply to the purchase of this product.)
Industrial Sewing Machine Juki DDL-8100 Lockstitch Servo Motor + Table Stand Cut Juki DDL8700 + LED Lamp+ Commercial Grade Sewing Machine
$919.00 (as of May 30, 2025 05:48 GMT -04:00 - More infoProduct prices and availability are accurate as of the date/time indicated and are subject to change. Any price and availability information displayed on [relevant Amazon Site(s), as applicable] at the time of purchase will apply to the purchase of this product.)
Brother Persona PRS100 Single Needle Embroidery Machine with 4-Spool Thread Stand and Free Arm Embroidery
$3,999.99 (as of May 30, 2025 05:52 GMT -04:00 - More infoProduct prices and availability are accurate as of the date/time indicated and are subject to change. Any price and availability information displayed on [relevant Amazon Site(s), as applicable] at the time of purchase will apply to the purchase of this product.)